


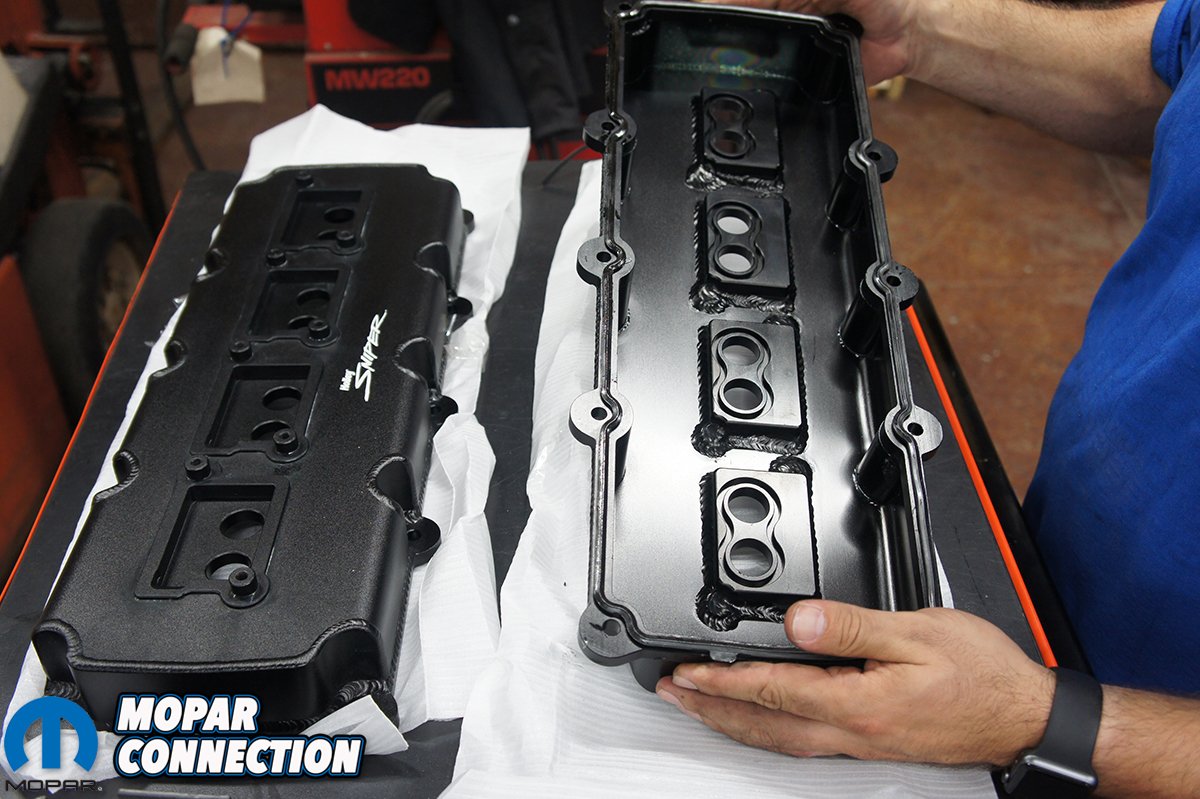
Dressing up your motor does not have to be all-bling, it can be functional too. Items like valve covers have been a popular engine dress up accessory for many years. For many years stamped steel chrome valve covers were the popular choice. In more recent years fabricated valve covers have been popular due to form and function. Holley recently released their Sniper Fabricated valve covers for Gen III Hemis in black and silver finish. They look incredible while providing a few improvements over the stock plastic Hemi valve covers.
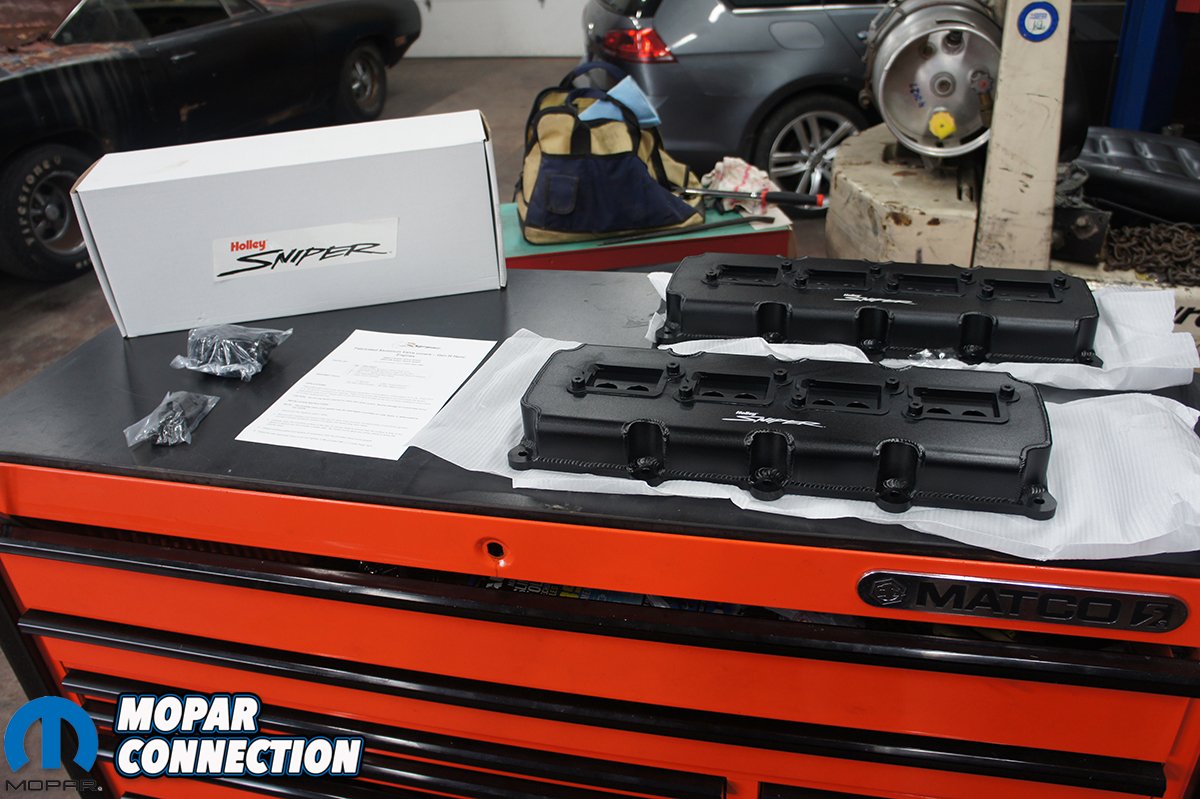
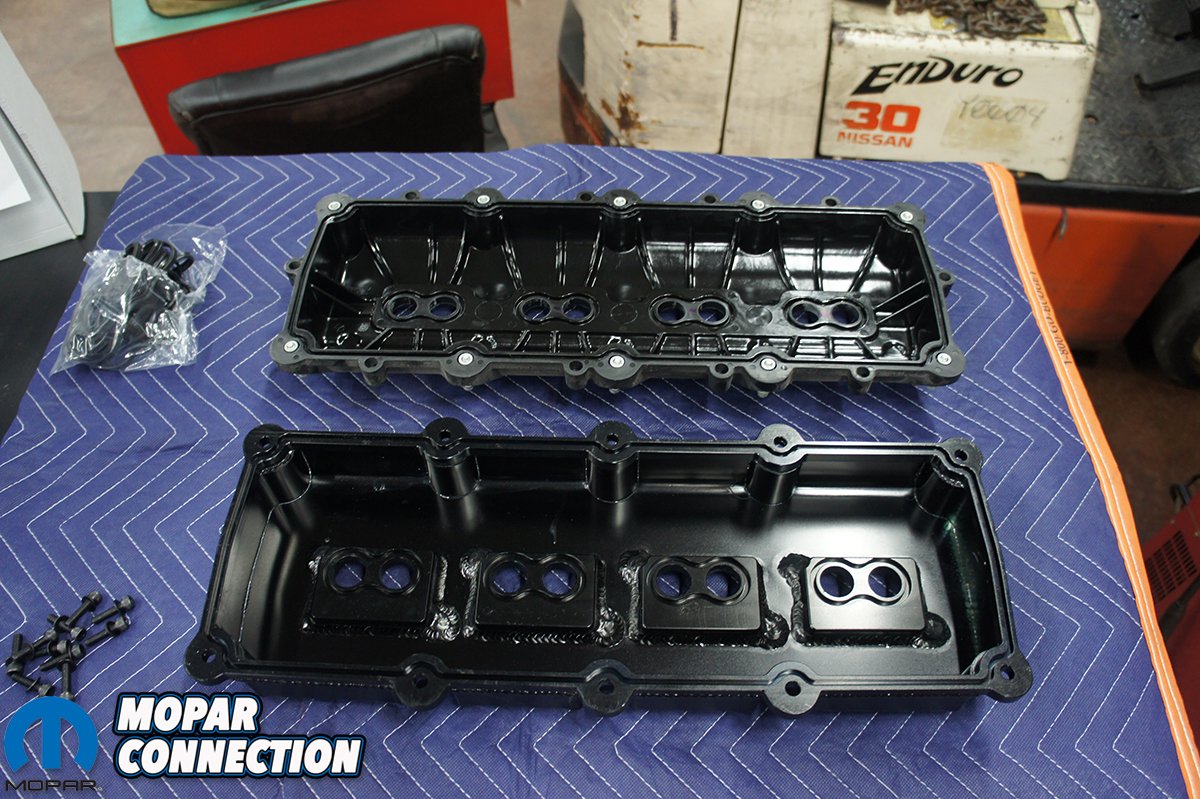
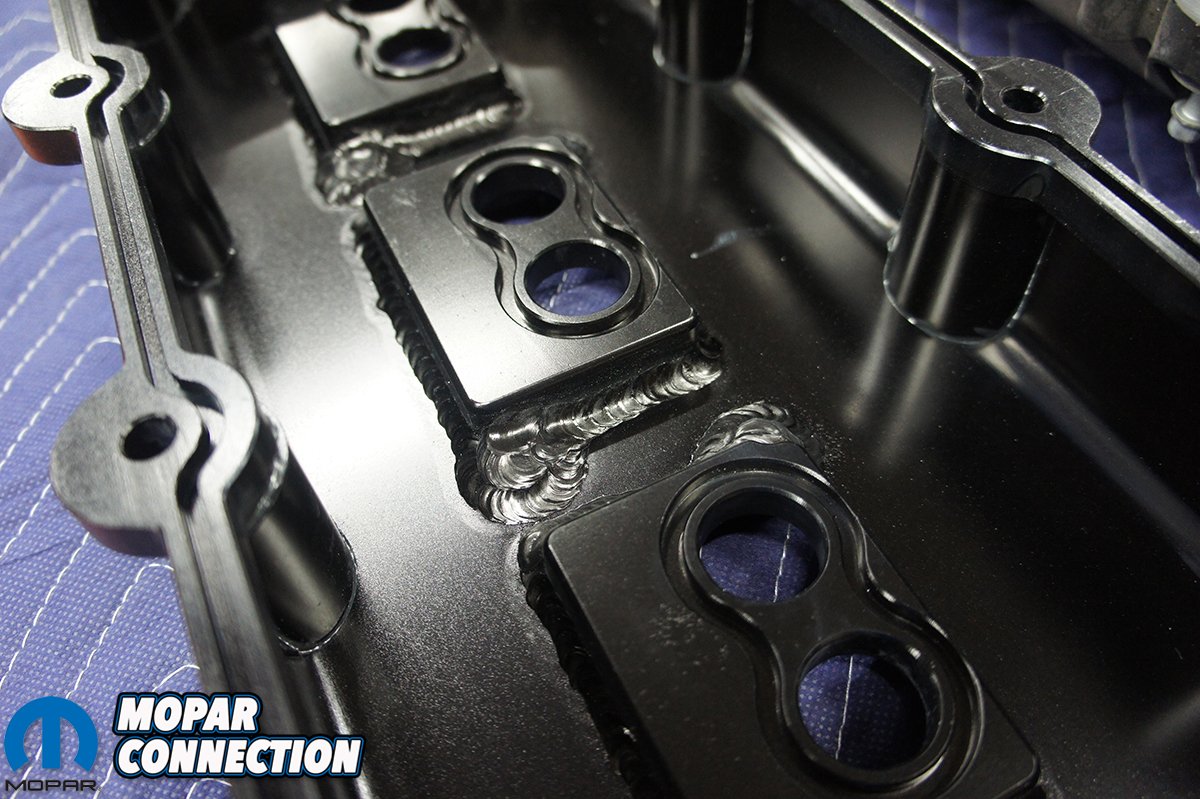
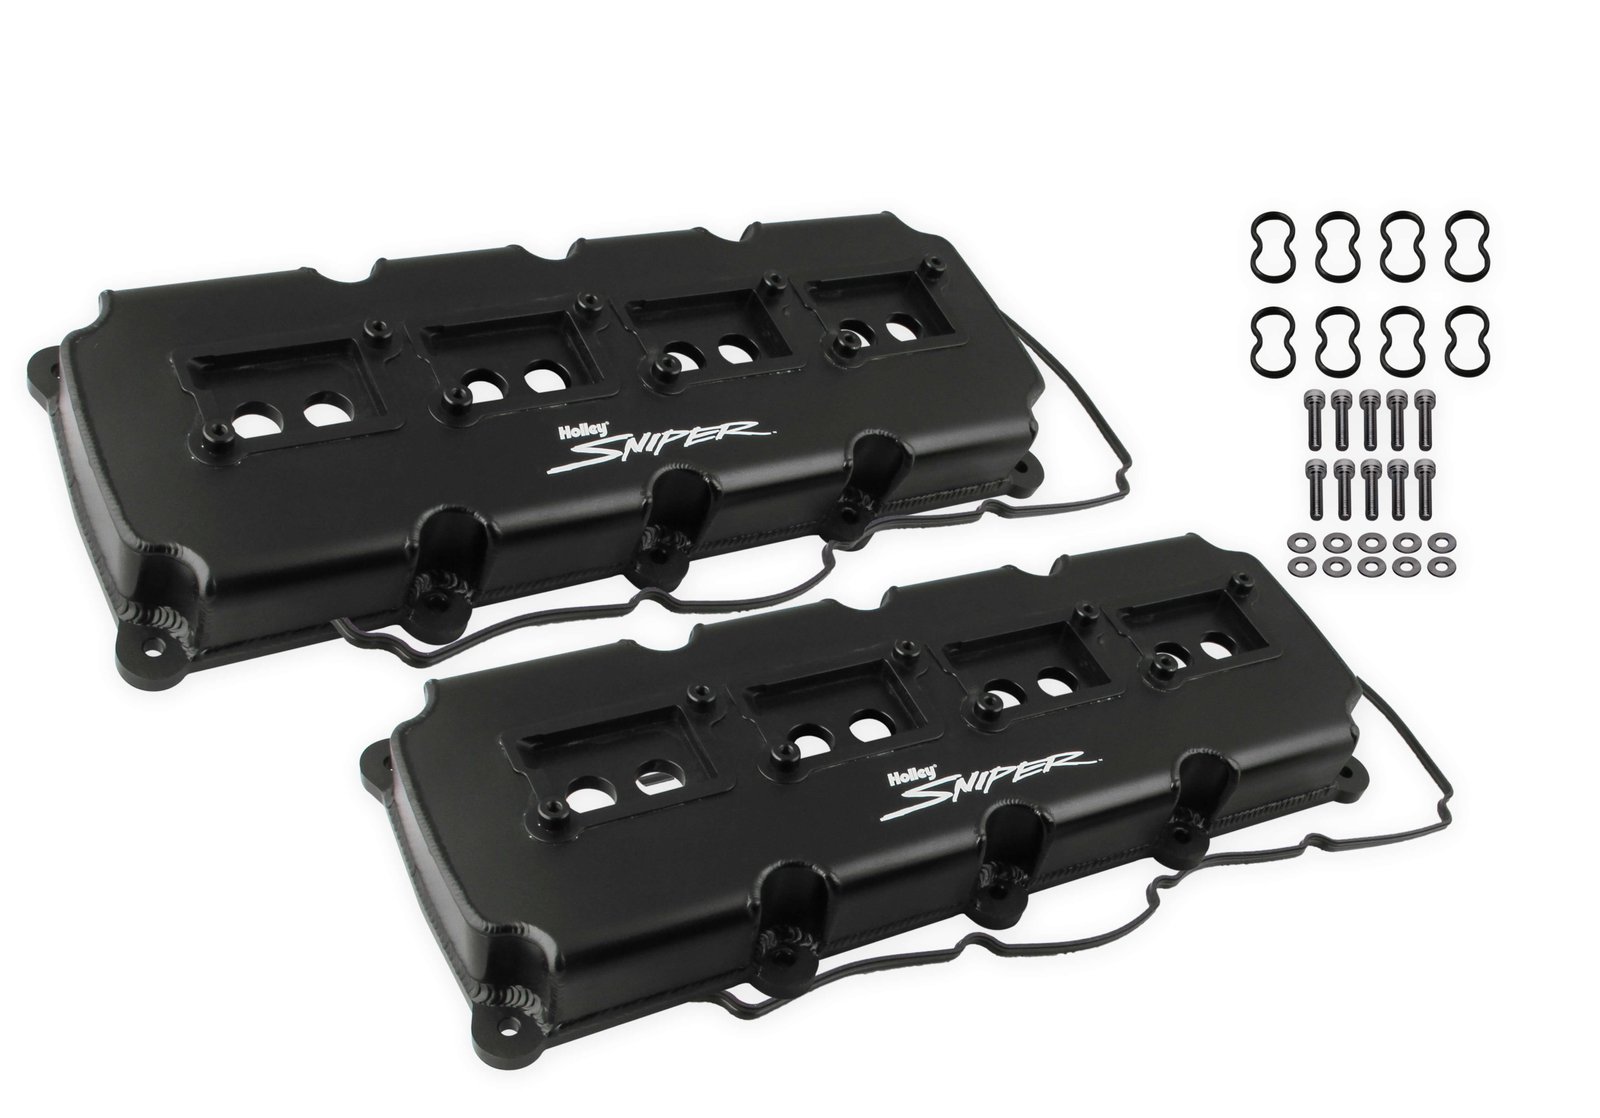
Holley’s fabricated aluminum valve covers are a direct fit for 2006-2019 5.7L, 2005-2010 6.1L and 2011-2019 6.4L engines. They can also fit 2003-05 5.7L Hemi if the 2006 and later coils are used. These valve covers are made from 6061 T5 sheet aluminum and 100% TIG welded together. They are available in black or silver finish. After seeing a few pictures, we knew we had to have a pair on our 6.4 Hemi for Orange Crush.


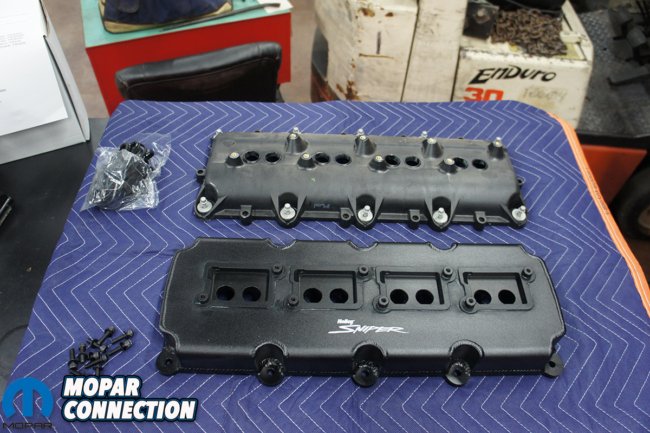
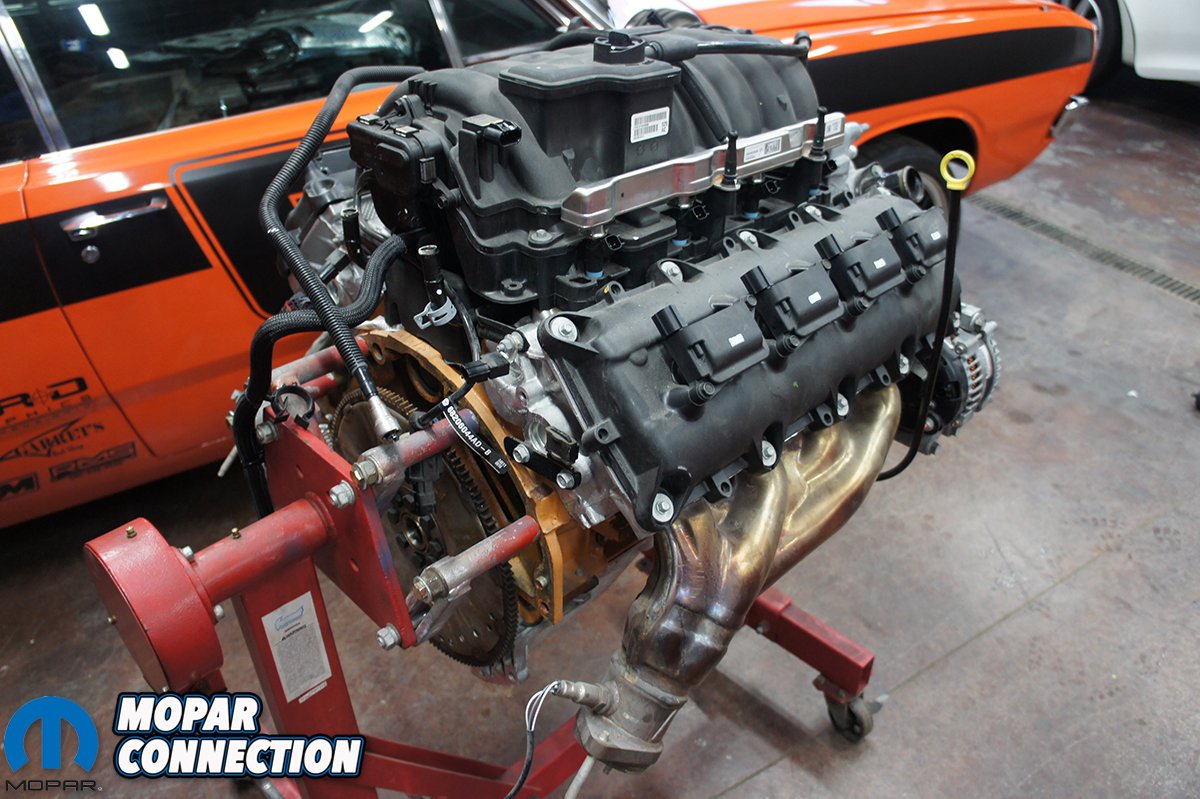
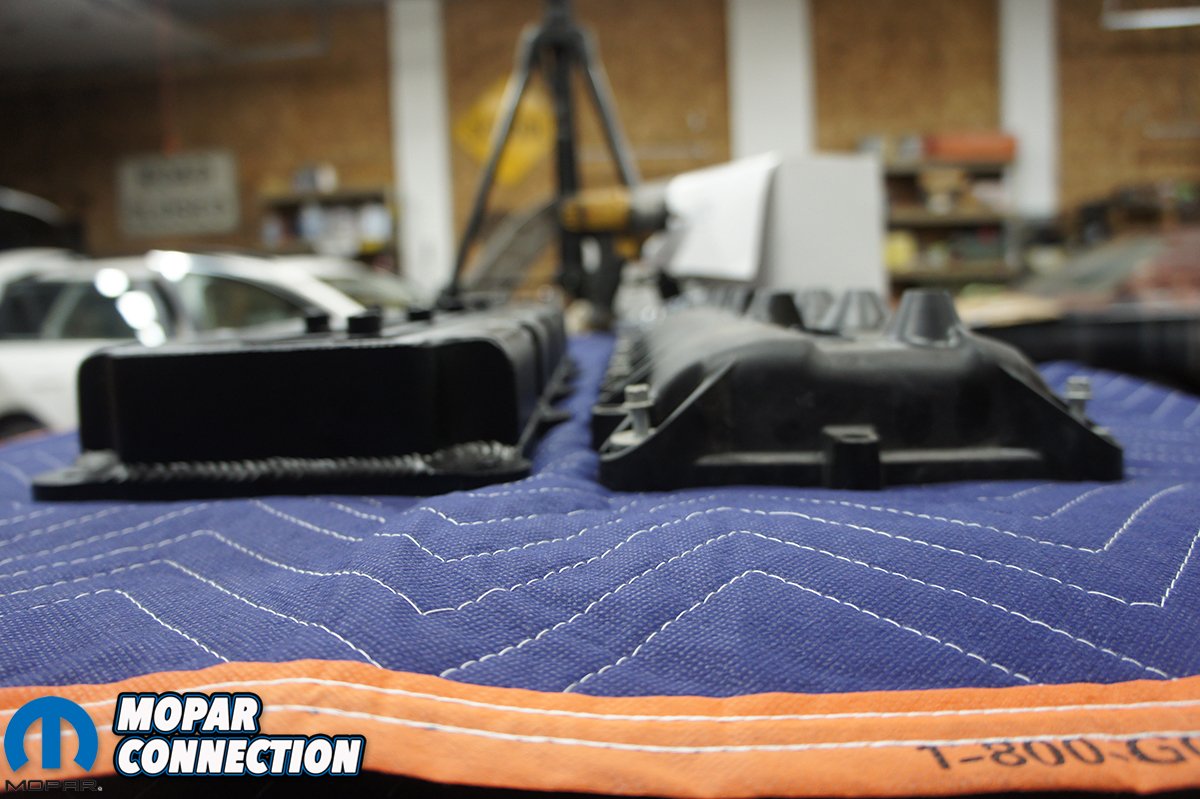
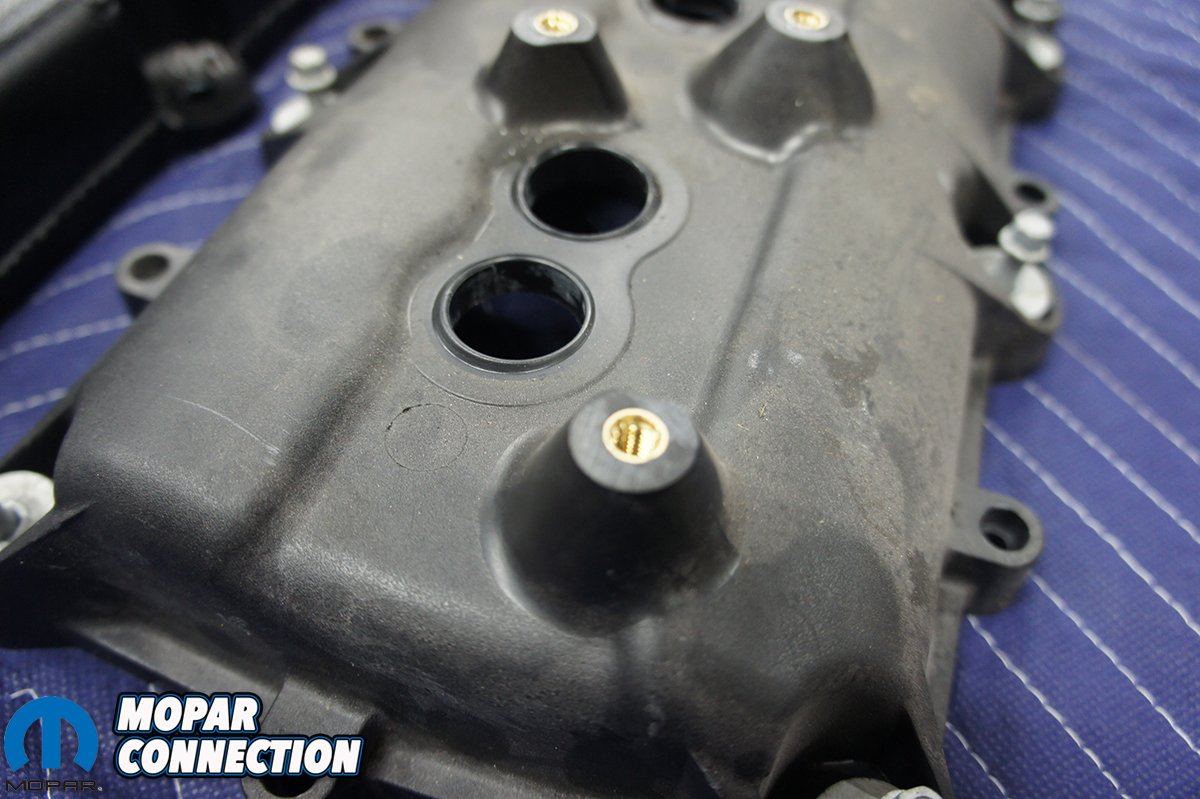
The factory Hemi valve covers are constructed of a thick plastic with a spider web of plastic reinforcing on the inside. The reinforcing braces create a ton of little voids that collect dirt. The plastic can crack easily and warp over time creating leaks. Eliminating oil leaks, especially from the valve covers, is one of the reasons we decided to swap Orange Crush with a modern Hemi. The overall design of the valve covers are great but can be improved, which Holley did very well.
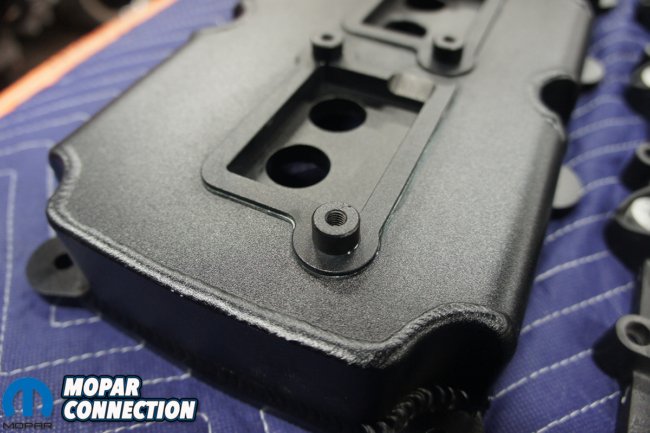
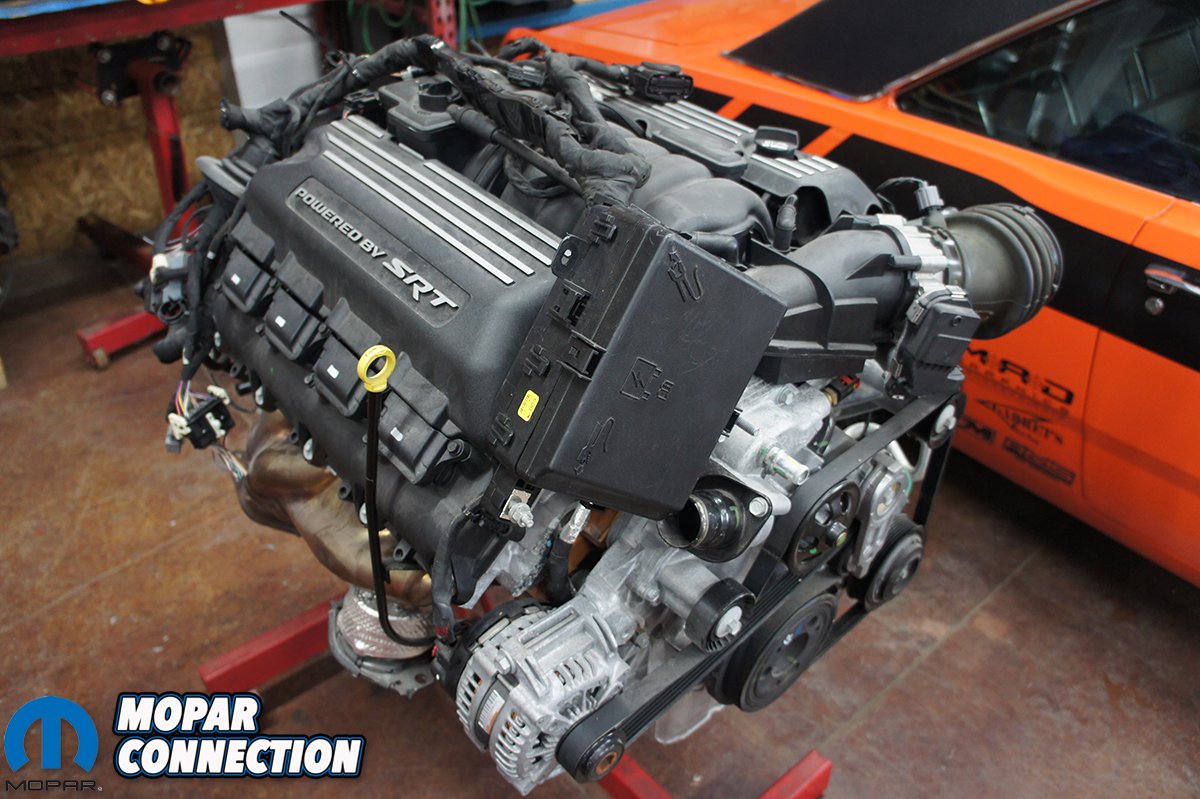
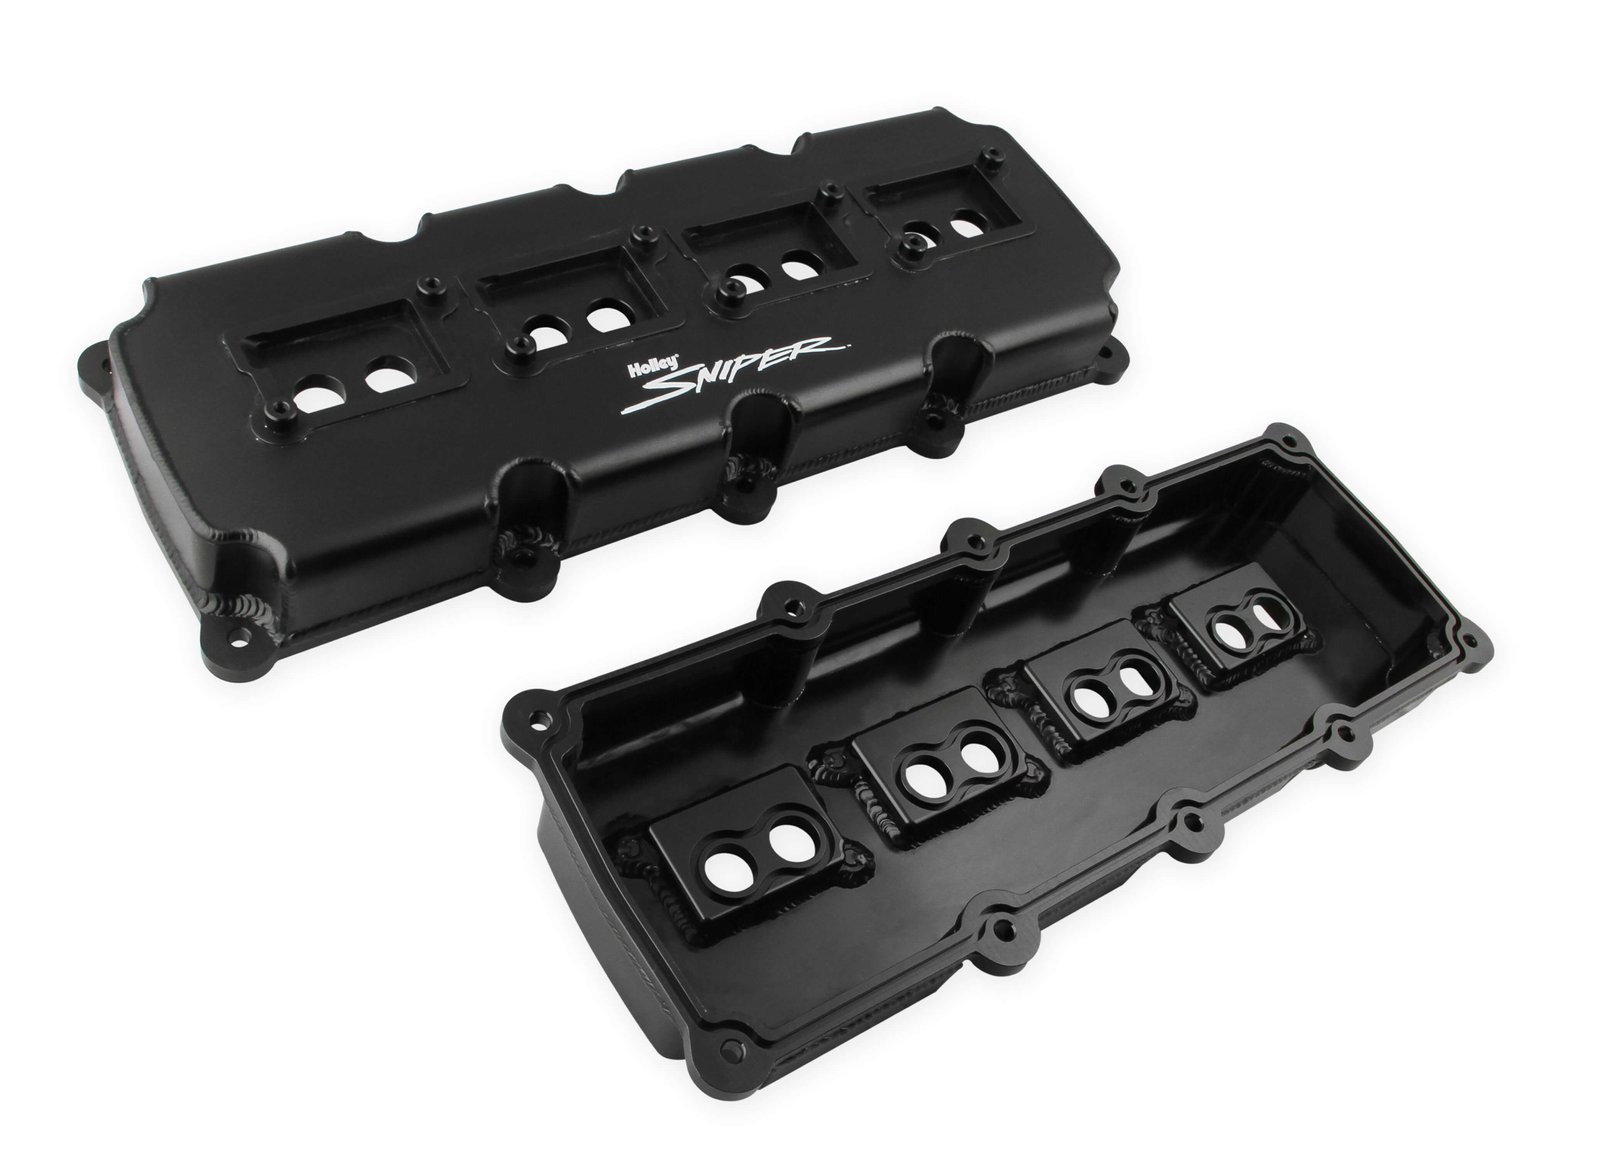
Our 6.4 Hemi was a low mile motor from a wrecked SRT-8 Challenger and the stock valve covers looked to be in great shape but, we did not want to have an issue down the road or worst, at the race track. Holley’s Sniper valve covers have a 1/4” thick flange around the outside for a superior seal. They will not warp or crack like the plastic factory covers. They also have an 2.25” overall height for additional valve train clearance for future upgrades.

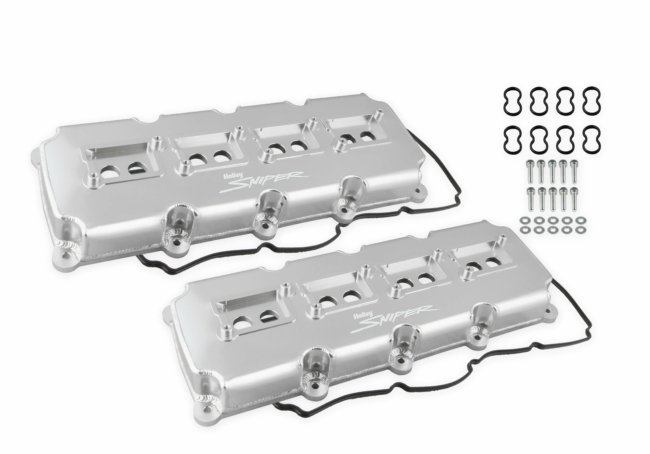
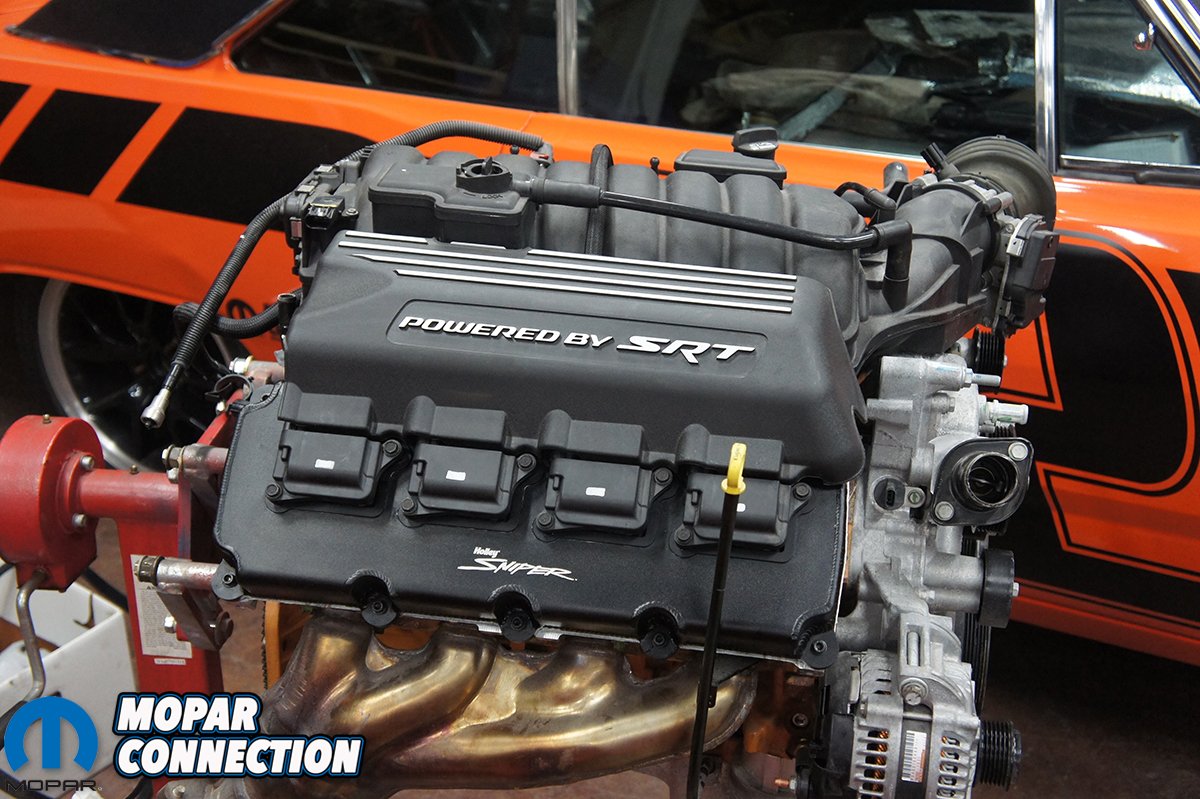
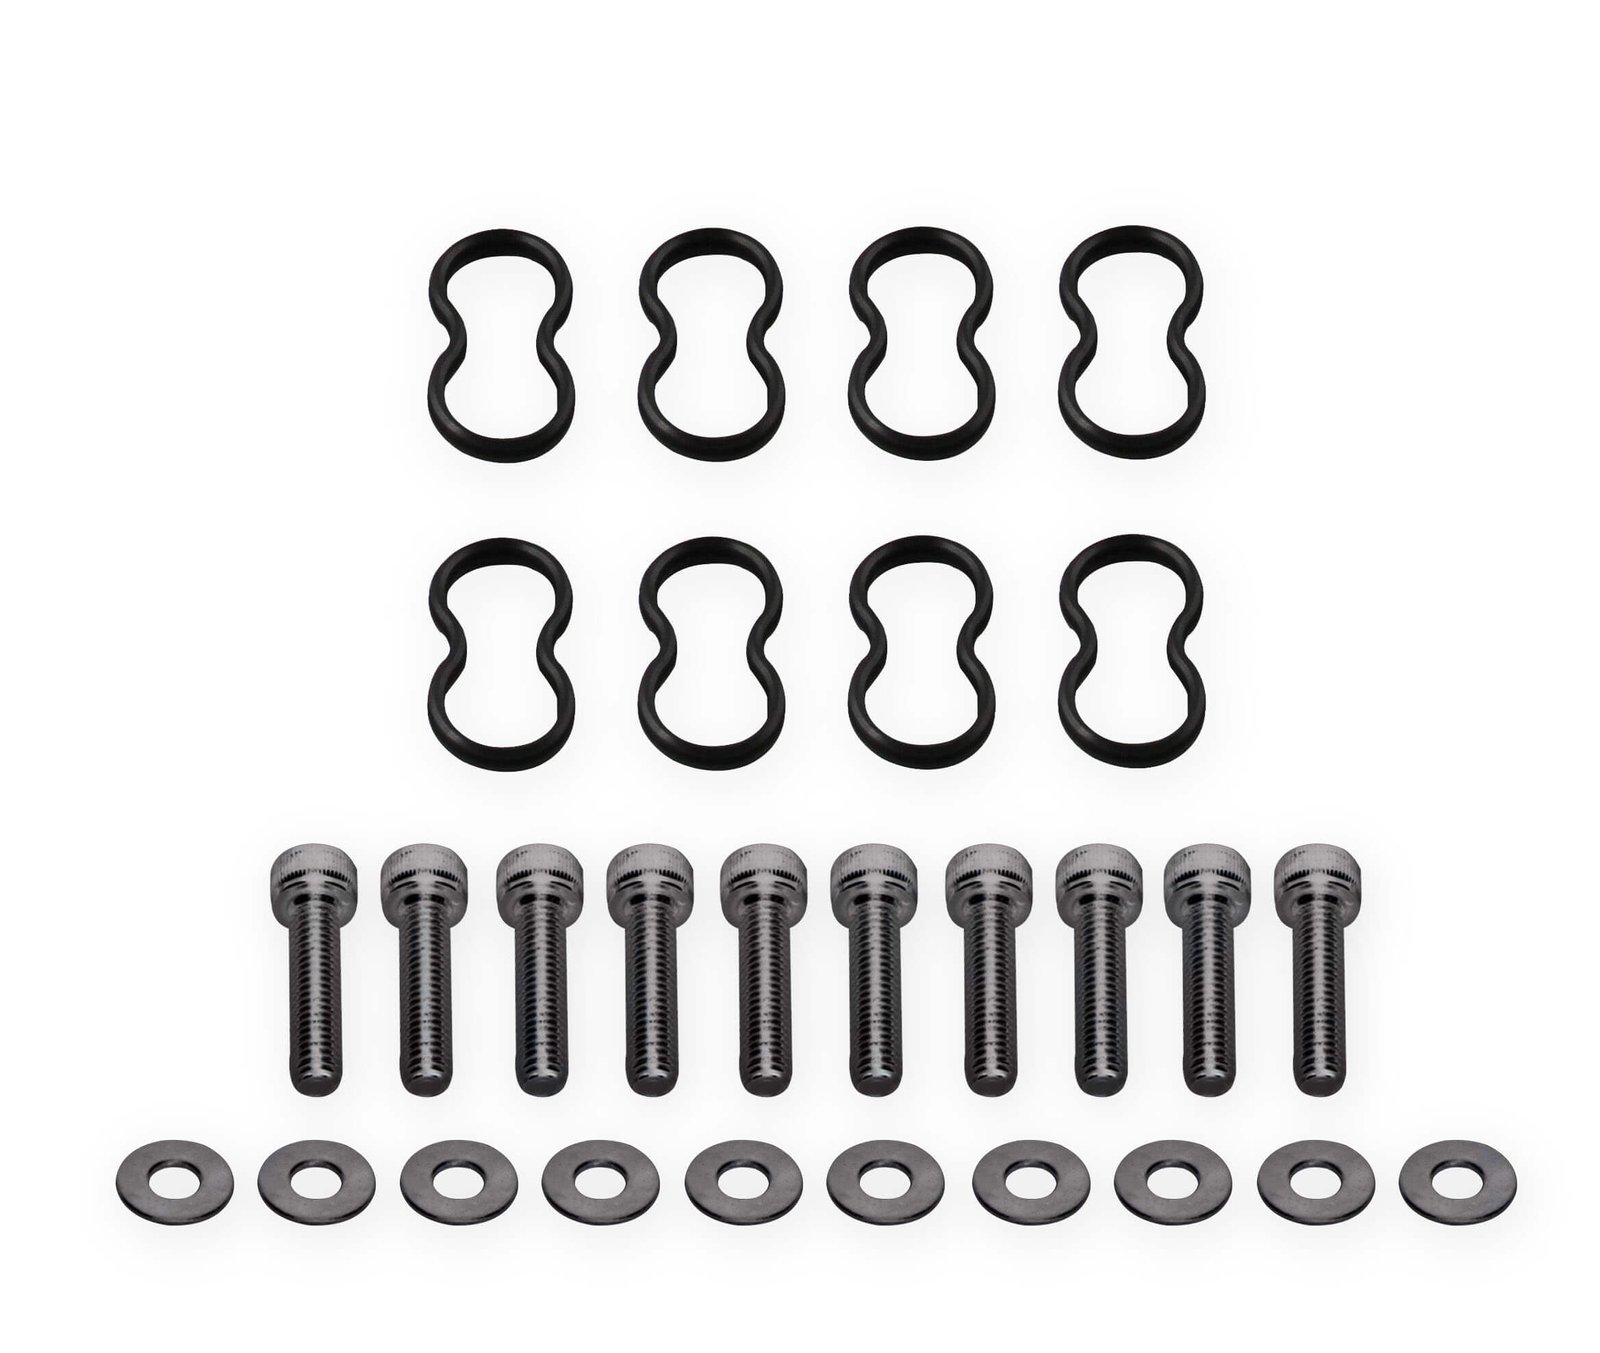
We chose the black covers for a subtle look while the laser etched Holley Sniper logo would give it just enough bling for our taste. The valve covers come with every thing you need to install them. If you are missing bolts, have a bad seal, cracked or broken covers no worry, everything you need from gaskets to new bolts are included.
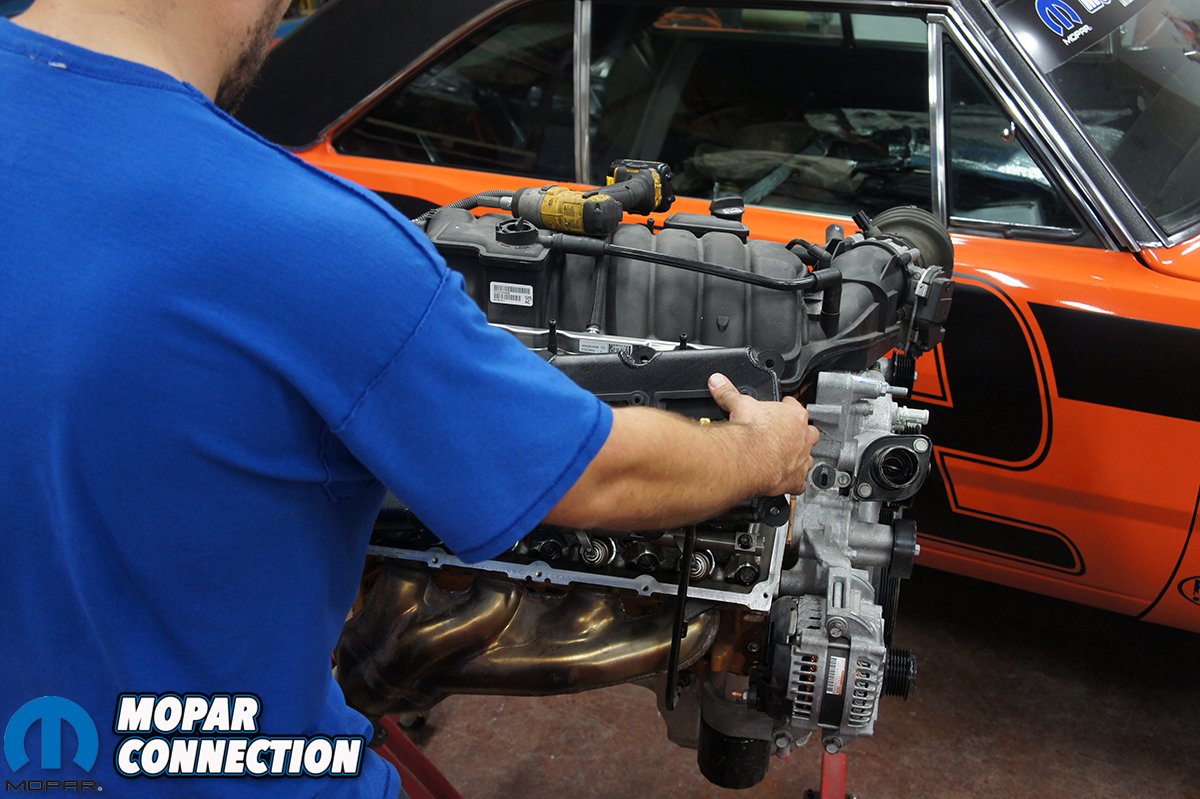
Our installation was fairly easy since the motor was already out of the car. For those looking to install these on a modern Charger, Challenger, 300, etc., check out Holley’s installation video here. We started by removing the plastic SRT coil covers. These can be reused with the Sniper valve covers. By pulling straight up, the plastic covers will pop right off exposing the fuel rails, injectors and coil pack connectors.

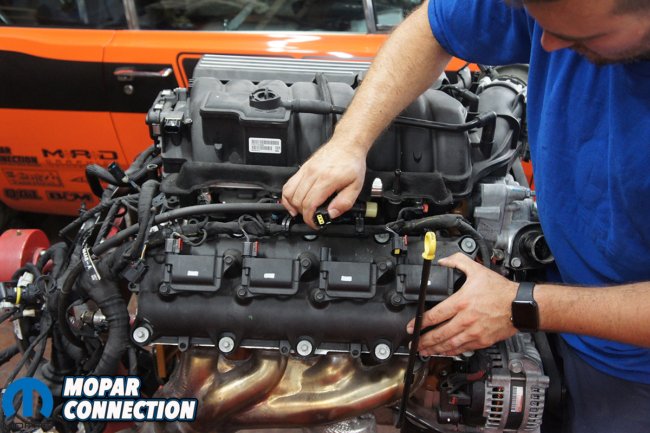


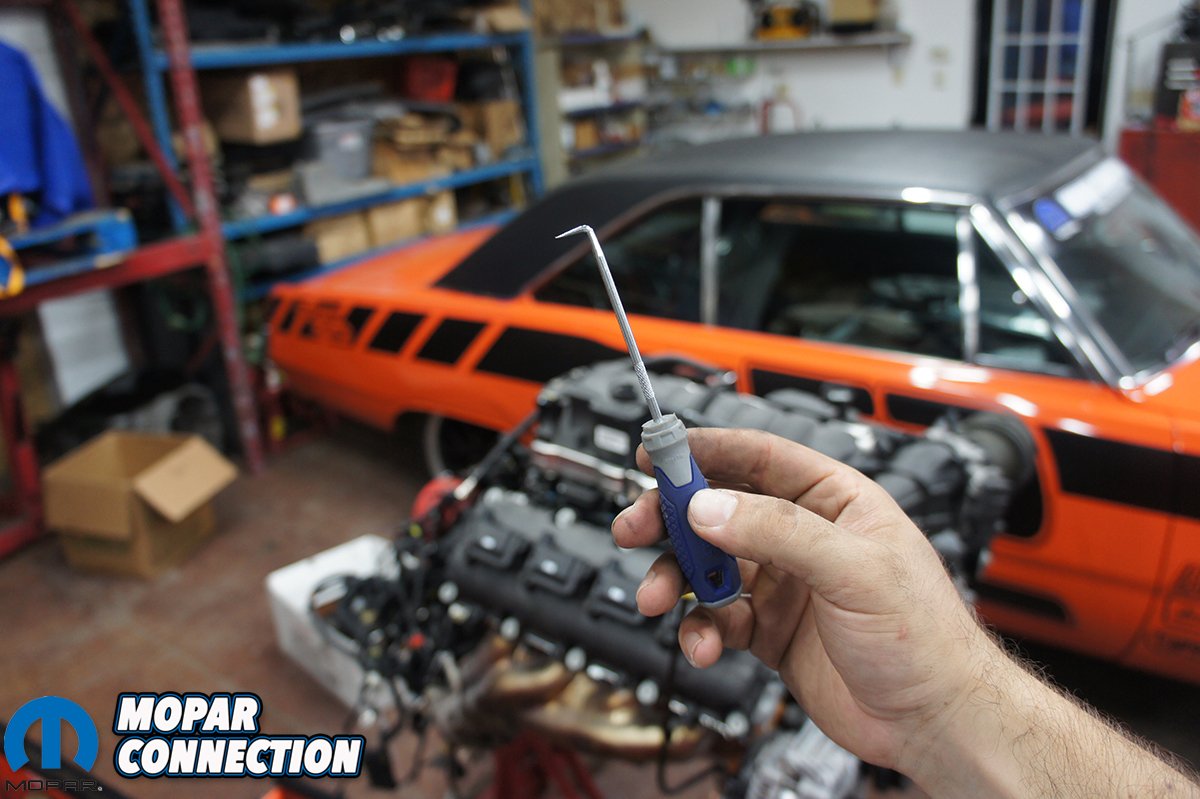
We began to unplug all the connectors for the injectors and coil packs. Each one has a red locking tab that would need to be pulled to allow the connector to be squeezed, releasing it from the injectors and coil packs. Most of the time you can pop the red tabs with your fingers but if you have difficulty use a small pick for more leverage. Be careful on higher mileage motors, the clips and connectors can become brittle and potentially break when trying to disconnect them.
Once we had the fuel injectors and coil packs disconnected on both sides, we removed the coil packs themselves. They are held down with two 10mm bolts at opposite corners. Hopefully all the bolts come out easy, as the factory valve covers have a threaded boss pressed into the plastic cover and can strip out. Once all the bolts are removed, gently pull straight up on each coil pack and it will pop out of the hole.


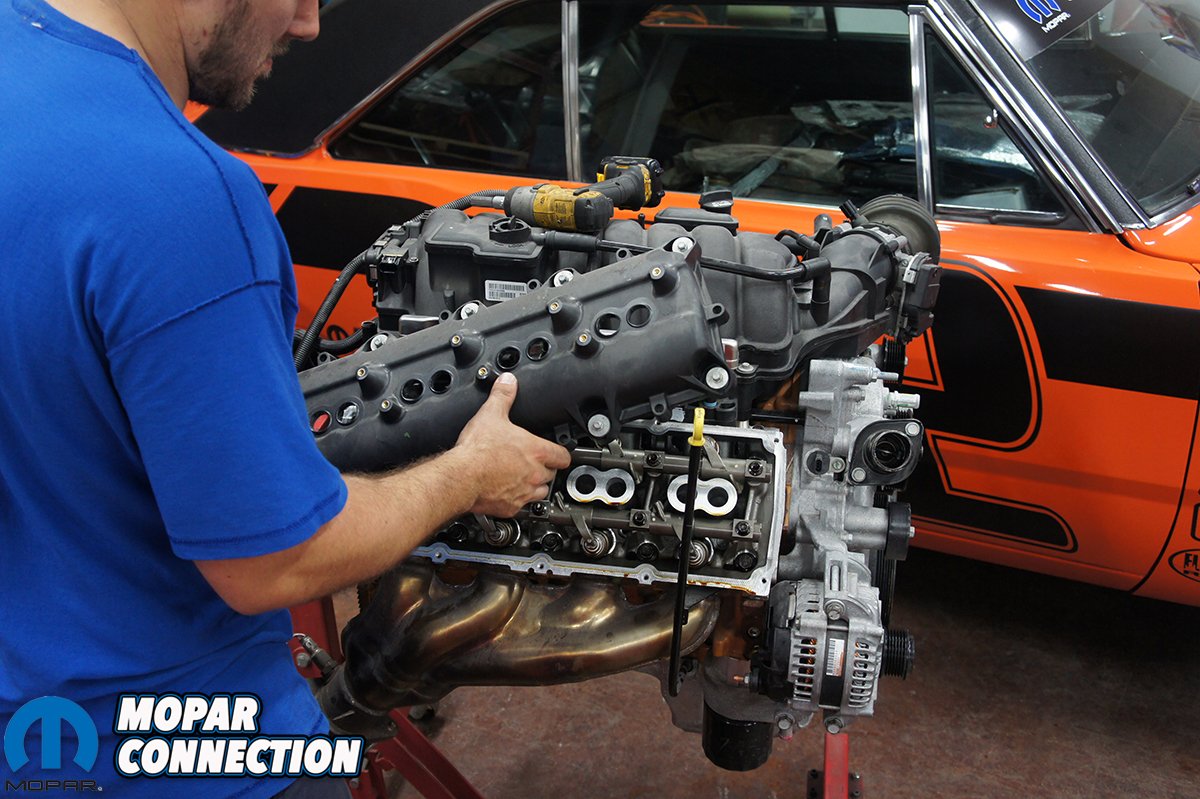
With the coil packs off, the covers we were ready to remove the valve cover bolts. The bolts are made to stay on the valve cover when they are loosed up. You might have a couple that come all the way out but no worries. Once all the bolts are loose simply pull the stock valve covers off. Be careful when pulling the valve covers off that you do not drop a bolt into the head or anything else.
We inspected the underside of the stock valve covers for damage or unusual debris. The underside looked great with only a little dirt. We wiped off the sealing surface on the head and around the spark plug tube holes. Now we were ready to slap on our Holley Sniper valve covers.


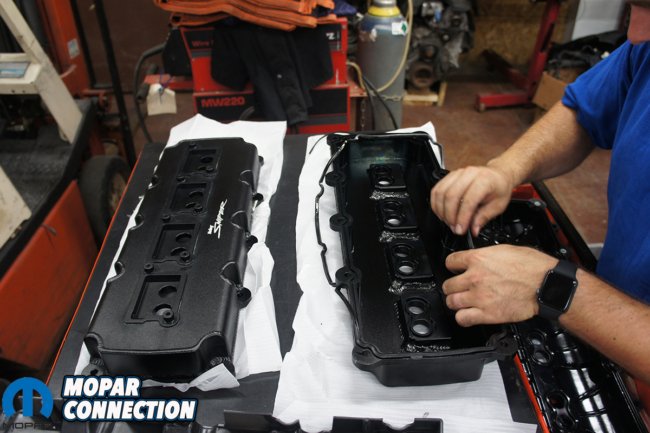

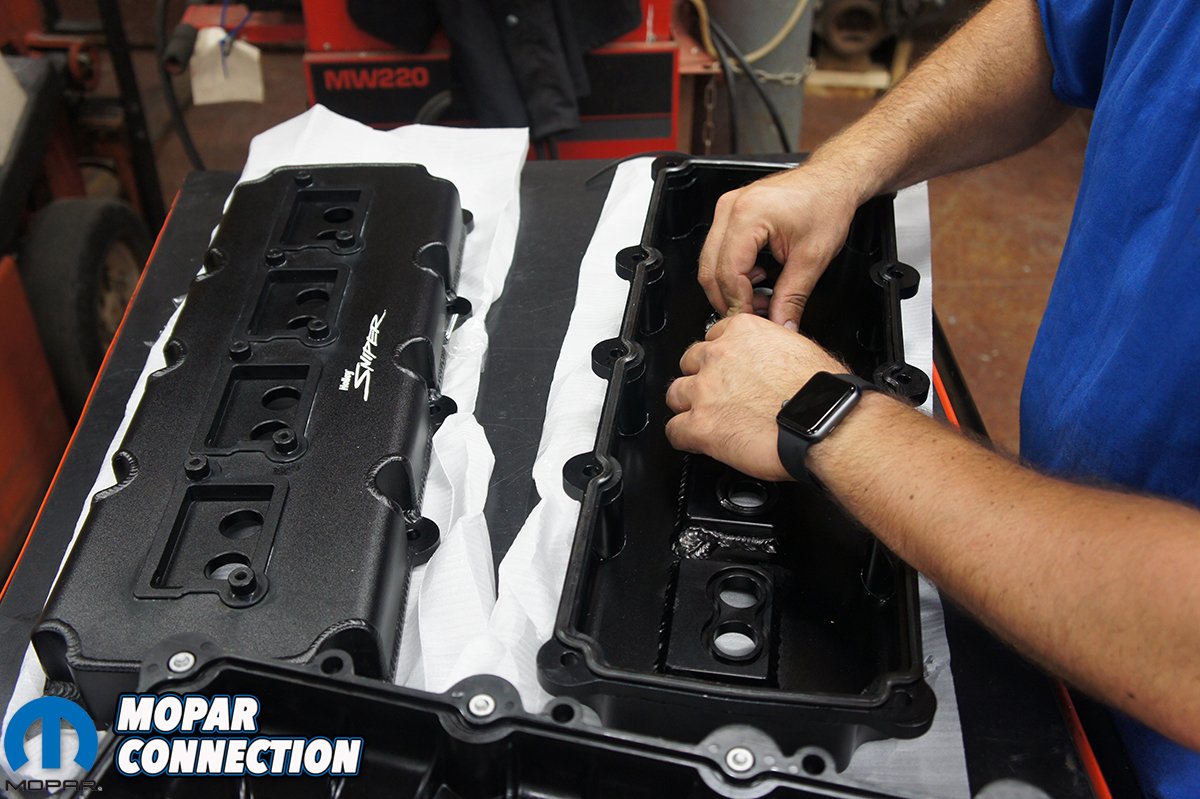
Before we could install the new valve covers we needed to install the new gaskets. Holley provides new gaskets for the outside edge and for the spark plug tube holes. The rubber gasket is molded for the valve cover and is fairly easy to install. The smaller spark plug tube hole gaskets can be a bit tricker. They have a top side and bottom side. The top side that goes into the valve cover is slightly narrower to fit into the cover.
Gaskets have come a long way since 1972 and no longer need help from rtv or any other sealants. We do like to take a dab of oil on our finger and run across the rubber of the gasket before we install them. The rubber gasket is able to be reused but some times a dry rubber gasket can stick to the aluminum when you go to pull it off and potentially rip it.
With the gaskets installed it is time to put them on the motor. Now you will find that when you sit the valve cover on the head that there is a big gap around the outside. Do not worry, this is how Holley designed them to fit. The stock valve covers have a tendency to leak from the spark plug tube holes. Holley designed the the fabricated Sniper valve covers with a little thicker flange for the spark plug holes for sealing. The aluminum will flex once the cover is tightened down to seal around the edge.
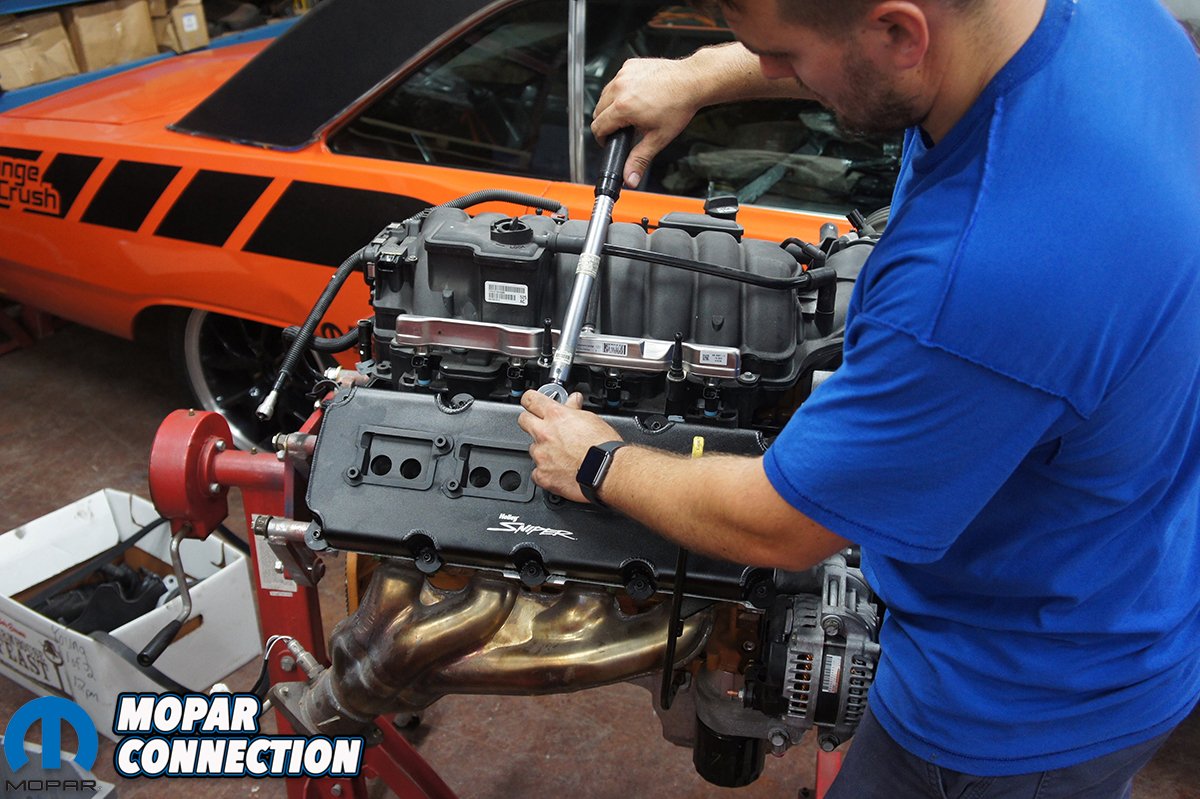
Go ahead and snug the new bolts and washers around the valve cover. Once all the bolts are in you will start in the middle of the valve cover and start tightening the bolts to 71 in./lbs. Please refer to the picture above for the correct pattern for tightening the bolts. There is also a video from Holley explains the whole procedure.


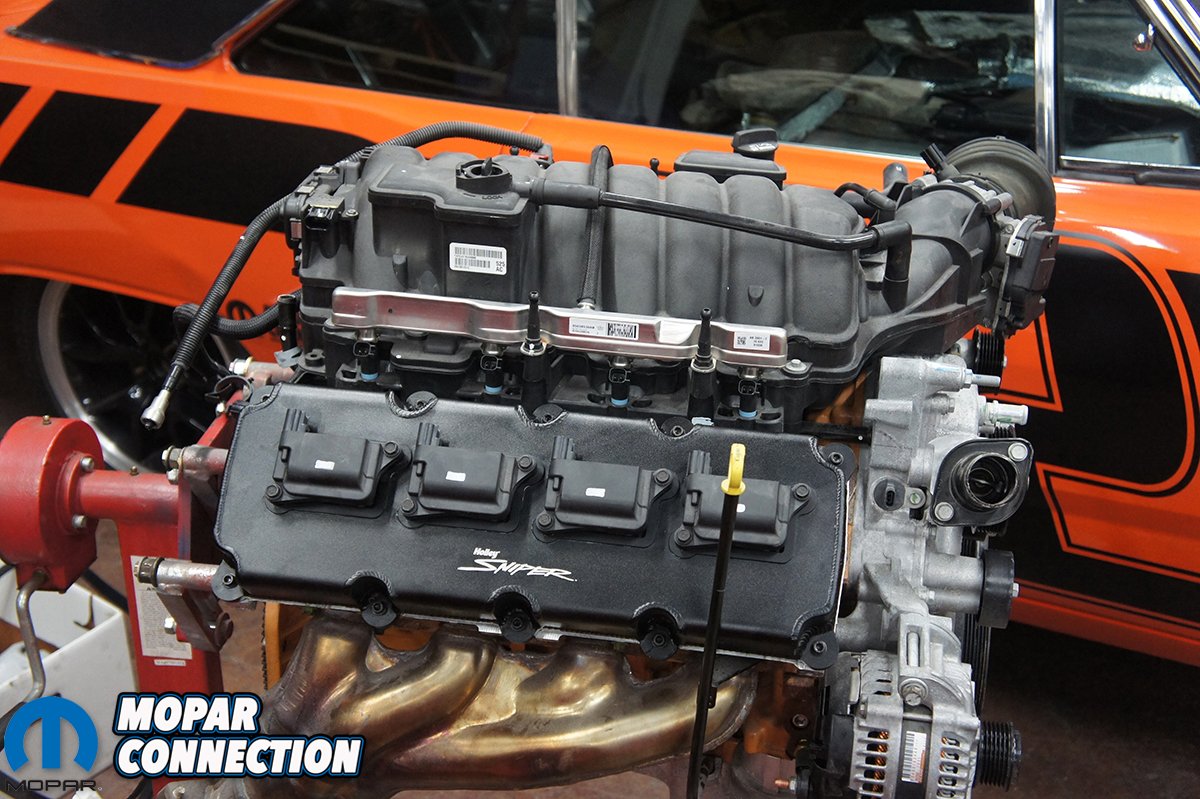
After all the bolts are properly torqued down, you are ready to reassemble the coil packs and plug all the connections back in. You will need to reuse the coil pack bolts on Holley’s Sniper valve covers. Then just repeat the procedure on the opposite side.
Once both covers were on and everything reassembled, we were very impressed. The Sniper Fabricated Valve covers are going to be more durable and look a ton better than the stock plastic ones. Holley once again knocked it out of the park. These will last us for many years and withstand the abuse of autocross. Now the motor looks good on the stand, we need to get it stuffed under the hood of Orange Crush.


