 Modern drivetrain swaps are all the rage and with good reason. Dropping the latest drivetrain technology into an old muscle car can give a gearhead the best of both worlds with up-to-date drivability wrapped in the vintage vibe of ‘60s or ‘70s iron.
Engine and transmission selection are actually the easy parts; give a guy a G3 Hemi with an 8HP70 and it’ll get shoehorned in one way or another. However, picking the proper intermediary components is where the real magic happens. Like The Creation of Adam, that gap between the hands of old and new can be oh-so-close and yet lightyears away if the right supporting pieces aren’t selected.
Given typical project timelines, interior is almost always last, preceded by body work, paint, engine, transmission, rear end, and, in the case of a restomod, EFI along with its associated wiring. It’s usually about then that budget starts getting tight and a “get to the finish line” mentality sets in.
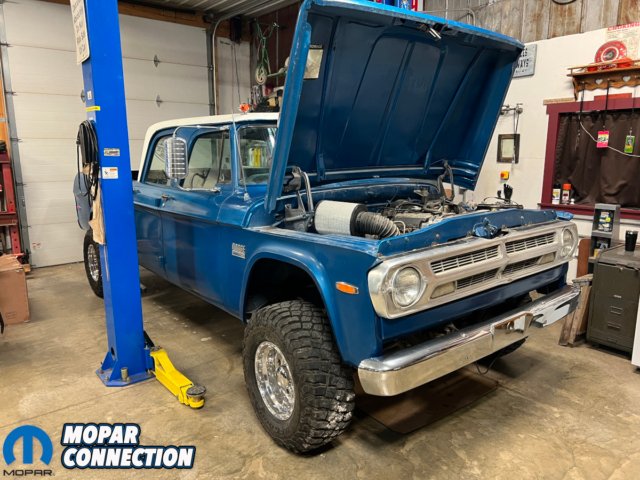
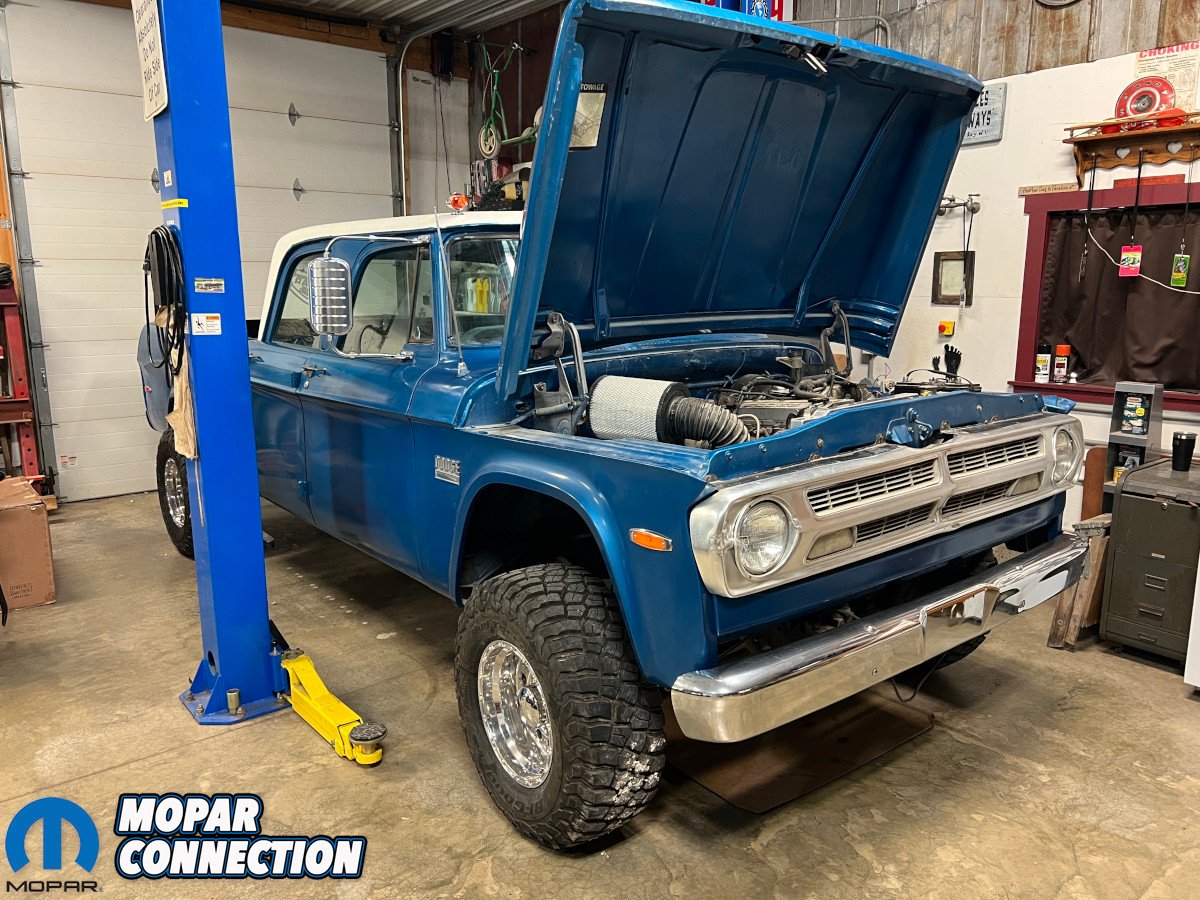
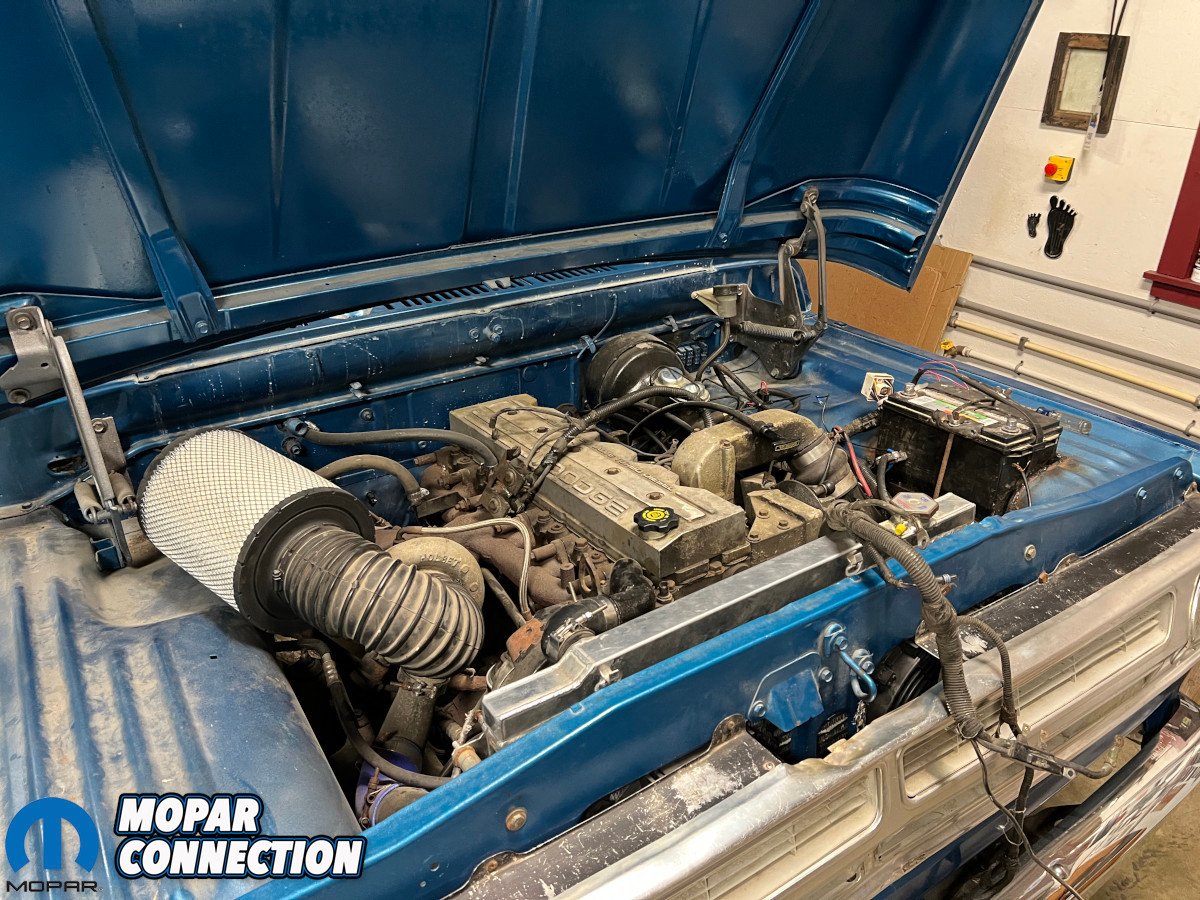
Above: Behold the big blue whale, a 1971 Dodge D200 crew cab sitting on a 1998 Dodge 2500 diesel running gear.
We’ve noticed that the dash is a good literal and figurative indicator of if a car sprinted or limped across said finish line. Some folks are so out of time, money, and patience that they go without; none of the gauges work and that’s fine with them as long as it’ll run and drive down the road.
Others spend bookoo bucks on trick aftermarket clusters that may or may not have any kind of aesthetic appeal. Either way, a restomod’s dash should be considered as its own significant challenge as integration of sensors (or a lack thereof) can be quite a task.
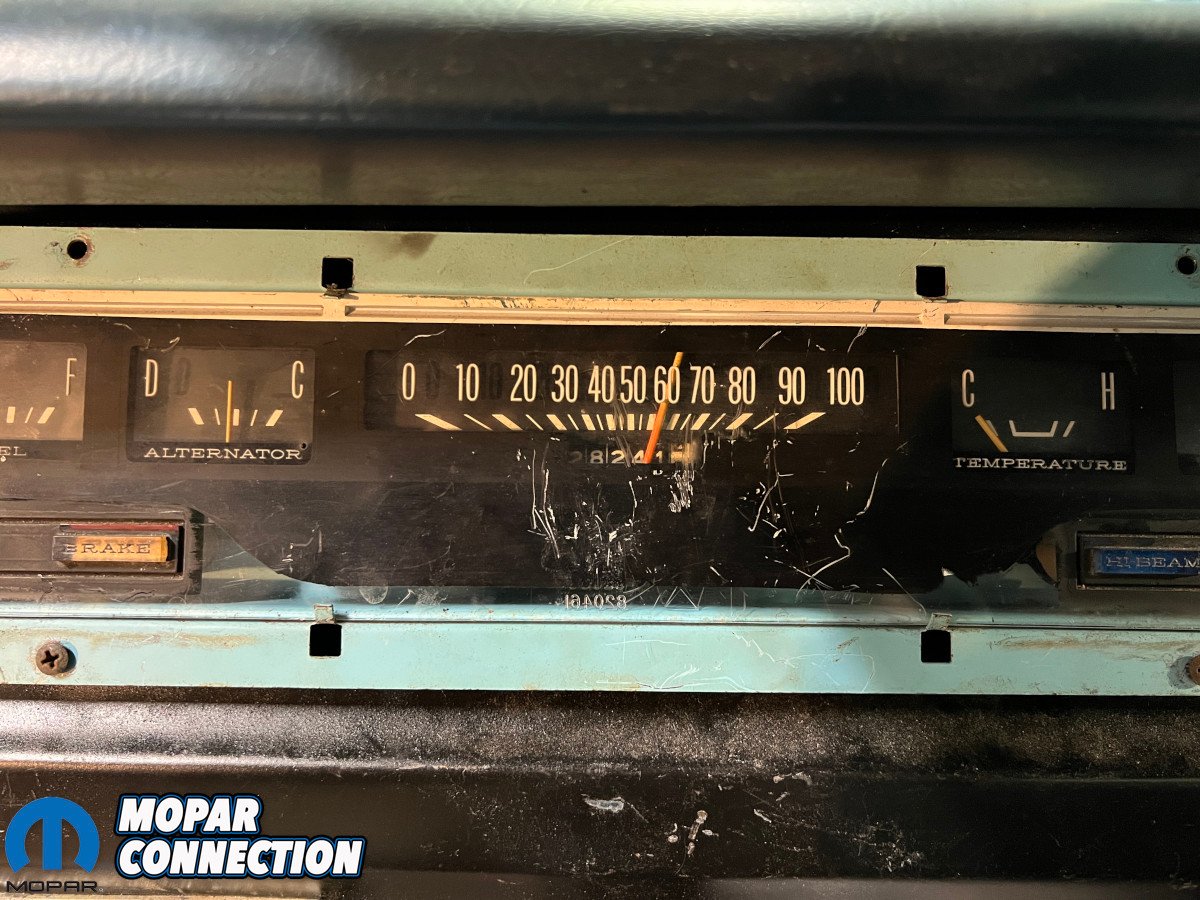
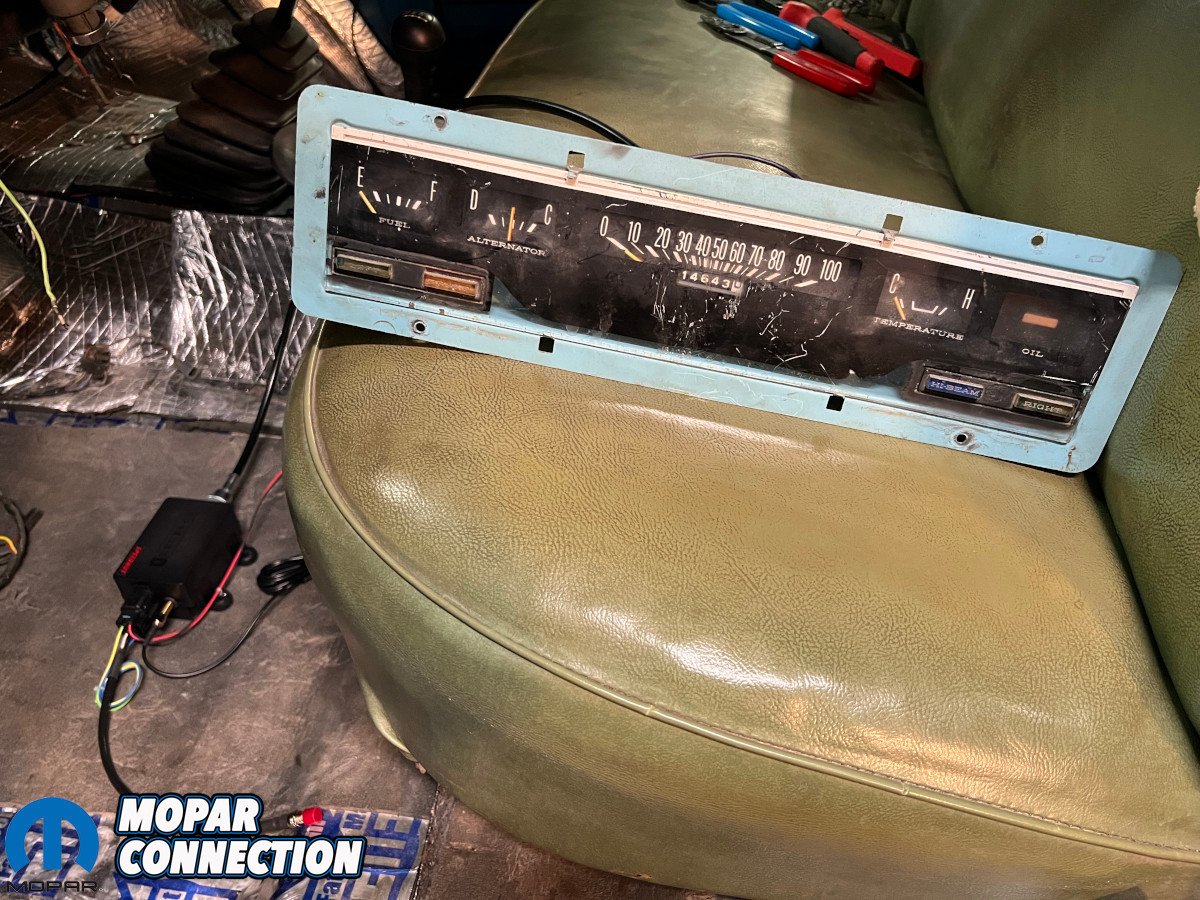
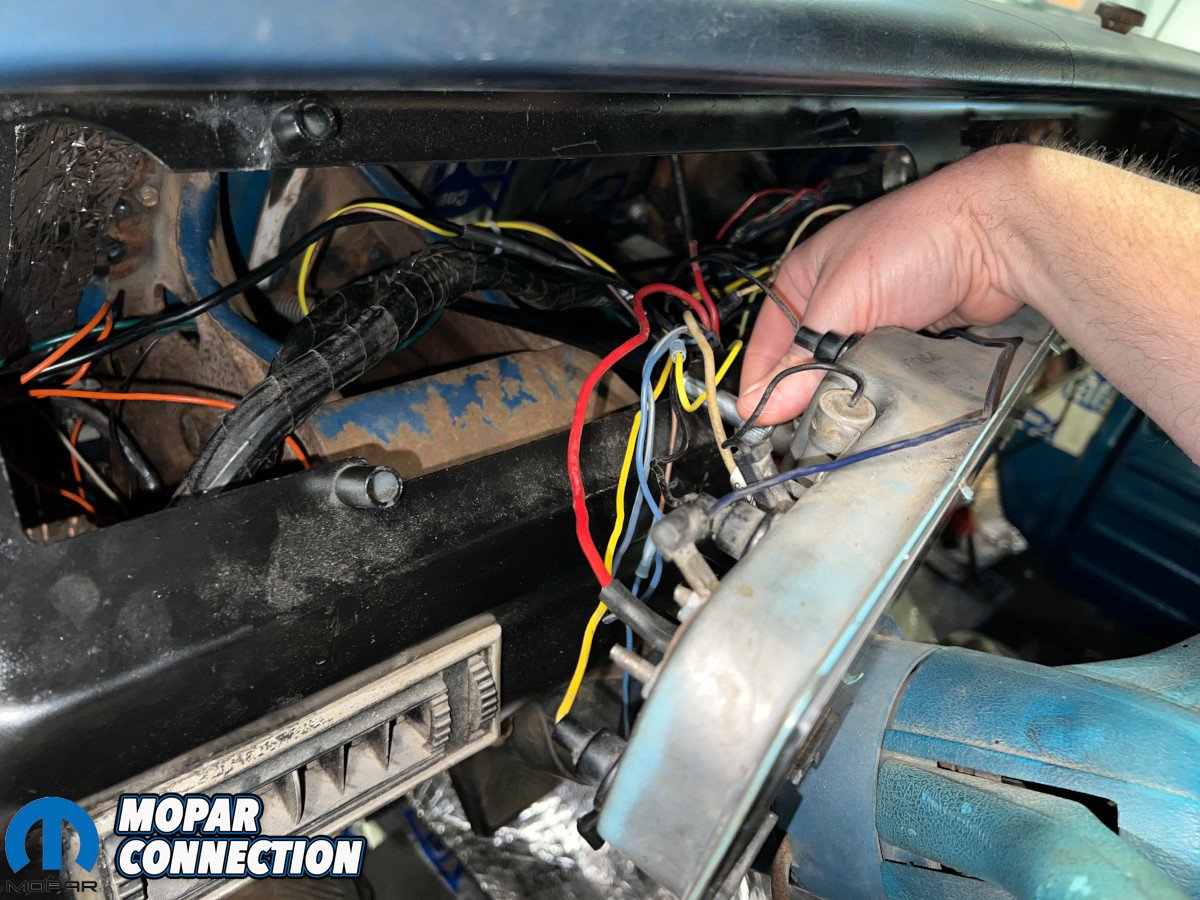
When a friend’s 1971 Dodge D200 crew cab Cummins swap project rolled into our shop, it did so under its own power…but also did so with a totally defunct dash. Just like a number of G3 Hemi swaps we’ve seen, the owner was able to get it driving, but mixing of new and old wiring was a mountain they hadn’t yet moved.
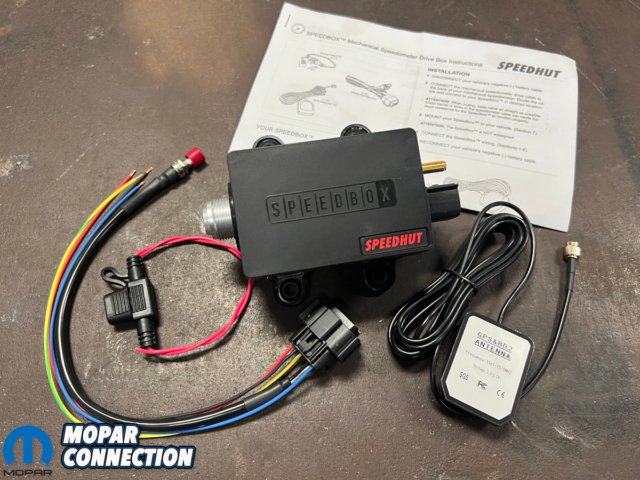
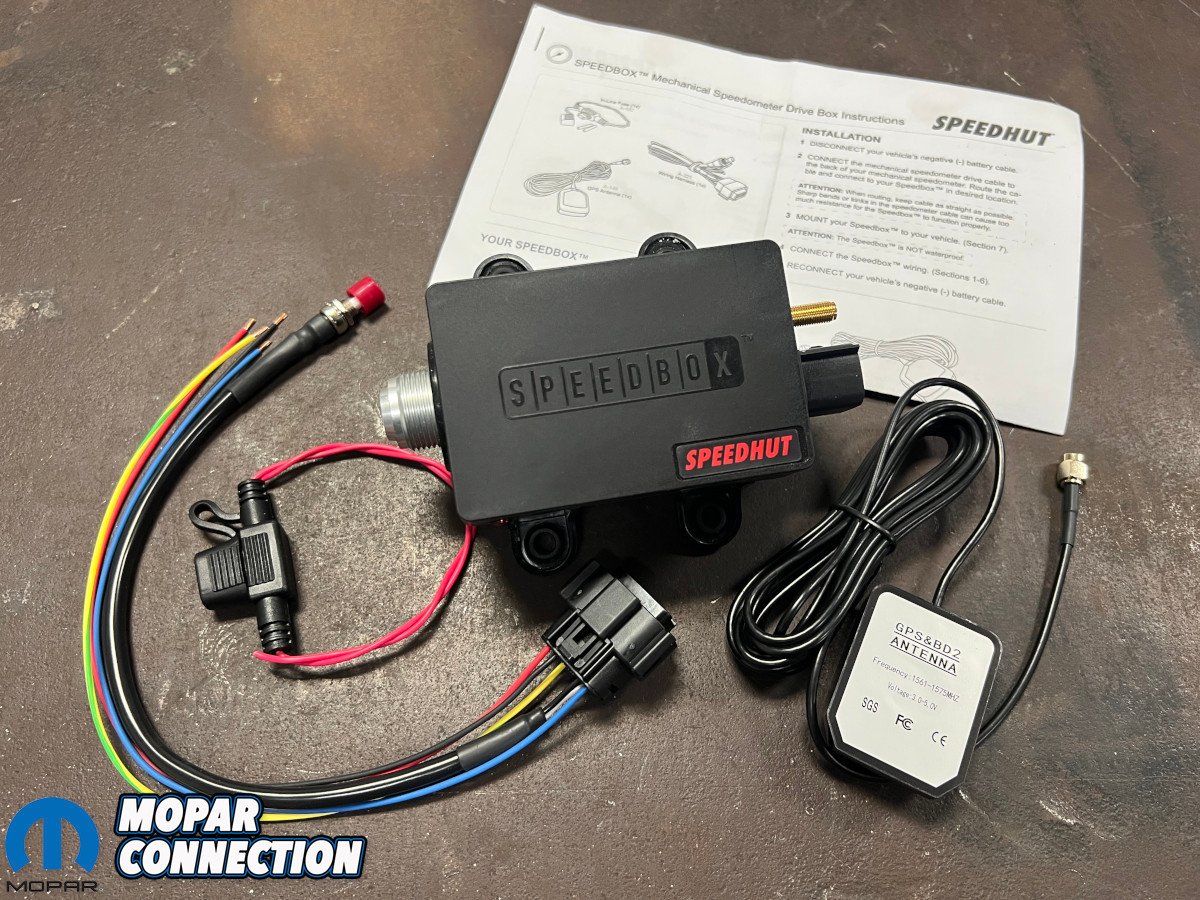
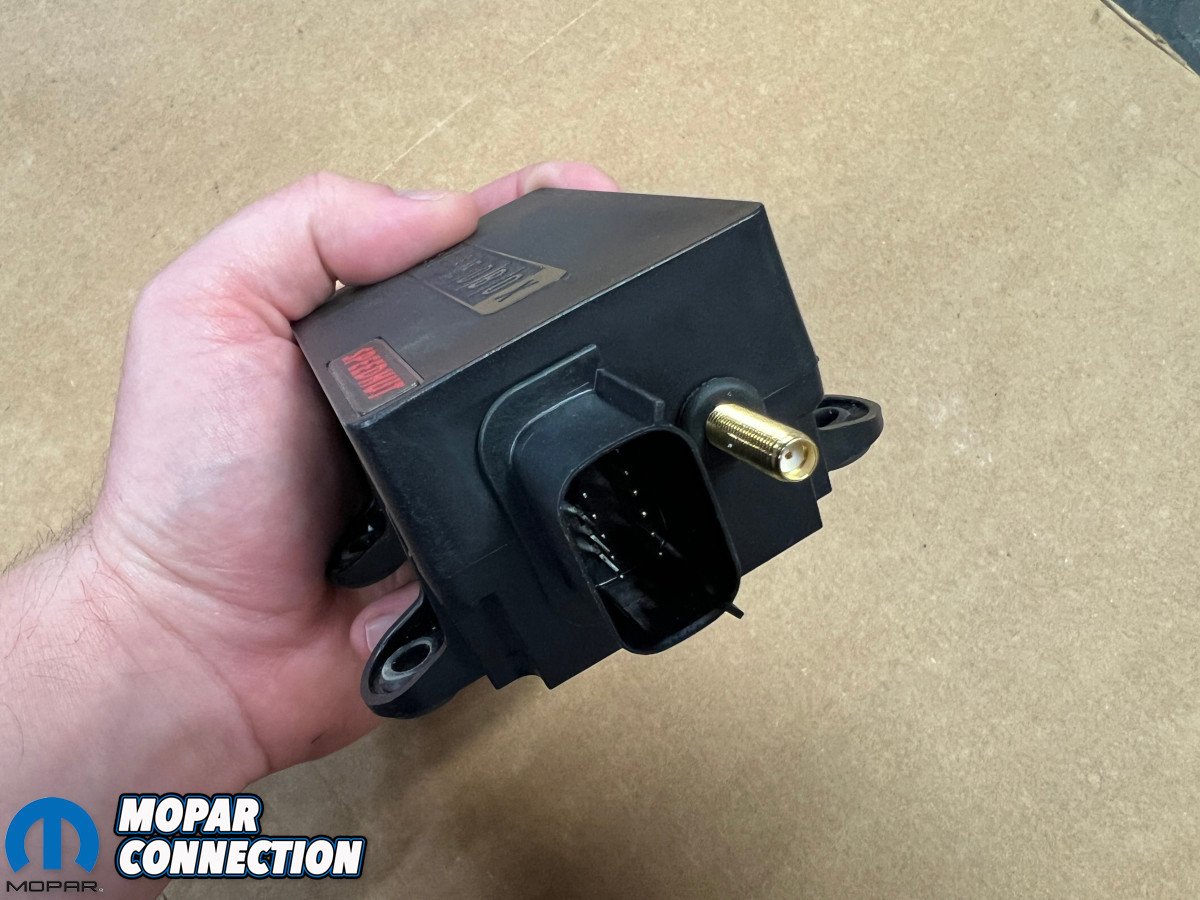
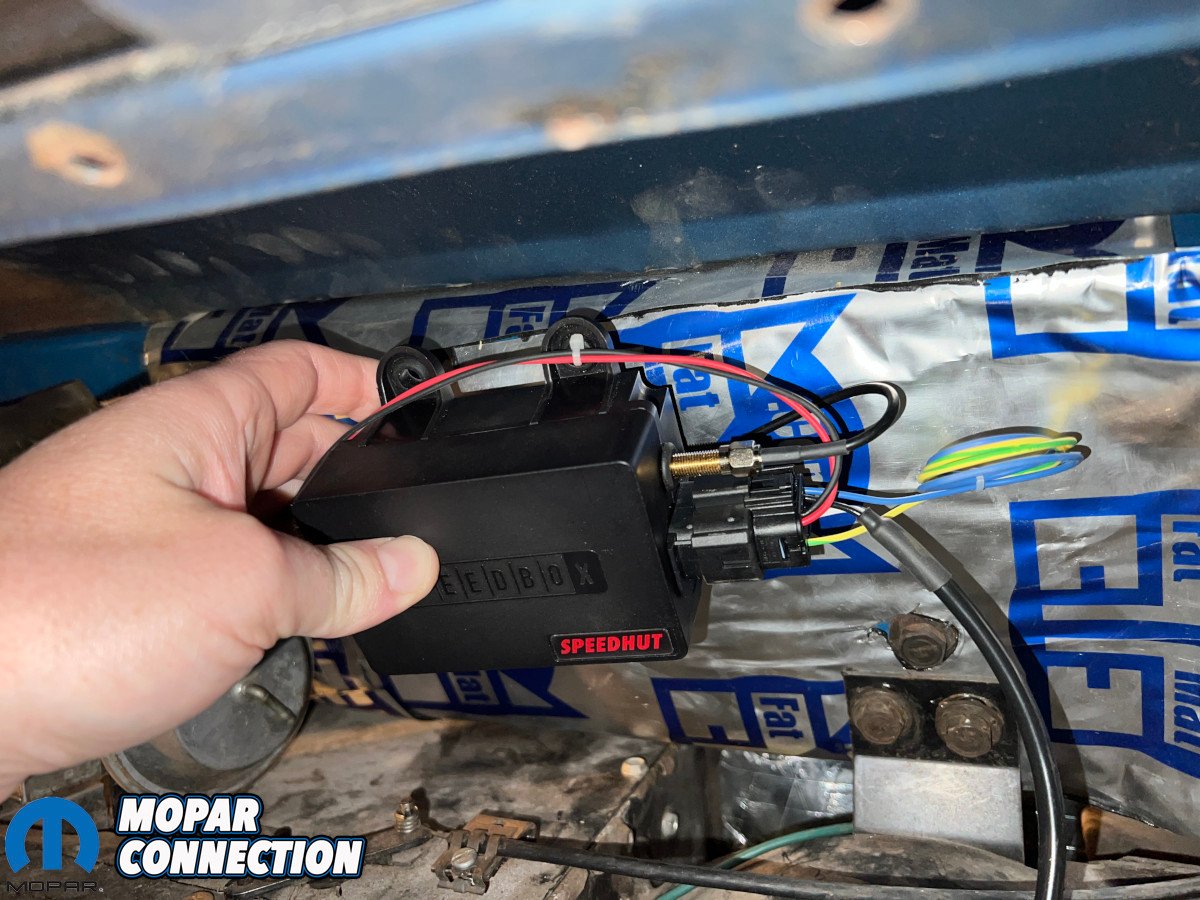
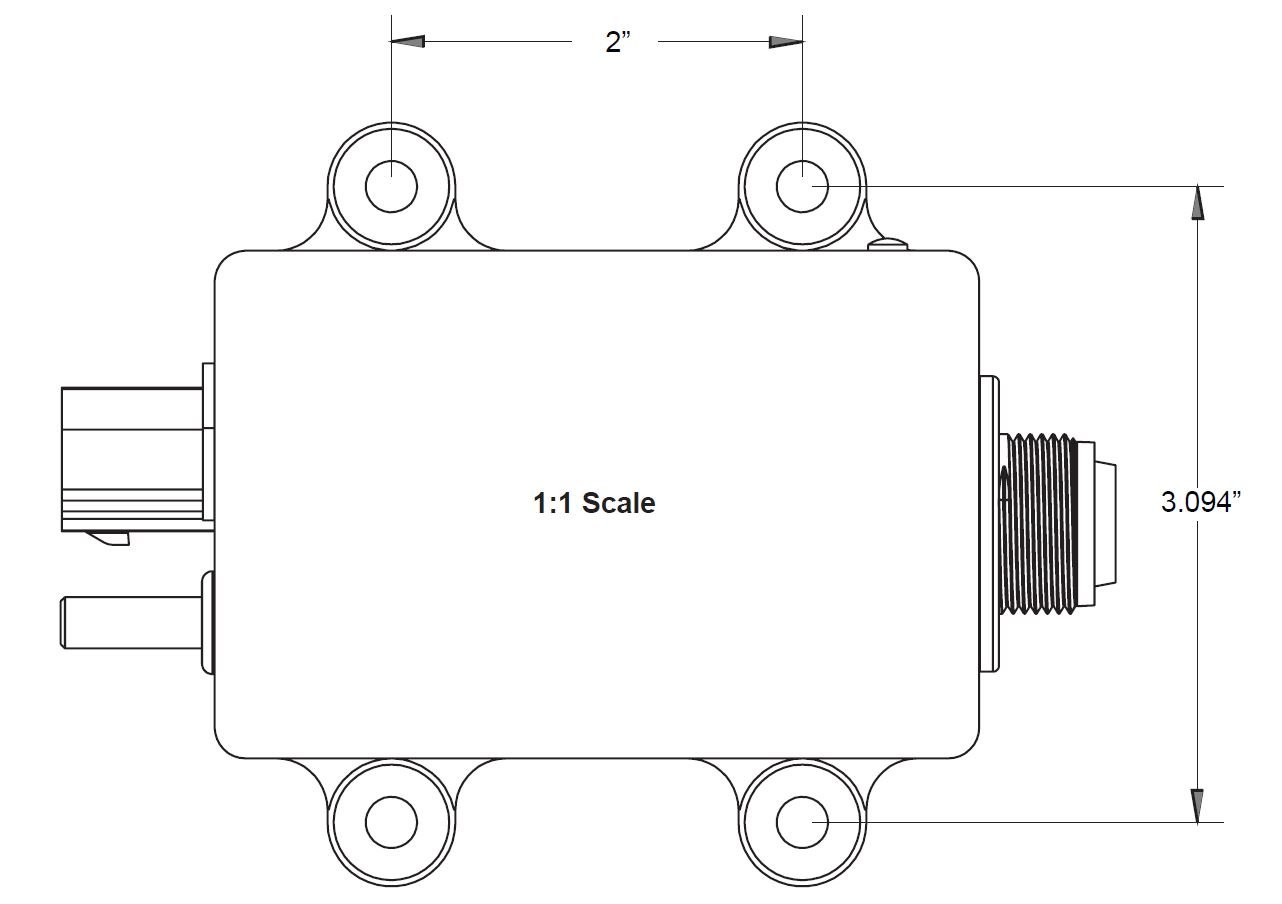
Above: Speedhut’s Speedbox is a simple, compact solution for marrying modern drivetrains with classic mechanical speedometers.
Also like a G3 Hemi swap, the slew of added electronics from the 1998 24-valve Cummins engine’s controls markedly increased integration complexity and left the instrument cluster in the dark without its typical signals.
The speedometer, that big one in the middle that keeps Johnny Law off your six, was of particular concern since neither the truck’s NV4500 transmission nor its 241DLD transfer case offered any kind of mechanical drive.
The owner’s original solution was to buy a big sheet of aluminum and cut in holes for aftermarket round gauges. It would look tacky, it would be expensive, it would be a wiring nightmare, it would still not solve the speedometer problem, and it would not be an option if this truck were going to come into our shop.
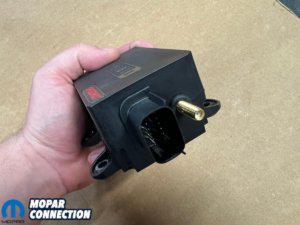
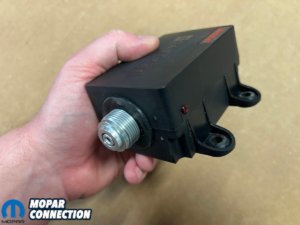
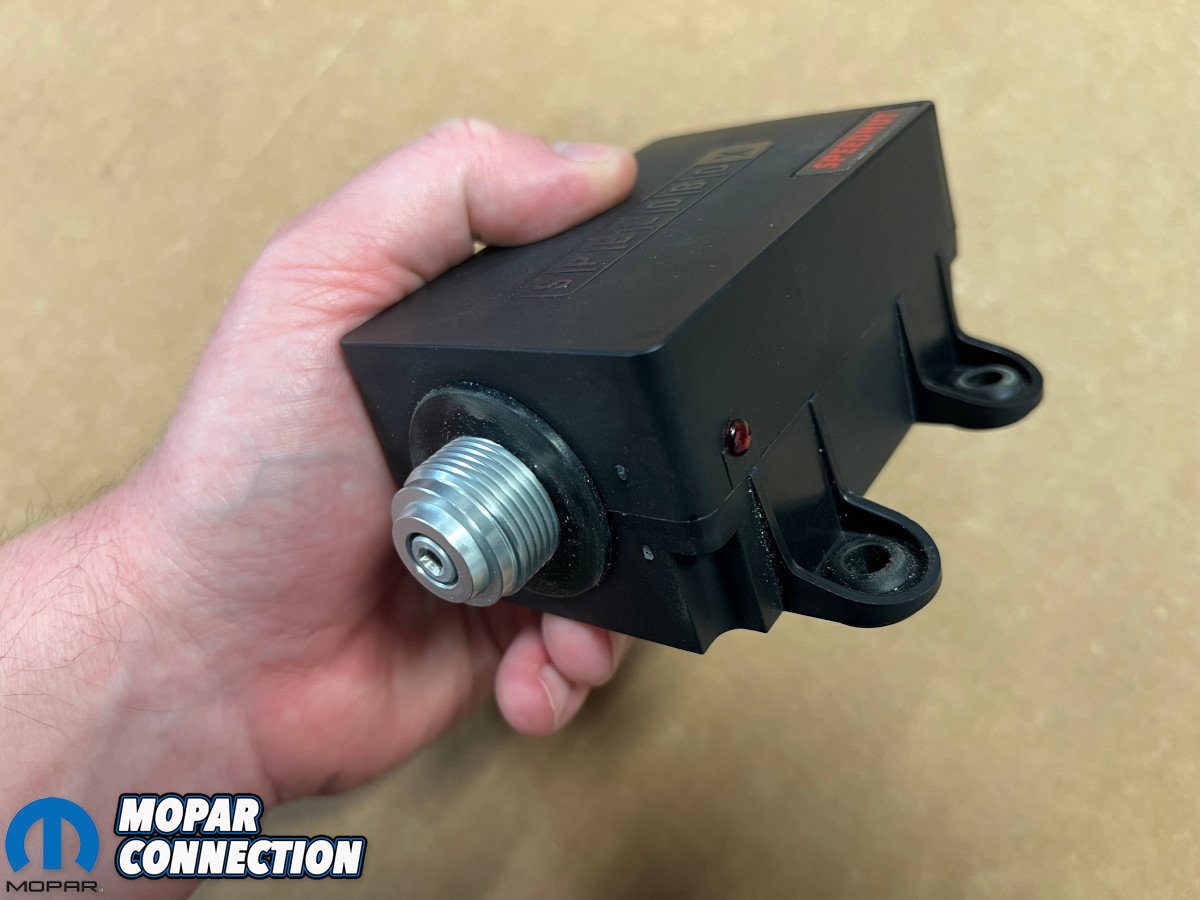
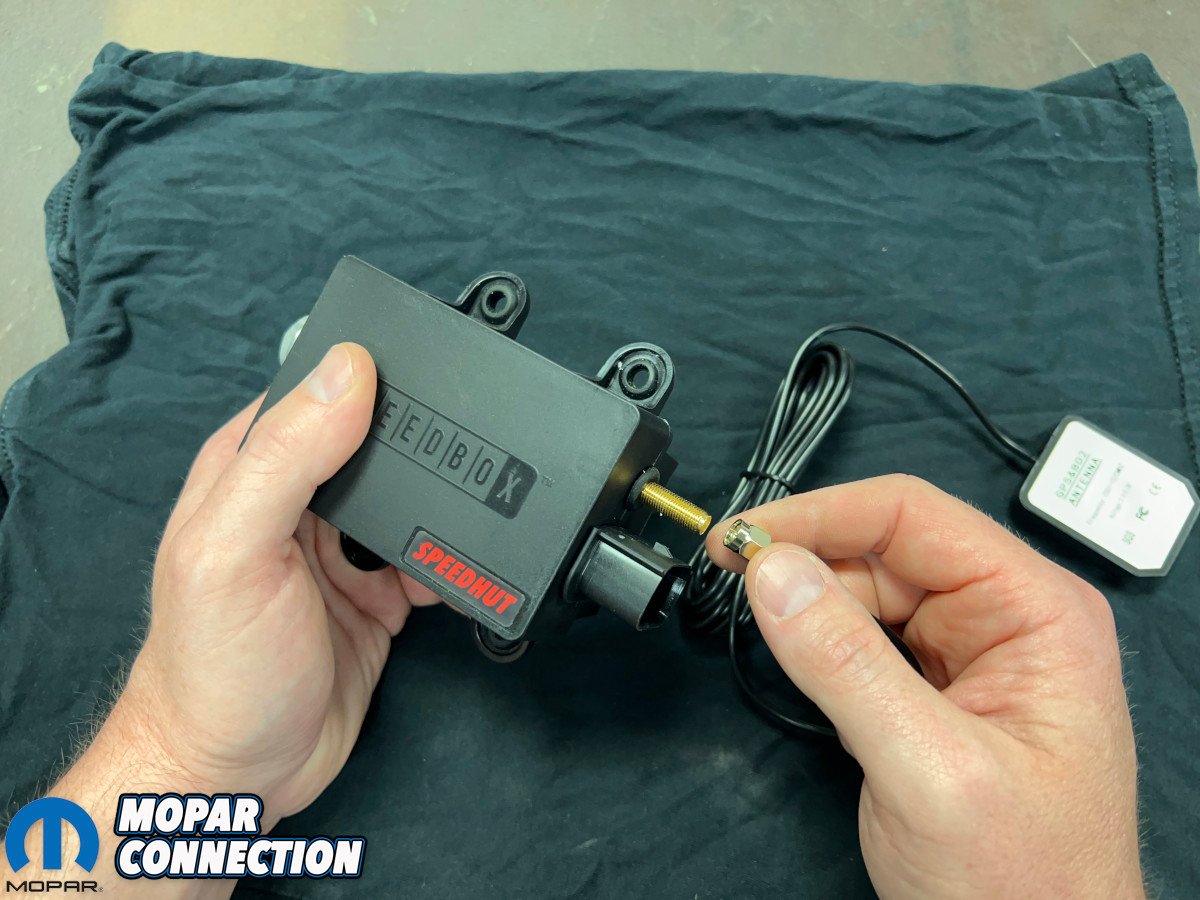
Above: The Speedbox only needs three connections: wiring harness and GPS antenna on one side, cable drive output on the other.
Instead, we decided to make the factory cluster functional with the help of Speedhut’s Speedbox. Billed as a way to “run your classic cable-driven speedometer with modern GPS or VSS — no transmission hookup required,” it sounded like the perfect solution for many cable-less transmission like this NV4500, an 8HP70, T56, or TKX.
Basically, it’s a translator that fills part of that gap between the aforementioned hands of new and old. The Speedbox can take a GPS antenna signal or a vehicle speed sensor (VSS) electronic input and turn it into a physical cable output that will spin almost any old school speedo. Ours came via Summit Racing which had the full lineup of Speedbox and cable combinations available online.
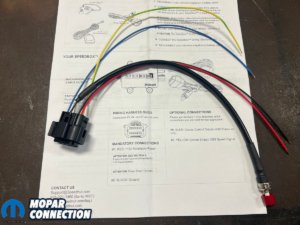
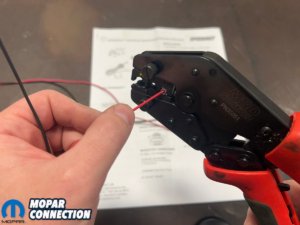
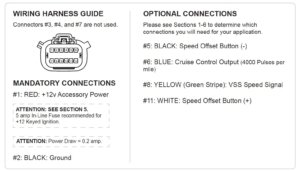
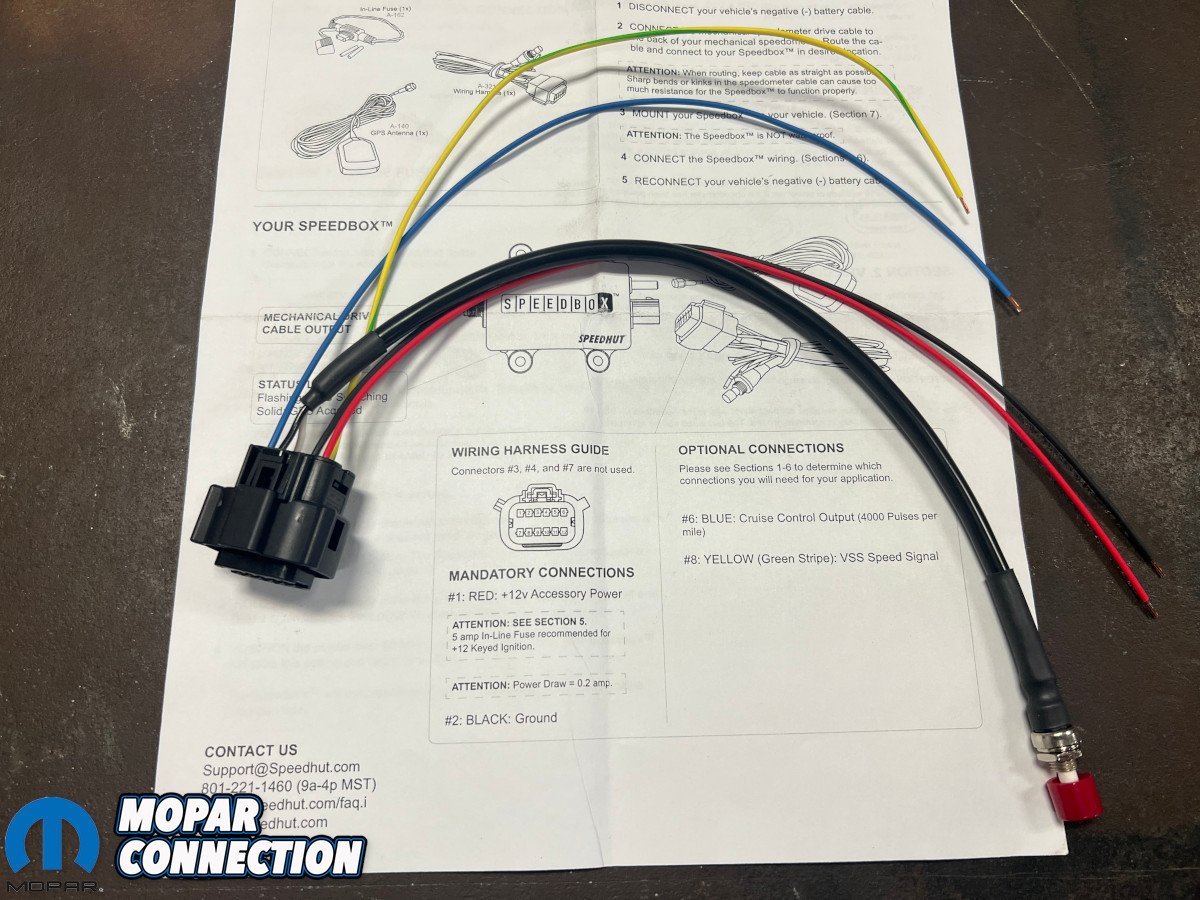
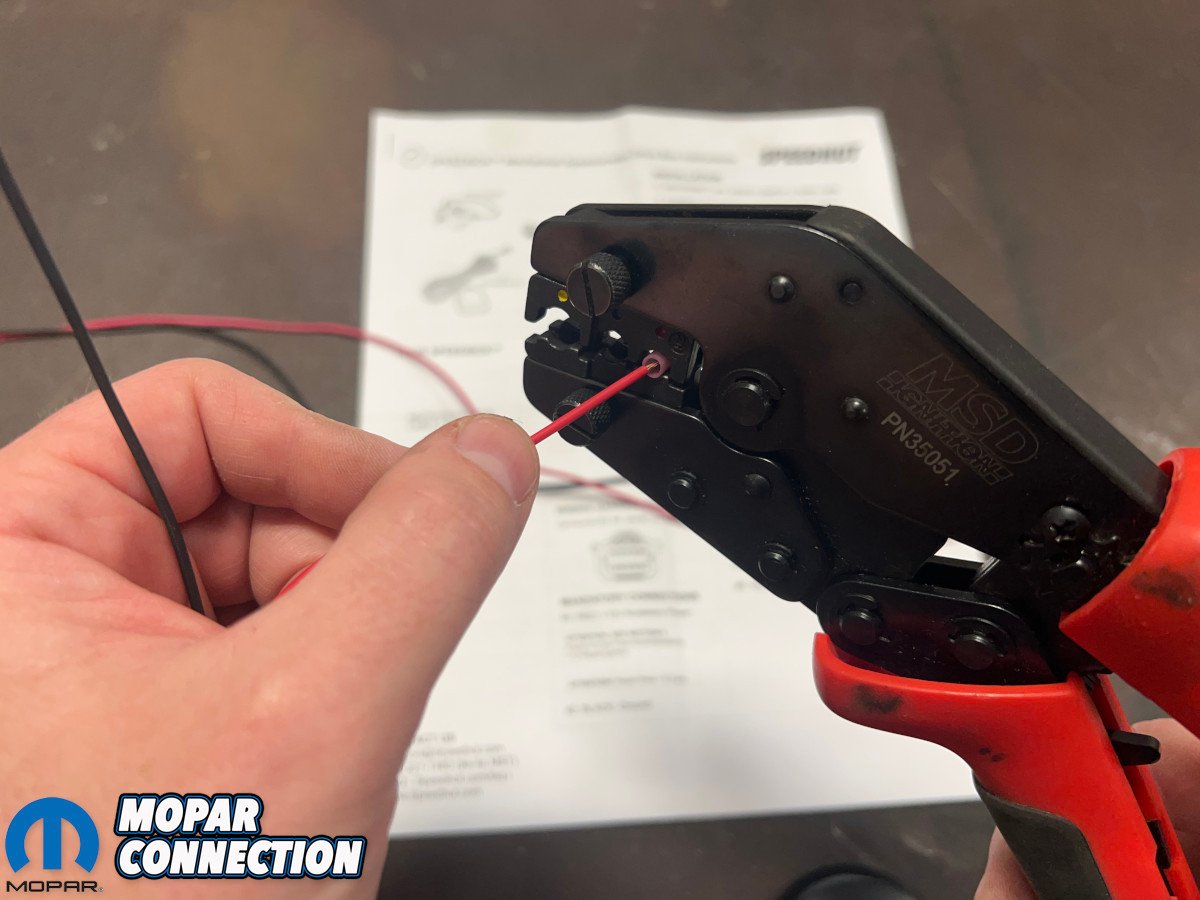
Above: Power and ground were the only connections required for this install. An MSD ratcheting crimper clamped the supplied butt connectors tight.
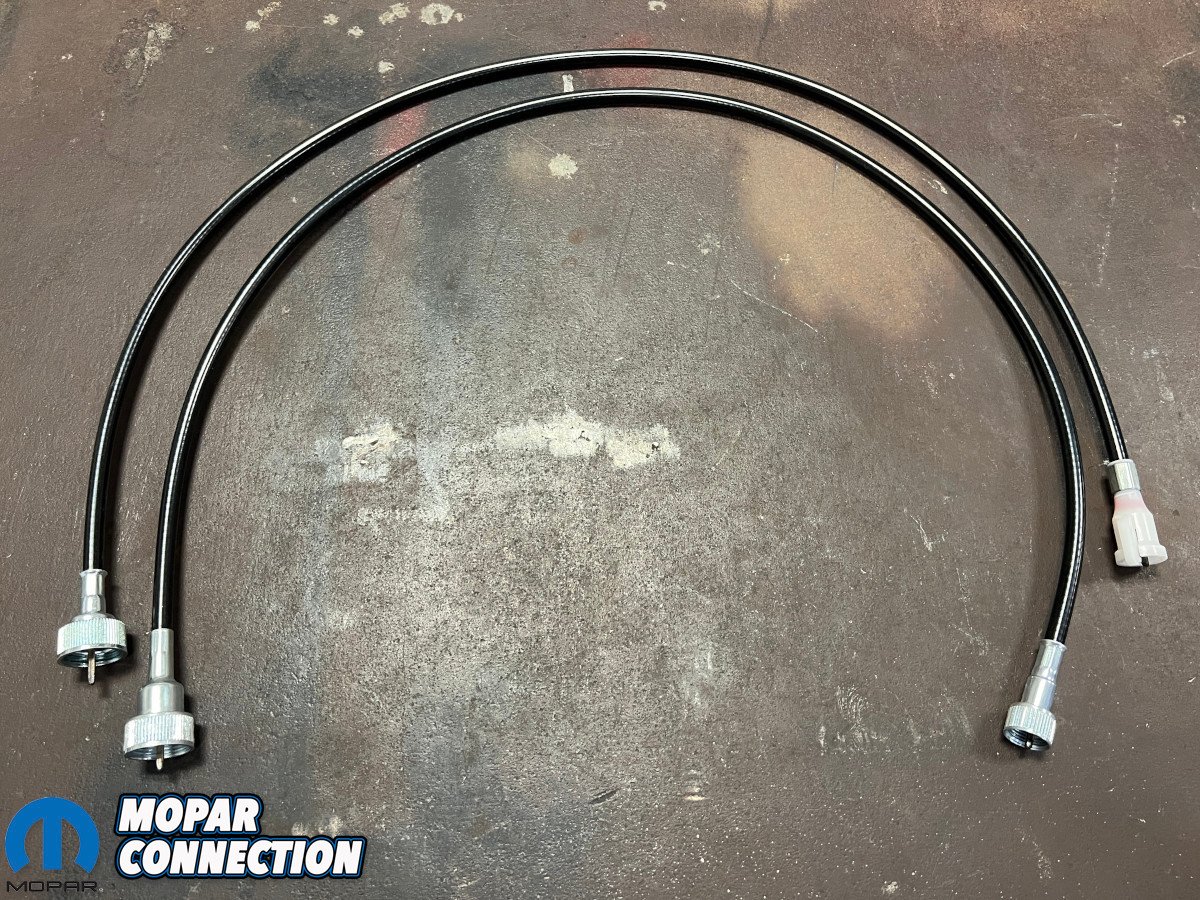
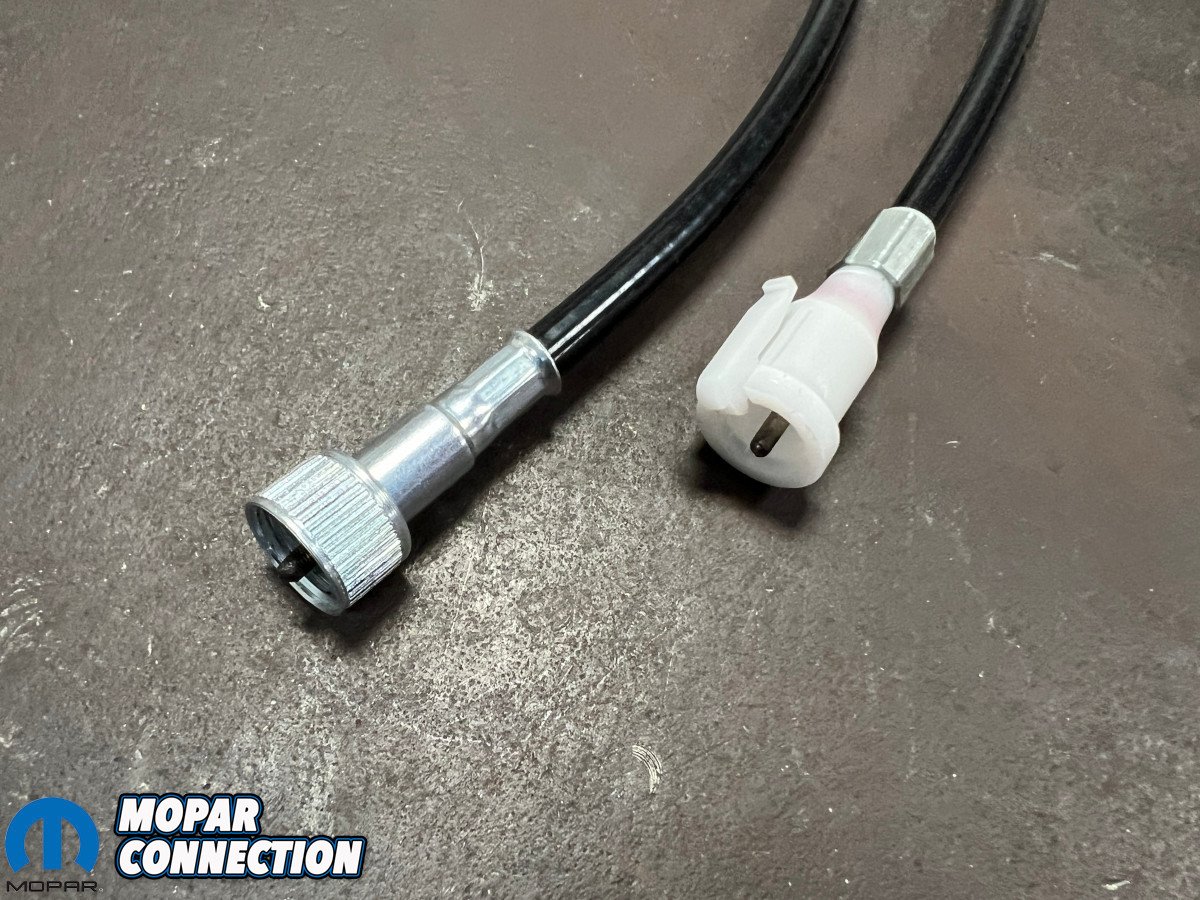
Selecting the right cable is obviously critical as it provides the link between Speedbox and speedometer. While the Speedbox itself has a 7/8-18 thread, the other end must be matched to the OEM’s attachment style. Most Chrysler muscle cars would use a clip-on connection (P/N A-285). That’s the one with the white plastic end and a single hook to hold it on.
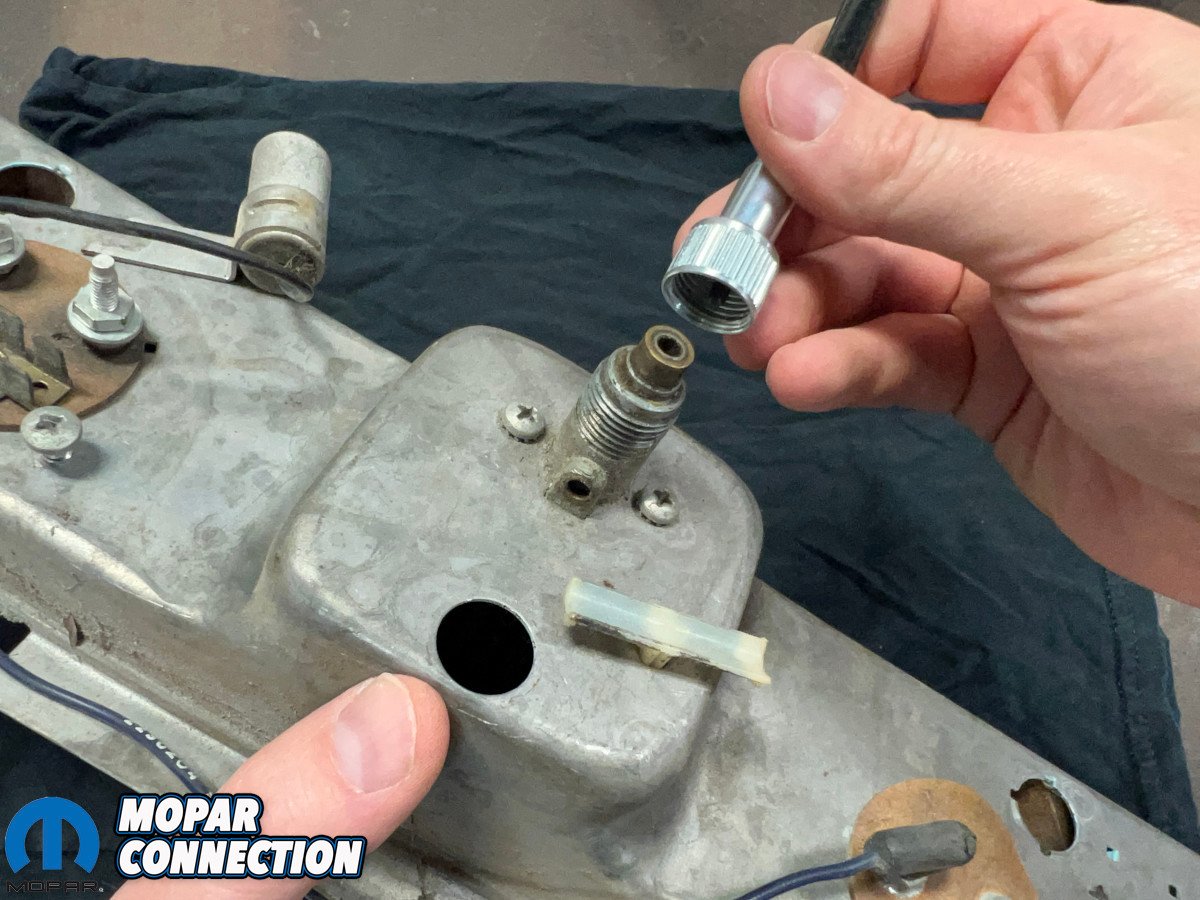
A Dodge truck of this vintage, however, actually has a threaded speedometer which requires a 5/8-18 thread (P/N A-282). Buying the box and the cable as a package deal from Summit (P/N A-371 or A-368) was the most cost-effective way to go about it. Also included in that package would be a wiring harness, inline fuse, GPS antenna, and instructions.
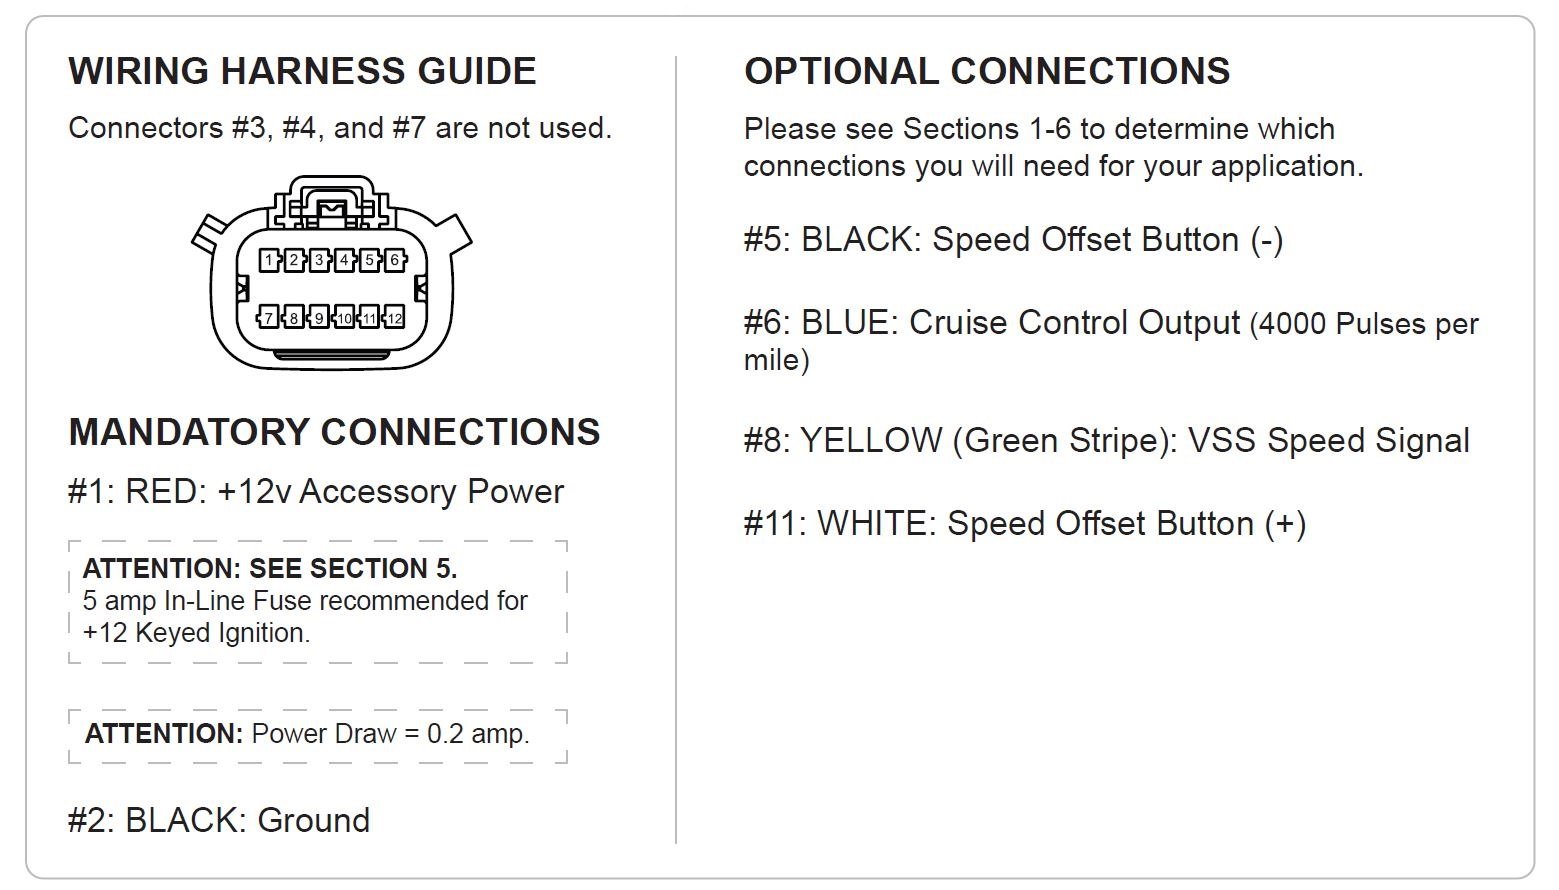
Mounting location and wiring were the opening hurdles. Because optional features like VSS and cruise weren’t going to be used in this case, wiring was super simple: power and ground. An extra accessory power location was available under the dash, so the Speedbox was wired into that with a 3A fuse. Ground got tied to a dash bolt with a ring terminal.

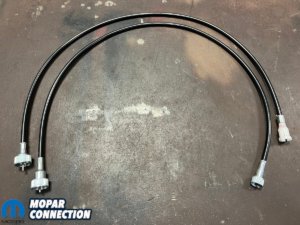
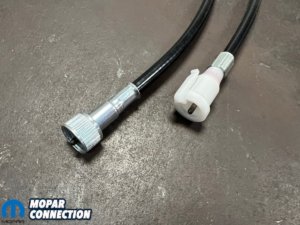
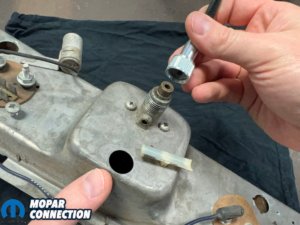
Above left: Multiple Speedbox cables are available from Summit Racing including clip-on and thread-on. Above center: A typical Mopar muscle car would use the clip-on (right) while the D200 truck needed a thread-on (left). Above right: The 5/8-18 threads were a match for the ’71’s cluster.
The other end of the harness simply plugged in to the Speedbox. Unused yellow (VSS) and blue (cruise) wires were wrapped and tied out of the way, leaving just the little red button hanging.
That button is a troubleshooting tool that allows for calibration of the Speedbox output. Pressing it temporarily spins the output at a rate of 1,000 turns per mile. For most vehicles, that should be 60 MPH. The truck speedometer was reading about 65 MPH but holding the button until it landed on 60 and then releasing stored the proper pulse rate.
Now, since the Speedbox is not waterproof, mounting inside the cab is almost always going to be the best option. Our first attempt was to bolt it in underneath the front bench seat. However, that positioning came with its own set of struggles.
First, the supplied 3-foot cable wasn’t long enough to reach from the seat to the speedometer. A generic aftermarket 5-foot cable with correct ends was sourced for routing down along the transmission tunnel.
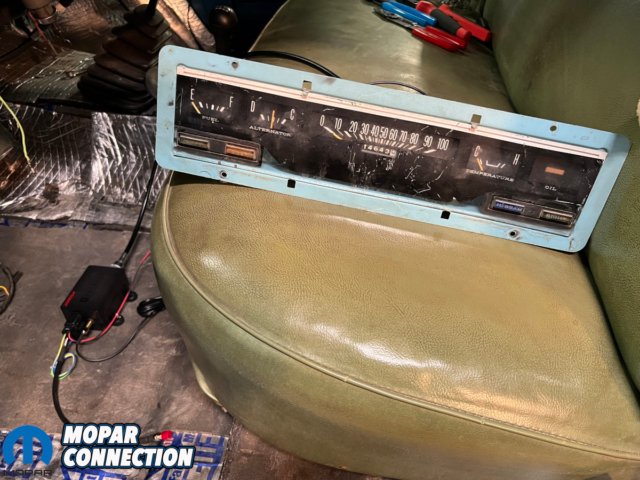
Above: Initial testing with a longer aftermarket cable failed. Going back to the shorter Speedhut cable remedied that.
With the speedometer connected and sitting on the front seat for a quick test, the red button was pushed…and nothing happened. The box had power and should have been spinning the speedo at 60 MPH but wasn’t.
Off came the cable and the red button got another press without the speedometer connected. This time, the cable’s drive was rotating, but it was visibly irregular and weak. Even a dosing of dry graphite for lubrication didn’t help, so the 5-foot aftermarket cable was replaced by Speedhut’s supplied 3-footer.
Hitting the red button again brought the speedometer to life as expected, leading to the conclusion that the Speedbox could only supply enough torque to drive a short, well-lubed cable and locating it under the front seat just wasn’t going to work.
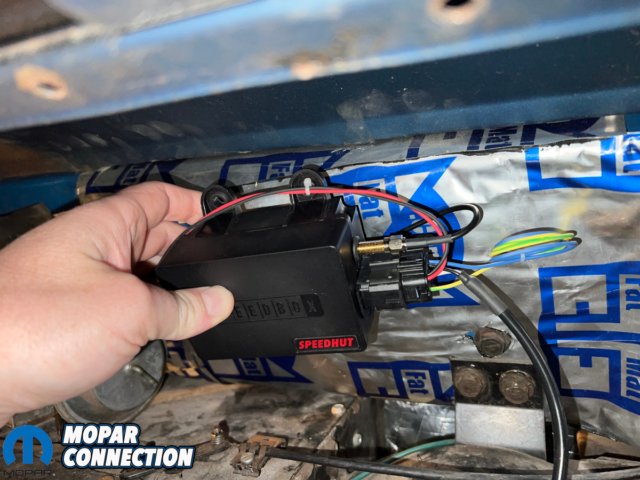
Above: Mounting a Speedbox anywhere behind the dash would be fine. It makes very little noise and can be installed at almost any angle.
The next best spot was behind the glovebox and above the HVAC system. This allowed for mounting on the inside of the firewall with a clear path to snake the cable without any kinks or tight bends.
GPS signal was the last piece of the puzzle. The waterproof antenna’s 3-meter (9.8-foot) cable and magnetic back allowed it to get stuck pretty much anywhere as long as the magnetic side was facing down and it had a clear view of the sky.
For now, this one was routed through a defrost bezel and placed in the nook where the top of the dash and windshield meet. Signal acquisition was quick once we backed out of the shop, as evidenced by the Speedbox’s onboard status light.
A few chuffs of black smoke later, the colossal crew cab was lumbering down the road. With a steady right foot pointing the speedo at 60, calibration was verified with a GPS speedometer phone app. Dead-on and doing fine, this old Dodge will be ready to dutifully obey all posted speed limits…most of the time.