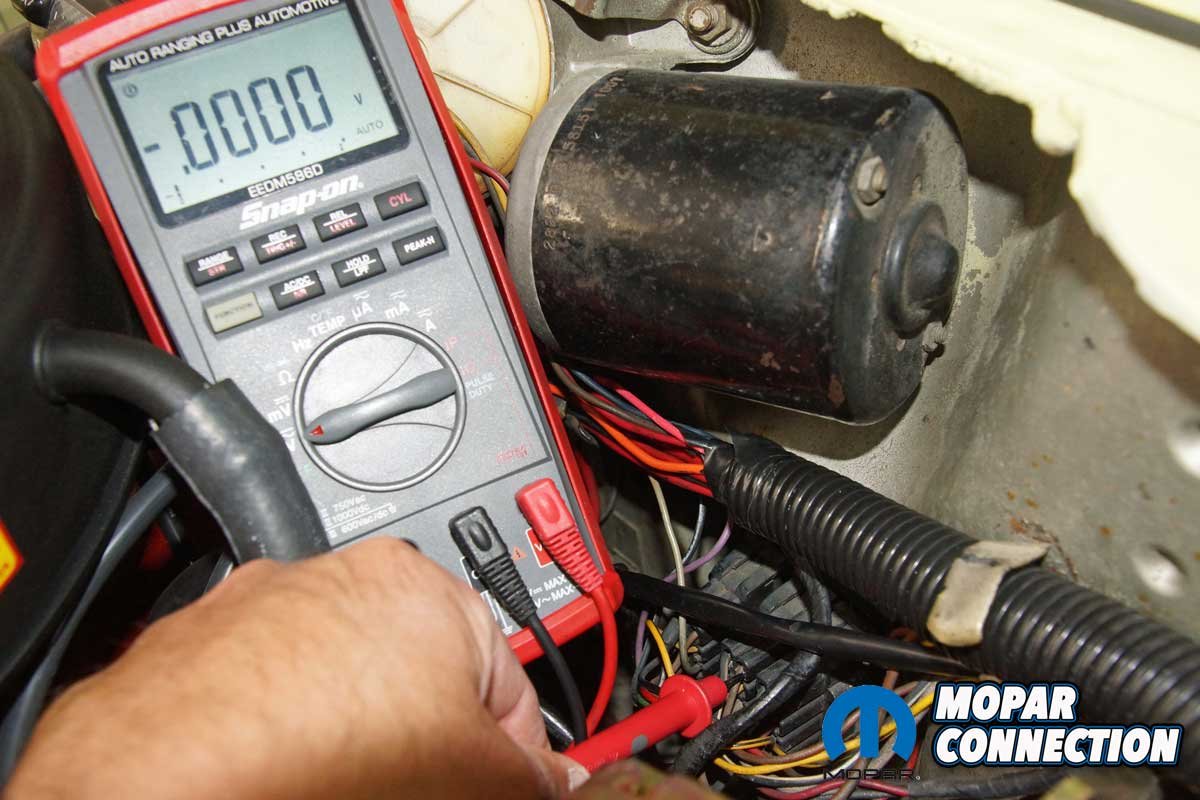
There are some components on a vehicle that are rarely used. However, even when those systems are seldom operated, we, like many Mopar enthusiasts, pride ourselves on having everything on the car function properly. For example, our ’67 Dart GT’s windshield washer jar and motor assembly were complete, but the jar was void of washer fluid when we purchased the GT in September ’18. We updated the rubber hoses, tested the motor, and found zero voltage at the motor.
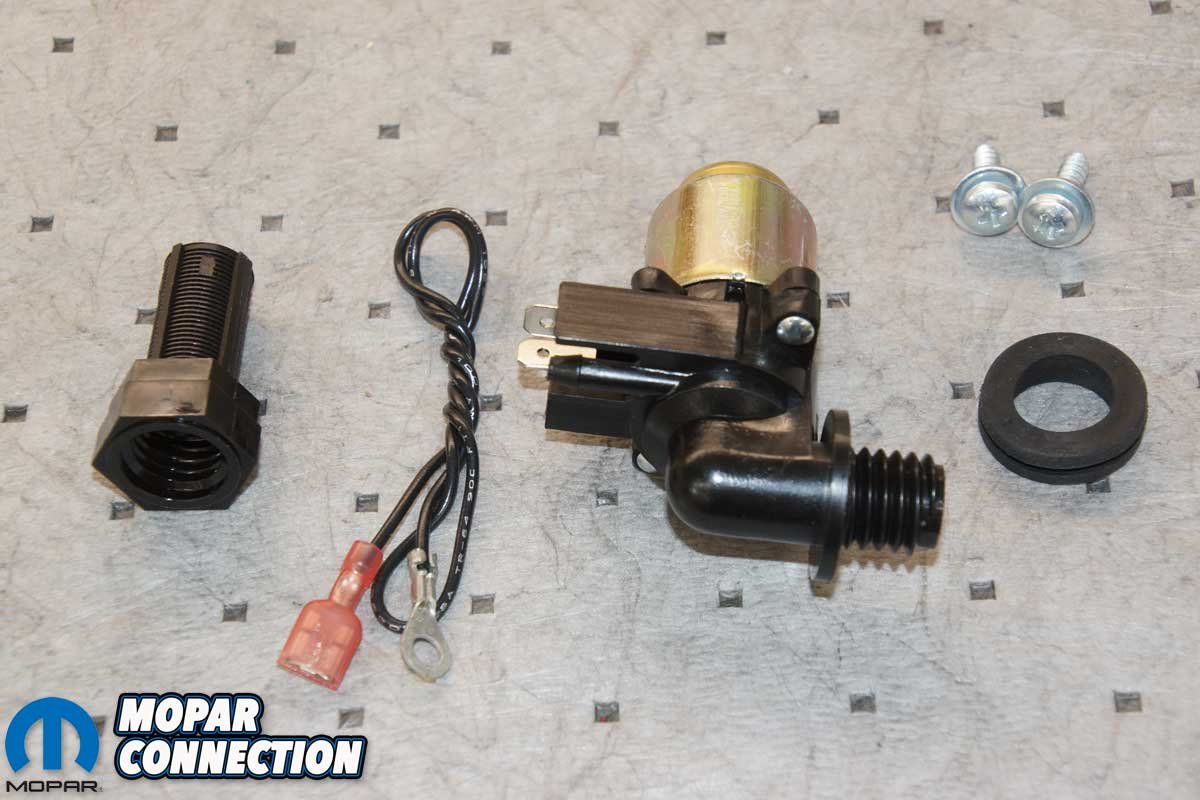
Consequently, we never added any fluid and waited until the time was right for an update. When we noticed Classic Industries recently introduced a washer pump and other washer-related components, we jumped at the opportunity to fix our flawed system. To get our washer system operating, we picked up a washer pump (part no. MP40101), a washer pump filter and gasket/grommet (part no. MD2162), and two (sold individually) windshield washer jar retaining screws (part no. MM8263).
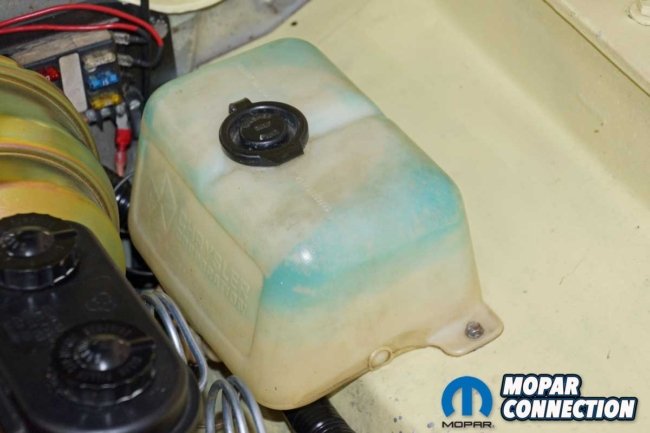
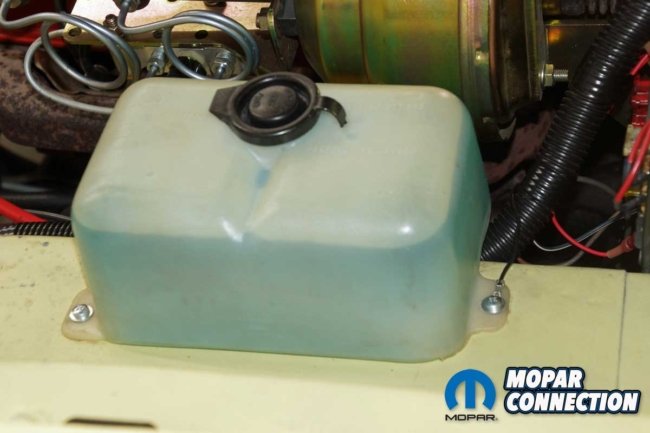
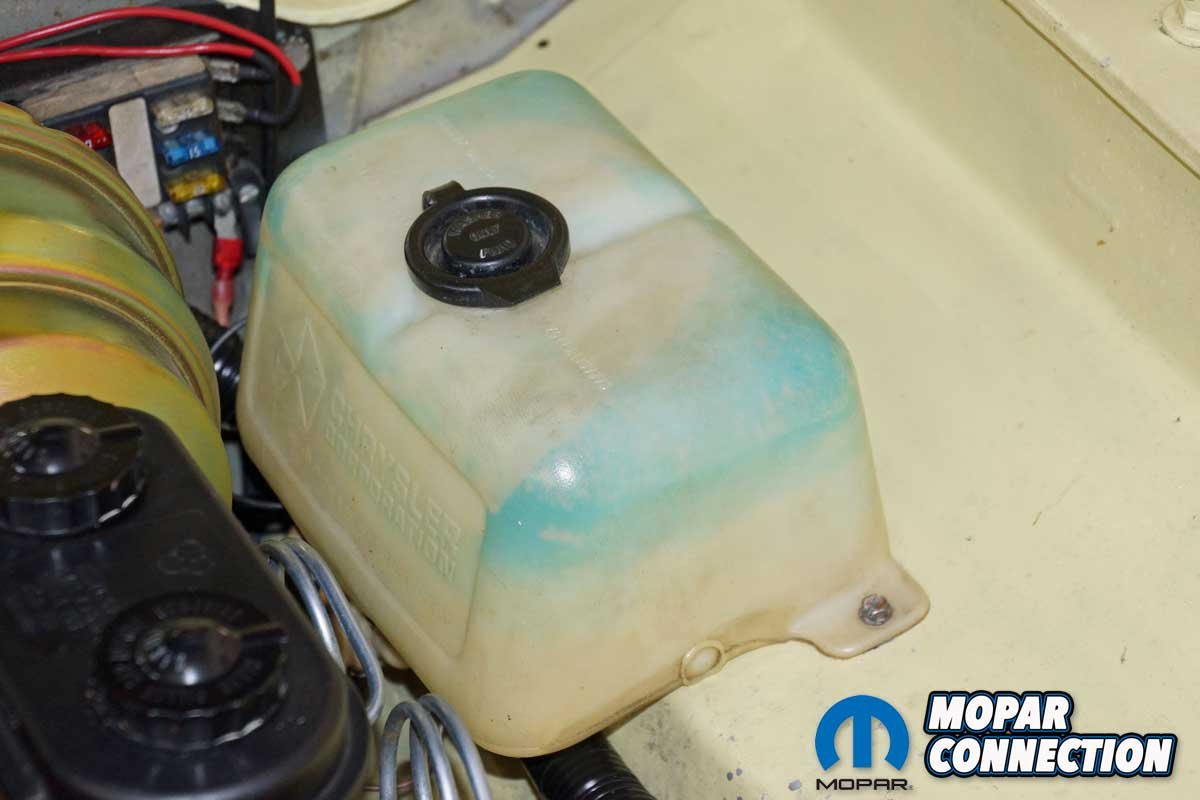
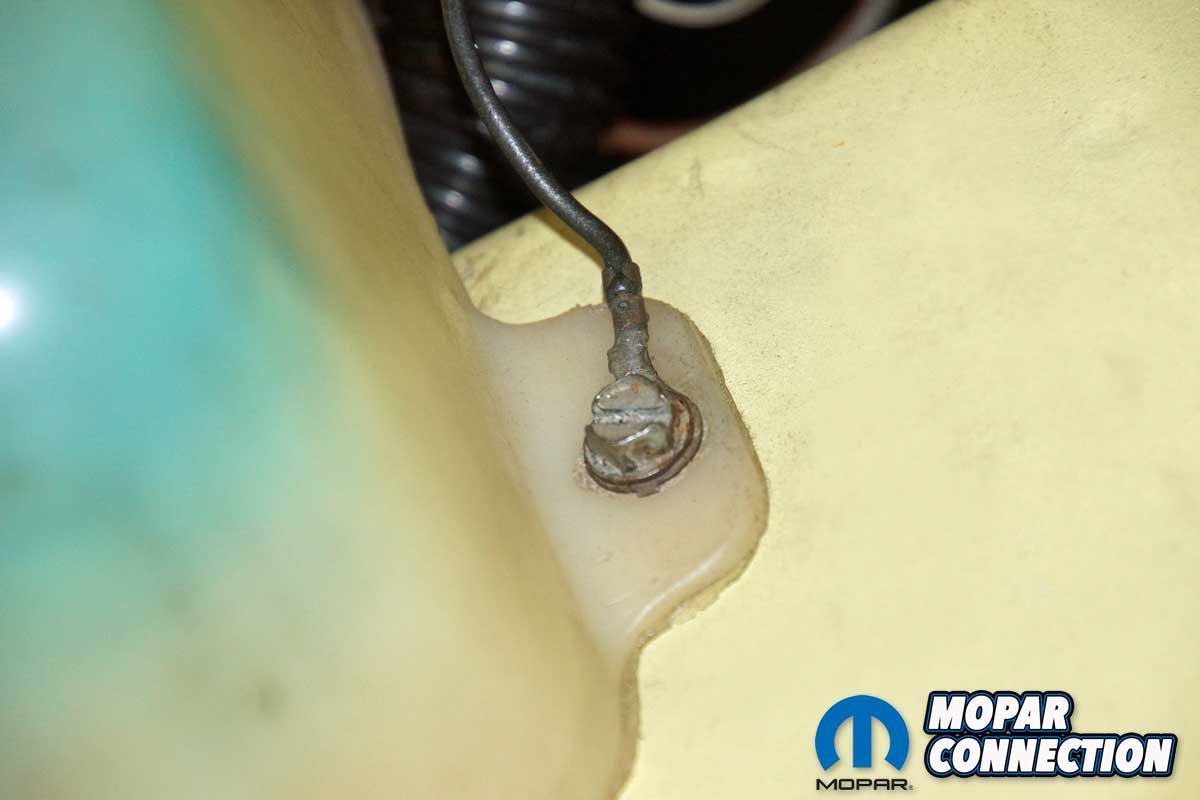
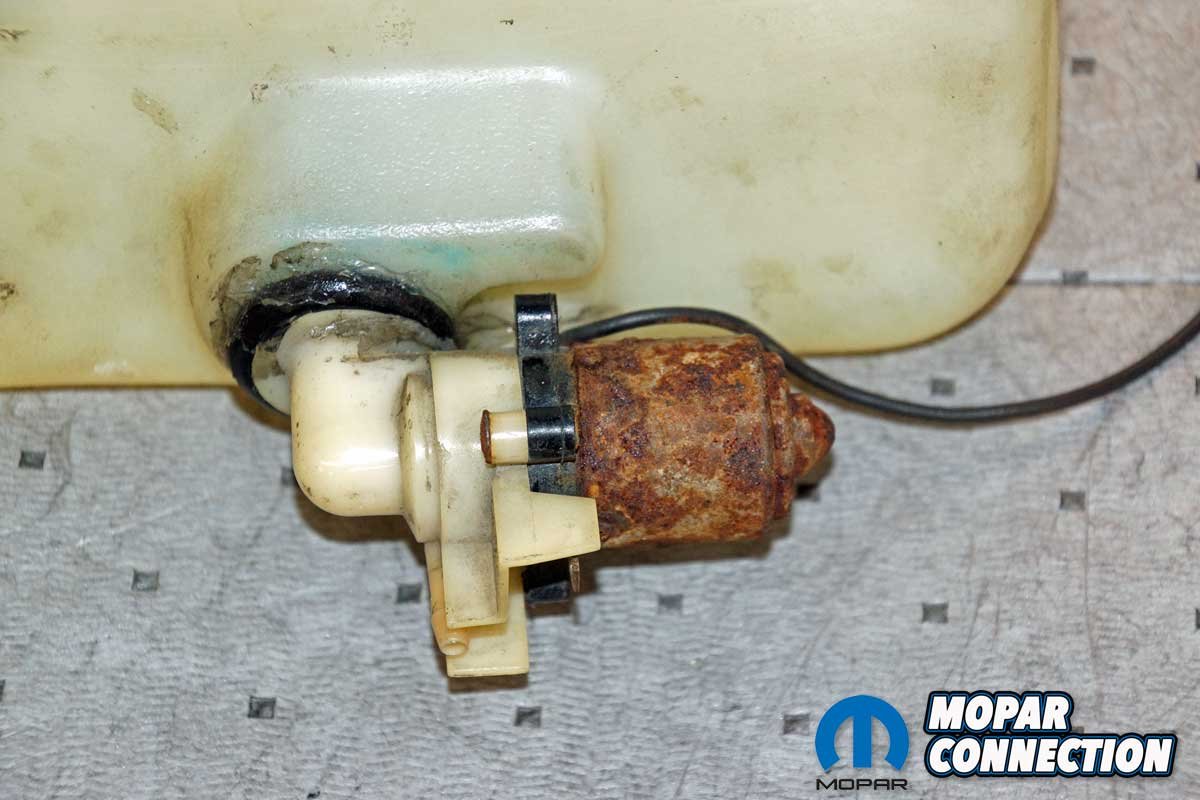
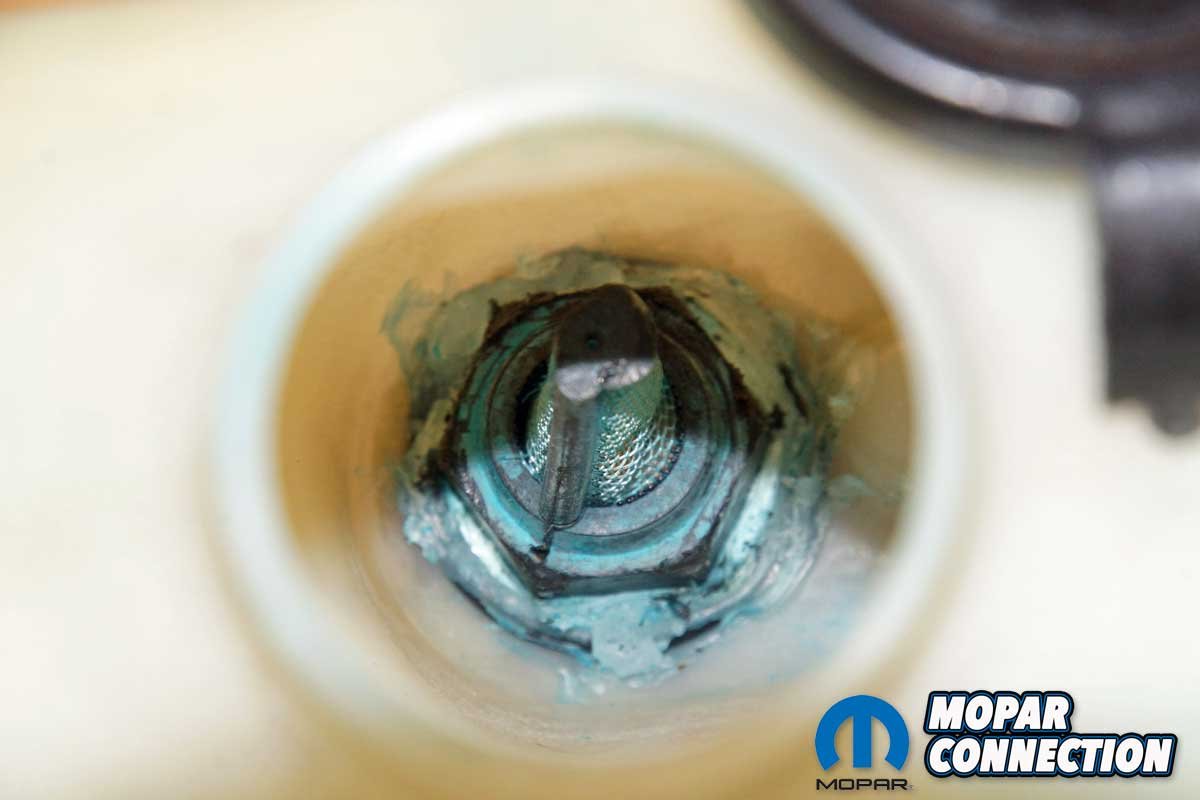
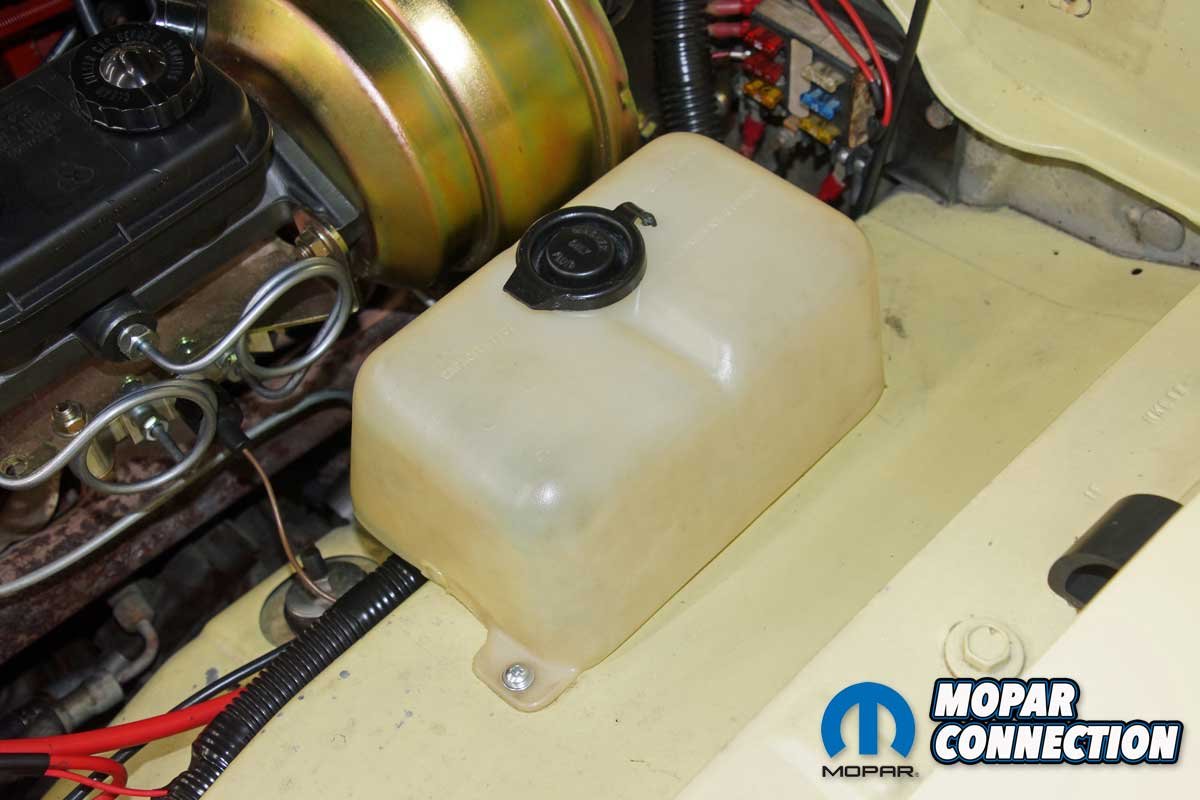
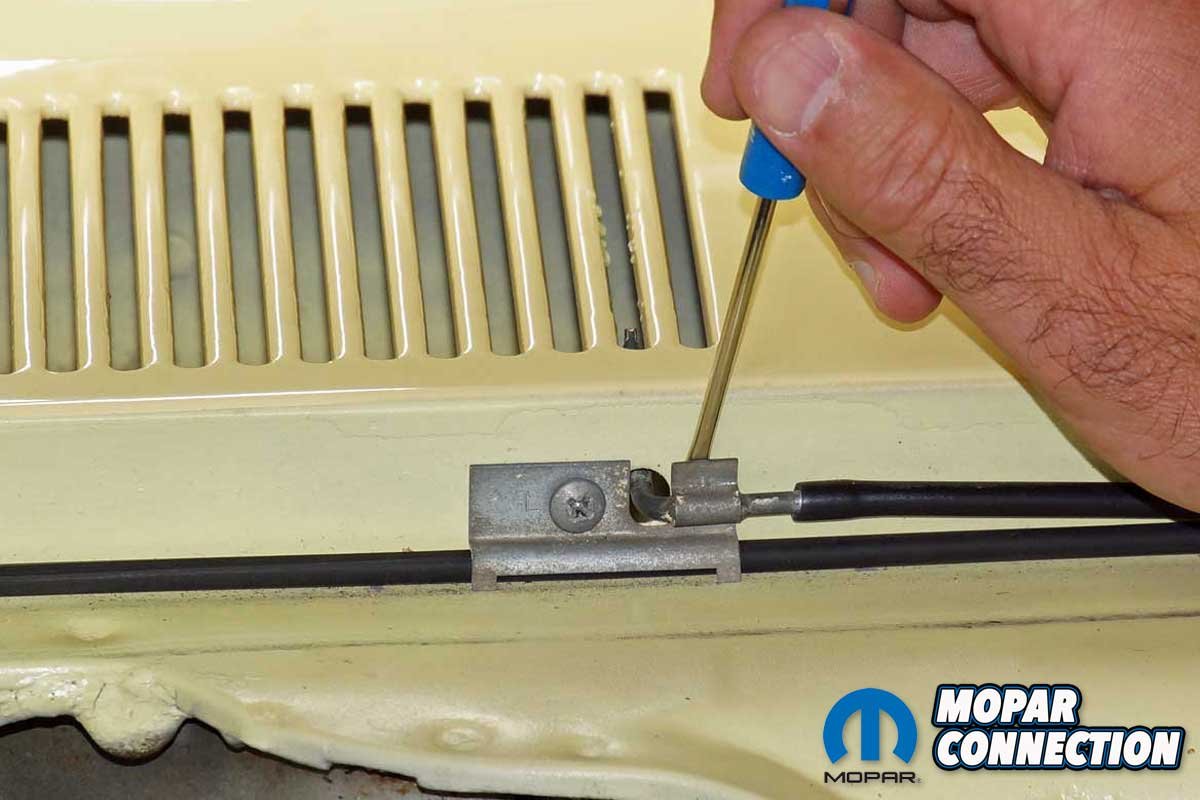
Top Left: To update our Dart’s windshield washer system, we picked up a Classic Industries washer motor, filter, and a pair of retaining screws. Top Right: Our washer system has not operated since we purchased the Dart in ’18. The jar appears to be the factory original from ’67. Bottom Left: The washer pump motor ground extends to one of the retainer screws. Both retainer screws were non-original pieces. Bottom Right: With the washer jar out of the car, we noted the use of RTV to stop a leak. It appears that it did not fix the problem.
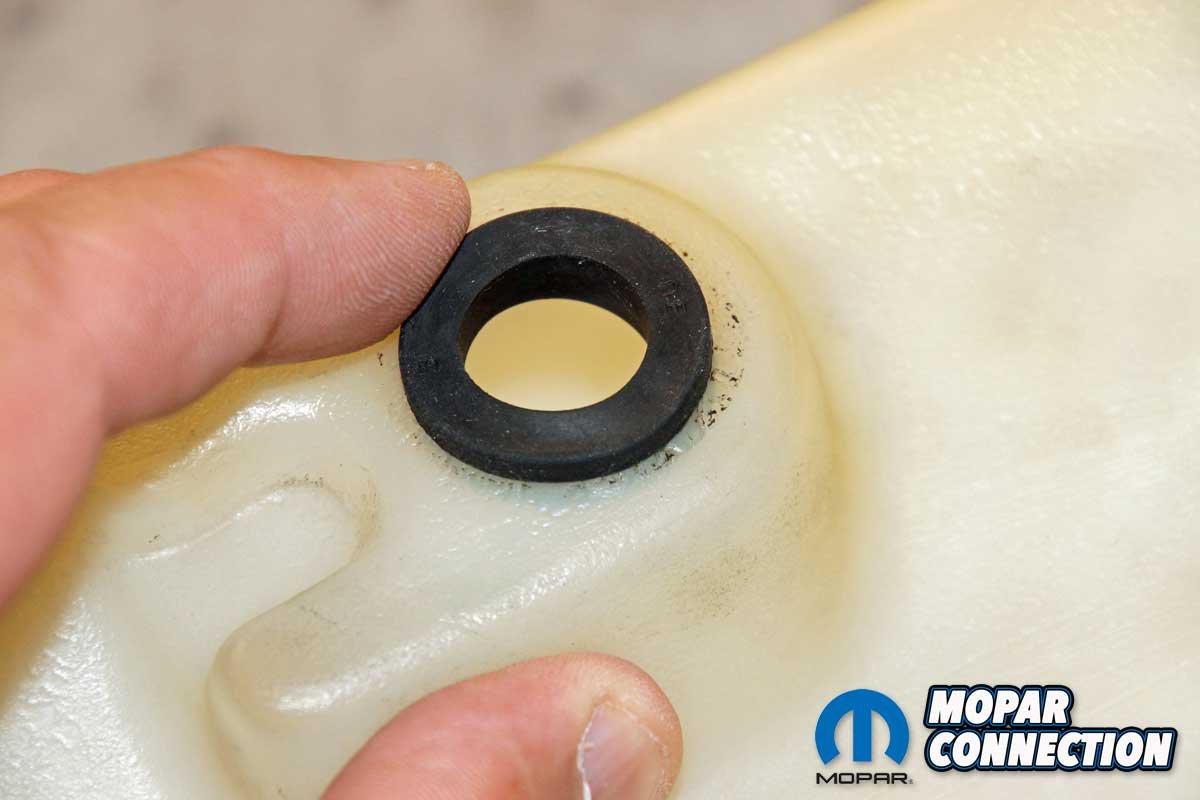
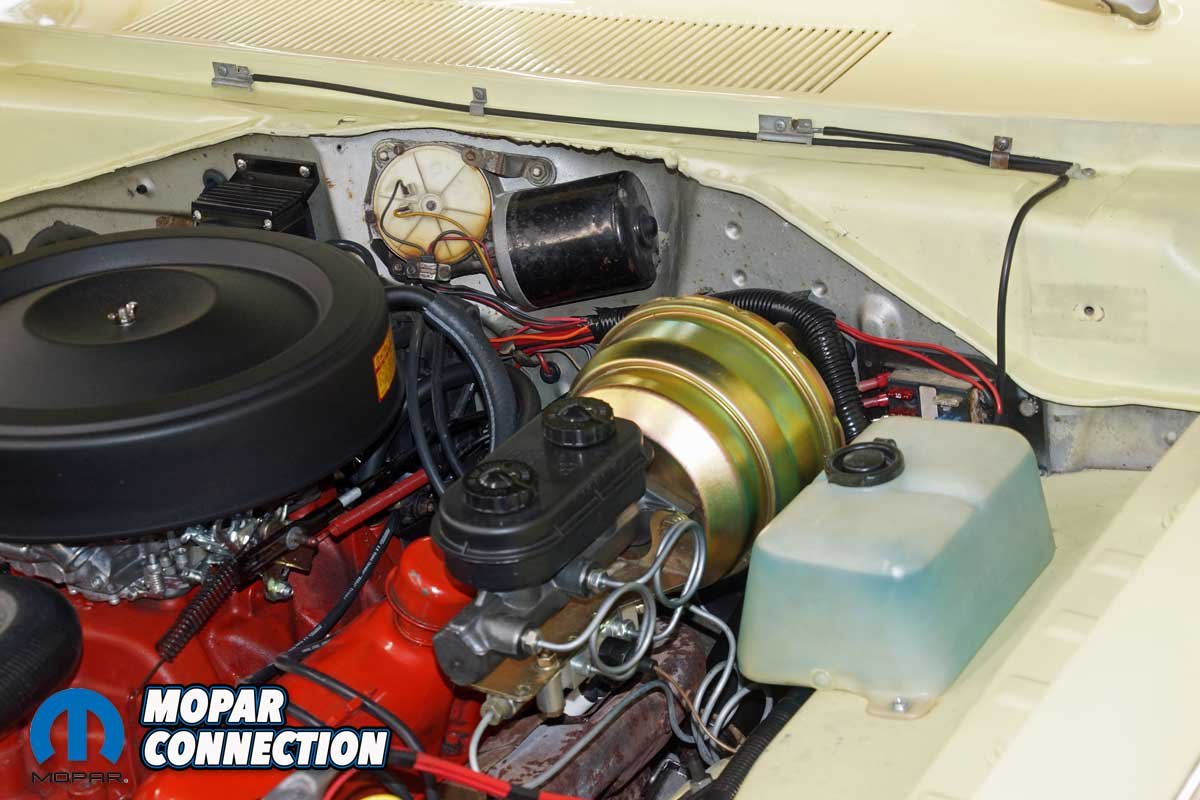
To remove the washer jar, we unthreaded the non-factory retaining screws. Gaining access to the underside of the jar required the housing to be lifted and rotated, allowing us to pull the rubber hose and disconnect the 12-volt feed wire from the motor. We removed the container from the Dart and noticed the housing gasket around the motor appeared to be non-factory and oversized, and it was slathered with RTV. Aside from the RTV, the entire washer jar assembly looked complete.
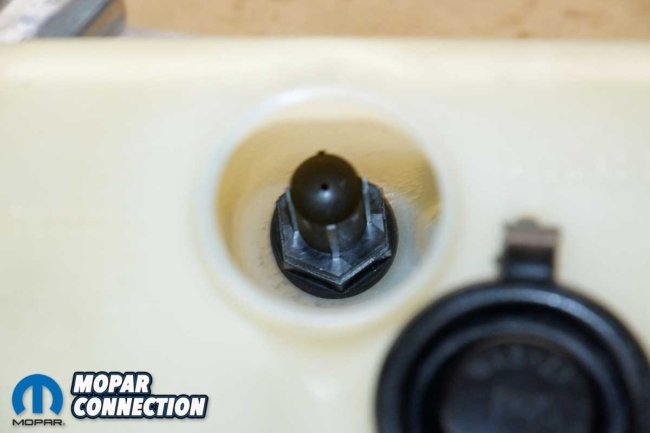
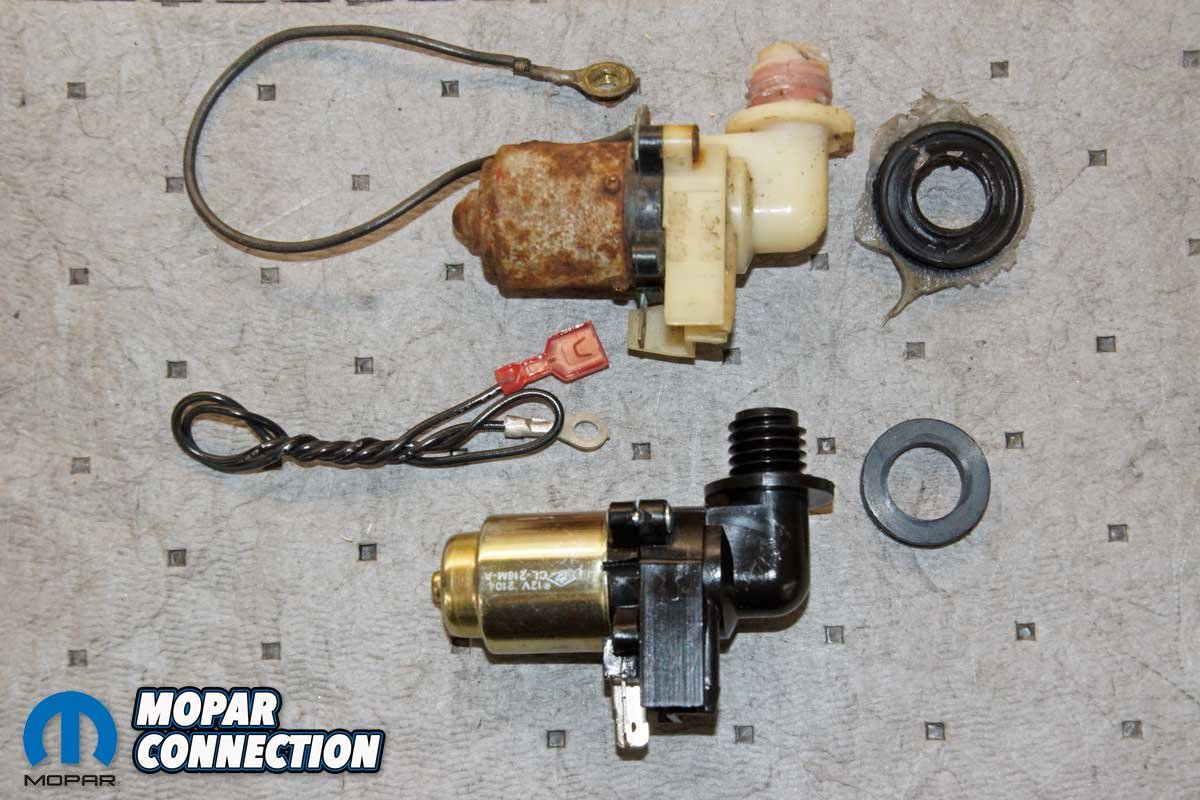
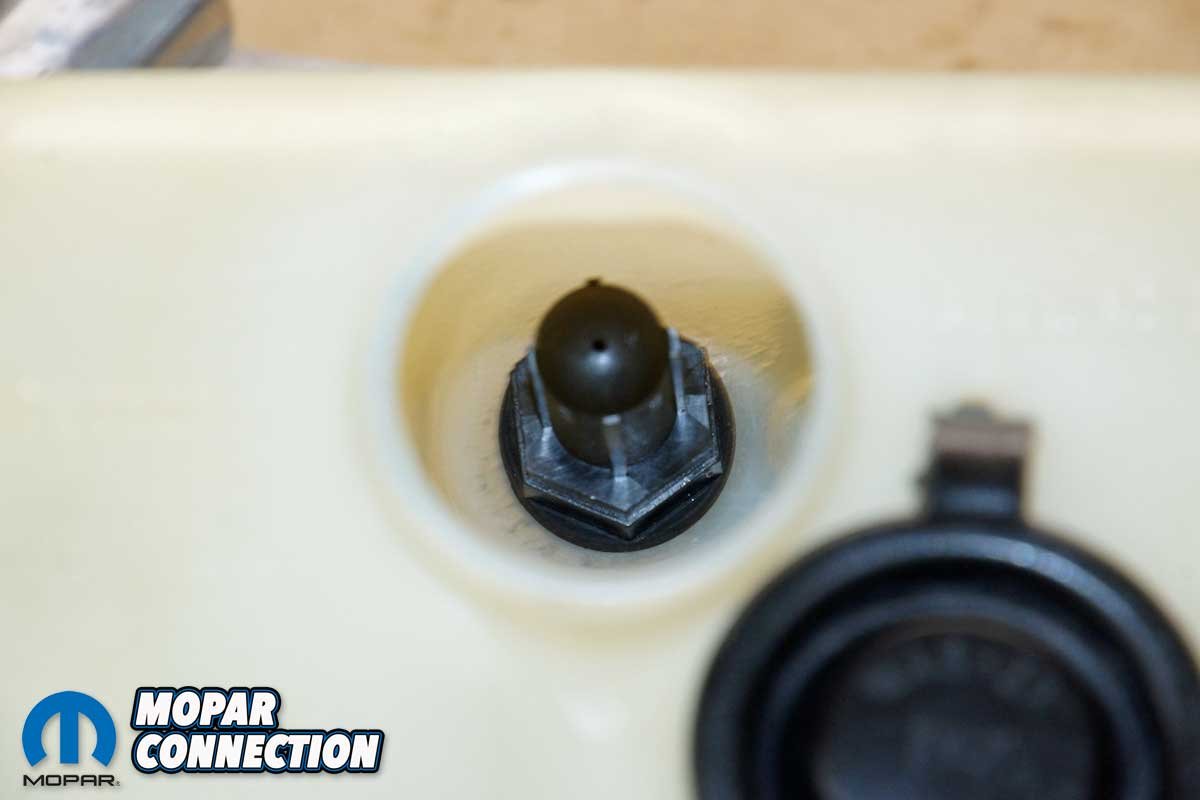
Next, we reached a 13/16-inch socket and extension through the jar’s filler hole to unthread the motor filter from the pump housing. Upon releasing the filter, we pulled the motor from the jar, and the gasket was gently pried from the housing. Shockingly, we found an oil pan drain plug washer encased in RTV and stuck to the gasket. The washer jar must have been a serious leak problem for a previous owner, and it looked like it was never resolved.
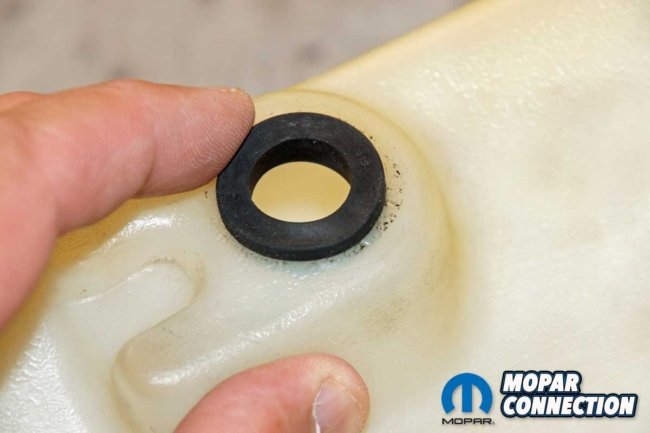
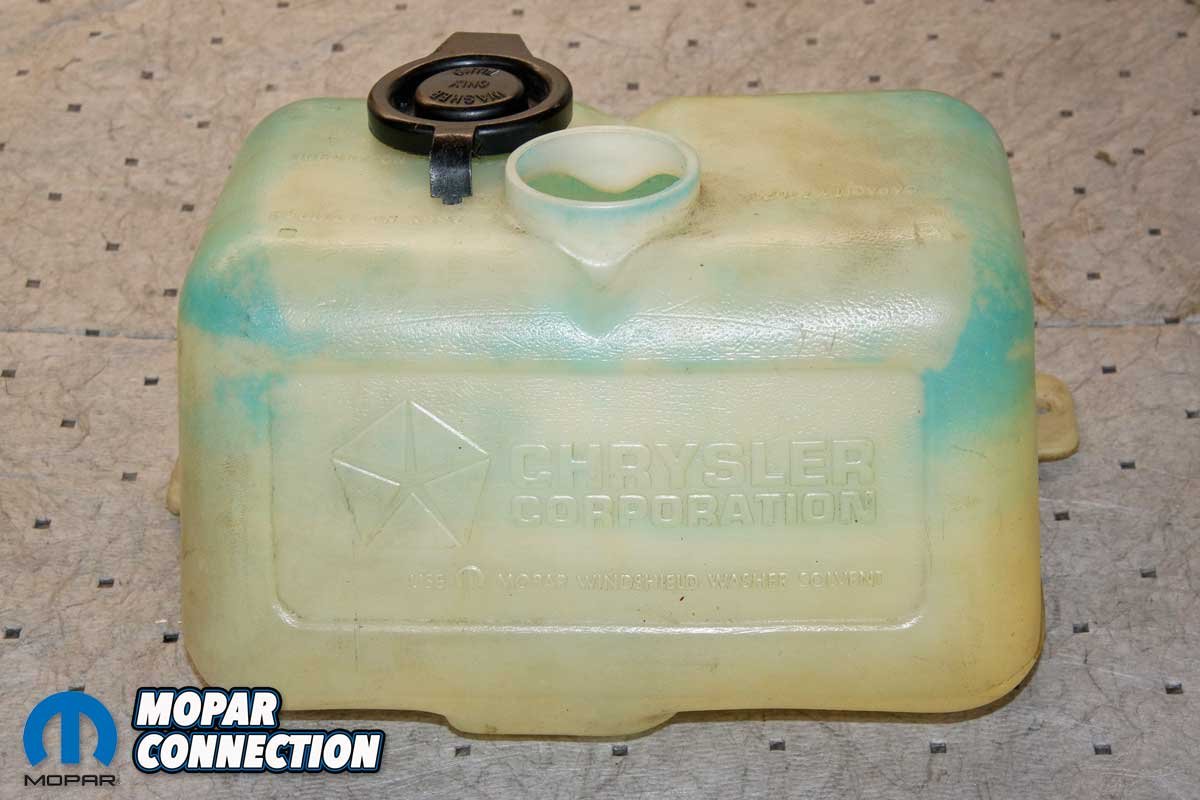
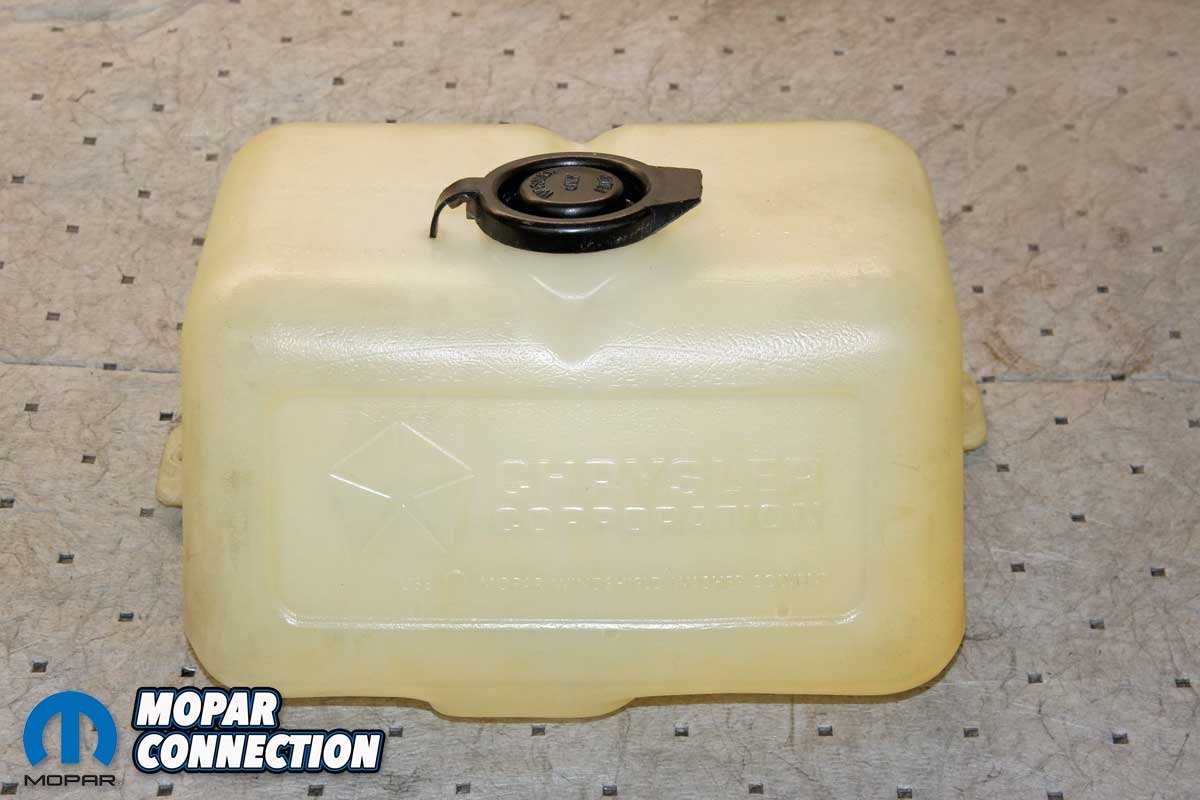
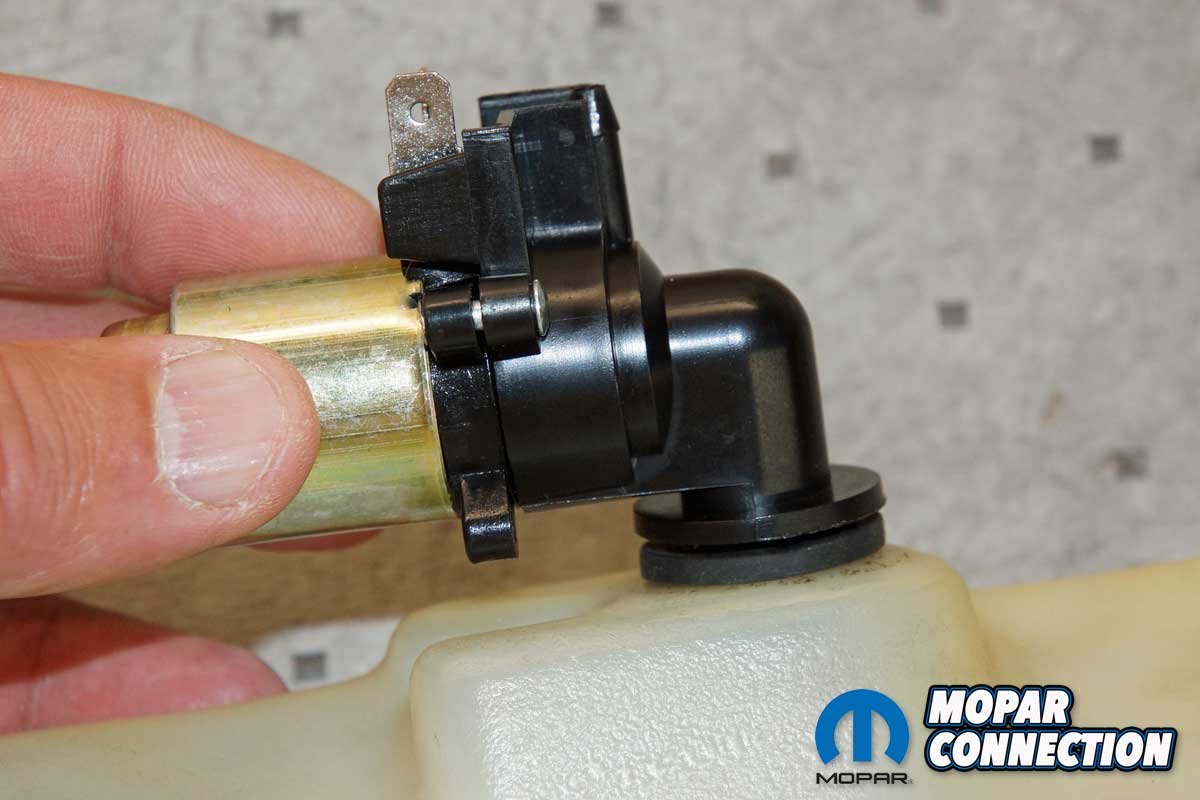
Top Left: The inside of the washer had additional RTV around the filter. Top Right: The old and the new washer motors function identically but are very dissimilar in appearance. The original motor has an off-white body while the replacement is black; the grommet was oversized and had an oil drain plug washer packed into the RTV. Bottom Left: The factory original washer jar was dirty and stained, but it was complete. Bottom Right: We rinsed the jar with several different soaps, and it cleaned up nicely. It retained the factory off-white look, and after testing proved to be leak-free.
By all appearances, our washer jar and matching cap were original pieces. However, the jar was stained blue from dried washer fluid, and it had an “aged” plastic exterior. To test the integrity of the jar, we sealed the motor gasket hole and filled the jar. Surprisingly, the 54-year-old container maintained the water level. Had we required a new jar, Classic Industries carry several styles, including the correct original equipment number 280911 unit for our Dart (part no. MA2196).
Above Left: The pump gasket slipped into the jar perfectly. Above Center: We pushed the new pump through the gasket. The pump was oriented in the same location as the factory position. Above Right: The new filter threaded onto the pump. We gently compressed the gasket, and after adding water (for testing), the assembly was leak-free.
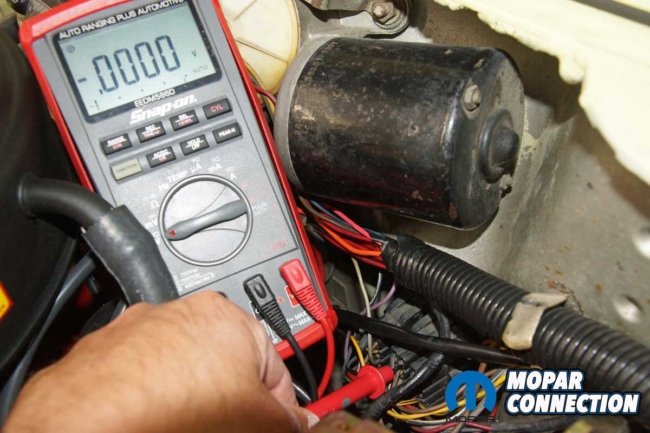
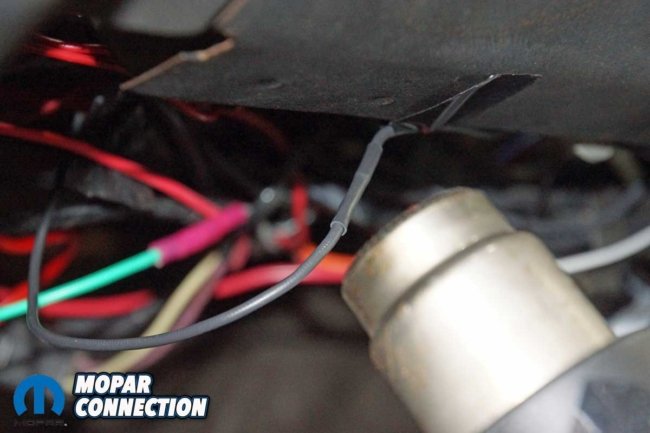
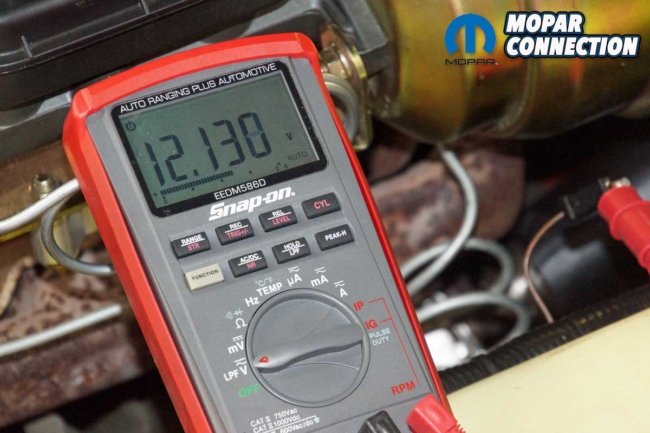
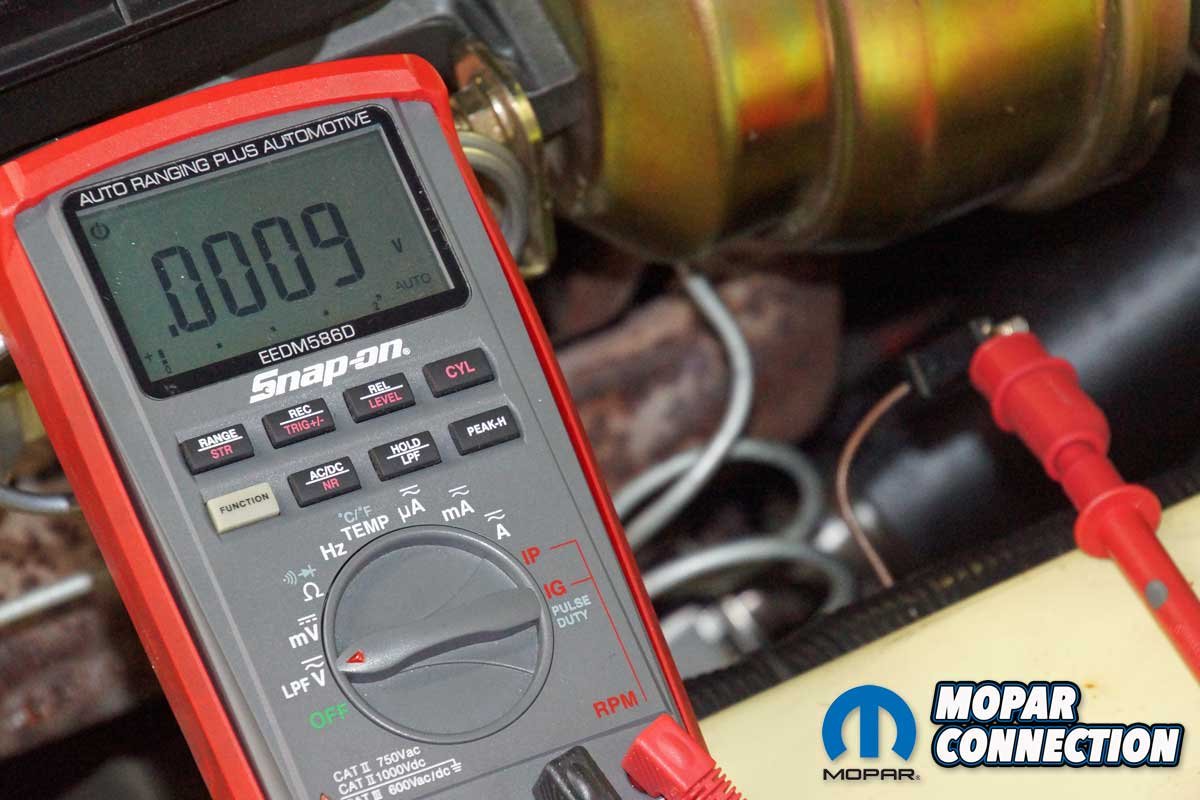
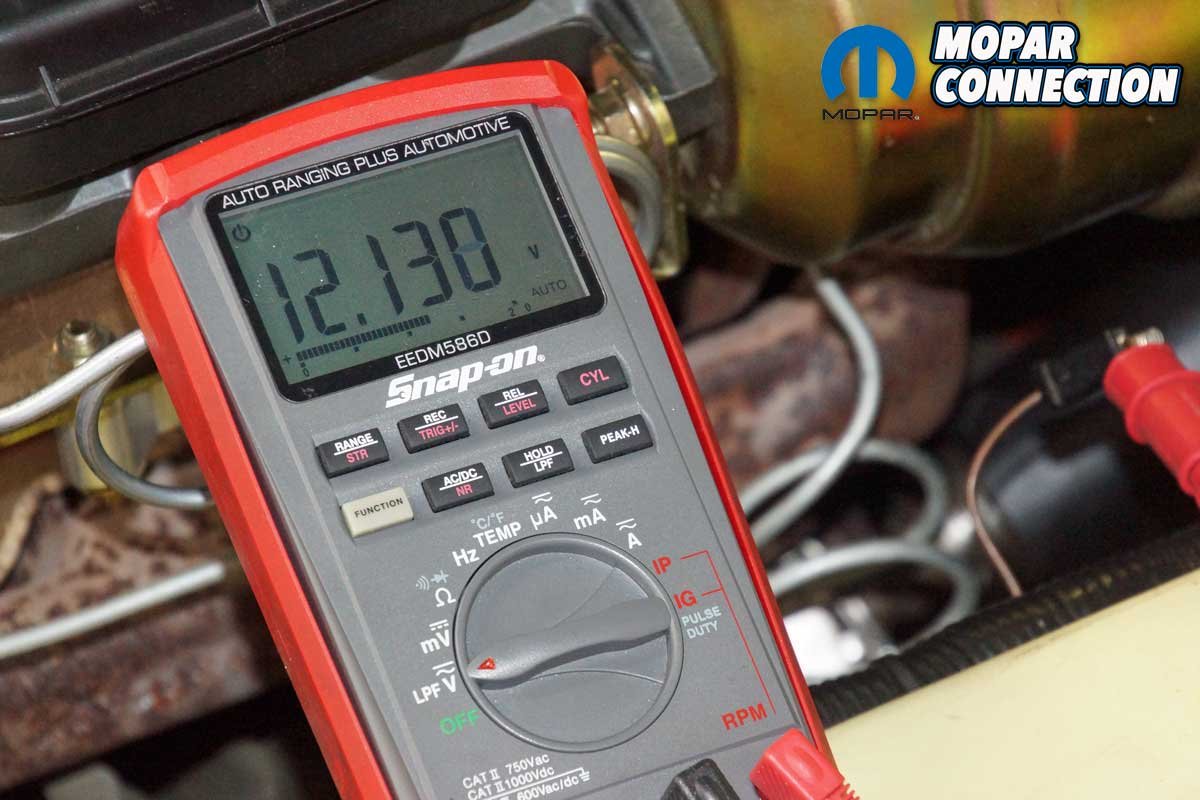
Above Left: With the washer button depressed at the instrument cluster, we had zero volts available at the motor. Above Center: We continued our search for voltage on the circuit. At pin “M” on the bulkhead connector, we still had zero volts with the button in the washer position. Above Right: Under the dash, we found the brown wire to the washer button was chafed and eventually cut, resulting in an open circuit.
Before we started the reassembly and installation, we did our best to clean the washer jar. We scrubbed the jar inside and out with numerous car wash soaps and several differently shaped soft bristle brushes. We were able to eliminate most of the dirt from the outside of the container, and we brushed away all the blue stains found inside. It’s important to note that the jar’s exterior color from the factory was never bright white, but rather off-white. Finally, after a light coating of spray wax, the jar was ready for reassembly.
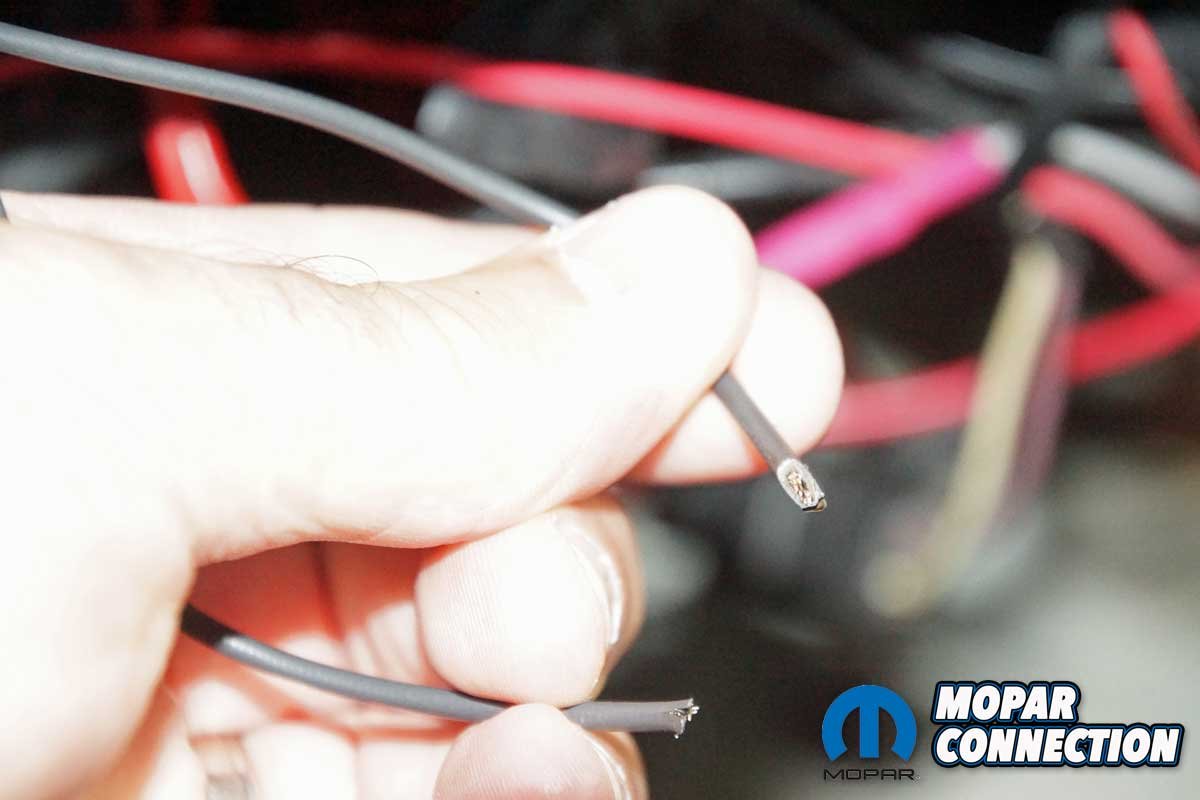
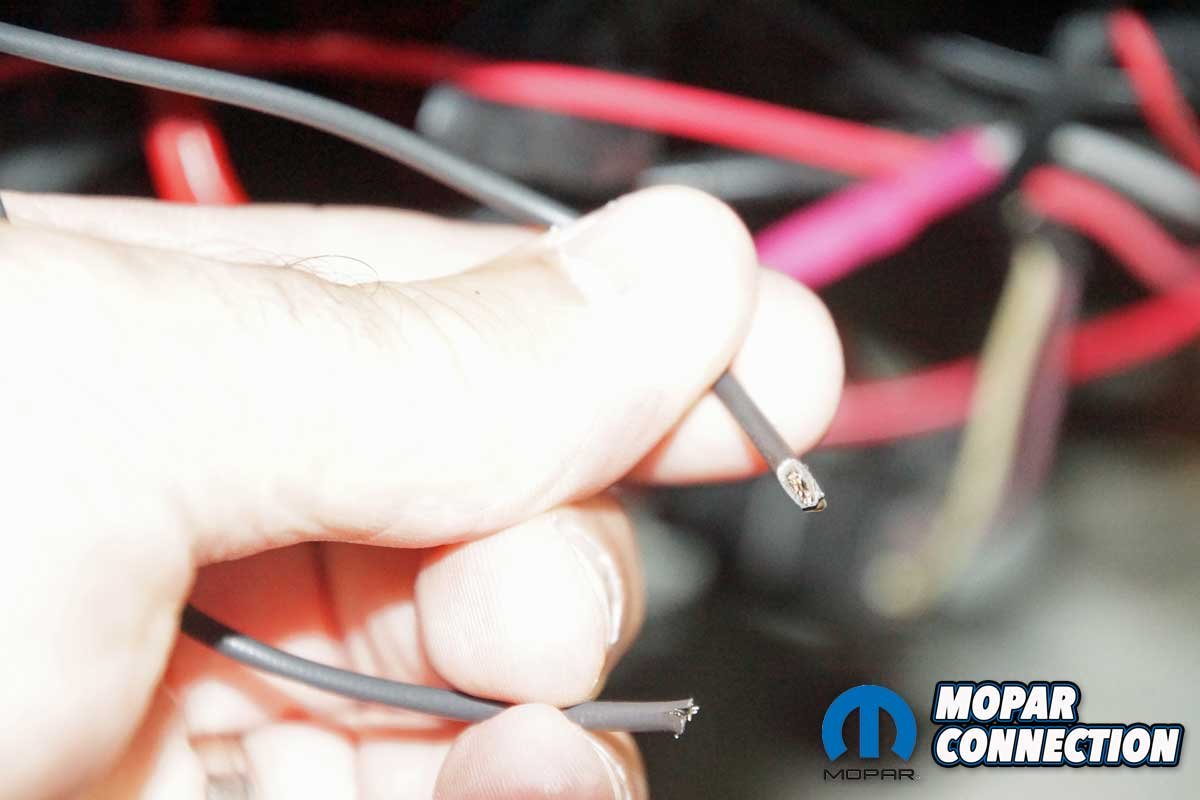
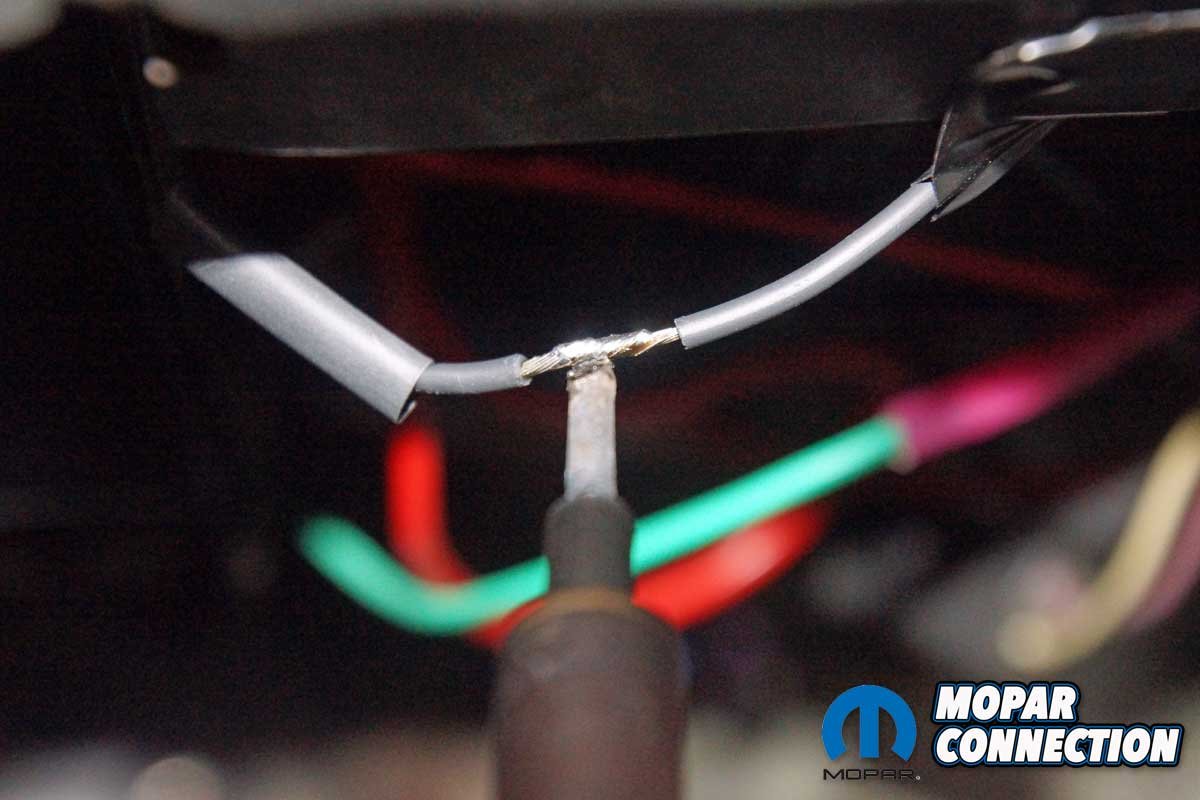
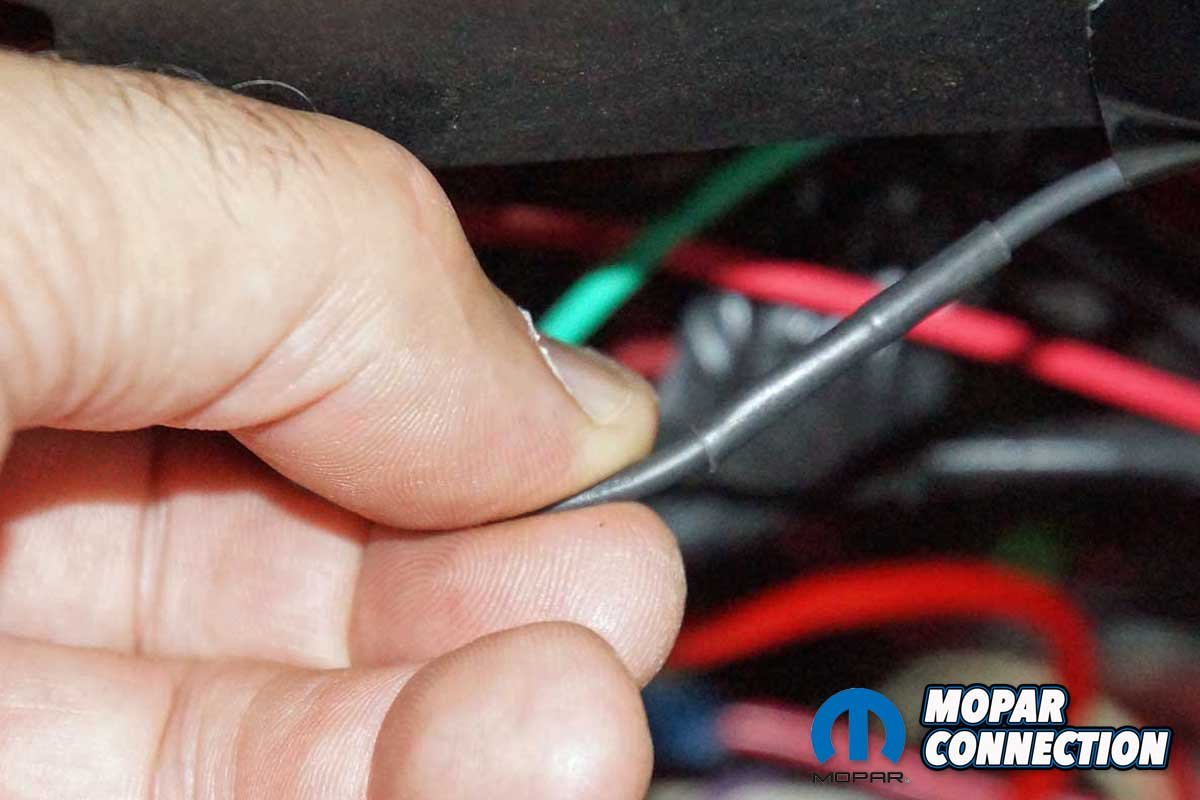
Top Left: The ends of the wires were reconnected and soldered together. Note the shrink wrap was already installed. Top Right: We located and heated the shrink wrap around the repair. Bottom Left: The repair was complete. We re-routed the wire to not rub against any sharp components resulting in a similar failure in the future. Bottom Right: We are in business. With the washer button depressed, we had 12-volts at the pump motor connector.
With a cleaned jar, we fitted the new pump motor gasket, pushed the threaded end of the motor through the grommet, and oriented the motor under the jar. Then, by extending a socket and extension through the filler hole of the jar, the new filter was secured to the pump motor threads. The only difference between the original pump motor and the new motor was the ground wire.
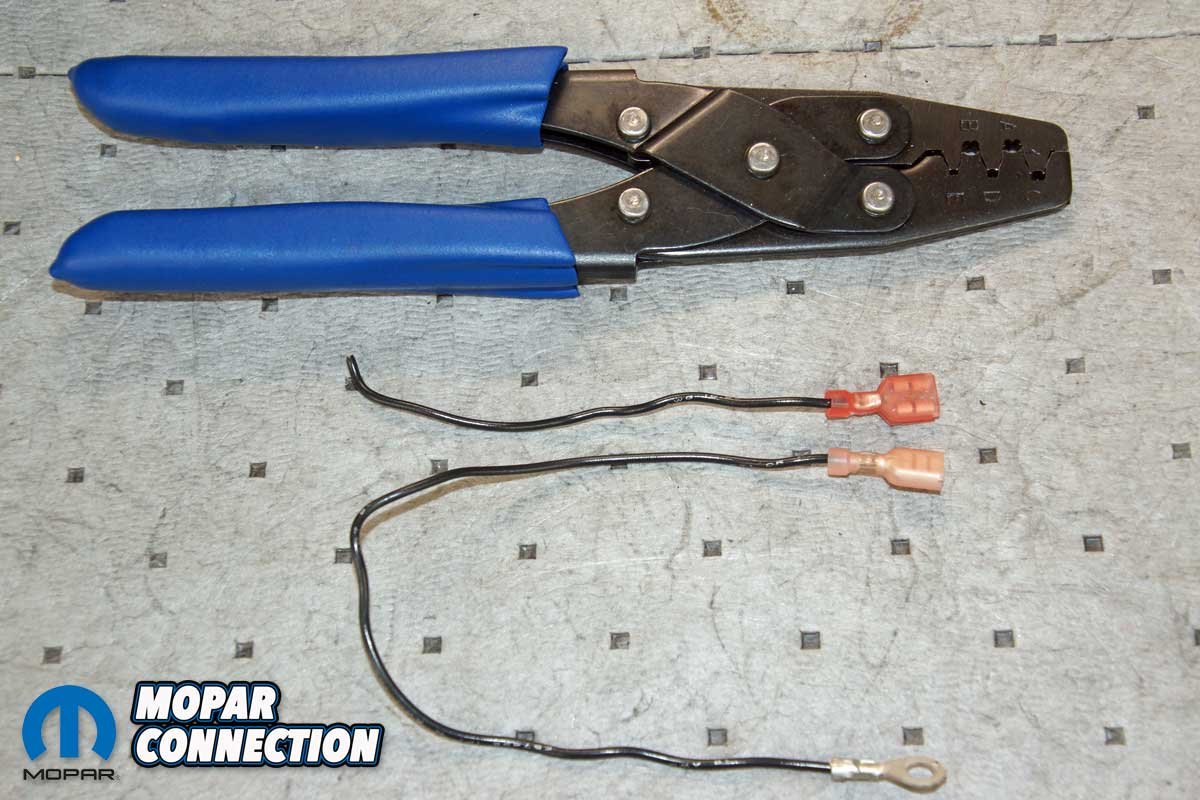
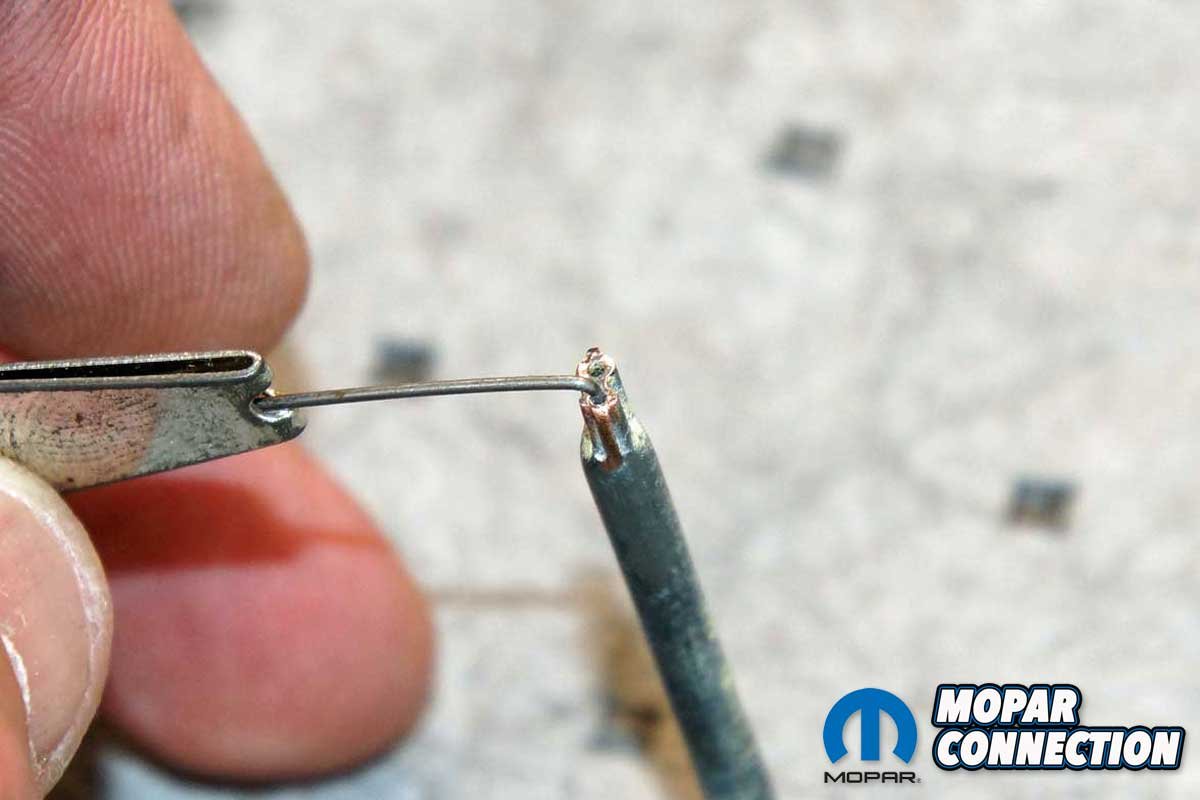
On the original pump, the ground wire was physically attached to the motor, and the other end had an eyelet grounded at one of the jar’s retaining screws. In contrast, the new pump had a separate ground wire that slipped over a ground terminal on the motor and grounded at a retainer screw. Unfortunately, the new ground wire was too long for our application, so we trimmed it and added a new terminal end, which we connected to the ground wire terminal of the motor.
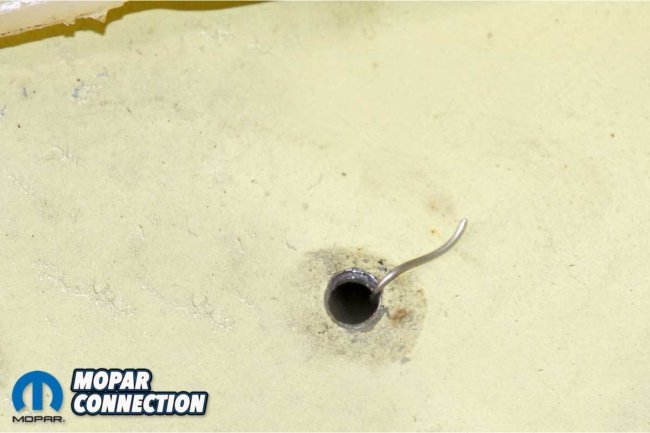
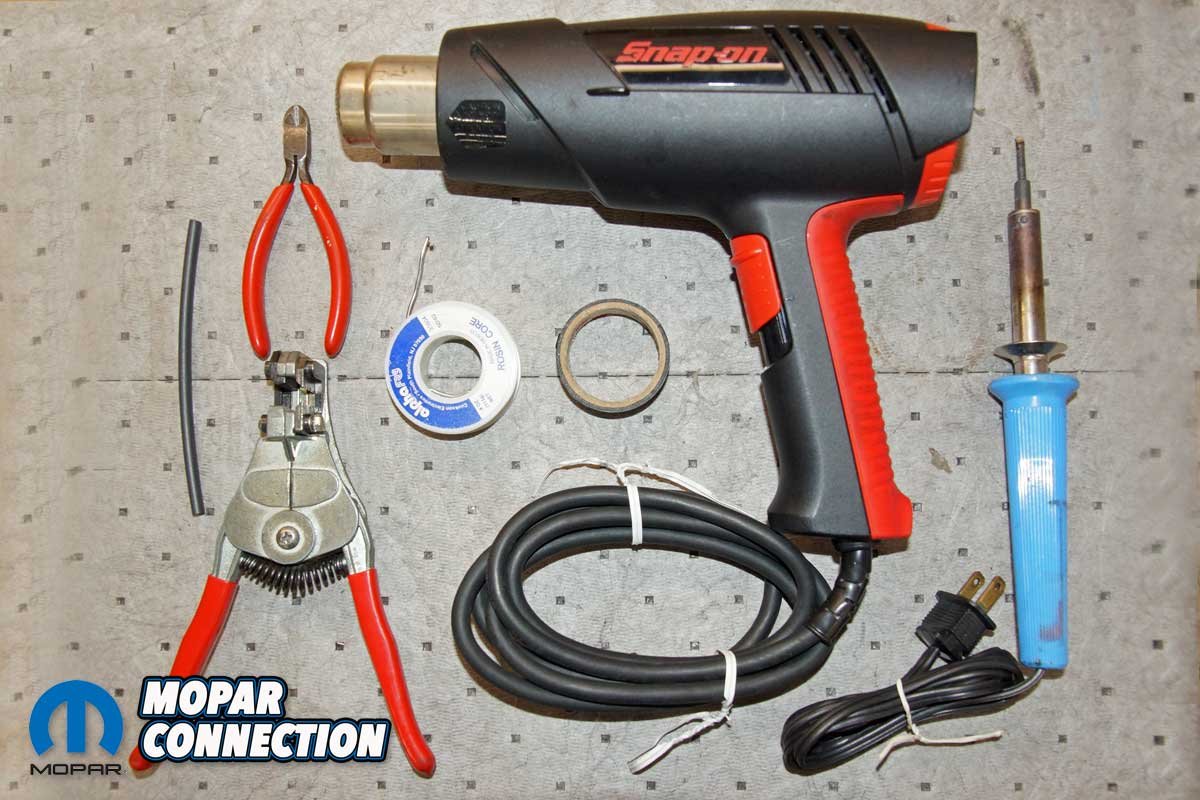
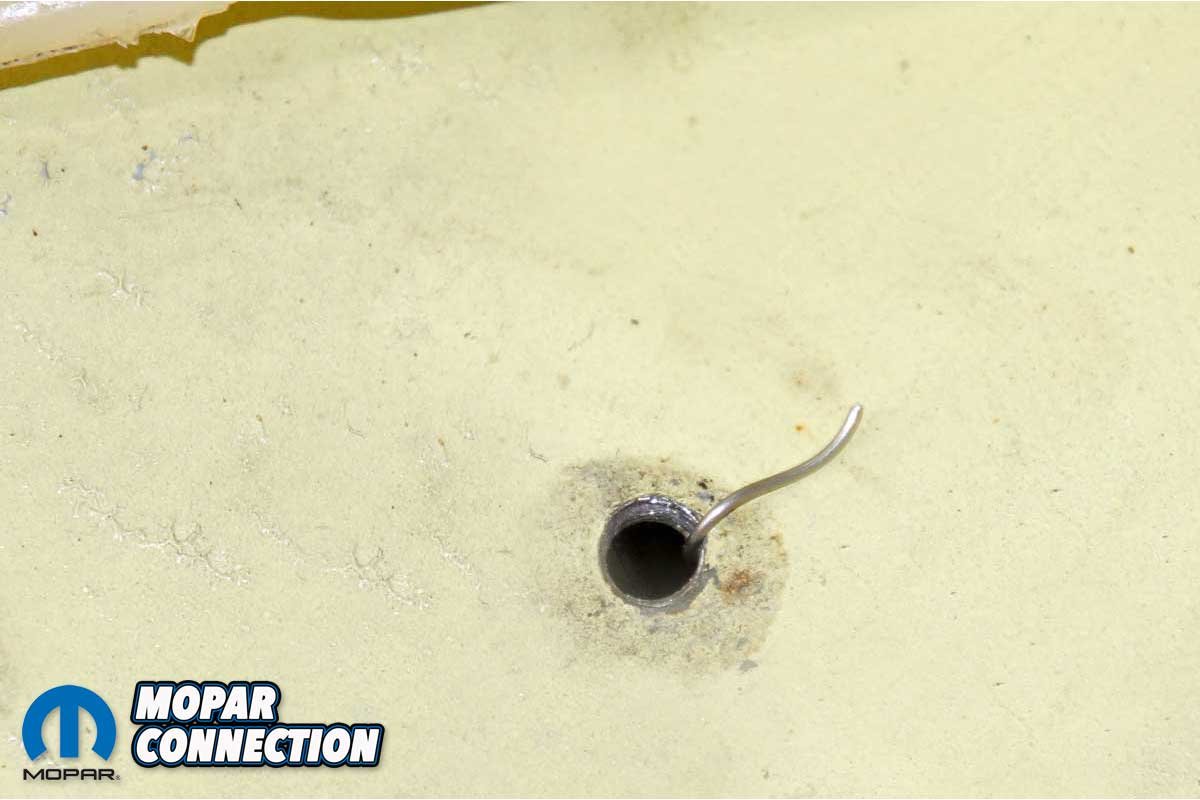
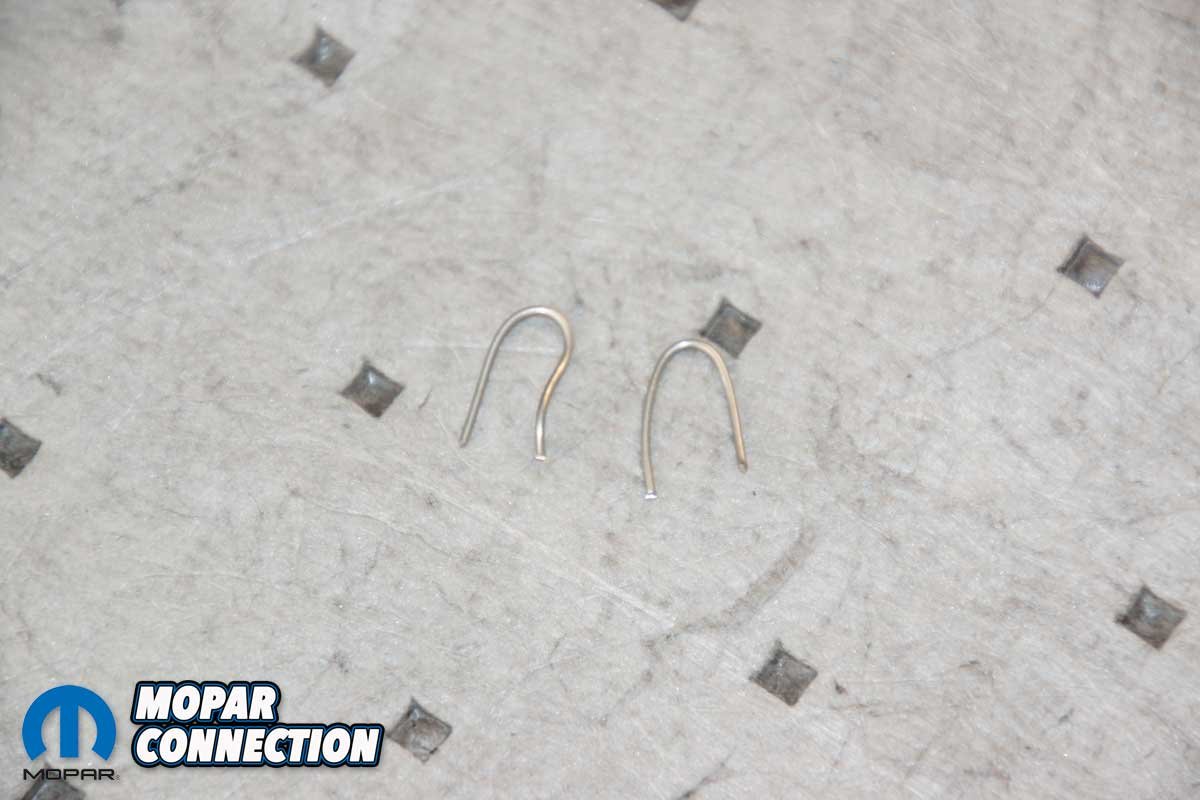
Top Left: To make the wire repair, we needed all these tools. Top Right: The new wire with the pump motor was too long for our application. We trimmed the wire and installed a new terminal end. Bottom Left: The jar retainer screw holes had been oversized by the use of the incorrect screws. We needed to fill the holes slightly, so we bent up some safety wire. Bottom Right: We installed the safety wire in the retainer screw holes. The safety wire took up just enough area in the hole, allowing the screw something upon which to grip.
Before the installation of the jar assembly, we had to fix our motor supply voltage concern. We tested for voltage at the pump motor connector, and with the wiper switch depressed at the instrument cluster, we had zero volts (as we had previously noted). We followed the single brown wire to the “M” terminal on the bulkhead connector. Again, we had no voltage with the switch depressed.
We dove under the dash, and while tracking the brown wire, we found it had been chafed and finally cut in two, resulting in a simple open circuit. We tested for voltage at the pump motor connector after we soldered, shrink-wrapped, and rerouted the wire (to prevent additional damage), and we had over 12-volts at the pump motor connector.
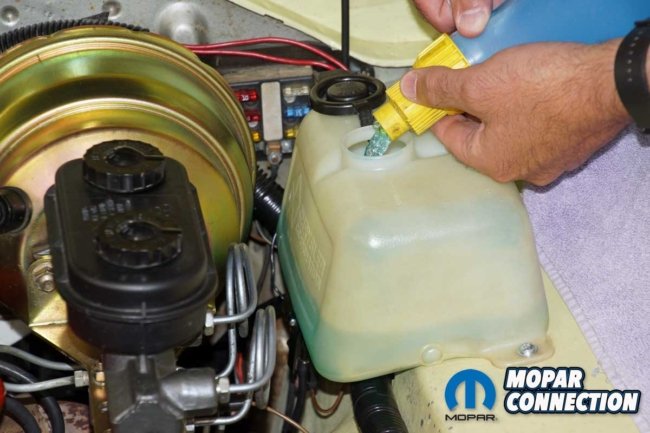
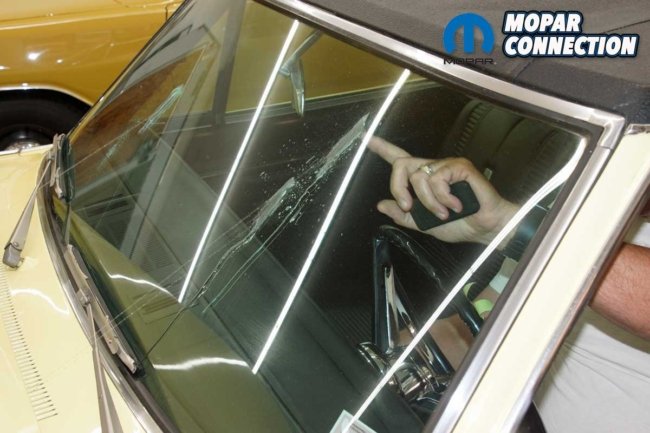
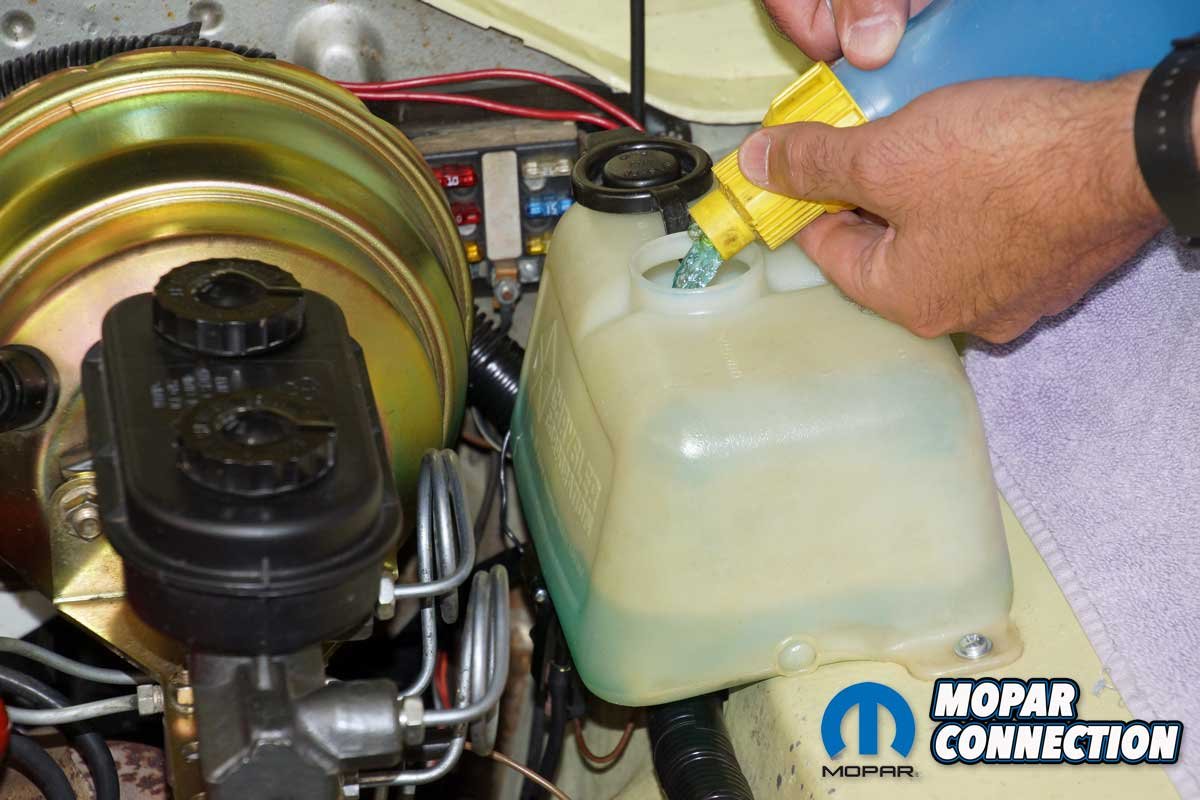
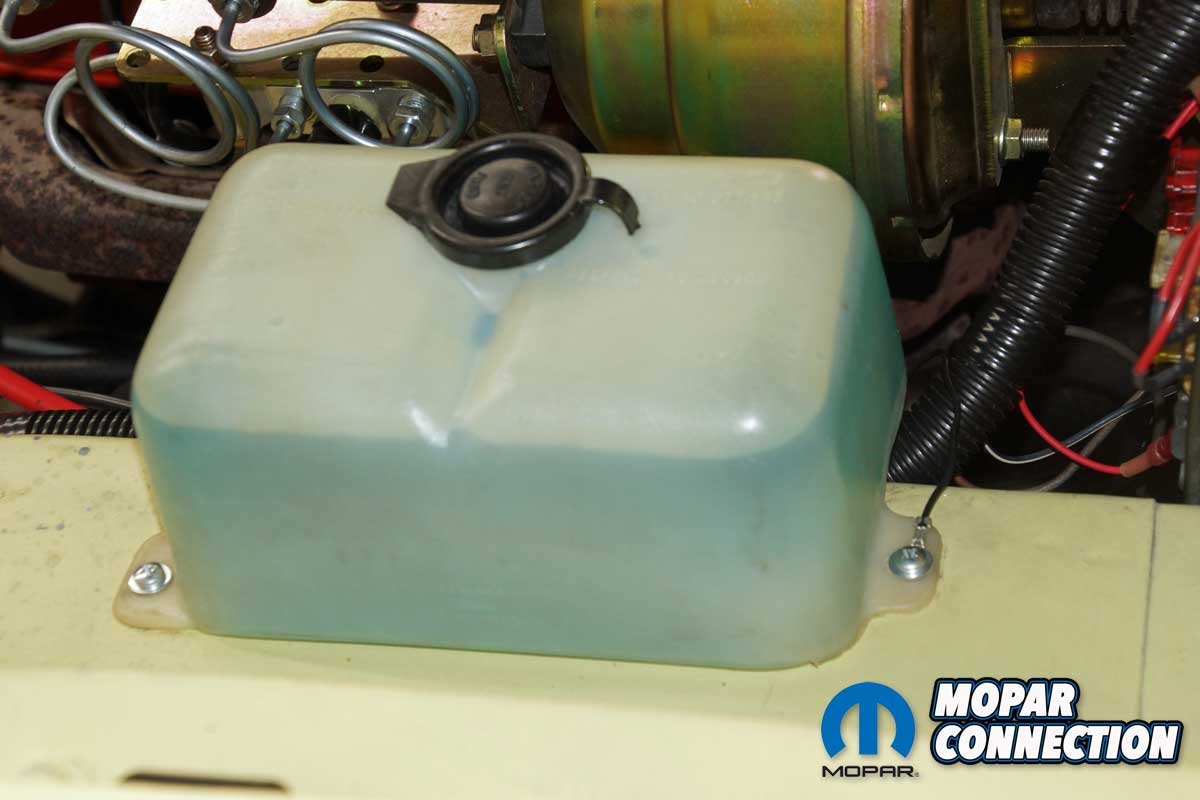
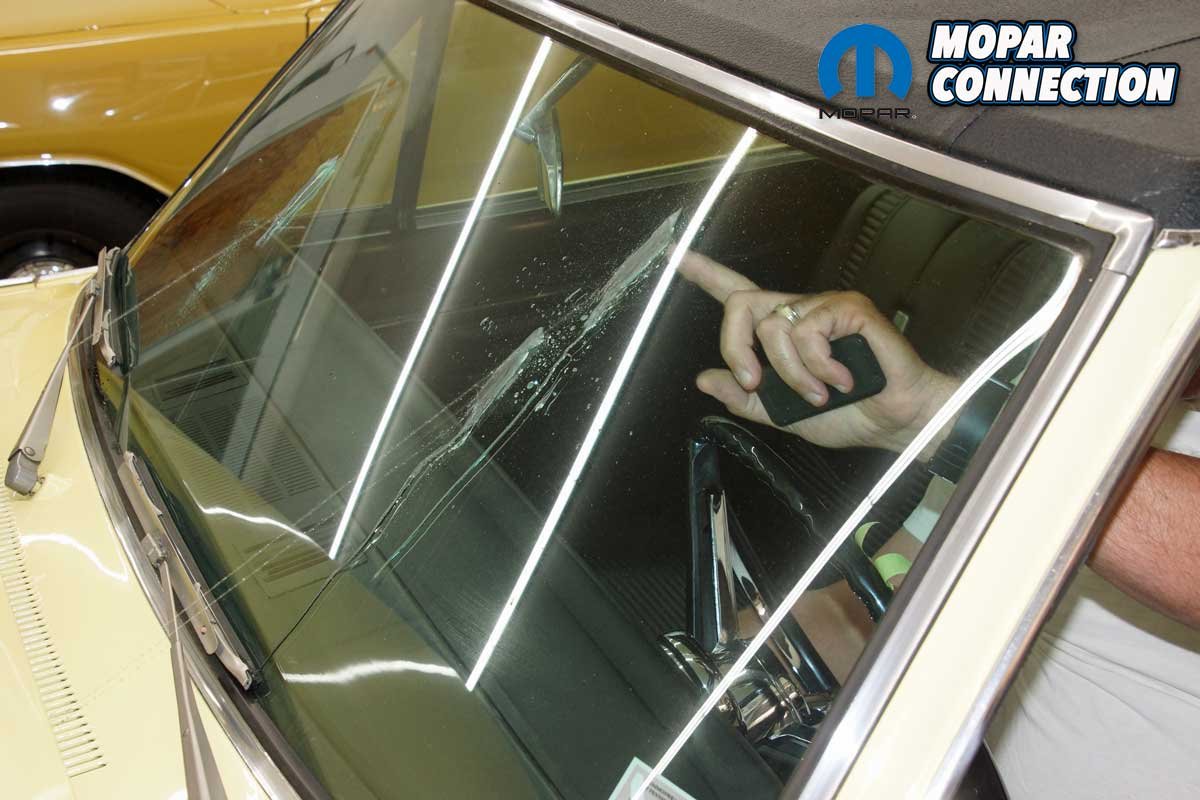
Top Left: With the safety wire in the retainer screw holes, the screws tightened down, securing the jar to the apron. Top Right: After attaching the 12-volt wire and the washer hose, we filled the jar with washer fluid. Bottom Left: The rearmost retainer screw also provided the ground path for the washer motor. Bottom Right: We depressed the washer button and noted the washer pattern on the windshield.
Pleased with the wire repair, we maneuvered the jar in place. The 12-volt connector was attached to the motor, and the rubber hose was reconnected. The jar was secured to the Dart’s apron with the new retainer screws. Before the rearmost screw was installed, we placed the motor ground wire eyelet over the screw. Once the jar was correctly affixed, we depressed the wiper switch, and we heard the washer pump emit a buzzing sound.
Following the addition of washer fluid, we activated the motor, and this time, the fluid sprayed onto the windshield. We had two streams (correct) on the driver side but only a single stream on the passenger side. We removed the passenger side squirter and cleaned each orifice (two) with a .025-inch spark plug gap gauge tool. General cleaning of the squirter provided two streams of fluid on the passenger side of the windshield.
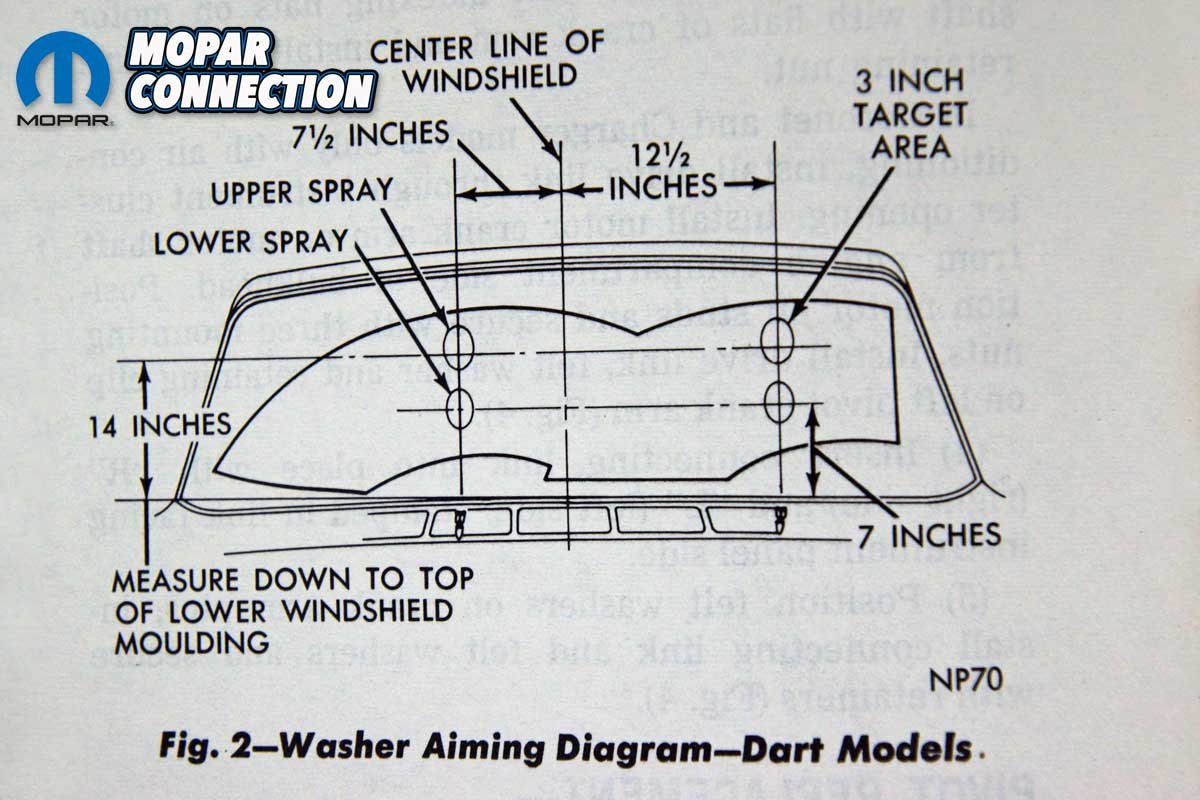
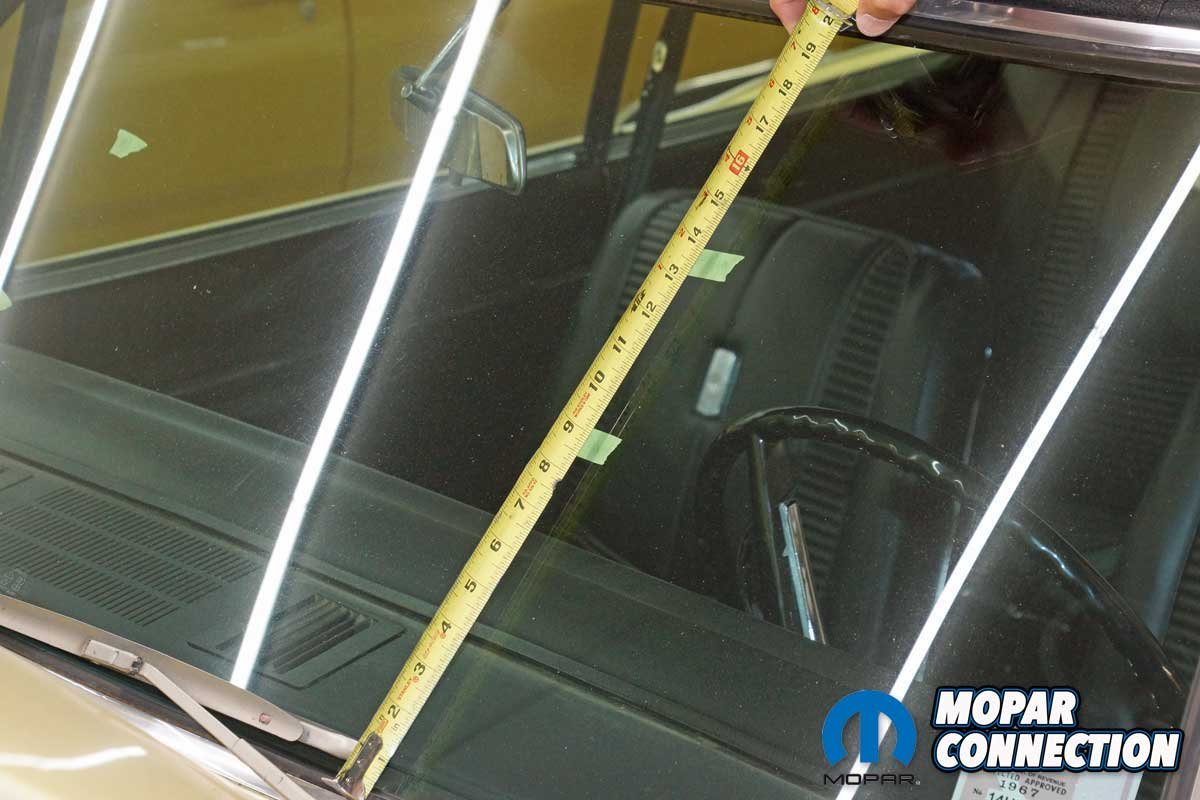
Above Left: The washer pattern on the driver side was too low. We adjusted the dual spray pattern by bending (slightly) the squirter position. Above Right: The passenger side had a clogged squirter. We cleaned out the blockage and reinstalled the squirter. Bottom Left: The factory service manual has a washer aiming diagram that we referenced to establish our spray pattern. Bottom Right: We marked and then measured our spray patterns on the windshield. Measuring from the base of the windshield molding, we achieved the correct height for the upper spray stream, but the lower stream was slightly out of spec.

The last thing we needed to complete the project was to adjust the spray pattern positions on the windshield. Following several corrections, we had the upper stream (on the driver and passenger side) spraying at 14-inches above the lower windshield molding. Unfortunately, the lower stream on both was at about 9-inches.
According to the factory shop manual, the top height was perfect, but the lower height should have been about 7-inches. However, fine-tuning the spray pattern would have required tedious adjustments to each squirter tip. With 54-year-old parts, we decided to leave the pattern in the functional position we had already achieved.
For less than $25 in parts, our Mopar’s wiper washer system is functioning correctly, and although we may never use the washer, we know it is at the ready if “pressed” into service. Every part mounted correctly and without the need for modification, so if your Mopar needs updates with quality parts, check out Classic Industries for all its electric and manual washer jars, motors, squirters, hoses, and retainer screws.


