


“I’ve taken to calling this car a ‘rust onion’ lately,” I grudgingly joked with Mopar Connection’s Technical Editor, Mike Wilkins. “With every layer I peel back, the more I find.” He laughed but knew all too well that the car would really require far more work that initially planned for. Mike was there when we first extracted the Super Bee from its rural Ohio carport, and even helped lower it off the trailer and into my backyard. “Car’s pretty rough,” he warned. “It’s gonna need a lot of work.” The original plan was just to get it running – it was pretty complete, after all – and drive it around like the goofballs on “Roadkill.” At least, that was the plan.
It has been nine months since our first introduction of our 1970 Dodge Super Bee project car, a pro-touring rat muscle car we christened “ZomBEE,” and since the time of its announcement, I had been doing nothing but drafting emails, making phone calls and running through planning sessions all to develop a timeline and project plan that would put the car on the road as fast as possible. Things were going slow. Slower than expected but nothing that really derailed the train. That is, until two months ago. An extended winter and very wet spring delayed any work on the car as it was being kept strictly outdoors. Once the inclement weather took a break, did the excavating really begin and ZomBEE revealed its true condition.
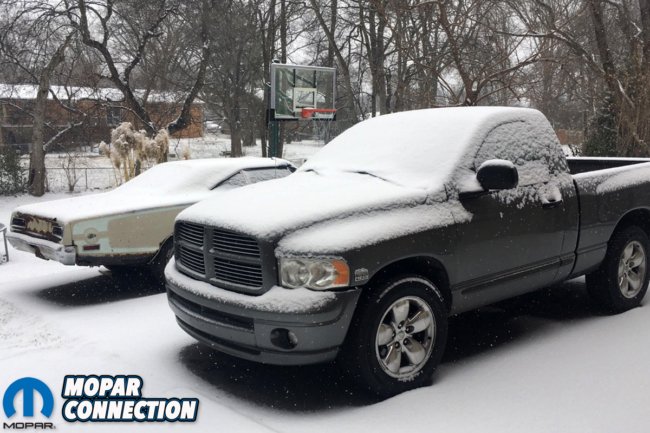
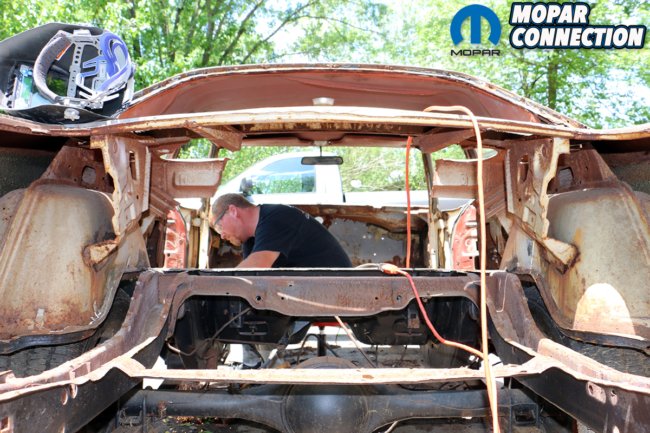
Above: A long and bitter winter kept work on ZomBEE at bay, at least anything that could be measured by the eye.
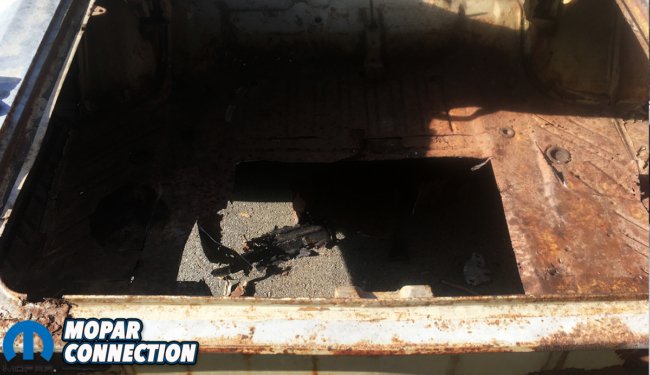
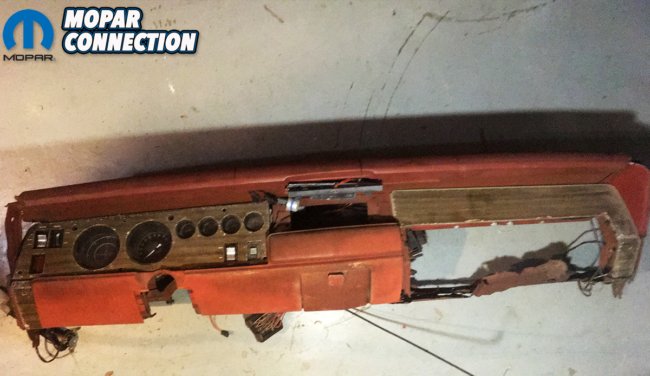
Above left: The trunk pan had already been hacked in addition to being a rotted-out mess. Above right: The Rallye dash was complete but in really rough shape. The dash frame itself was significantly rotted and all the wiring is frayed with exposed wires.
Although the Super Bee appeared complete – it had all of its glass, a complete dashboard, wiring loom, brake system (four-wheel drums) – there was much to be desired in the way of structural sheet metal. The rockers appeared to be decent at first blush, and from what I could see, the sub-frames were surprisingly solid. Thinking a new trunk pan, floorboards and a few patches were all that was needed, ZomBEE could be on the road in no time. At least, that’s what I thought. Two days’ inspection showed a car that could easily collapse in on itself if not properly repaired.
B-body Mopars are some of the biggest uni-body cars Detroit built, and Dodges are even bigger than Plymouths (well, longer technically), and sturdy sub-frames weren’t going to be enough to preserve the car’s integrity. Every inch of the uni-body structure serves a purpose, and inexplicably, large portions of it had been purposely cut out. The package tray was all but completely removed, as was the cross-brace below it (tying the tray to the floor), as were the quarter window inner structural panels. Assessing what needed to be done, I accepted what needed to come out.
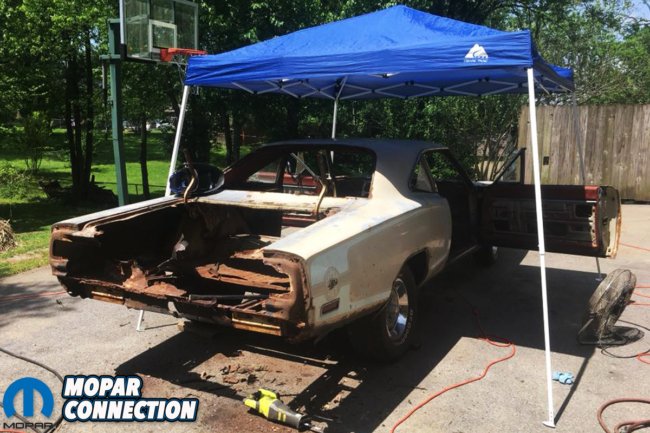
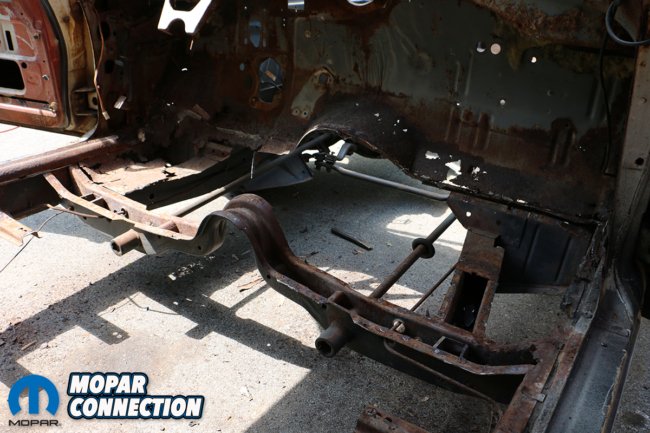
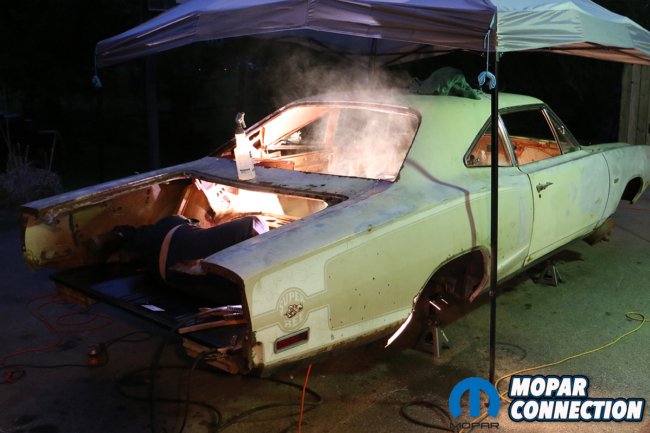
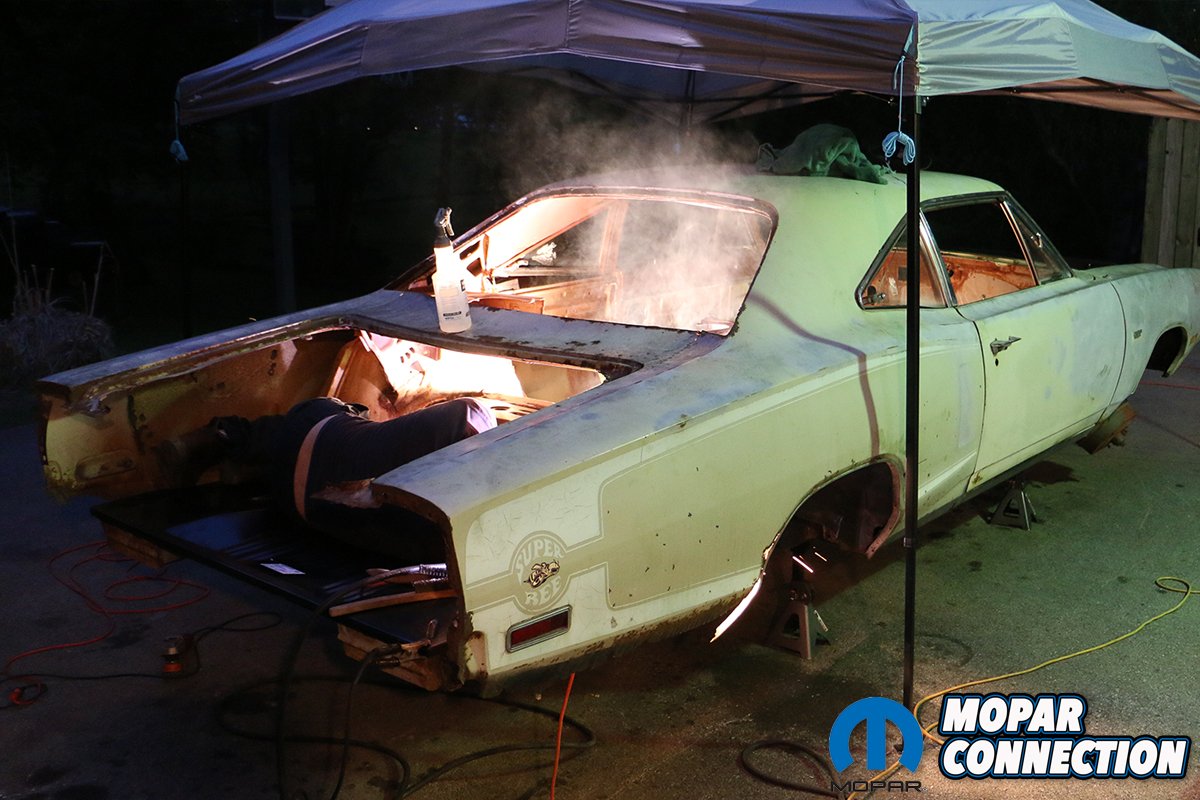
Above left: With so much cancer consuming the rear of the car, the whole tail panel, much of the lower quarters, and rear window sill needed to be cut out and replaced in addition to the floors and trunk pan. Above right: With the floors out, we got a better view of the frame rails, which are gratefully, in solid shape. The firewall, on the other hand, is an entirely different matter.
Above: With the tail panel, trunk pan and extensions out, the floorboards were buzzed out, exposing the frame rails. Although the skin is rotting off this corpse, ZomBEE’s got some decent bones to build from.
The hood and trunk were so corroded that both were separating from their respective inner structures and better off sold. They and their hinges were first off the ‘Bee, as VFN Fiberglass had stepped in to provide new lightweight, pin-on replacements. The windshield was cracked, so removing it needed to happen anyways. As the compound-curved rear window was in good shape (and a rather expensive piece to replace), it definitely needed to be preserved. Unsurprisingly, it put up a fight, it’s ancient butyl tape nearly petrified in place. Beneath it was a nearly non-existent window ledge and valance panel. It too needed to be replaced when the time arose.
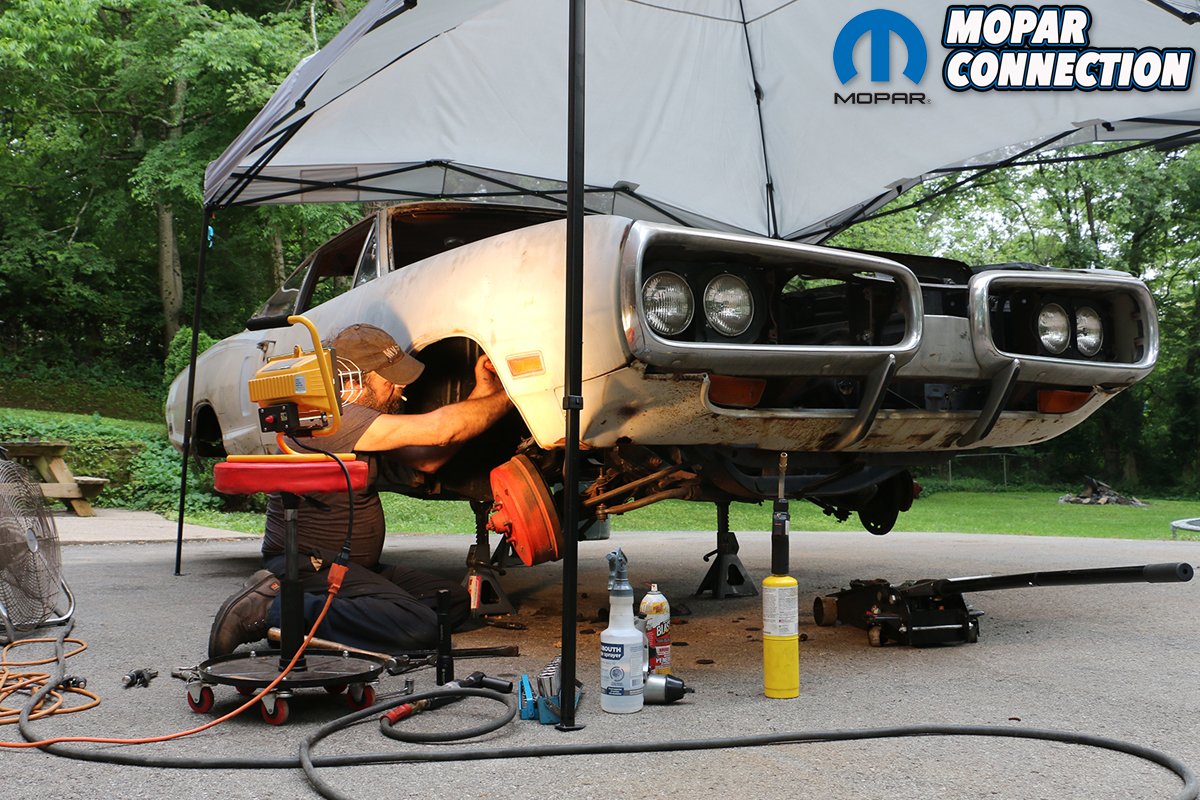
The Rallye dashboard came out with not too much of a fight, it’s rotted metal frame tattered and frayed. Sadly, the frame is all but destroyed requiring us to find a replacement. The factory fuel and brake lines, emergency brake cable and pedal, proportioning valve and exhaust hangers were next. Bill Crabtree of the AMD Installation Center & Classic Muscle Metal was quick to council: “Get that car off of its suspension. Pull all of that stuff out as quick as possible. Those cars were assembled with no weight on the subframes. If you want it to weld together straight and even, it’s gotta be bare.”

Above: Nobody likes to see how the sausage is made, and the inside of this Super Bee is a labrynth of rusty, tetanus-shot inducing razor-sharp edges.

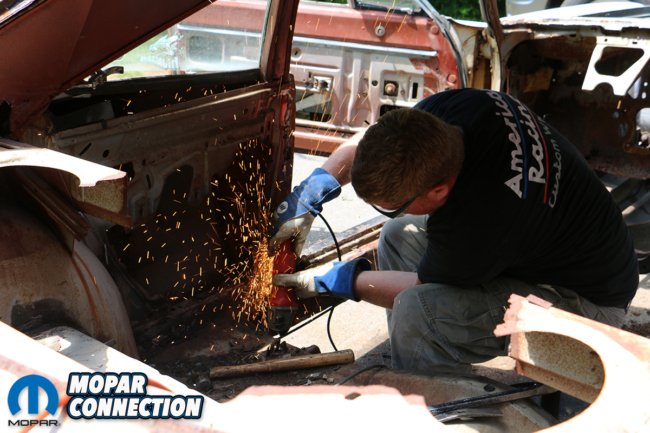
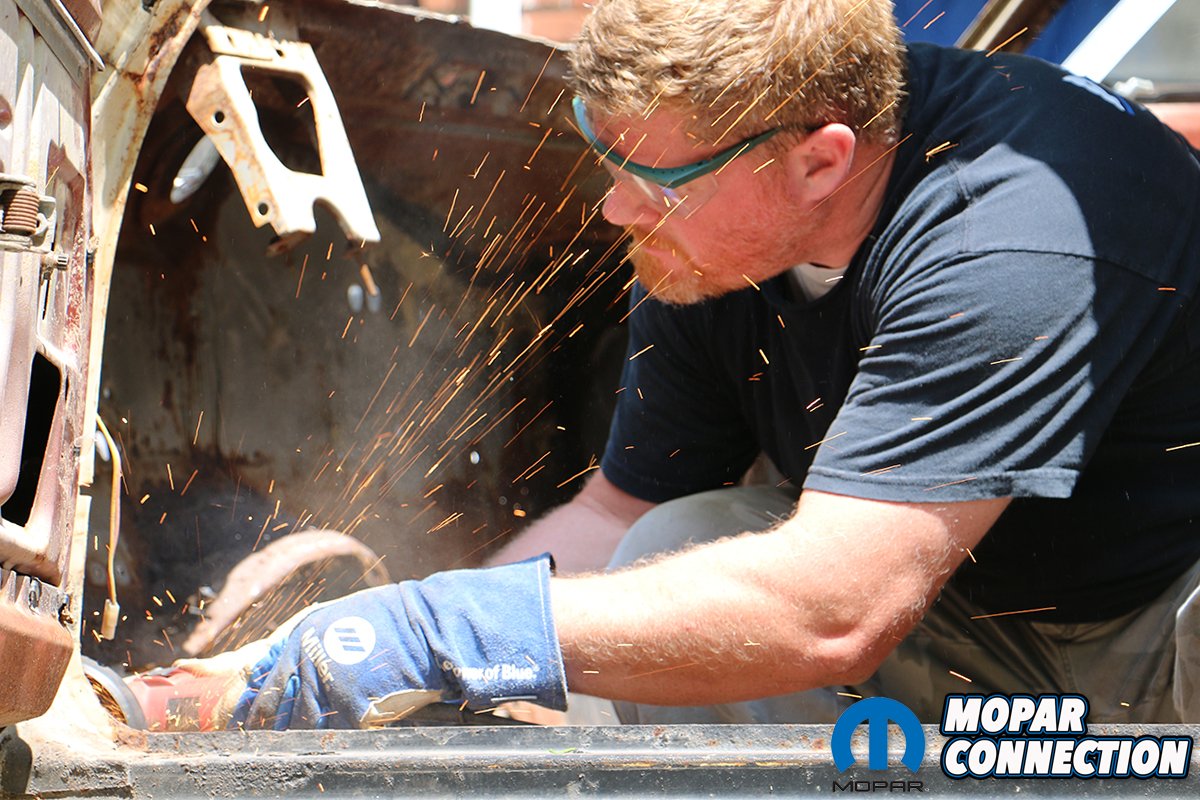
Above: Removing the last remnants of the floor clinging to the inner frame rails required the use of a spot weld drill bit kit, an electric drill, a cold chisel, hammer, angle grinder and quite a few grinding and cutting wheels.
Following his advice, we proceeded to drop the leaf springs and gutted 8.75 rear housing. The front brackets loosened, but the rear shackles put up a terrible fight. Or so we thought. By comparison, removing the front suspension has been a Herculean task. All but one of the upper A-arms’ eccentric bolts were frozen in place. Equally, the torsion bars feel almost welded in. No matter how much penetrating oil or heat (we aren’t planning on using the factory torsion bars again), they refused to budge. A cutting torch would be our backup where the sawzall couldn’t get the job done.
Seeing as so much of the cancer was located towards the rear, I began by removing the rear bumper. Of the eight bolts, only two survived. The rest snapped off either under the leverage of a breaker bar or the force of the impact wrench, no matter how much penetrating oil or heat I applied. The bumper and its brackets was removed and placed in the ever-growing pile of Super Bee parts beside the house. Corrosion had eaten away all but the entirety of the lower rear quarters, trunk pan, trunk extensions and rear tail panel, including the valance connecting the tail panel to the trunk. Gratefully, the die-cast tail lights and quarter panel extensions were in fine shape and were easily unscrewed and removed. We’ll use those again.
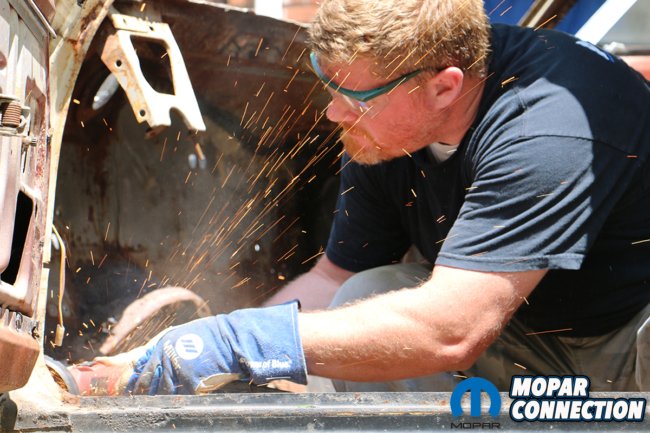
Above: Miller Electric came on early with Mopar Connection’s Project ZomBEE and provided us not only with the Millermatic 211 MIG, but a gorgeous hood (which I should be wearing) and protective equipment, including these gloves.


Above left: Another day spent with a flap disc and wire wheel cleaned off all of the flat mating surfaces on the frame rails rife for fresh metal. The light grey color is a coat of Rustoleum’s weld-through etching primer. Above right: As our (non-existent) luck would have it, a freak hail storm beat down halfway through our second day on the job.
Cutting well inside of the seams with a sawzall, the tail light panel chattered and flapped violently as it was cut free. The rearmost cross member connecting the trailing ends of the subframes was almost non-existent and was next to suffer under the saw’s blade. What little remained of the factory trunk pan was quickly scarfed out using a combination of the sawzall, cutting wheels, and a good ol’ fashioned cold chisel and hammer. (We went through two Harbor Freight air chisels as well as a pair of air pressure regulators with no luck, making the pneumatic option was off the table. You get what you pay for it seems.) Carefully following the seam bonding the wheel tub to the trunk pan proved gratefully easy with a 9-inch metal blade on the saw, but only from below.
A hailstorm of rust, debris and 50 years of dirt and dust rained down on my Miller Electric welding hood as the saw chewed at the rotted steel. Afterwards, a few passes of the flap disc and wire wheel left a clean, exposed surface ready to be primered and covered with a new AMD trunk pan. Or so I thought. The factory-correct way would be to spot weld the trunk pan’s lip to the lower edge of the wheel tub, but little remained of the tub itself. So I opted to switch to laying a bead along the top of the seam. Not exactly Troy Trepanier-level stuff, I know, but with a factory-looking smear of seam sealer none will be the wiser, I mused. Unfortunately, the perforated wheel tub put up a fight; the rotted steel spat and sputtered, making for some seriously ugly welds – particularly as we tried to fill the cancerous metal.

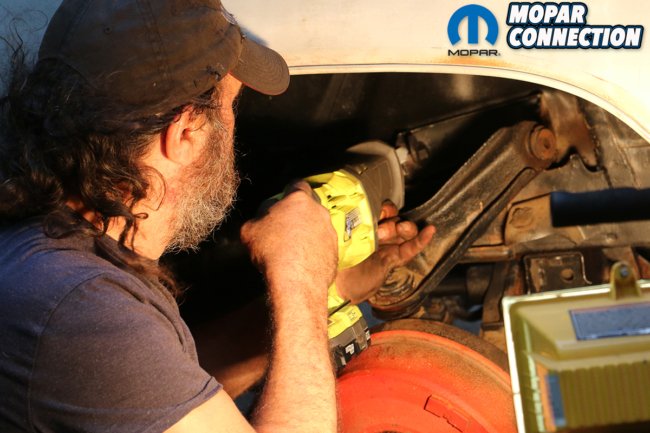

Above: A smart man is never too proud to call in reinforcements, and that’s what happened when our front suspension refused to budge. Thankfully, (in)famous Mopar man, Tony DeFeo was willing to spend a hot and humid afternoon cutting and torching the rusted-solid eccentrics in our Super Bee’s upper A-arms.
The floorboards came out as quickly as the trunk pan, but not as cleanly. Careful not to cut into the lower supports, we cut inside of the frame rails, leaving the spot welded-on pieces to be chiseled and ground off later by hand. Again, a pneumatic air chisel would’ve worked wonders here. Rather, the process took much of the day; drilling out individual spot welds with the specially-designed spot weld drill cutter, a handful of different-sized chisels and a pair of odd-sized hammers. Next, I removed what remained of the torched-out cross-brace bonding the rear floors to the package tray. Finally, one last pass of the braided wire wheel cleaned all the mating surfaces and coated everything in a weld-through, etching primer.
To the observer, there’s still a lot of rot to be cut out; the lower half of the firewall insists on being replaced. So too does the butchered package tray and cancerous lower rear window valance. Repairing the quarter panels will require some doing, as complete ’70 Coronet quarters aren’t available through the aftermarket (only the side skins are). We’ve found a few replacement tail panels and should have it and a new rear cross member shortly. In all, ZomBEE has proven more difficult than initially expected but not impossible. As new, fresh metal is stitched in, I’ll be able to pull more rotted steel out. Without the precision tables and pre-fabbed support structures of the AMD Installation Center on hand, cutting everything out at once and piecing it back together would prove disastrous.

Above: Because we didn’t have a spot welder for our trunk pan’s seam-to-wheel tub welds, we opted to clamp and bead weld the trunk to the wheel wells, and simply cover our tracks with some seam filler. When the time comes to stitch the trunk floor to the sub-frames, we’ll need the patience to drill-and-fill the welds with our Millermatic 211 MIG welder.
So instead, I’m just slowly chipping away; a little cutting here, some grinding there, and some welding…well, everywhere. Meanwhile, work on building a custom Dana 60 with Currie Enterprises has already begun and I’ll begin gathering up parts for our new engine that we’ve got in mind (it should be pretty crazy). Of course, you can always stay tuned for further updates on ZomBEE here at www.moparconnectionmagazine.com but we also publish plenty of pictures, videos and updates on our Facebook page HERE.


