


Project Brazen, our 1969 Dodge Charger, has been a testbed for multiple aftermarket manufacturers’ products. In its current configuration, the Edelbrock-headed 535 cubic inch displacement (CID) wedge provides plenty of low-end power. But unfortunately, the heads seem to run out of air around 5600 rpm, and the big wedge’s power goes flat.


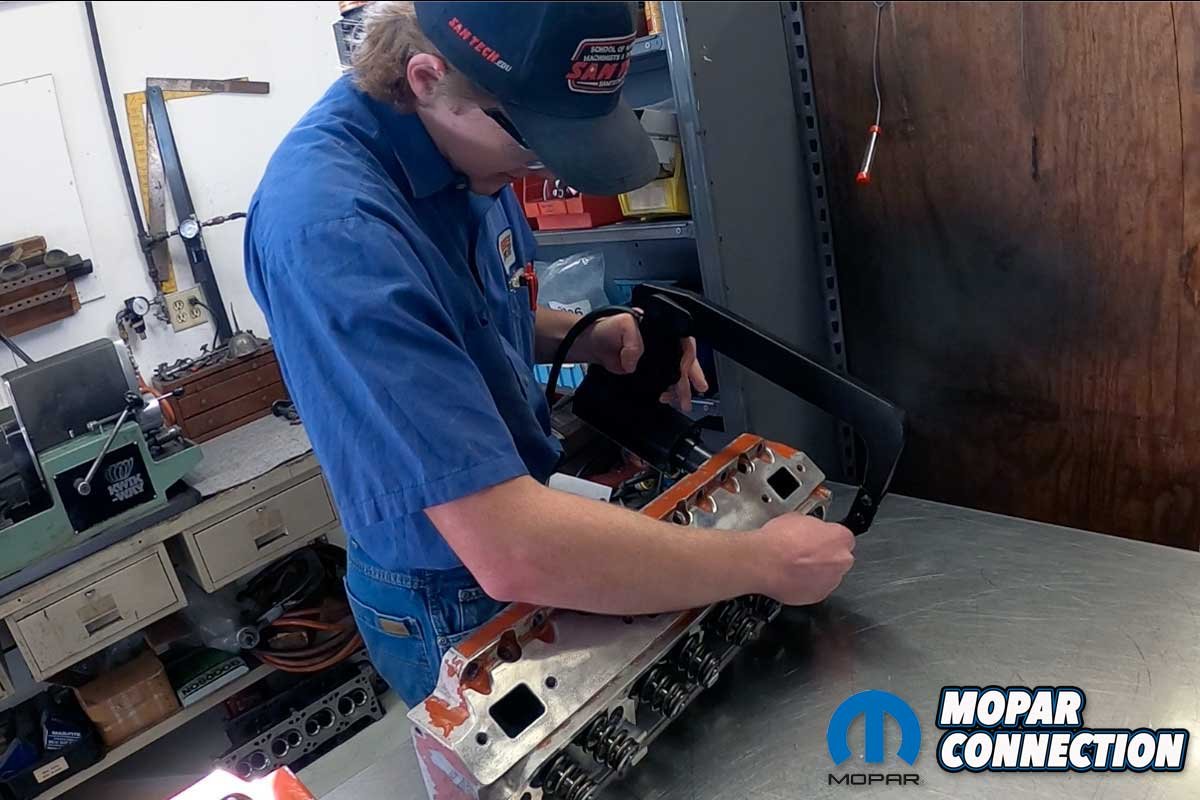
Above Left: Keaton White handled the disassembly of Brazen’s cylinder heads. Above Right: The cylinder heads, valves, springs, retainers, and keepers were in decent shape.
We contacted the Edelbrock reps, who informed us that Hughes Engines is the business we needed to reach to have the heads worked over to increase the port airflow (cubic feet per minute – cfm). You did not have to tell us twice. With the cylinders heads off Brazen, we hauled them up to Washington, Illinois, from Tennessee.


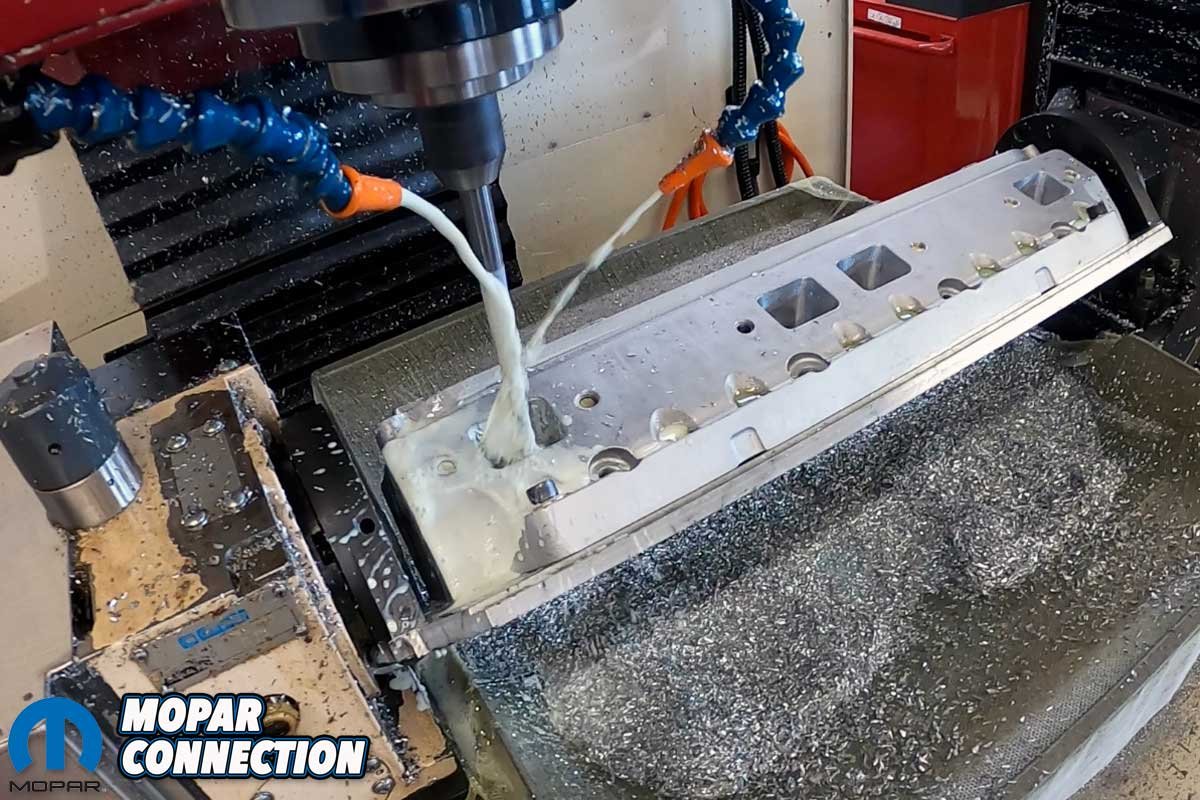
Above Left: The Edelbrock heads were cleaned and inspected. After the inspection, the heads made their way to the CNC machine. Above Center: Hughes Engines has in-house designed templates for the Edelbrock heads, which maximizes the performance of the heads. Above Right: The CNC process significantly improved the airflow characteristics of the cylinder heads.
Our Edelbrock heads (part no. 60925) were designed to work on a 1961-79 361-440 CID engine block. The heads had 84 cubic centimeters (cc) combustion chambers and came with a factory flow rating of 281 cfm on the intake at 0.550-inch lift and 222 cfm on the exhaust at 0.650-inch lift. The intake valves measured 2.14-inches, while the exhaust valves were 1.81-inches.
Upon arrival, Dave Hughes gave us a tour of his business, which has provided quality machine work and race-winning engines since 1969. While we toured, Hughes Engines’ employees began disassembling the cylinder heads. Initially, the bare heads were moved to the spray booth to wash off the oil and other debris. Once rinsed, the heads were dried and inspected.

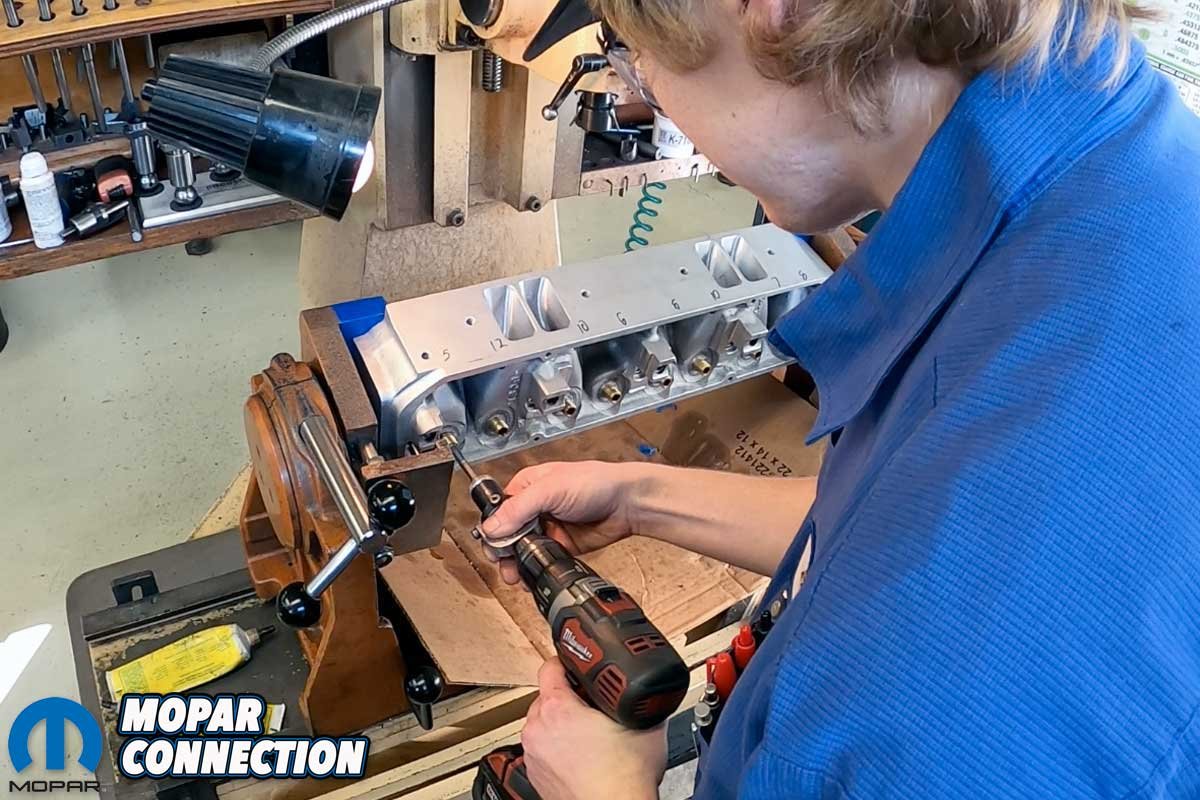
Above Left: The valve guides in the heads were worn out, so White replaced each guide. Above Right: The guides were sized correctly to obtain the specified valve stem to guide clearance.
Pleased with the condition of the heads, Hughes machinist Keaton White used a glass bead blaster to clean the aluminum to a like-new luster. Again, the heads were cleaned before giving the valve guides some attention. All the original Edelbrock guides were worn beyond spec, so the guides were drilled and reamed to accept new bronze k-line valve guides.

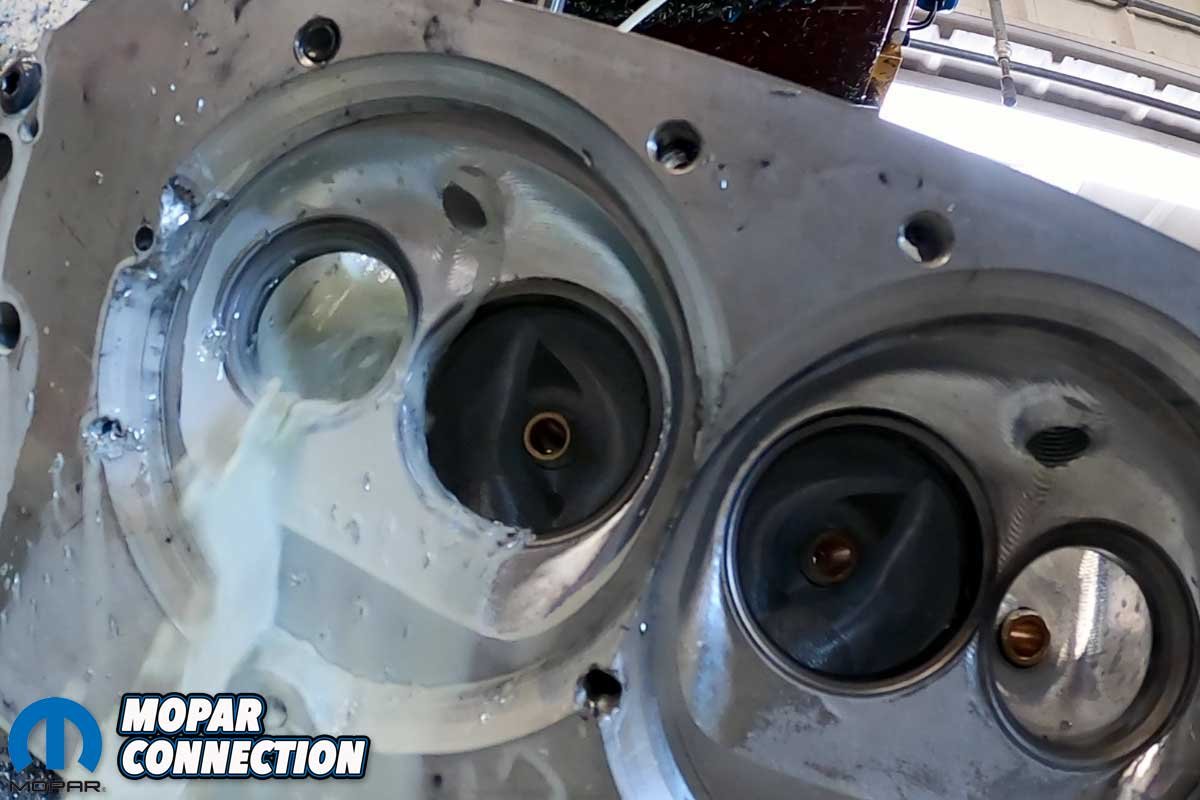
Above Left: With the guides installed and sized, the combustion chamber valve seats were cleaned up. Above Right: White touched up the valve faces for a flawless seal with the valve seats.
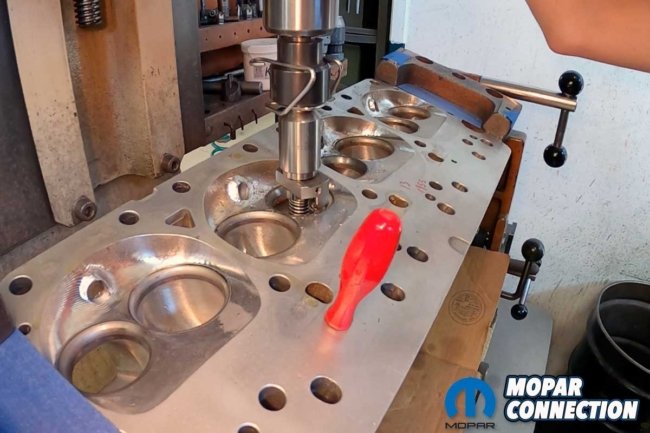
As soon as the guides were installed, the heads were walked to the computerized numerical control (CNC) machine. A pre-programmed software package cut the chambers to the proper size to support our engine’s airflow requirements. Additional attention was paid to the intake and exhaust ports with the same CNC machine. The CNC process would significantly improve the airflow of the heads, but there were accompanying steps to increase the performance of the heads.
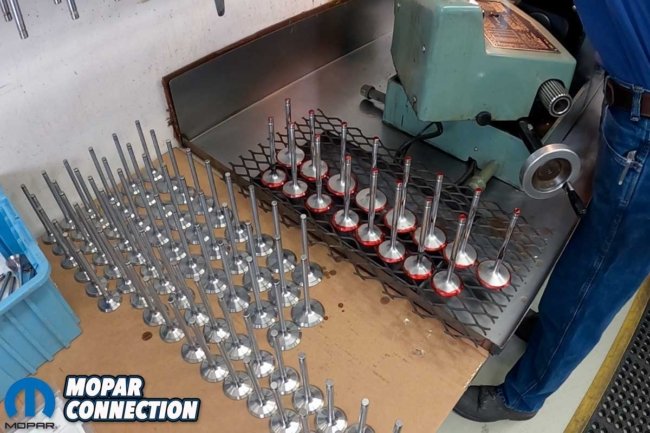

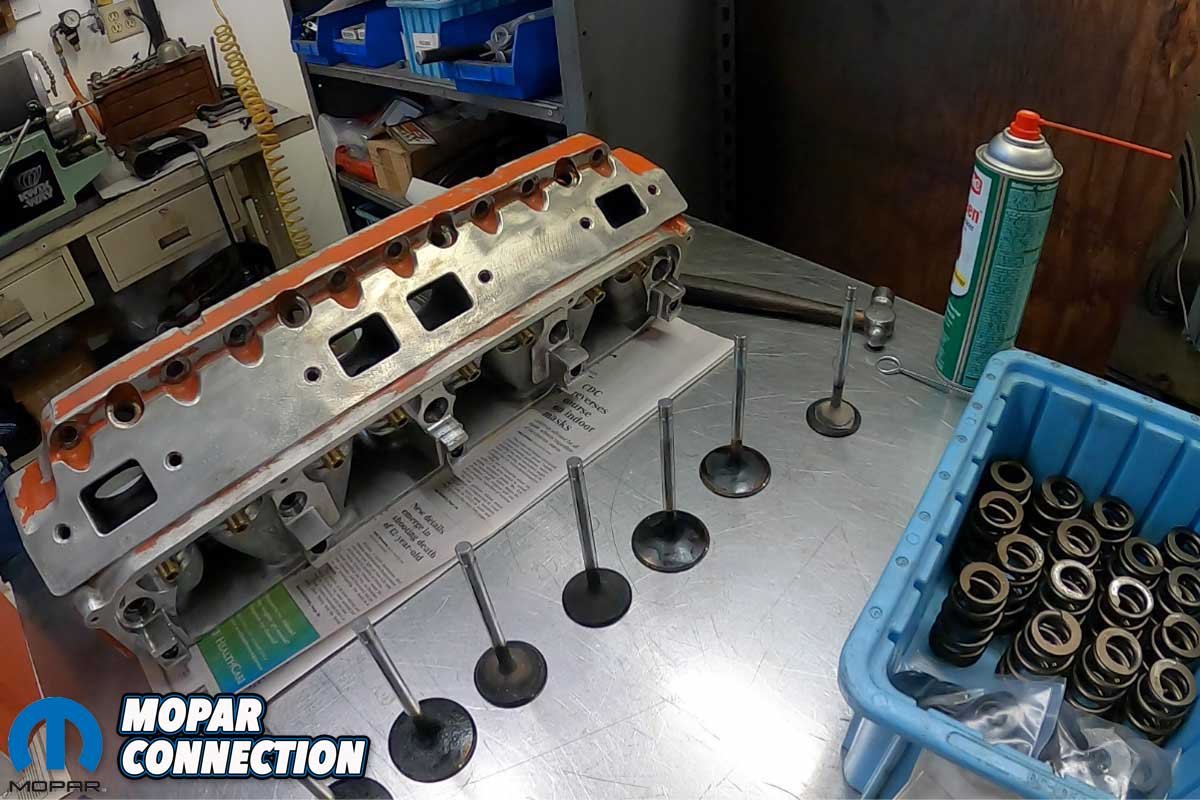
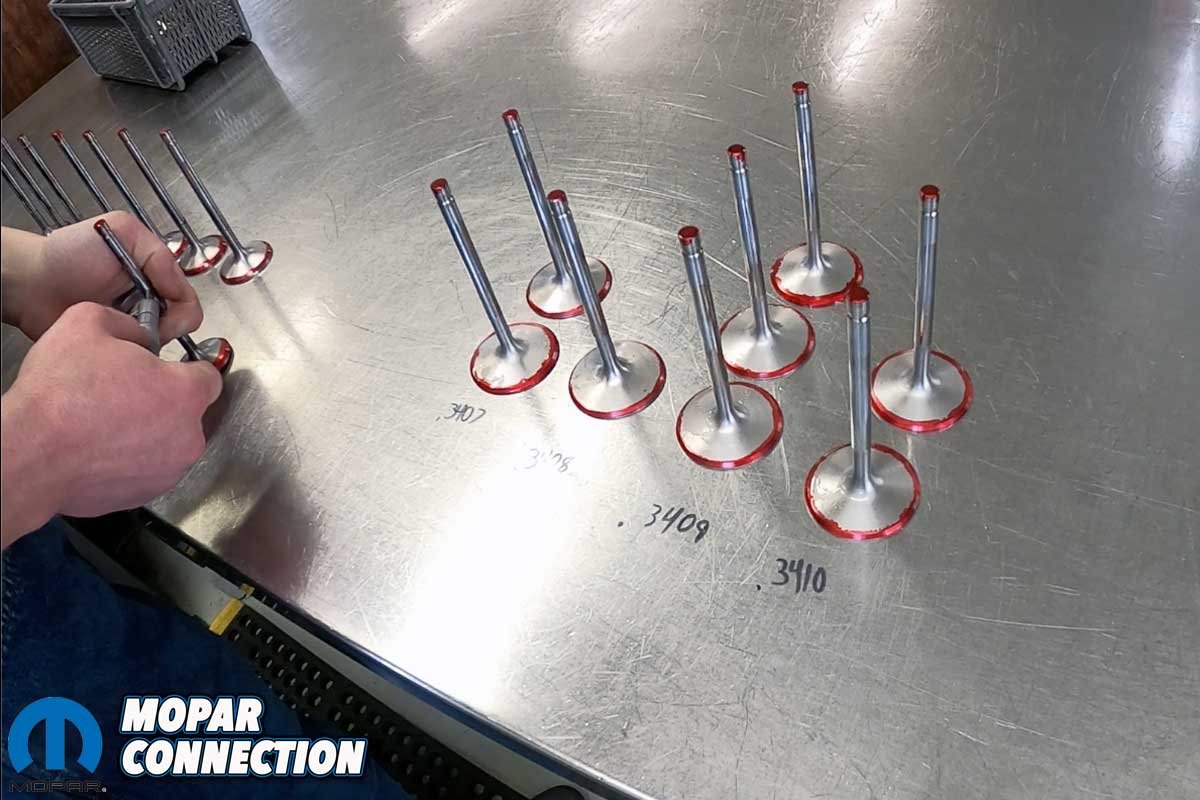
Above Left: The valves were lightly cut on a valve grinder and measured for stem size. Above Right: White lined up the valves based upon the stem diameter.
Following another spray booth bath to remove the CNC coolant, White placed the heads on the seat and guide machine. First, the previously installed k-line liners were honed to provide the perfect clearance between the guides and the valve stems. After sizing the guides, each valve seat was cut with special Hughes cutters developed to take advantage of the CNC ports. Next, the valve faces were cut to match the valve seats in the heads while maintaining an adequate margin on the valves.
The heads moved again, this time to the porting room. A technician blended the valve job into the bowls of the previous CNC work. A carbide cutter quickly took care of the metal removal. A 60-grit sanding roll followed the cutter to merge the CNC machining to the chamber. Lastly, White used the same 60-grit sanding roll to remove the CNC tooling marks from each combustion chamber. The porting work provided us with beautiful ports and combustion chambers.


Above Left: White installed the valves at the specified installed height. Above Right: The combustion chambers were resized on the CNC machine to maintain the 84cc volume. Then, the cleaned valves were dropped into the cylinder head.
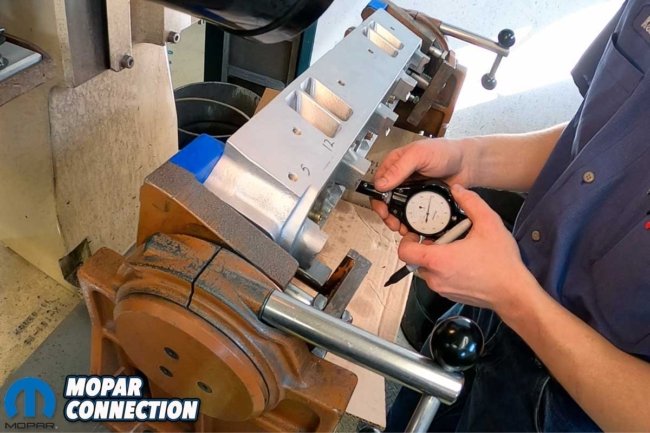
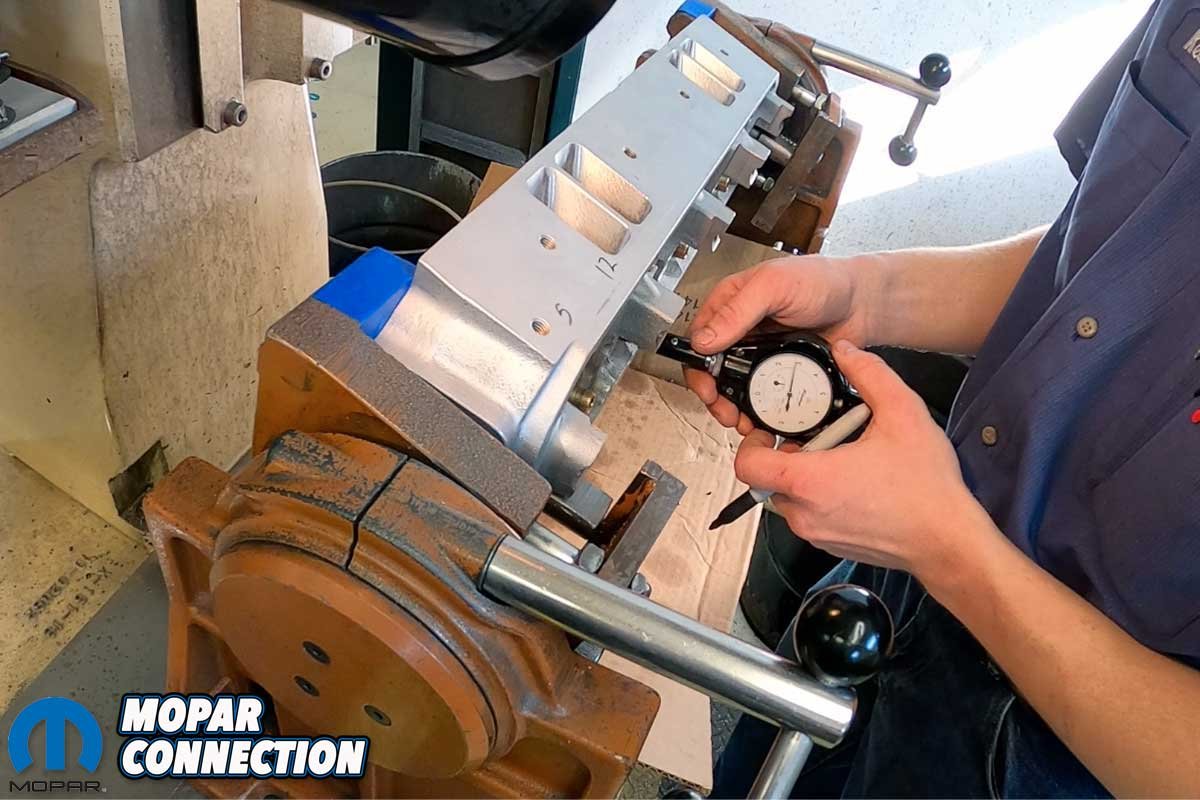
To finish the headwork, White measured the ccs of the combustion chambers to determine how much milling would be required to return the compression ratio to the recommended numbers. Next, the heads were milled in a surfacer machine to provide the roughness average (RA) required for the head gaskets we would use. Finally, after all the machine work, White scrutinized the heads and cleaned up and deburred any minor imperfections in the machine work.
After hand scrubbing each part of the heads, followed by a rinse, White placed all the components in an ultrasonic cleaner. An ultrasound agitates a fluid medium, which cleans the components. The ultrasound session took only a few minutes to complete. A final rinse was performed, and each part was dried and laid on a clean table for assembly.
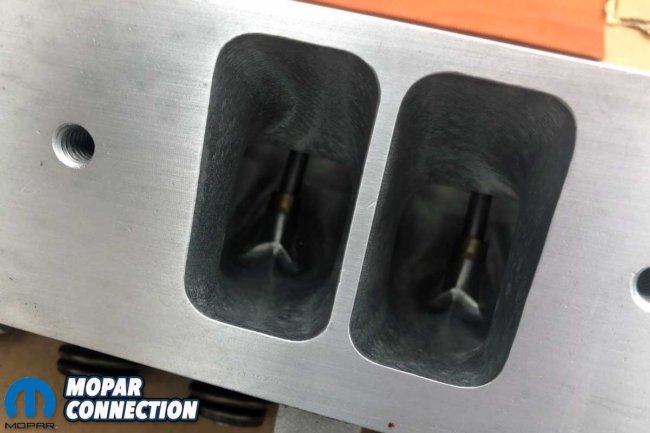
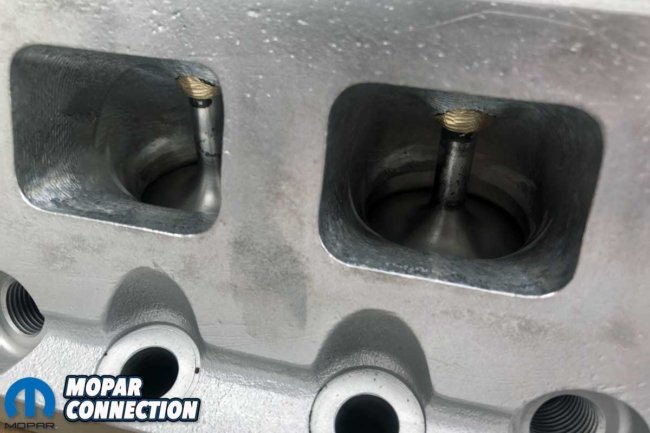
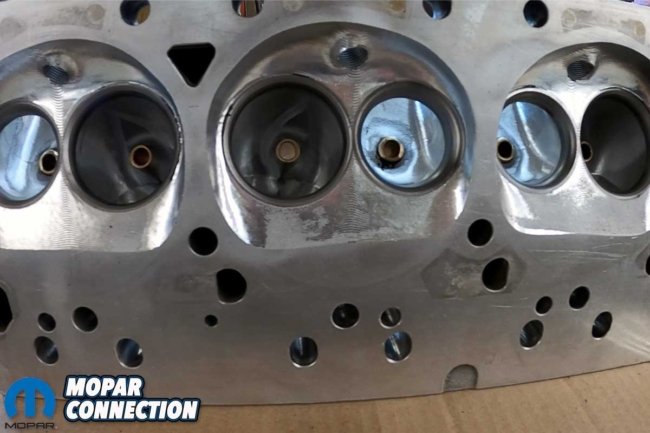
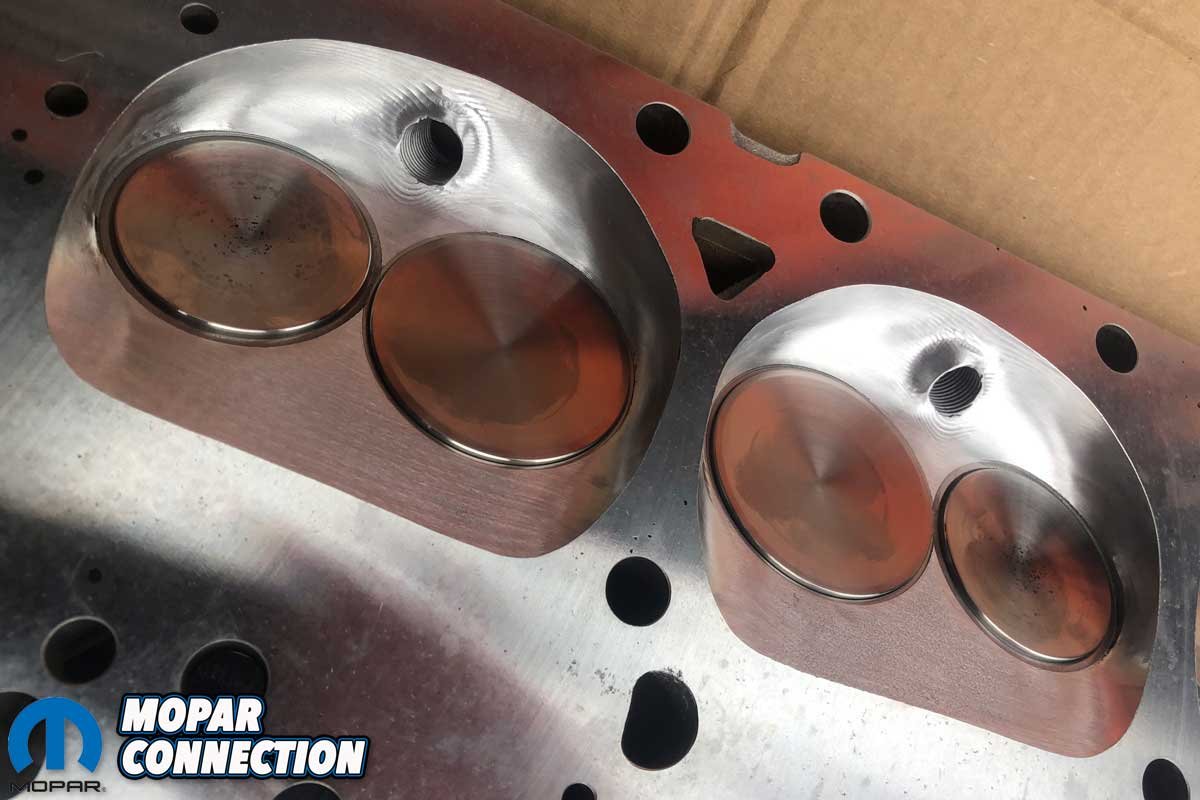
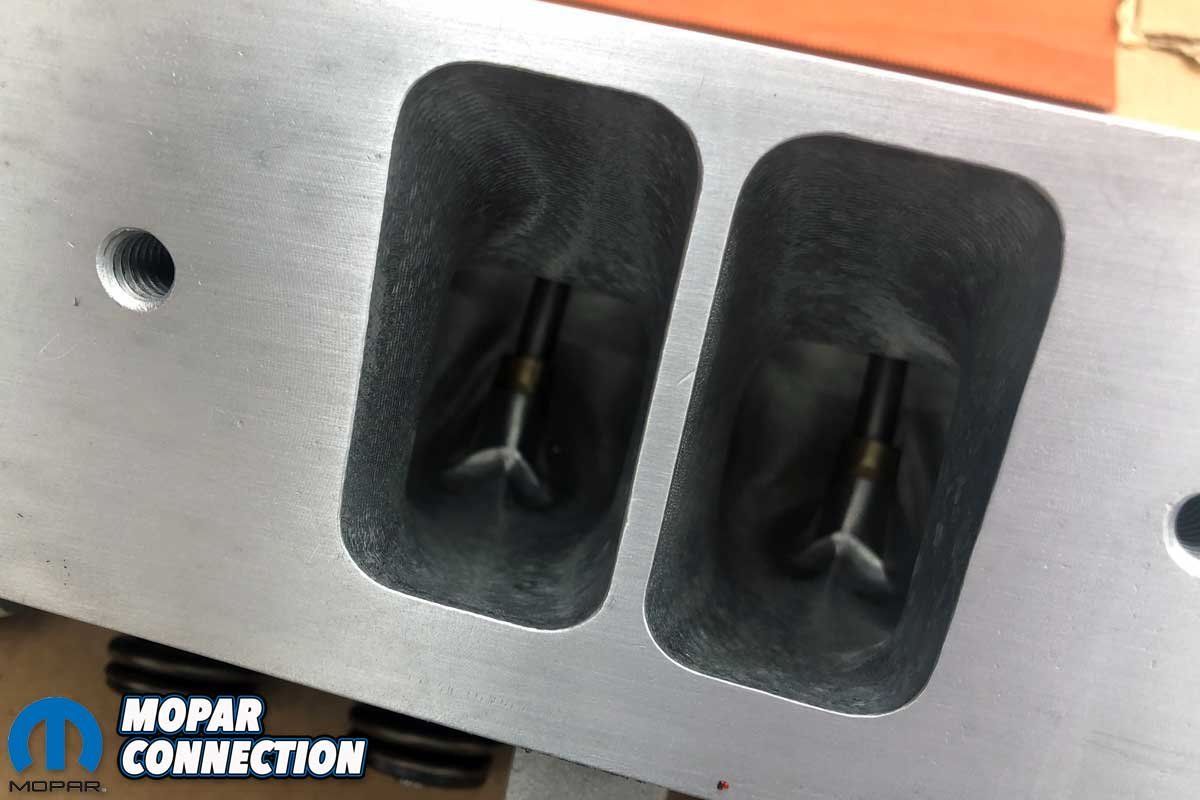
Above Left: The CNC machined intake ports are much larger than the original size. The flow characteristics can support 725 horsepower. Above Right: The exhaust ports are beautiful. White had to blend the CNC machining with a 60-grit sanding roll.
Each valve spring was checked for its spring rate with a Intercomp machine. After installing the new valve guide seals, a quick measurement was made to ensure sufficient clearance between the seal and the retainer. Finally, shims were placed under each spring to return the spring to the proper installed height for the camshaft in Brazen’s big wedge.


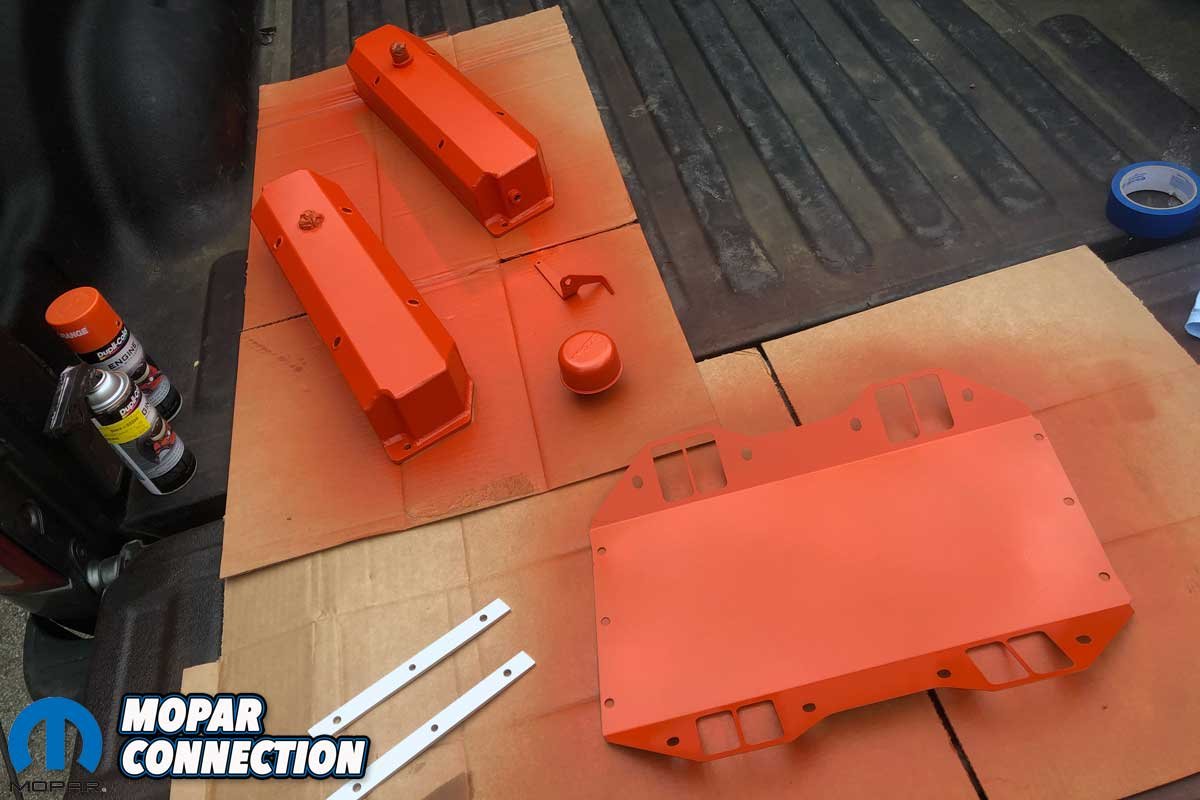
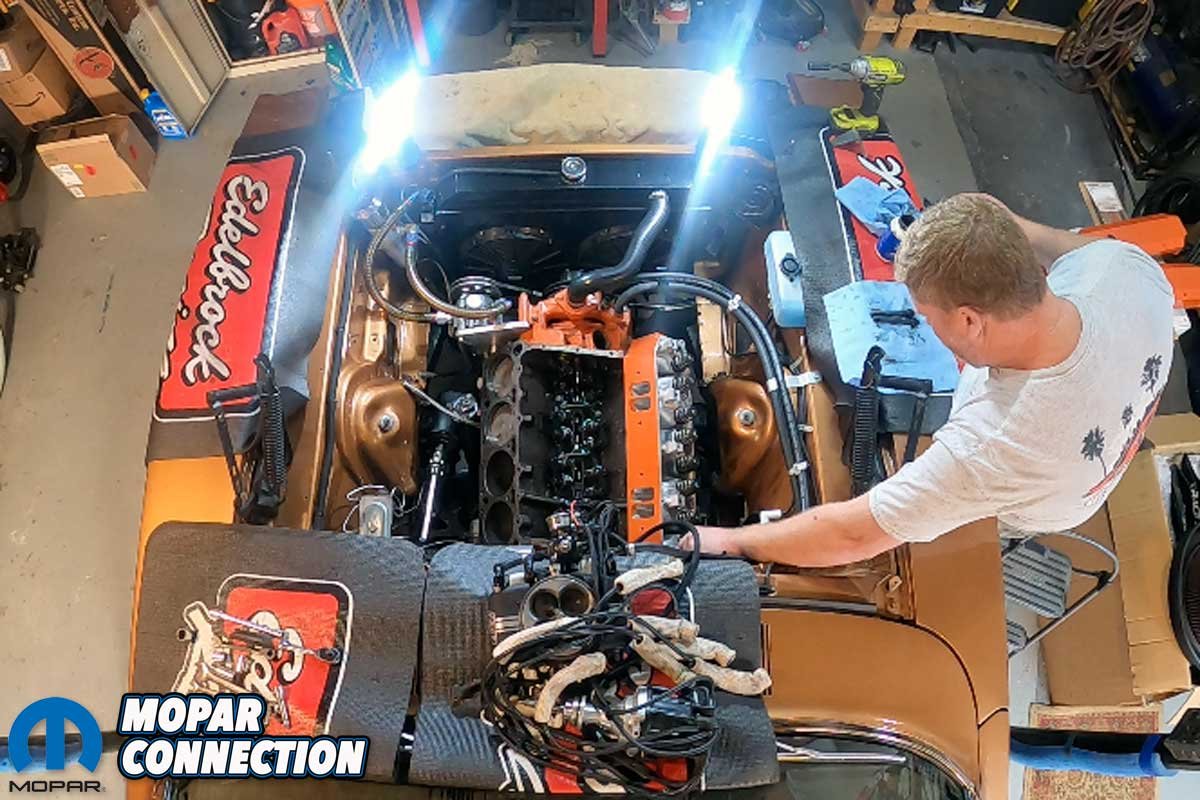
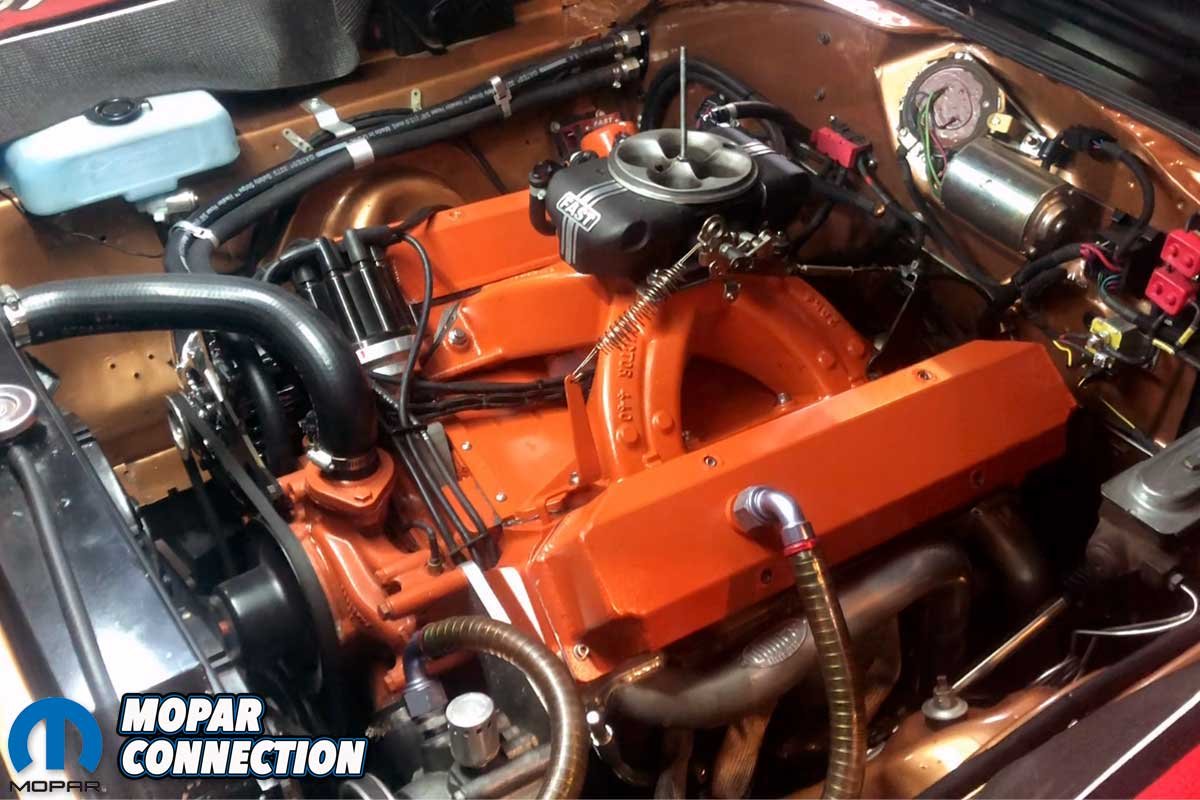
Above Left: With the cylinder heads back at our garage, we painted several engine components with a fresh coat of orange paint. Above Center: With the engine deck clean, we installed a new head gasket and placed the head onto the engine. After torquing the head, we installed pushrods and a rocker shaft. Each valve was lashed. Above Right: With one head installation completed, we installed the second one. Each head was painted orange to give the appearance of a “stock” cylinder head.
The prep and CNC work on the cylinder heads is an option from Hughes Engines (part no. 60929-S3). The heads can be purchased from Hughes or another supplier, but in either case, Hughes will perform porting that will significantly outpace the stock Edelbrock heads. The factory flow rating of the cylinder heads could support about 550 horsepower (hp), but with the Hughes CNC porting, the heads are good for 725 hp or more.

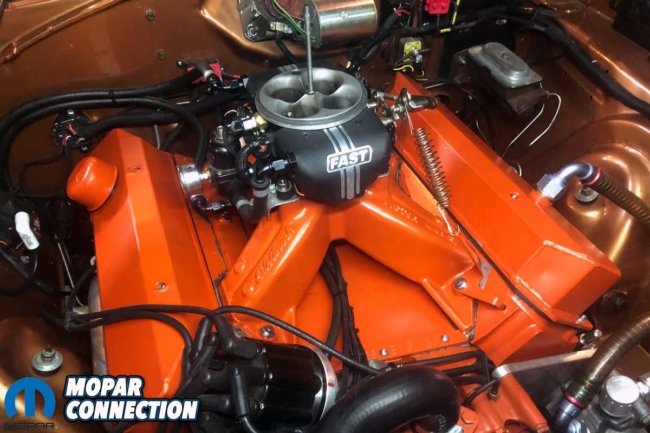
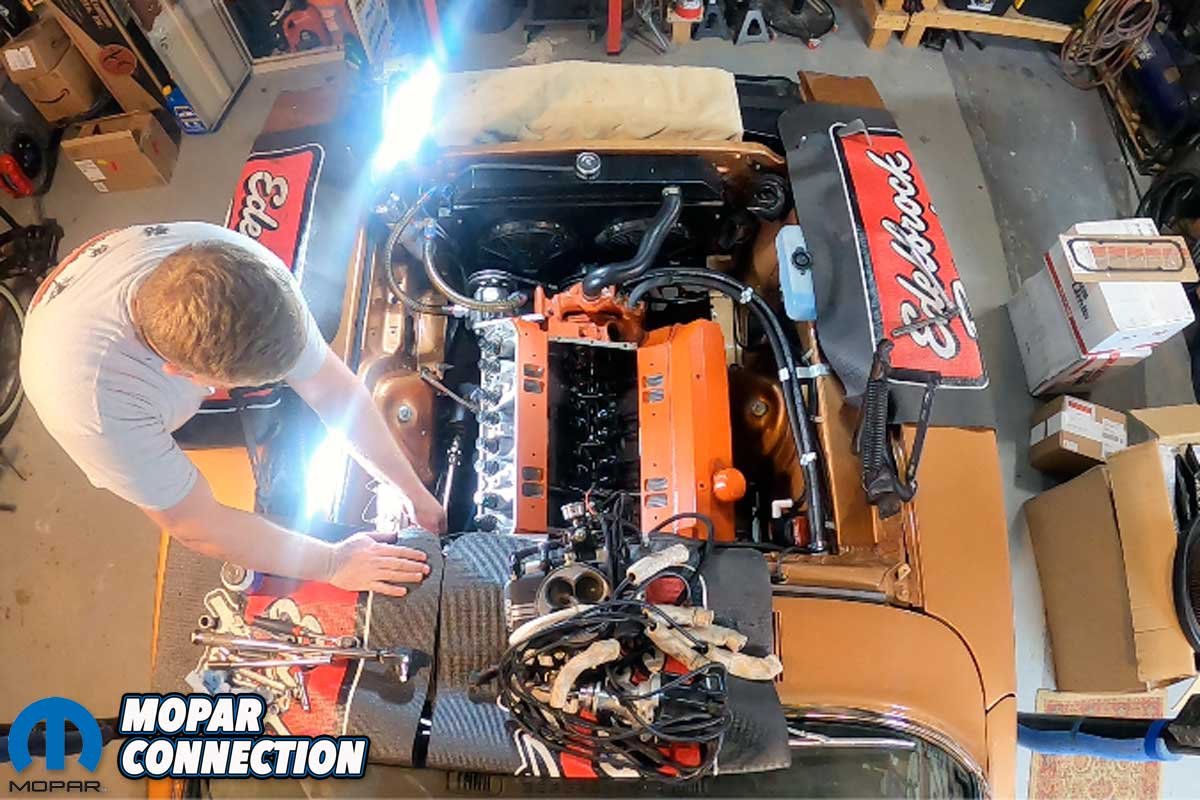
Above Left: Brazen’s big wedge is all buttoned up. Before we visited Hughes Engines, the engine tended to run out of air at around 5600 rpm. Above Right: The engine was flat past that rpm, but with the ported heads, the engine will happily spin well past 5600 rpm.
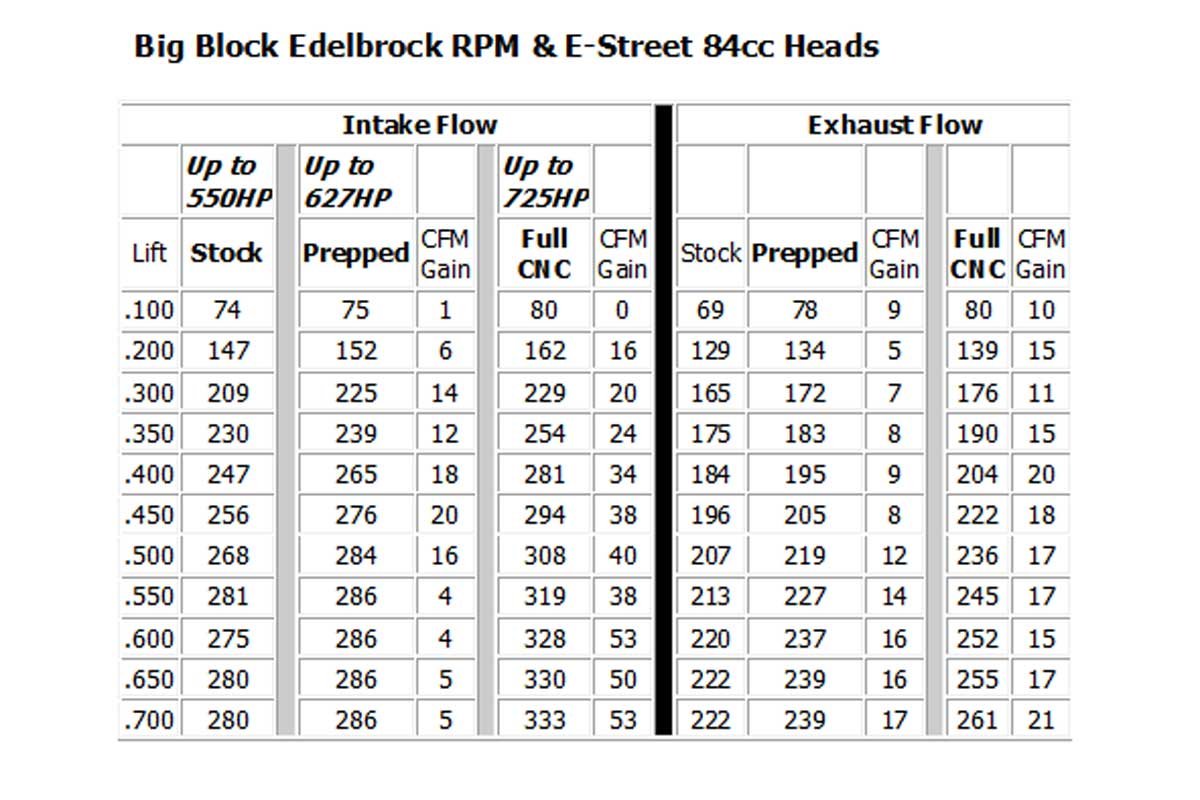
Hughes Engines promotes cfm gains over stock by 53 cfm on the intake and 21 cfm on the exhaust, both at 0.700-inch lift (review cfm gains in photos). The low lift-off seat cfm increases on both intake and exhaust are substantial. Low-lift airflow is critical in rapidly establishing quality air and fuel speed of the incoming air stream, so the rest of the mixture can smoothly follow into the cylinder.
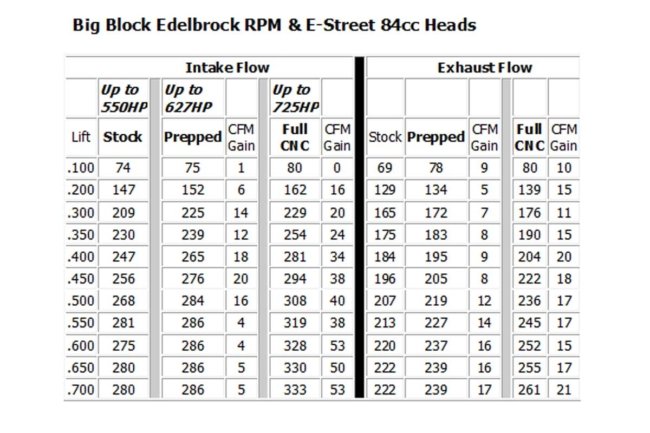
Above: Brazen got the “Full CNC” which optimized the heads’ airflow. The port work offers of potential of nearly 200 horsepower over the stock heads.
Upon reinstalling the Hughes Engines prepped Edelbrock heads, we have been impressed with the engine’s performance. The increased airflow has not hurt low-end torque, and the engine pulls well beyond the 5600-rpm flat spot it previously had – snapping gears at 6200rpm instead!
If you want better performance from your Mopar engine, Hughes Engines is the place to get performance parts, quality machine work, and great advice. Contact Dave Hughes, and check out the Hughes Engines website for the latest features for your Mopar.


Just put a Indy 572 Hemi in it…. Lol
Their math is way off on that flow chart. some changes are correct, some are a few numbers off, and some are off by double digits. !No Comprendo! Pls. advise.
We double checked with Hughes. They stand by these numbers.