


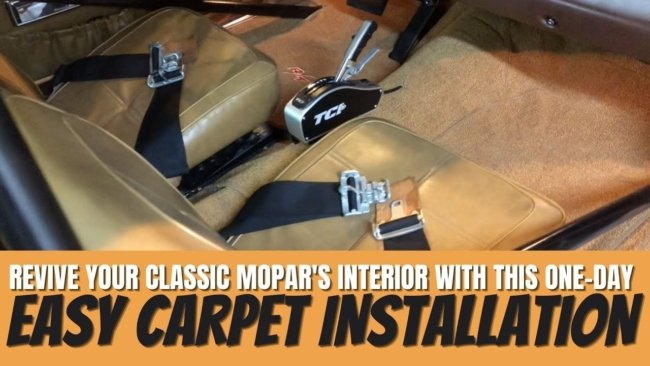
Our kit came to us from Auto Custom Carpets – or ACC to most of us – through our friends at YearOne. While we had gone a darker shade previously, the factory color for our Charger was Medium Saddle which we went will here.
Since most all carpet kits arrive in a pretty tidy box, it’s smart to let it lay out in the sun for several hours. Doing so is going to relax a lot of the heavy creases and wrinkles that show up from be crammed in a box for several weeks or months.


Unfortunately, the standard juke backing needed to be heavily realigned. So we peeled back most of it and laid down some heavy coats of spray adhesive on both sides before laying the juke back down flat – this time with no wrinkles. We also trimmed off the excess where it poked out.
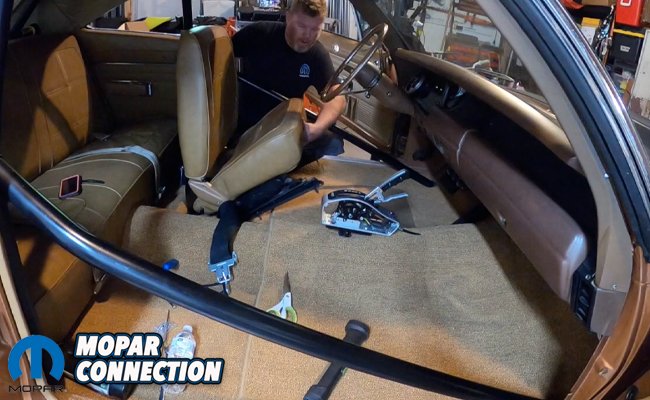
With the bucket seats removed and the rear bench out of the way, we began laying down the rear carpet. These kits come in a two-piece kit – the rear coming up and under the back bench and half way between the bottom of the front seats.


The carpet is molded to the contours of the transmission tunnel and the rear footwells, so laying it flat should be pretty effortless. Because of the roll cage, we needed to carefully measure around the down bars and trim the juke away before cutting a careful window where we could wrap around the bars as best as possible.
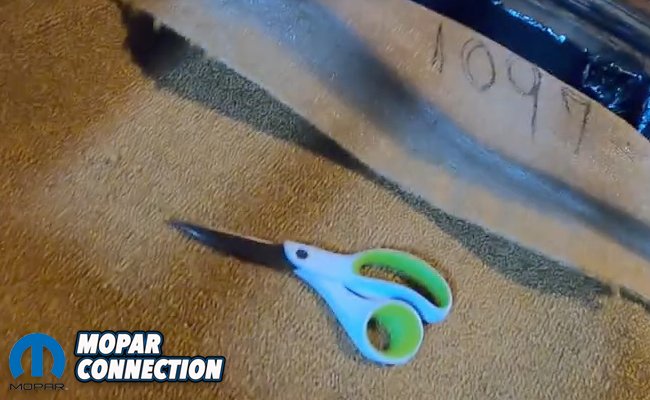
While the outside edges of the carpet will be tucked under the rear seat, the side panels and door sill trim, ACC does leave quite a bit of extra material, so you’re going to want to pick up a good pair of crafting or sewing scissors. Don’t use your wife’s good kitchen scissors. Trust us, it’s worth it to buy a new pair for this job.

The front runs a little ways up the fire wall and overlaps over the front of the rear section. The front has a few more obstacles to contend with like the accelerator pedal, forward down bars of the cage, highbeam switch and the pedestal mount for our TCI shifter, so we made sure to take our time and measure two or three times before making a final cut.
I’m not gonna lie, all of this time working around the roll cage really made me begin to resent it. I haven’t taken the Charger down the track is forever and for some stinking reason I’m still climbing in and out of it like I was Ronnie Sox or something. Don’t get me wrong, I like it, the car needs (especially with the engine we’re building for it) but man, it’s a pain in the butt. OK, back to carpet.


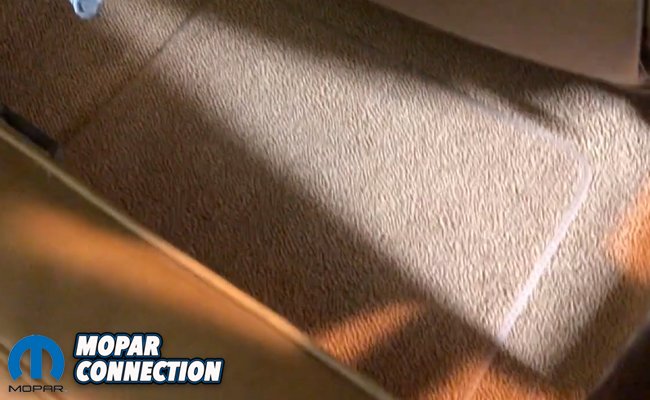
Unlike the factory who let the standard loop carpet simply rest in the car, we sprayed a little bit of 3M adhesive around the transmission tunnel and footwells where we didn’t want the carpet shifting. We’ve been in beautifully restored cars with loose carpet, and it just feels…weird.
With the carpet finally trimmed, we could re-install our shifter and bucket seats. Cutting holes is a bit of a chore, and there’s ways of doing both big and little holes that’ll ensure the least amount of fraying. Larger holes like for our shifter and the highbeam switch we made by pinching the carpet and nipping a small X-shaped cut and working it into a circle, taking small rings of material out until the hole fit our desired size.

For the studs holding down the bucket seats, we used a soldering iron to heat up and burn a hole up through the hole in the floor boards. This way, the plastic undercoating of the carpet literally melts a plastic ring around the edge of the hole, keeping it from fraying. Any lose threads can be snipped away using your fabric scissors.
And with that, the rest of your interior and go back in. You may have noticed the sound insulation we had covering the floorboards. We got that from Classic Industries several years ago. It’s great for mitigating heat, vibration and exhaust drone – and if you plan on driving your classic Mopar anywhere, we strongly recommend it.

As one final step, we splurged and picked up a set of color-matched embroidered floor mats from YearOne. We really think the embroidered emblems look great and frankly, we’re a little embarrassed to be so excited about floor mats. Jeez, we’re getting old.
Anyhow, the whole process shouldn’t take you longer than a day – and really for a couple hundreds bucks can radically change how the inside of your car feels. So if you’re on the fence, go over to YearOne’s website and check out the carpet offerings from ACC. You’ll be glad you did.


