


Our last article on the Comeback ‘Cuda covered the restoration of the front suspension. Now we turn our attention to the rear suspension. All 4-speed Hemi ‘Cuda’ convertibles came with a 9.75 Dana 60 rear end and heavy duty (HD) springs. Upon inspection of the rear end we discovered that indeed we did have a completely rebuilt Dana rear, but it isn’t an original Mopar unit. The good news is it is a heavy duty Moser Dana rear end. If you thought a Ma Mopar Dana was bullet proof, you should see this bad boy. Every part of this unit is more stout than an original. The axles, the housing, the welds on the axle tubes, all are more beefy than original.
We inspected the gears, ring and pinion, axle bearings, and seals, and all were within factory specs and like brand new. The rear springs had been rebuilt with new zinc liners, plastic slides, and new clamps. The main thing we found was that the lower short leaves of the springs were the wrong numbers. Enter Tony’s Parts. Tony has reproduced these leaves and they are amazingly priced, very reasonable and best of all, original in appearance.


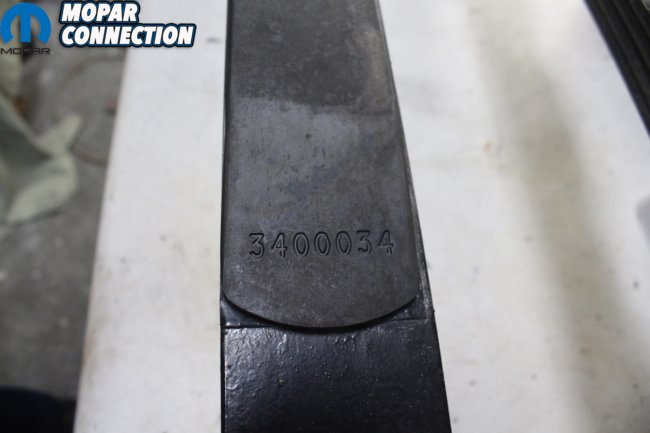
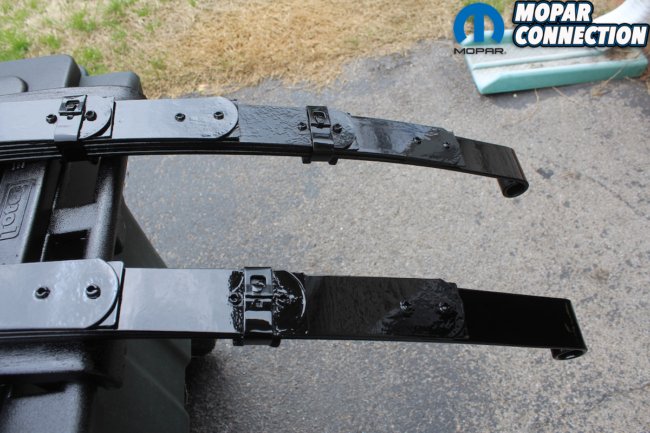
Above left: Upon inspection of the leaf springs we found that the lower leaf on both sides had the wrong part number. They were the correct HD springs and had been rebuilt but we needed correct parts numbers. Tony’s parts have reproduced these lower leaves and they are great! Above right: 3400024 is the number stamped into this leaf. They are crisp and clean and the correct fonts. Just what we needed.
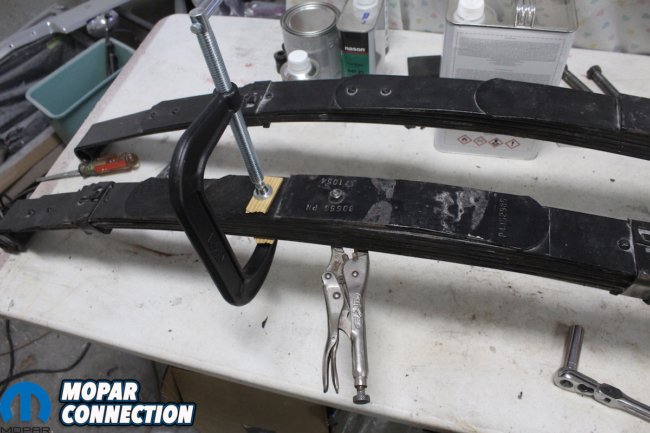
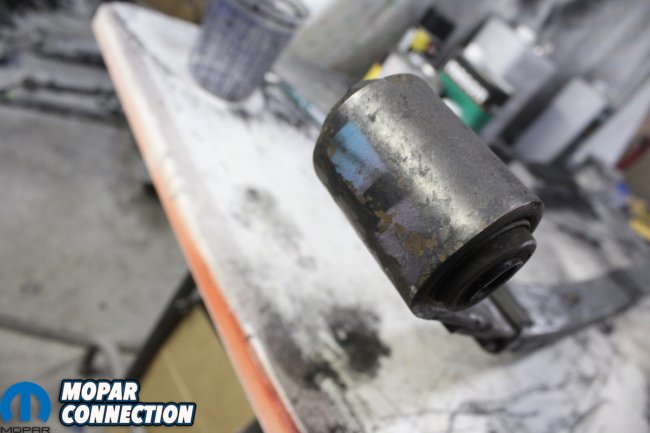
Above: We removed the lower leaf by using a couple of C-clamps to keep the springs from flying apart. We removed the bolt that holds the assembly all together. This is a special bolt that doesn’t have a normal head. It is rounded and fits up through the leaf spring assembly and shock plate.

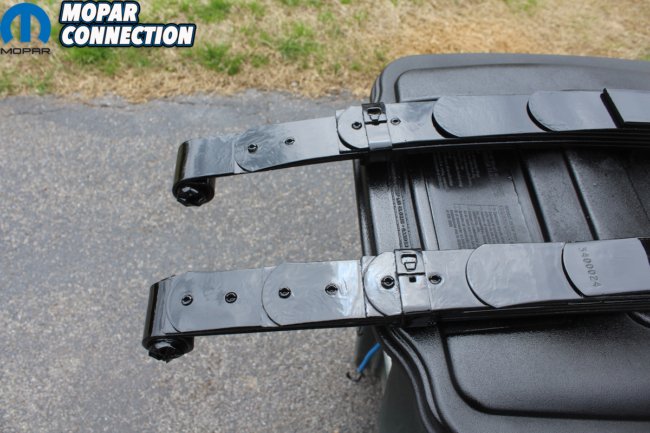
Above left: 3400034 is the number for the lower leaf for the other side of the springs. Above right: There seems to be some confusion about the rear leaf springs and their color because of “Graveyard Cars.” Mark Worman finishes his springs in black but has natural spring clamps. We have never seen anything on an original car to support this. The springs were either natural with natural clamps or painted black with black painted clamps. You see anytime these were painted black they were painted fully assembled. Therefore clamps, plastic slides, exposed edges of the zinc inner liners and leaves are black.
Since we basically had a new unit, all that remained to do was to strip, repaint and refinish all parts to original condition. We purchased new front hangers, eye bolts, rear shackles and bushings from Frank Badalson. The best part about buying parts from Frank is you can know that when you get them, they will be as close to original as possible. Nothing worse than buying supposedly original parts and when you get them, they are wrong. Then you have to contact the seller, argue with them about the part and maybe have to return it, and if you are lucky, get a refund.
The Dana had a chrome cover that we replaced with an original from eBay. We purchased original cover bolts, with correct head markings again from Badalson. After sealing up the Dana and removing the brakes, we purchased a sand blaster from Eastwood. We blasted the rear end and springs. We then painted everything in semi-gloss black and added all the correct inspection marks. Any natural metal parts were treated with Rust Preventative Magic (RPM) and everything was re-assembled.
Above: Different color marks are on the front ends of the leaf springs. These helped the line workers to know what spring went where on the car. Here are the original markings on one of our springs.

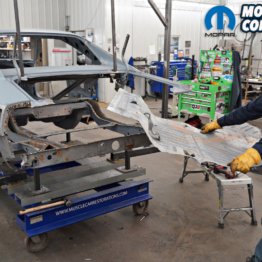
Above: After blasting the springs, we painted them with semi-gloss enamel paint through a spray gun. Spray cans just don’t apply enough paint.


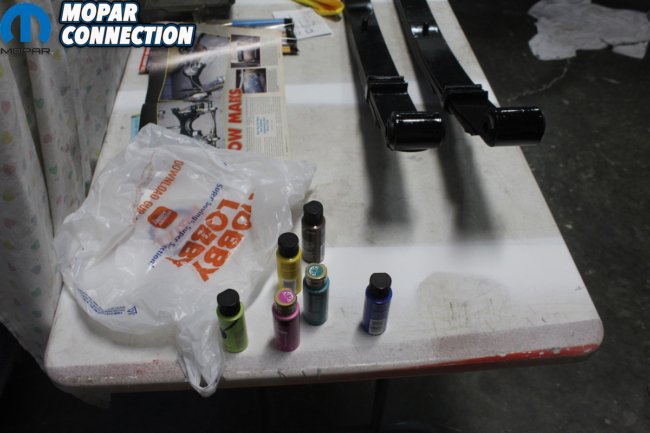
Above left: We replaced the front hangers with new ones from Frank Badalson. They have the correct natural finish with the correct black phosphate “H” studs pressed in. The captive washer nuts are also correct and are correctly finished in black phosphate. Above center: The shock mounting plates, studs, front spring hangers, and rear shackles are all, natural metal. Each of these will be treated with RPM so they can keep the natural metal finish without painting them. Above right: Your local hobby store will have water-based paint that is correct for all the inspection marks. They are inexpensive and can be mixed to create any color needed. I have collected several magazine articles over the years documenting these inspection marks. They are helpful, but the best resource is your original parts.
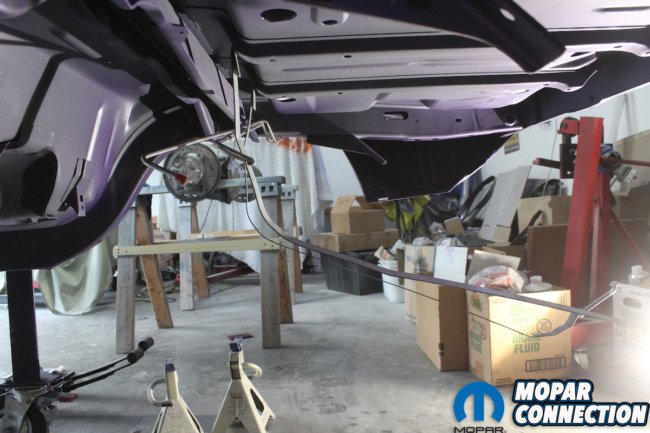
Once the springs were attached to the Dana rear, the entire assembly can be installed as one unit. Before installing it, we put the gas tank in and hooked up all the lines. It is much easier to do this before installing the rear end. Now that we have the rear end installed and the tires on the car it is ready to have the entire front suspension, engine, and transmission installed in the car. But before that can happen, we need to install the clutch assembly, transmission, and all of the engine compartment wiring.
We also will finish the dash and install it before we can proceed with the full drivetrain installation. Things are rolling along at a great pace, step by step. More to come with the Comeback ‘Cuda restoration in 2019!
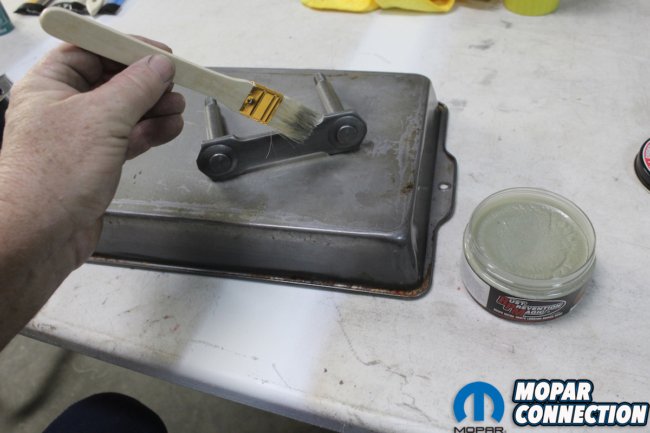
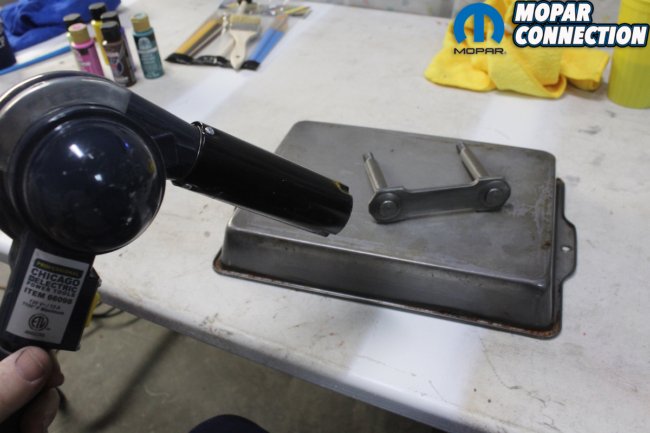

Above left: The Rust Preventative Magic (RPM) from ECS is a great product. It is the only way I know to keep natural metal natural and rust free without painting. Make sure your have the parts completely clean and rust free before treating. You take the brush provided with the RPM and liberally brush it on the part. Above center: You then take a heat gun and heat the part until the paste dissolves and flows over the part. After it cools you take a clean cloth and wipe the excess off the part. Above right: Some people have said that the shock mount plates are painted semi-gloss black but on 1970 E-bodies they are for sure natural. We use the RPM on these too.
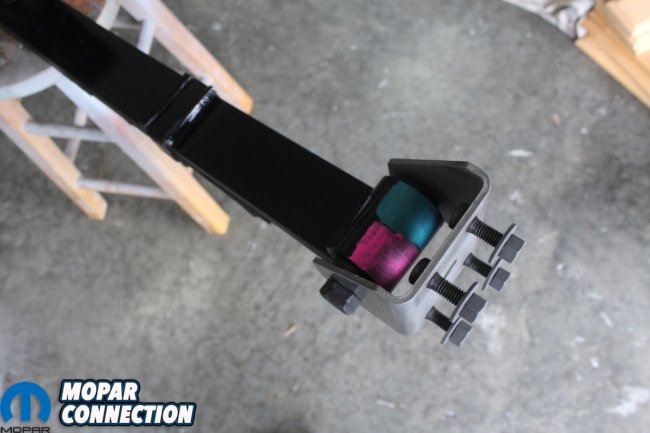

Above left: Using the paint, we purchased from the hobby store, we mark the front of the passenger side spring with two one inch stripes, on the front of the spring eye. These two stripes are pink and turquoise and yes it matters which one goes to the outside and which one goes to the inside. Above right: The driver’s side spring has a brown and beige stripe while the passenger side has the pink and turquoise stripe. There are different color stripes on B-bodies, A-bodies, and E-bodies. Make sure you do your research as to what your car came with.

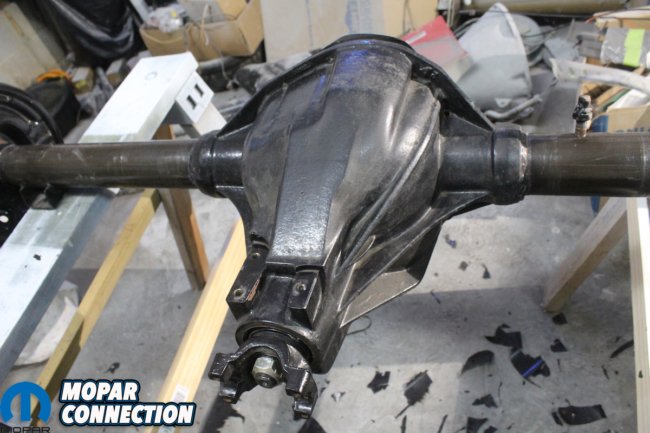

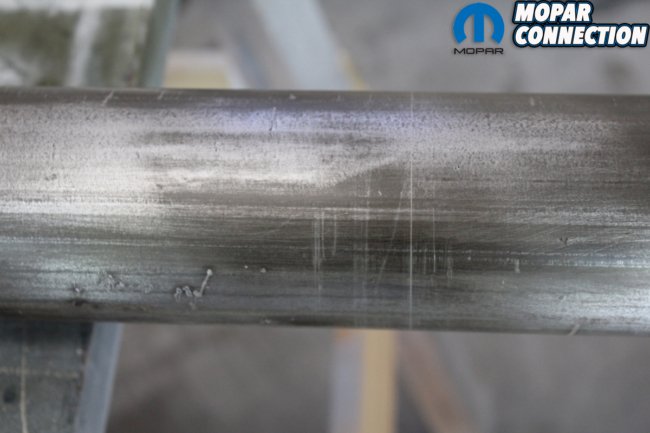
Above left: The first give away that this rear end wasn’t an original is the tell, tale welds on each end of the axle tubes. The original Dana’s do not have these. Above center: The gears proved to be the original ratio 3:54. The front yoke that attaches to the drive shaft to the drive shaft should be natural with a black phosphate nut. Above right: Someone had covered the entire rear end with Por 15. We hate this coating. People think that you can paint it over everything and all will be well. It doesn’t work and when someone wants to correctly restore the part this stuff is hard to remove.
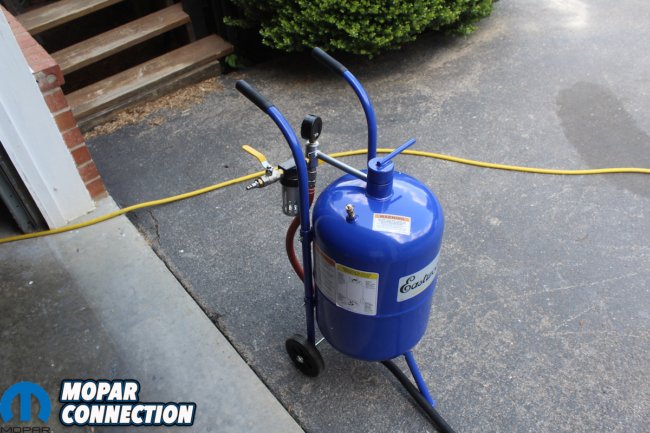
Above left: We stripped the rear end or at least all the parts we could strip by hand. After hours of working on the rear end by hand we gave up and decided to bring out the big guns. Above right: Eastwood has several different sizes of sand blasters. They have enclosed cabinets and these external units. I must say they really work well and are not that expensive. They can use different types of media without any problems.
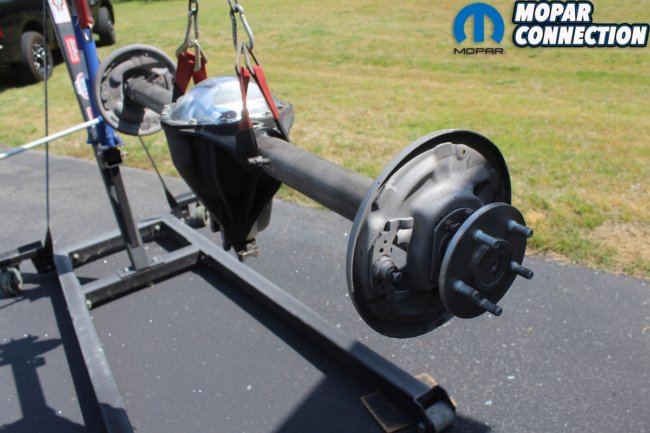
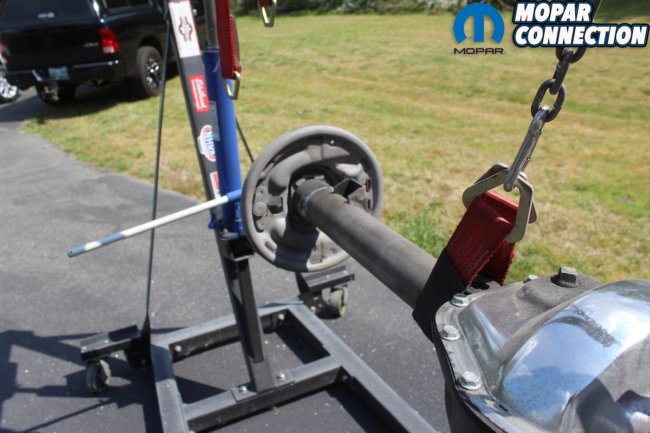
Above left: We suspended the Dana with our engine hoist and took it outside in the driveway. We used Black Magic media to clean off the old Por 15. The media isn’t that expensive, and we don’t try to re-use it because foreign particles can stop up the blaster. Above right: Blasting is the only way to get to all the nooks and crannies of the backing plates, mounting perches, and the re-enforcing ribs.


Above left: After buying an original Dana cover off E-bay we blasted it in the media blast cabinet. We hit it will epoxy primer and then installed it with a new gasket and the original bolts we purchased from Frank Badalson. Above center: The backing plates and axles are completely clean and ready to be painted. Normally we would have disassembled and pulled the axles on the Dana, but this is a completely new Moser rear end. Everything is new. Above right: We found that using two saw horses made this beast manageable. This way we can work on one side and then just roll it over to work on the other side. We used a wire brush on a die grinder to strip the center section of the Dana of the remaining Por 15.
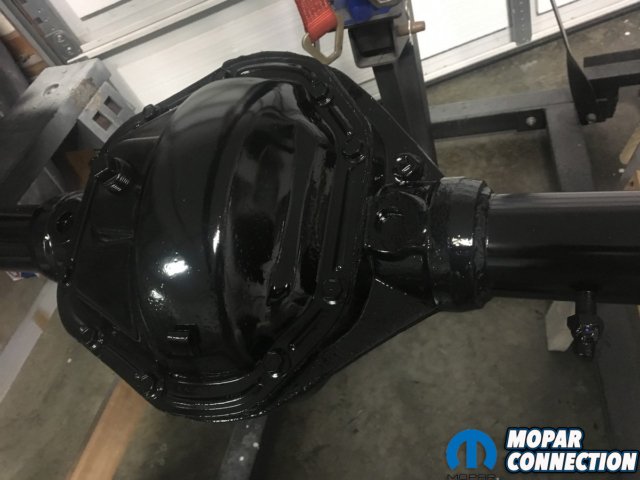
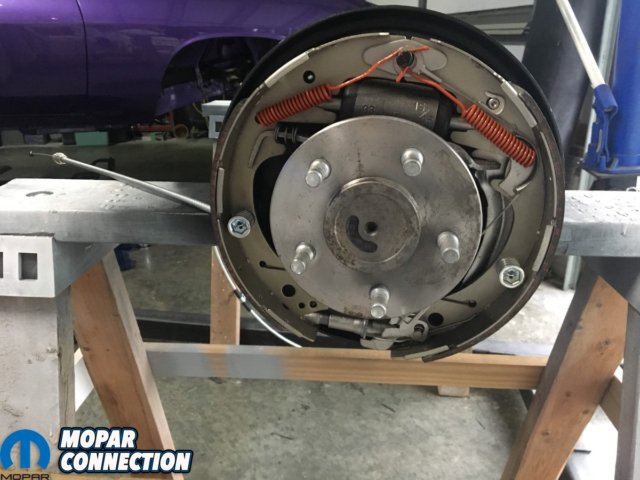
Above left: We shot the entire Dana in semi-gloss black. Later after it all dries, we will remove the filler plug and clean it since it is natural metal. We will also add any inspection marks. Above right: We installed all new brakes, paying special attention to original details like color of springs, brake shoes and hardware. We also went ahead and install the new emergency brake cables we got through YearOne. These parts are better then new but completely original in appearance.


Above left: We installed the new axle vent that also carries the brake lines that spit off from the rubber brake line into the two stainless lines that go to the newly rebuilt wheel cylinders. We installed the red and white paper part number tag. As you can see, it is oriented so that it can be read from the rear center of the car. Above right: The ratio tag and the sure grip additive tag are now installed. There is an orange inspection mark on the bolt head at the 6 o’clock position. We also use a white grease marker to add the “E” with a circle around it. We still need to attach the brake lines and stamp the axle tube with a yellow stamp.
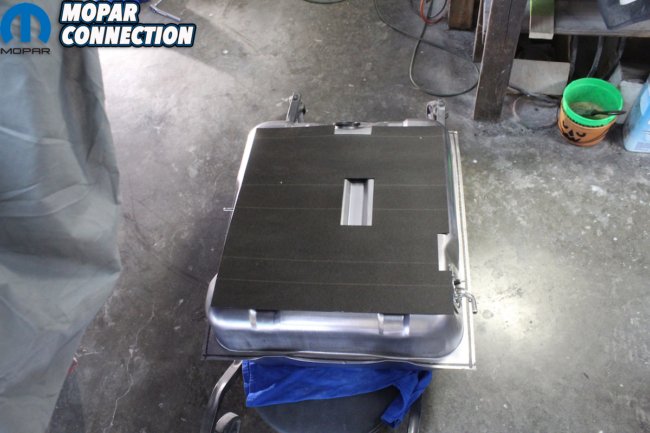
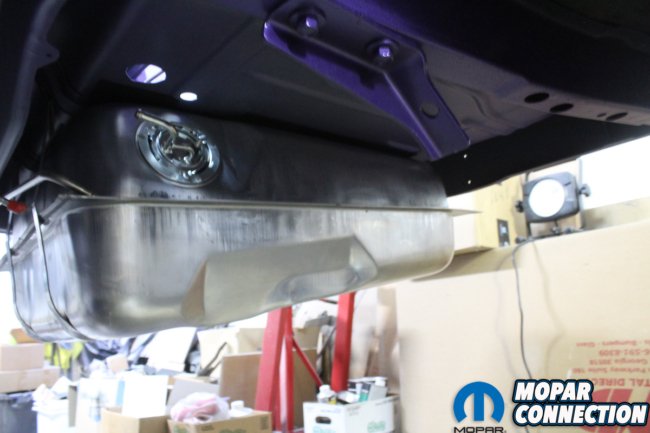
Above left: Before we install the rear end, we get the gas tank in the car. We have a new insulation pad from our friends over at Detroit Muscle Technologies. We only recommend using the “Spectra” brand gas tank. It has the true original finish without any paint on it. Other tanks are just not original in appearance. Above center: By hanging the tank straps from the body of the car the tank is easily slid into place. We used spray glue to install the tank pad that way it will stay in correct position during installation. Once the tank is in place, we already have all the vent and fuel lines installed on the car, so it is easy to complete the tank installation by using the “KV” marked rubber fuel line and correct clamps we got from Badalson. Above right: Here you can see the transportation hooks that are attached to the frame. We used these to secure the car to and from the paint booth. Before installing the rear end, we will remove and refinish these in the correct color. The hooks were natural metal and the bolts are black phosphate. Not all cars will have these since they were used to transport the car from the factory to the dealer. Then the dealers were supposed to remove them, but we have seen many cars with them still attached.


 Mopar Connection Magazine – The ONLY Daily Mopar Magazine © 2022. All Rights Reserved. Mopar Connection Magazine is the ONLY daily Mopar Magazine bringing you the latest Mopar news, technology, breaking news, and Mopar related events and articles. Find out the latest information about Mopar, Mopar products and services, stay up to date on Mopar enthusiast news, dealership information and the latest Mopar social media buzz! Sign up for the Mopar Connection Magazine newsletter for the latest information about new products, services and industry chatter. Mopar Connection Magazine is the best and only source you need to be a Mopar industry insider!
 by
by