


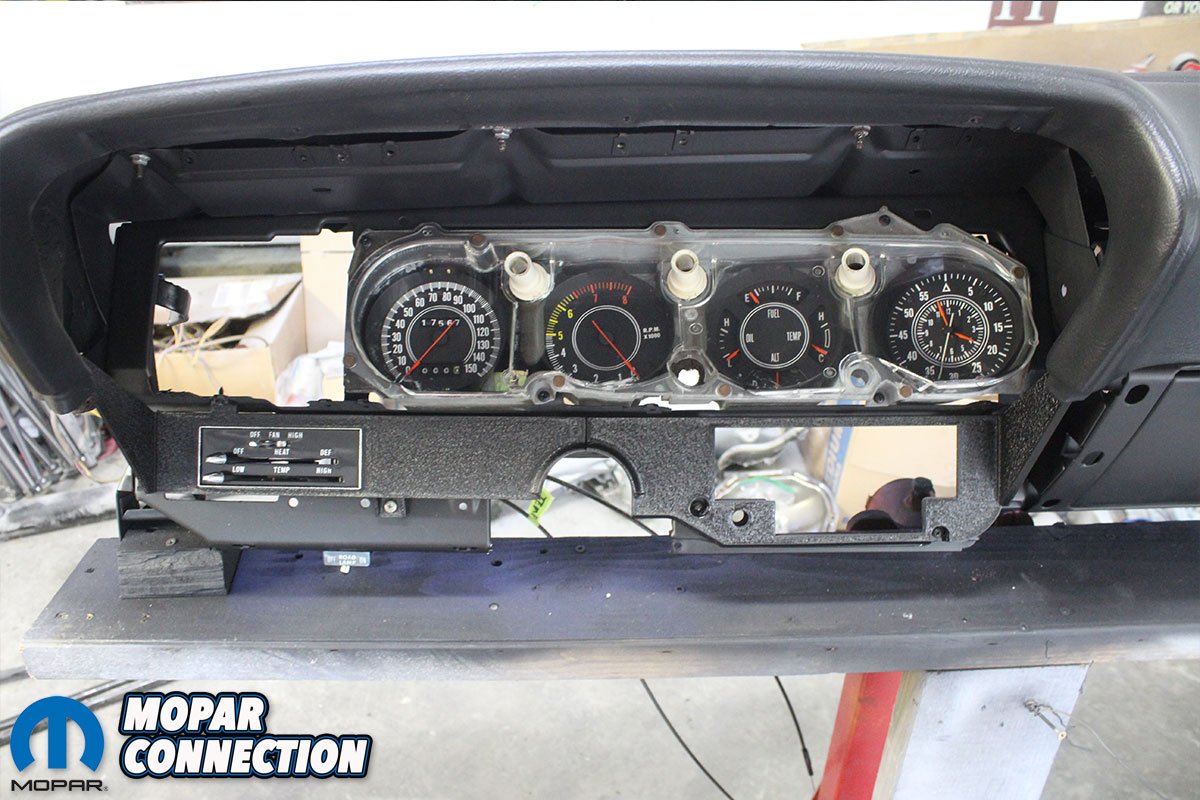
In Comeback ‘Cuda Brain Surgery “Part Two”, we went step-by-step through restoring and testing of the Rallye dash instrument cluster for the car. We even went as far as to show you how to build a gauge tester and check the recommended readings of each gauge. During this portion of the dash restoration, we restored the faces of the gauges, the clear plastic lens, and the wood grain finishes.
Proceeding onto Part Three, we restore, assemble and install any remaining parts for the dash such as the radio and glove box as well as attach the dash wiring harness to the correct terminals. Thankfully we have the dash frame stand we built, and we took many pictures of the where each wire in the dash wiring harness went during disassembly. To assist with reassembly, we will also use the Factory Service Manual to double check each connection to ensure that when the dash is installed in the car, we won’t have any problems. After assembly, just attach a ground to the dash frame and the positive 12-volt supply to the correct terminal on the bulk-head connector and test everything.
Once the heater control and vent cables are installed onto the dash, the entire dash assembly can be installed in the car. Be sure and have a helper because it is definitely a two-man job. For everyone that is following the Comeback ‘Cuda project rebuild; more how-to articles will be coming faster as the car is now complete and has won numerous awards. That being said, we can focus on finishing this 4-year project’s step-by-step documentation.


Above Left: The heater control panel and radio face plate were both in poor shape. Since Tony’s Parts has correct new reproduction pieces, we decided to spring for a new set. Also, as you can see, there was a hole for a rear speaker switch. We tested the blower motor switch and it was good. So, we disassembled our old one taking special care to not break any of the hardware. Disconnect the heater cables and you are ready to assemble the new plate. Above Right: You need to re-use the caps that are used to attach the heater blower switch. We replaced the knobs with new ones from Tony’s. We lubricated the temperature control lever and re-attached it making sure it moves freely.


Above Left: With the new knobs installed, we polished the blower motor switch knob and attached it to the plate. You can also see there is a spring-loaded roller that holds the lever in the intermediate position. Be sure and lubricate it also and check for ease of movement. Above Right: With the dash pad already in place, we positioned and attached the heater control assembly. We used our interior screw kit provided by one of our great sponsors; YearOne. You will use both natural and black headed screws where they show to attach the assembly.

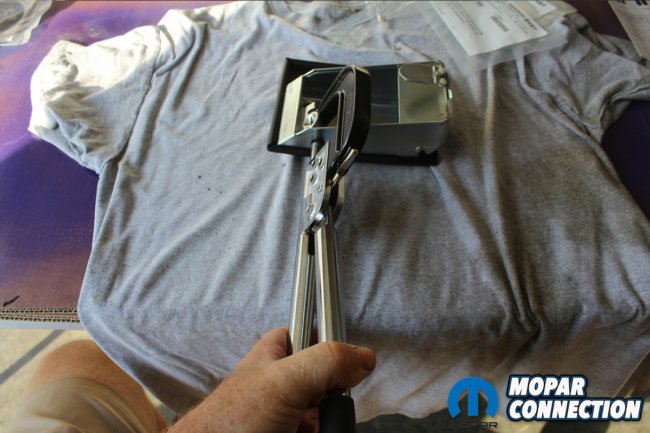
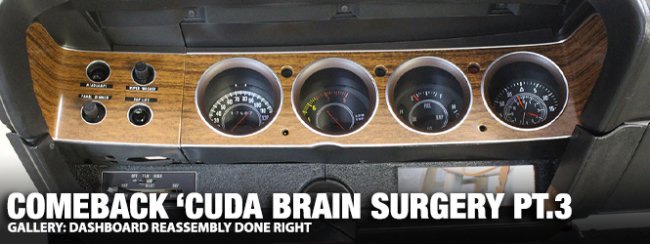
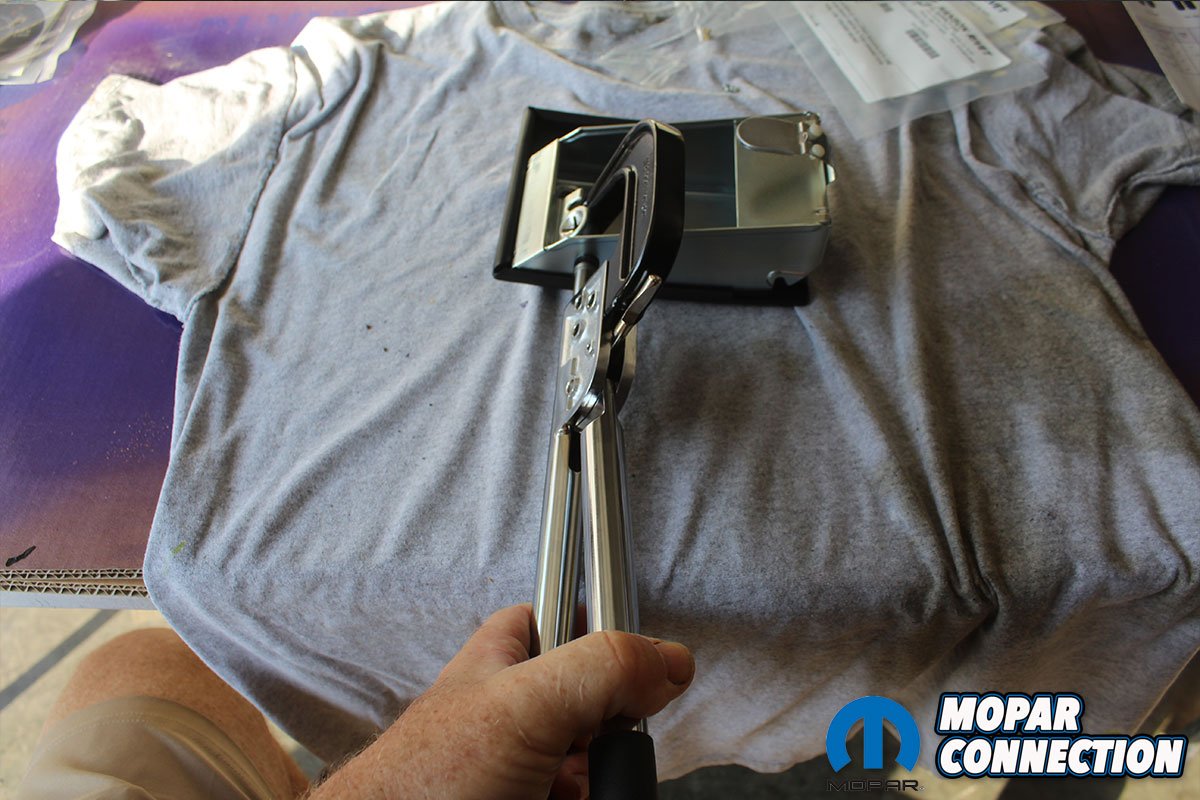
Above Left: For such a small piece, the ashtray assembly is a real challenge to restore. We purchased a replacement ashtray from Tony’s Parts. Since some people actually smoked in these cars, they are usually in poor shape. We already drilled out the rivets and removed the door from the tray. It was painted the same time as the dash so it will match exactly. The kit from Tony’s Parts comes with the special truss head rivets but with nothing to attach them correctly. We had to purchase from the correct Hand Rivet Squeezer from “Hanson’s Rivet and Supply” along with the 7/8 long squeezer die, and the ¼ long die for the oval or truss head rivets. This tool is the only way to get these unique rivets installed exactly like the originals. Above Right: The side rivet is a piece of cake to install and should be done first to hold the tray in place on the door. The head goes on the outside of the tray.
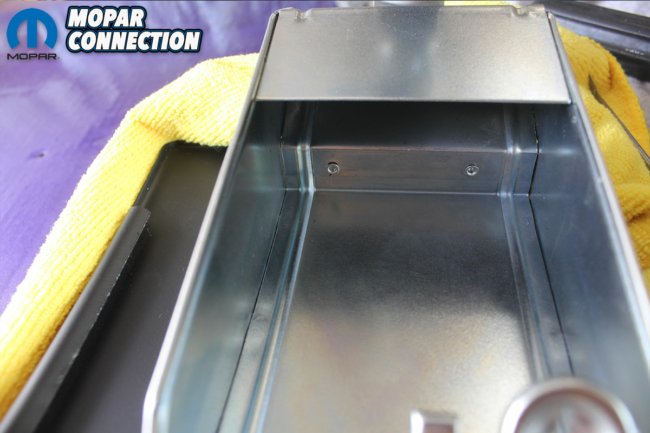
Above Left: Next comes the inside two rivets that even with the correct “Squeezer”, are very difficult to install. However, with patience and the correct tools, you will end up with a perfect ashtray assembly. Above Right: Again, the heads of the rivets go on the outside. After they are installed, they look great! We did have to touch up the paint on the ashtray door after we installed the rivets.


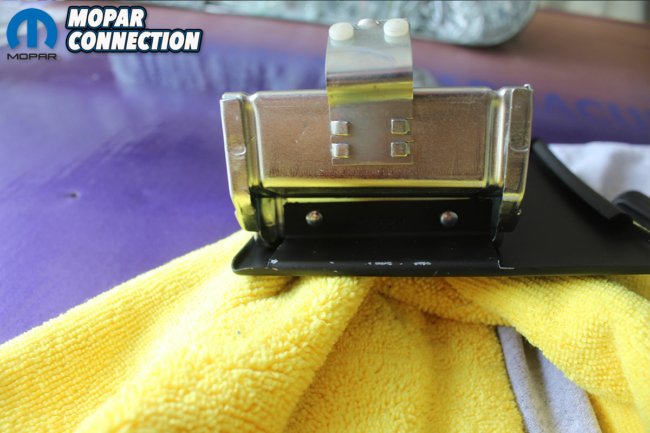
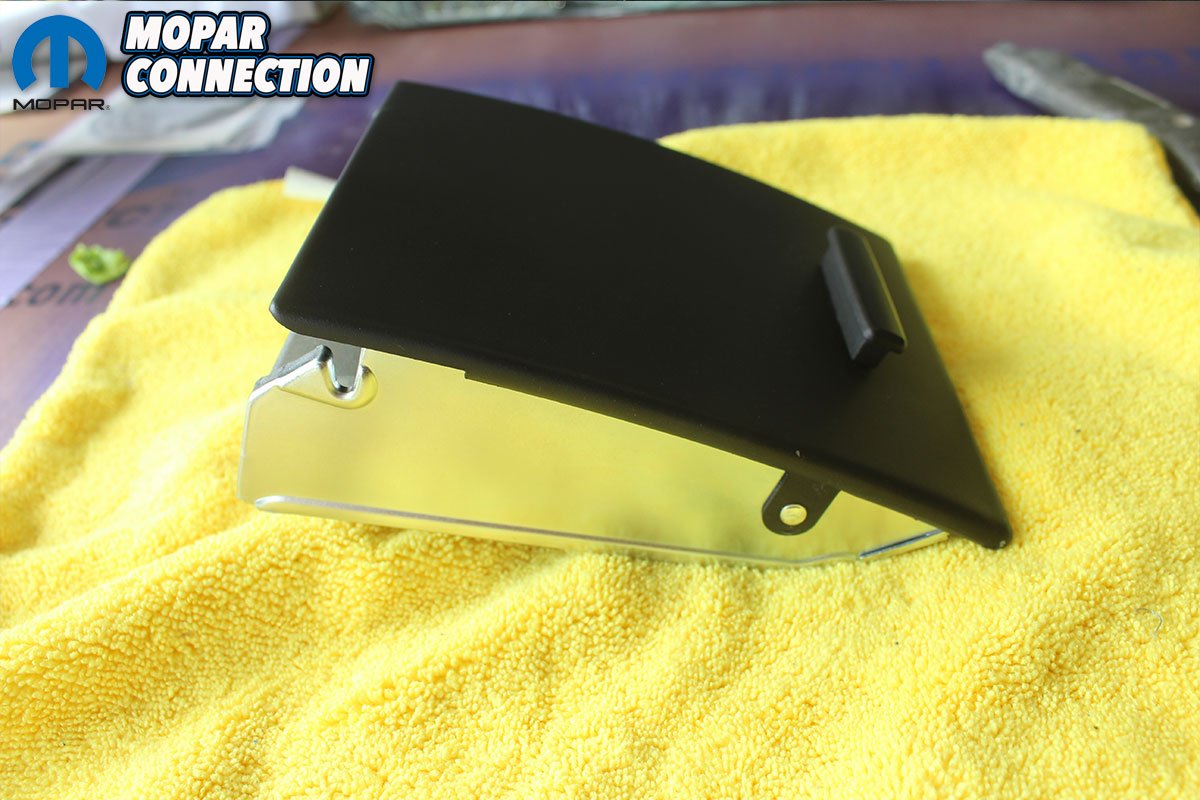
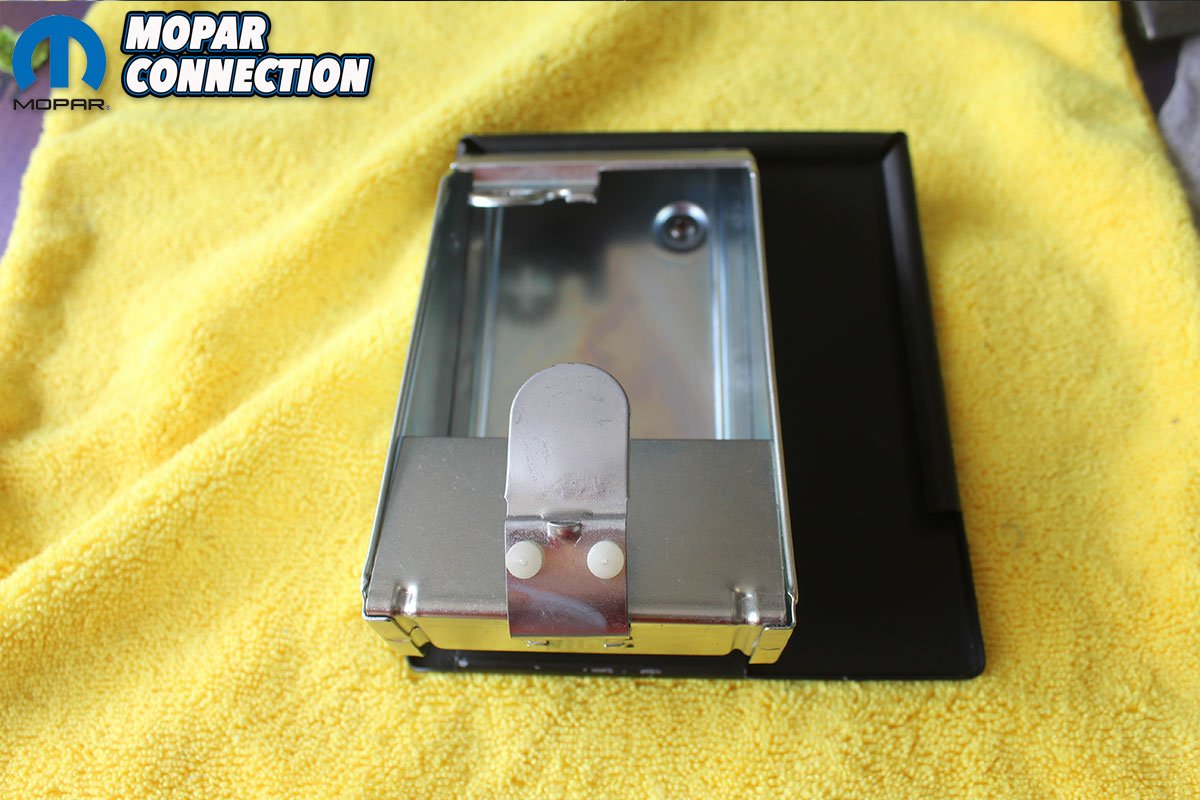
Above Left: Now you will have an exact ashtray and door to install into the dash. However, when we tried to test fit the ashtray, the tang was too loose to keep the door shut when closed. Above Right: When we went to slightly bend the tang, it snapped in half. After calling Tony’s Parts, they said that they had some of them break and that they would send another one, however it would be made with the same material as the one that failed. Since my original one was in really good shape, I just bent the 4 small tabs that attached the adjuster tang and attached my original. It is working great with no breakage. The frame that holds the ashtray and cigar lighter is painted semi- gloss black and is not the same finish as the suede black on the dash.


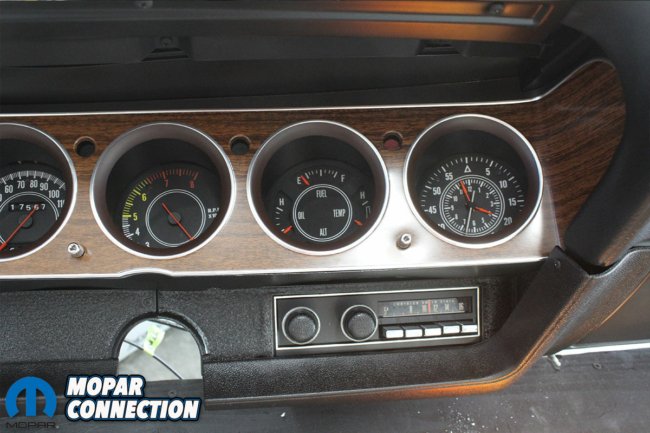
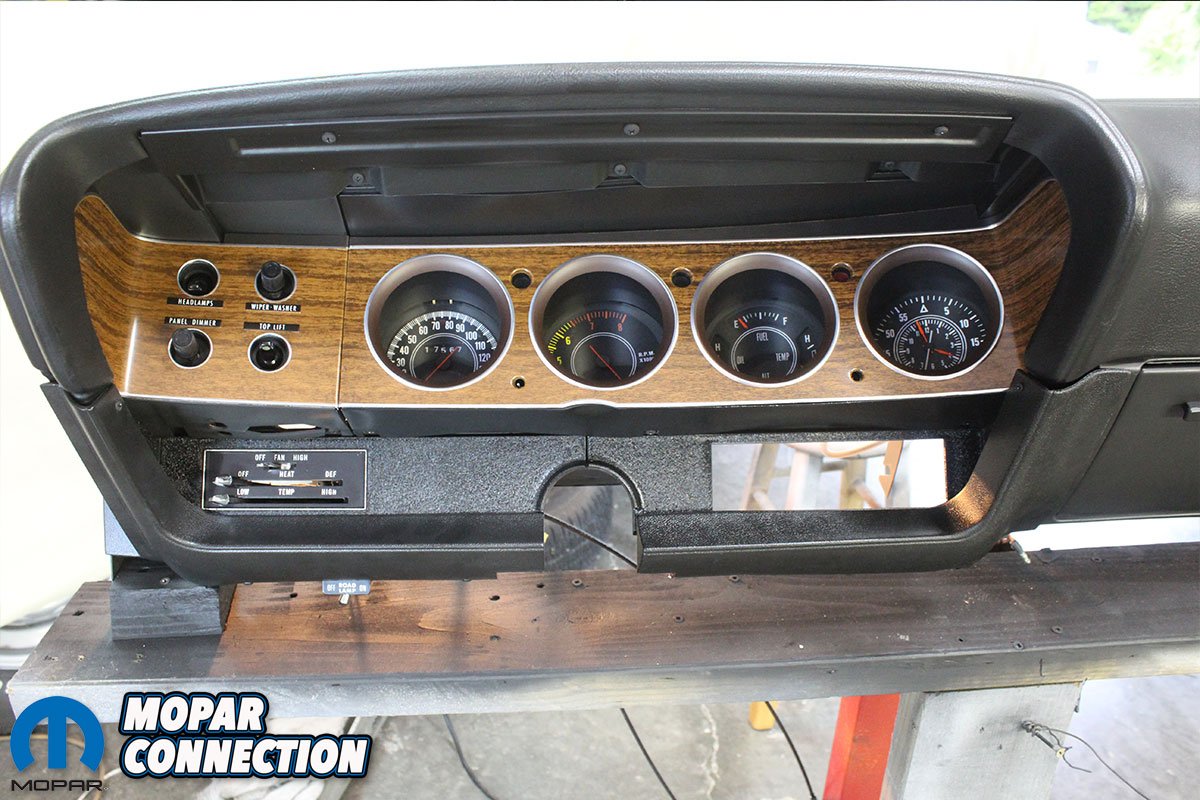
Above Left: We installed the switches onto the switch panel that has already been restored with new wood grain trim. Since the switches have already been bench tested, they go in nicely without any additional action needed. We did replace all the toggle switch and dimmer switch knobs with new ones from Classic Industries; another one of our great sponsors. Above Right: Next. the radio face plate is mounted, and the restored gauge cluster can now be installed. Don’t forget the three white tubes for the turn signal and bright light indicators. Notice how great the lower face plates look. If you replace one you must replace them both because you can’t match the texture. Note; if you are doing an O.E. restoration, the finish on the reproduction pieces are much more pronounced than the originals.
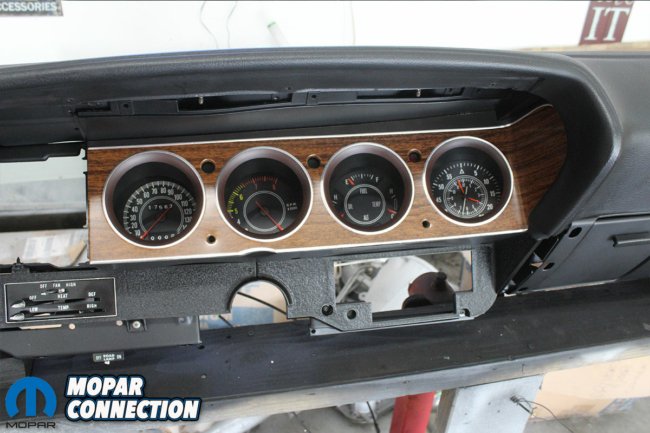
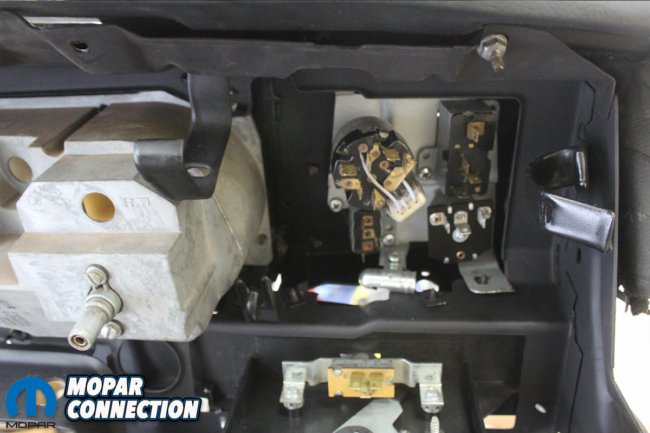
Above Left: You must install the wood grain facing on the cluster before you install the switch panel. Take your time since the wood grain goes behind the dash pad and the finish is easily scratched. With that done, you can install the switch panel. We took a manila envelope and cut a single 8.5″x11″ panel. We then slid it between where the gauge cluster and switch panel meet. We then installed the switch cluster using the envelope panel to keep the wood grains from touching during installation. Once installed, just pull the envelope panel out and you will have a perfect seam. Above Right: Go to the back side of the dash and install any remaining attaching hardware. We also re-tested the switches to ensure that we wouldn’t have to crawl back under the dash once installed. Also don’t forget to put a new bulb in the heater controls light socket.
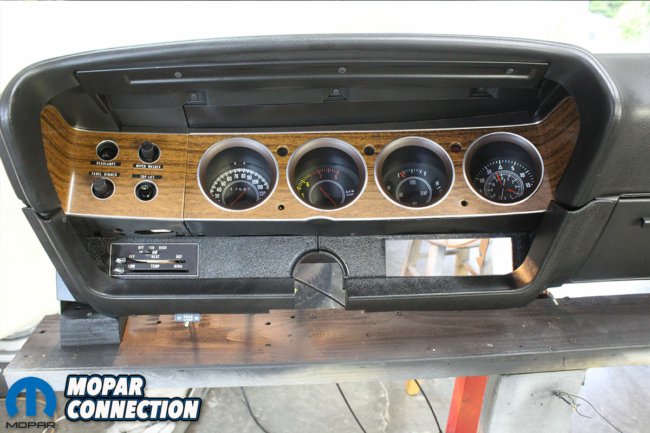

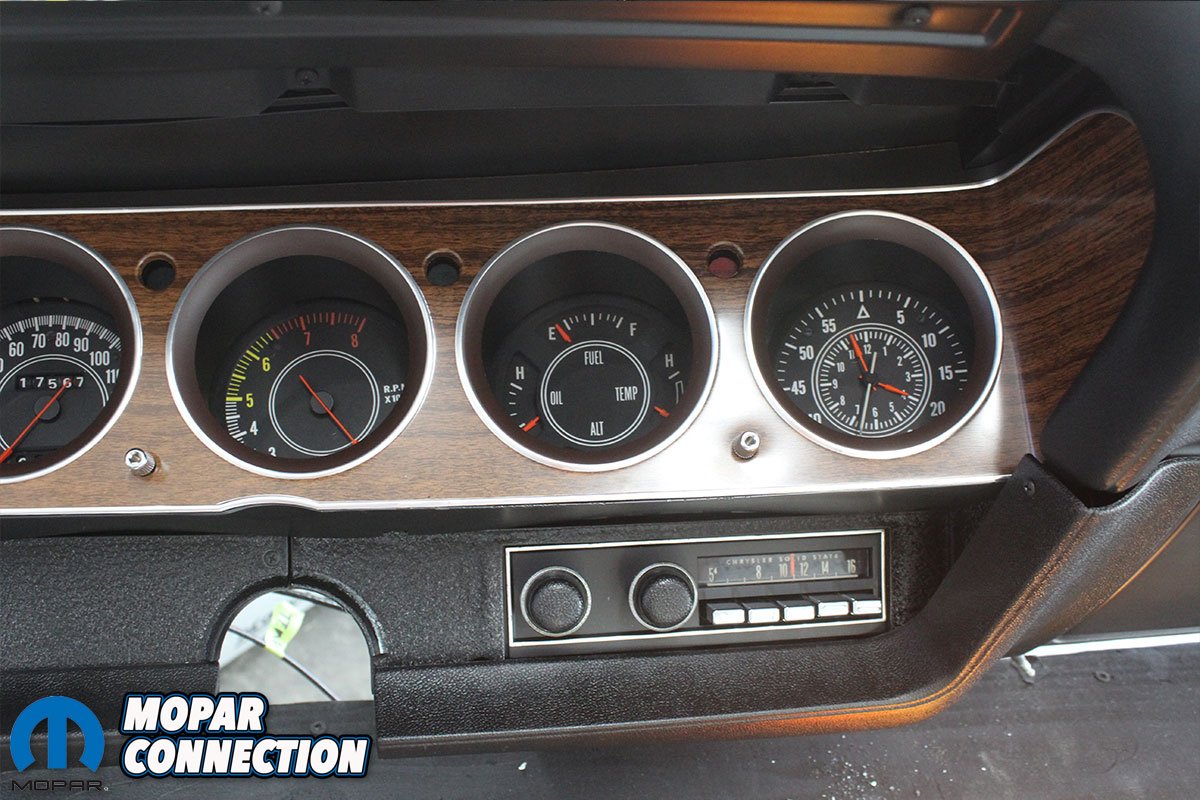
Above Left: Next, we installed the new lower dash covers from Tony’s Parts. Our originals were scratched and tired. Everything else is new so don’t try to cut corners. Next, install the 4 light bar that already has new bulbs, paint, and has already been tested. After all, the dash is your focal point anytime you get in the car and drive it. Make it functional and make it perfect. Above Right: The radio can now go in. After we re-examine the left side of the dash, we check everything for ease of operation and correct fit and finish. Man, we love what we see!

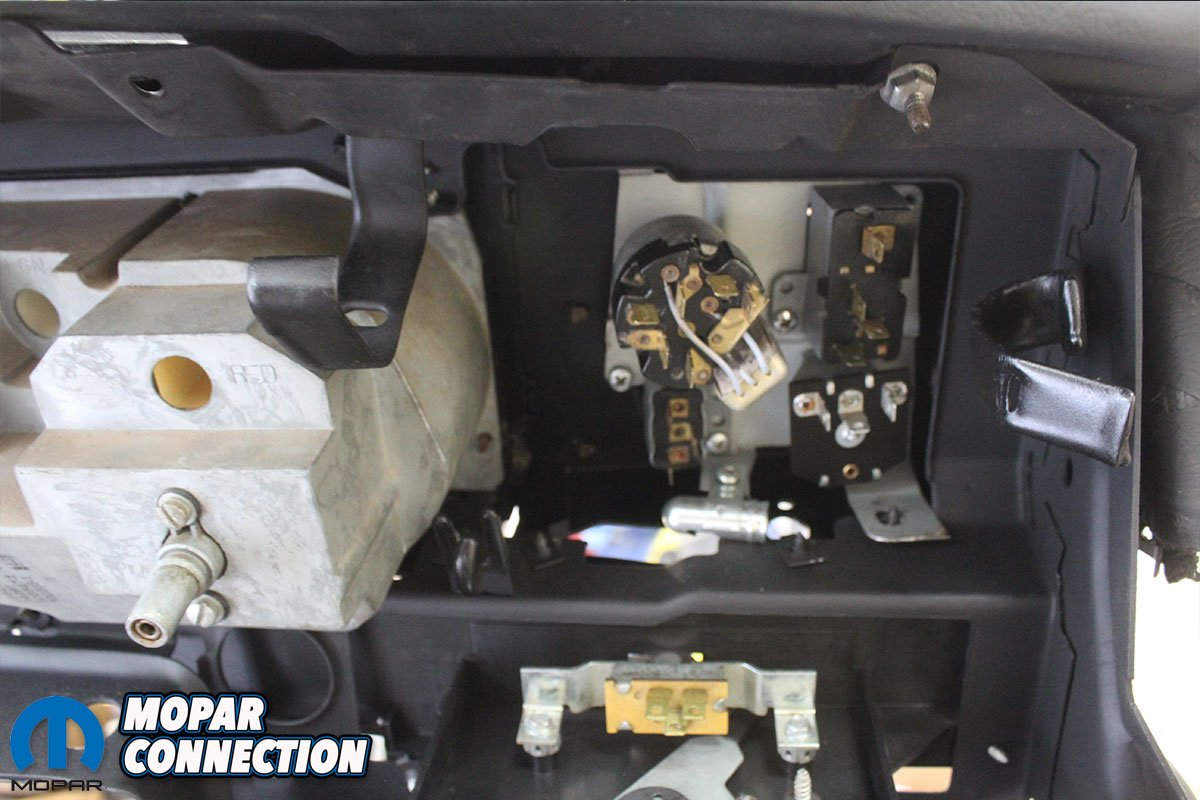
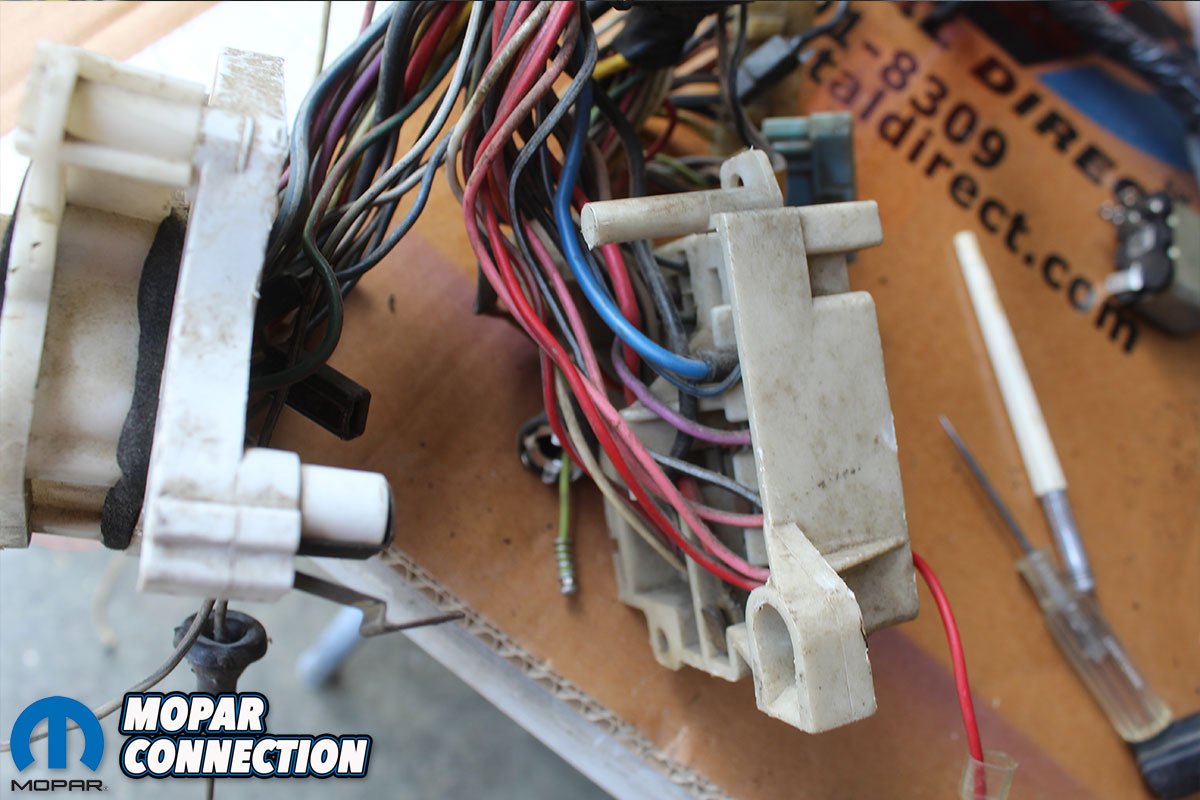
Above Left: We then do the same to the right side of the dash. With the new radio face plate, knobs, and buttons from Classic Industries along with a completely re-built original radio, we are satisfied with its function and appearance. Above Right: Now the fun part; all of the under-dash wiring. We checked our “as found” wiring harness with the new wiring harness and noticed that there were some things missing. With a quick call, we discovered that we were missing the convertible top relay and wiring pigtail.


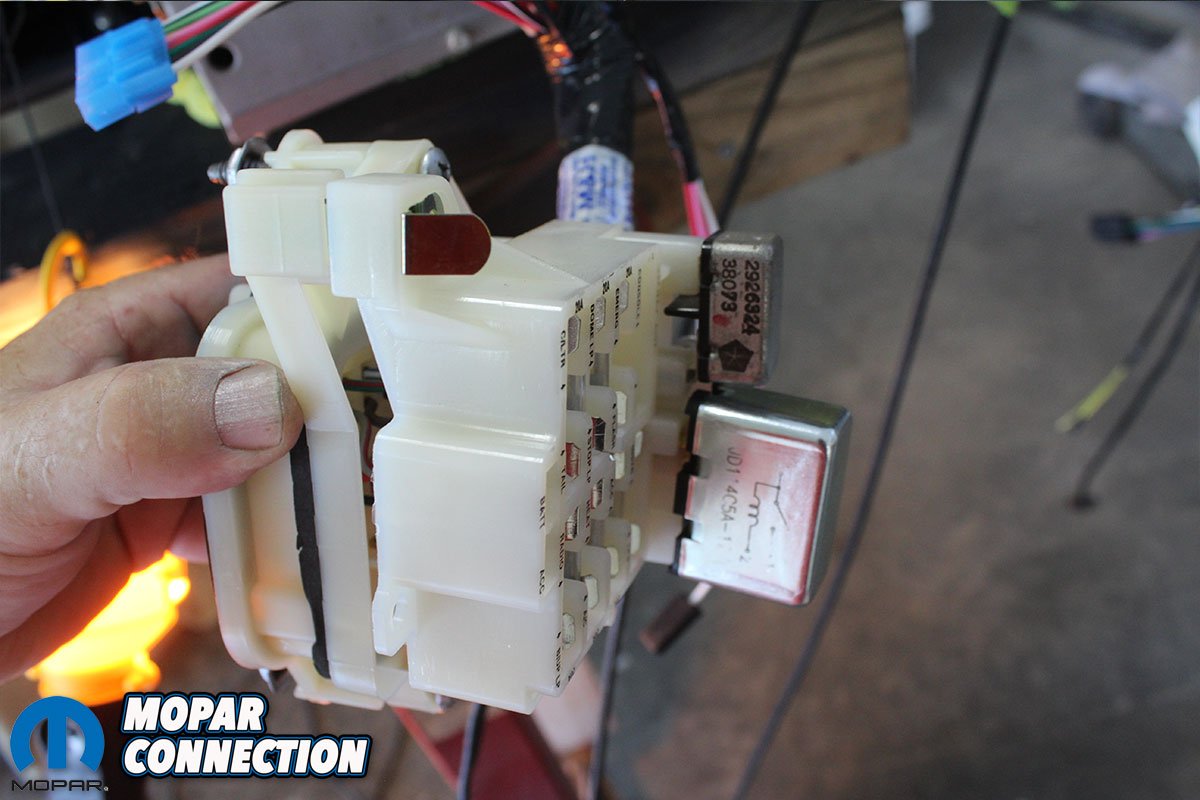
Above Left: While waiting on our missing parts, we replaced all of the fuses with new ones and attached the two-piece bulk-head connectors together. Above Right: Once the parts came in, we installed them in the correct position on the bulk-head connector. After all, what is a convertible if the top doesn’t drop?

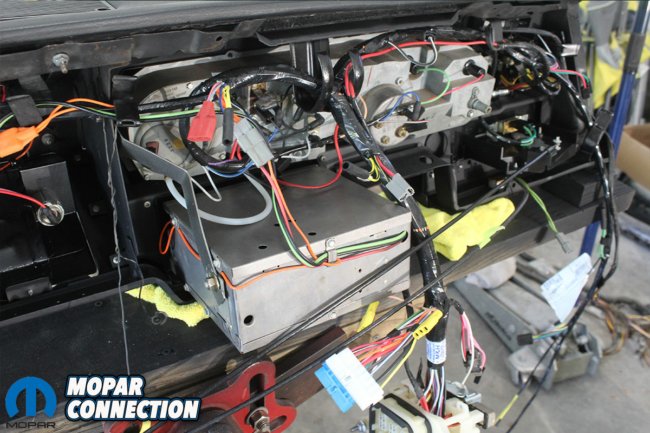
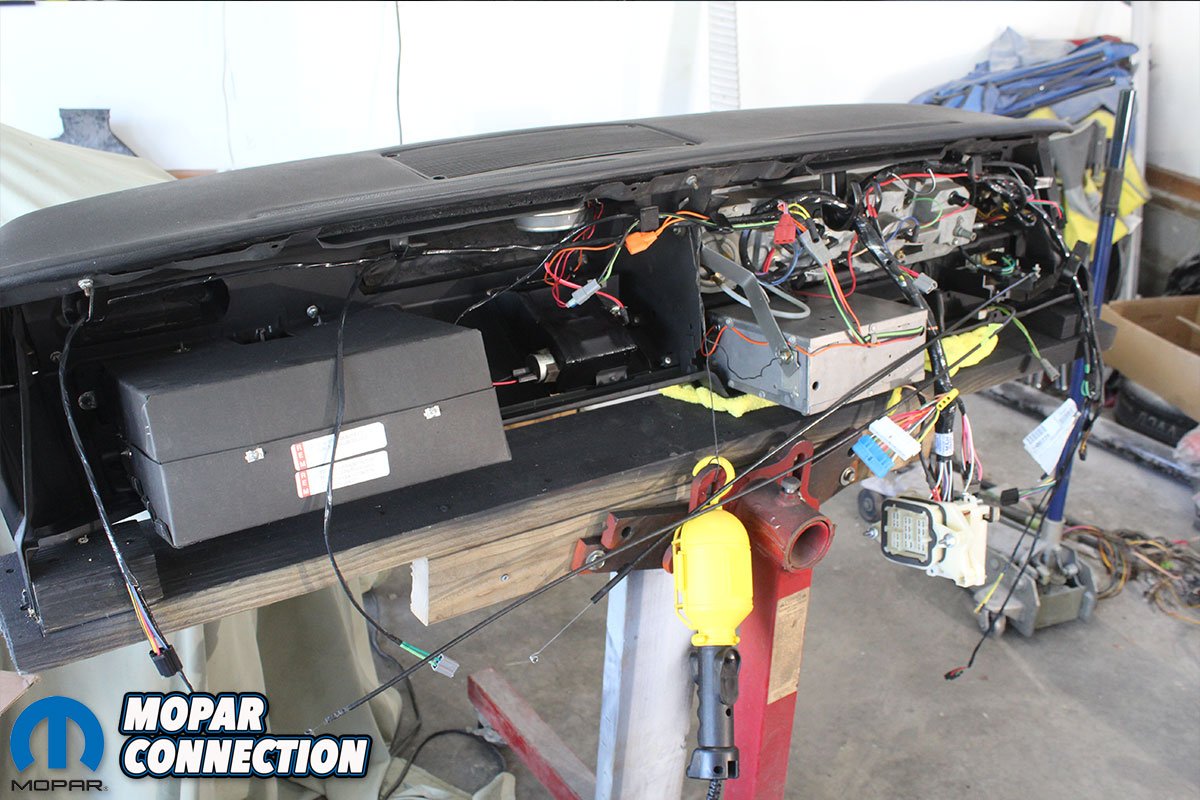
Above Left: Now this is where you want to stop and take a breath. Slow down and admire what you have accomplished so far because the next steps can get really tedious. Besides building the engine, and painting the car, the dash is the most important thing you will do in a full restoration. The layout of the wiring will be very logical. Above Right: Refer to your reference pictures and read the Factory Service Manual wiring diagram carefully. Attach each lead to the correct post. Even if you take a week or two to accomplish this task, now is not the time to hurry! Everything has it’s correct place. After it is all together, hook up a ground to the dash frame and a 12-volt positive power source to the correct terminal at the bulk-head connector and test everything for function, or test a connector with a trouble light for signal. Yes, that includes your turn signal pigtail, your engine and forward lights pigtail, and your tail-light circuit. You will be glad you did!


