


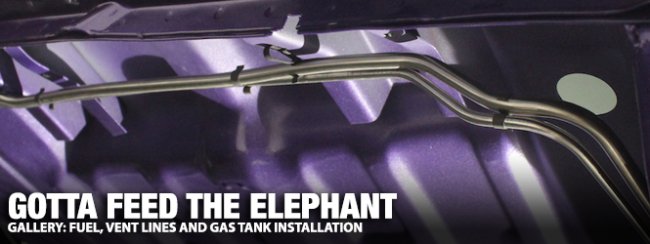
Now that the dash, the under dash and engine wiring harnesses have been completed, it is time to turn our attention to getting the all-important fuel to the thirsty 426 Hemi with it’s duel four-barrel carbs.
The 383 and smaller drivetrains only needed the 5/16-inch fuel line from the tank to the fuel pump. They also had vent lines coming out of the tank into the frame so that any extra fumes wouldn’t build up in the tank. These vents also ensured that fuel would flow freely and not create a vacuum in the tank as the fuel was being pumped to the carbs via the fuel pump.
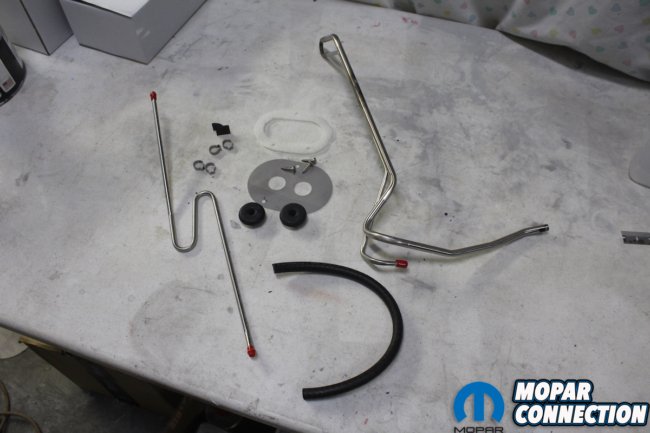
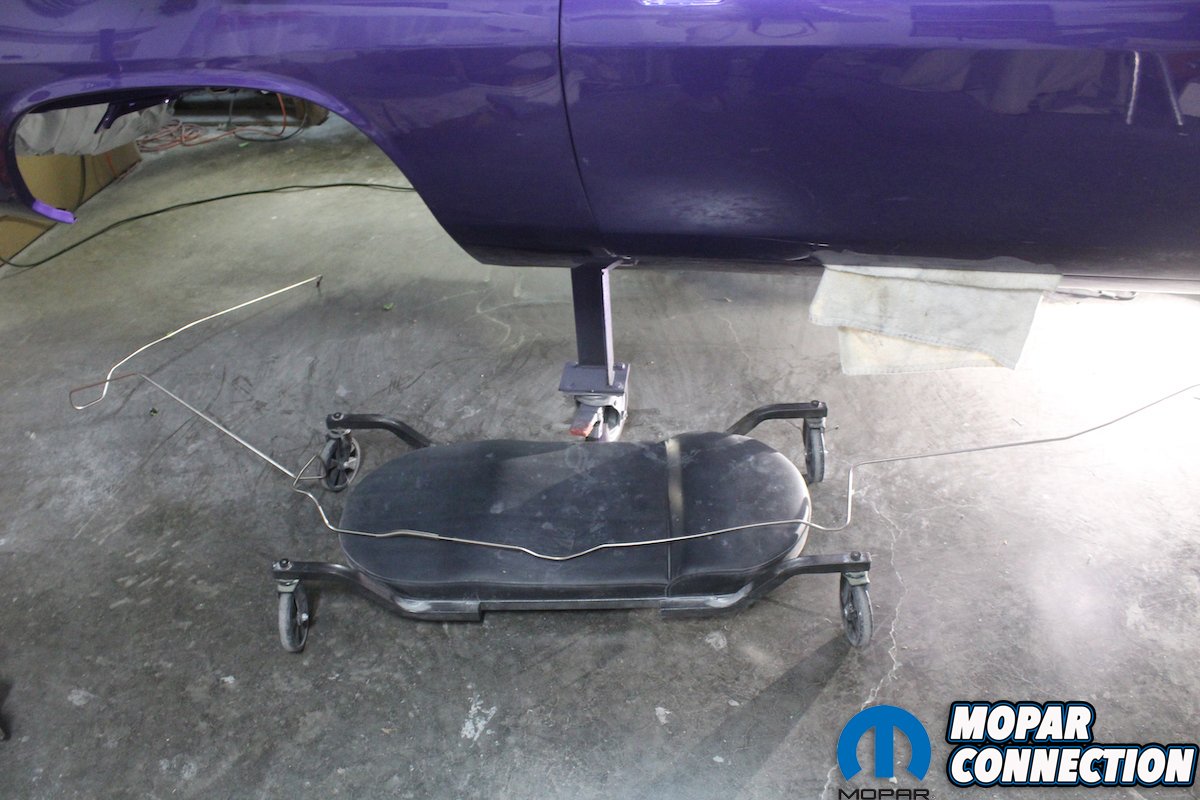
Above left: The vent assembly and lines were all missing from the Comeback ‘Cuda. Something that happened more times than not on these cars. We ordered this complete assembly from Fine Lines and they fit like a dream. Since the Comeback ‘Cuda is a convertible it took a little extra time to figure out exactly how the vent line was attached in the trunk. But as always it makes perfect sense when you get it all laid out right. Above right: We also ordered the 3/8 fuel line from Fine Lines. We do have to confess we replaced the original steel lines with stainless steel ones. If you are going for OE Original that would be a big No, No! The only draw back to using the stainless steel lines is that they are a much harder line and require much more pressure to get the fittings to seal.
On the 440 and 426 Hemi drive line a larger 3/8-inch fuel line was required along with a fuel vapor separator and an additional 5/16-inch return line from the tank to the separator. This larger fuel supply line and extra return line helped the fuel to flow at the required increased rate demanded by these larger power plants.
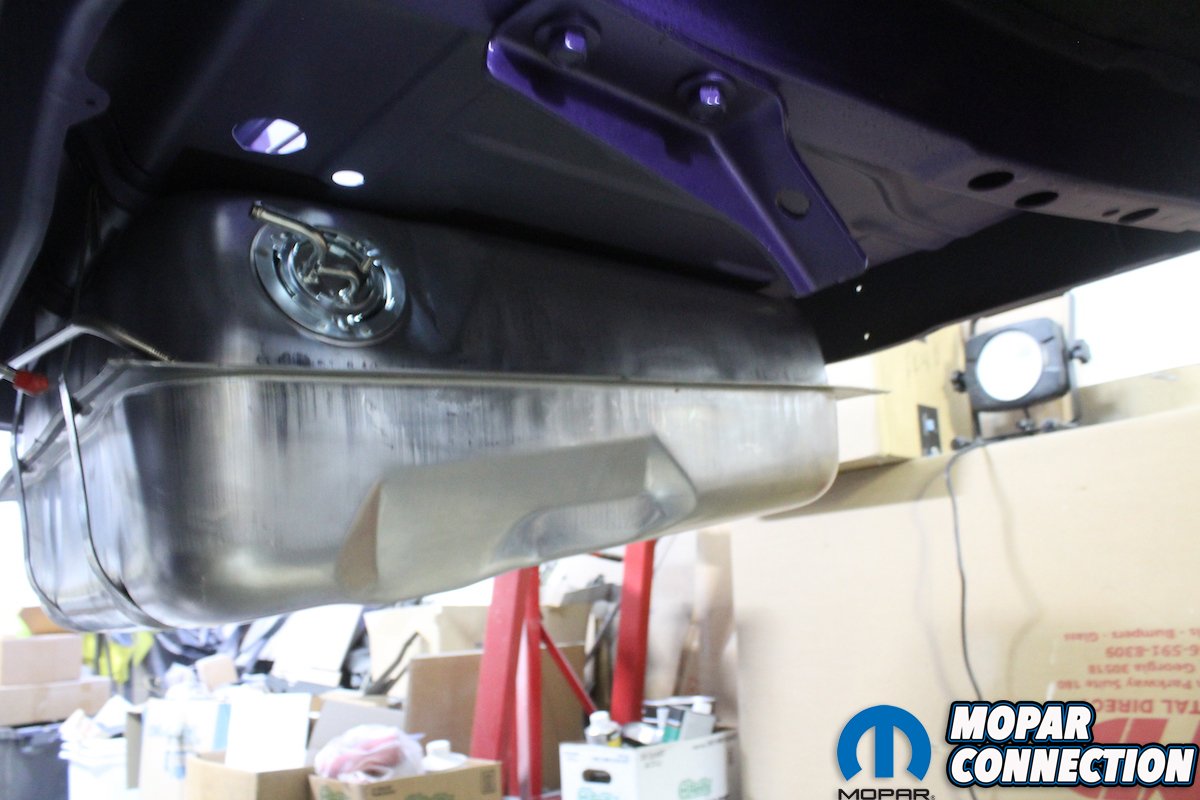
There are fuel line and vent line kits available with the correct “KV” marked rubber hoses and correct clamps. We turned to our source for correct original parts Frank Badalson for these kits. Not only do they have the correct fuel hoses and clamps, but they also have the duel line “S” clips and attaching frame clips with correct bolts. Then we top it all off with a correct finish Spectra gas tank and sending unit from YearOne and the plumbing is complete.
In the next article we will finish the engine assembly, attach the 4 speed trans, bolt it all up to our already restored K-frame and front suspension and install it all from the bottom just the way the factory did.
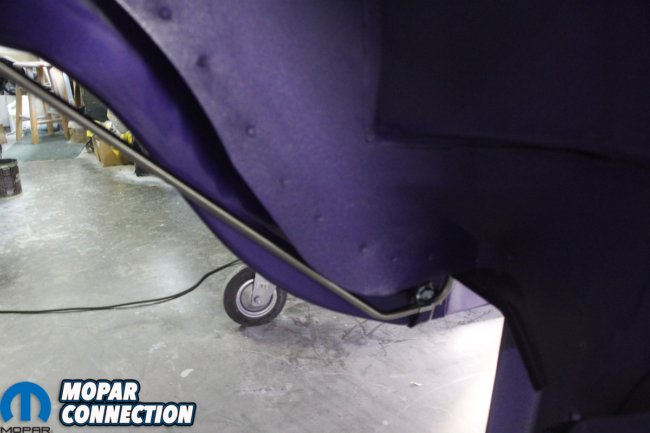
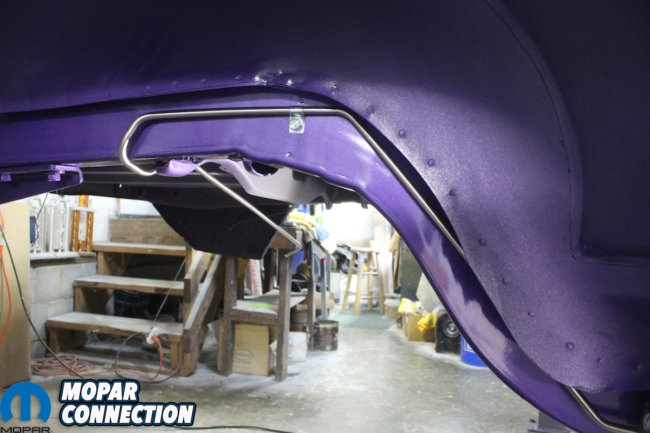
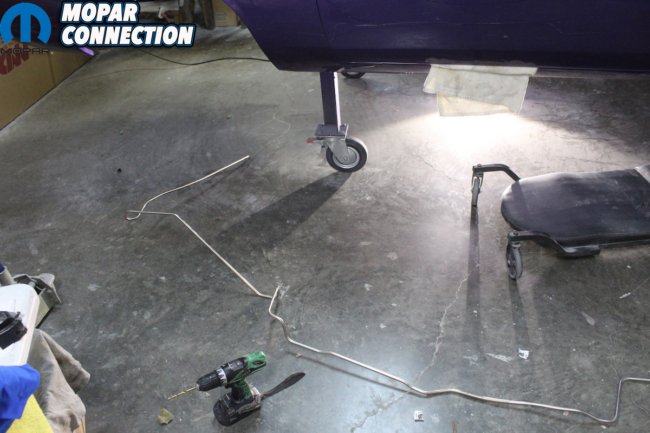
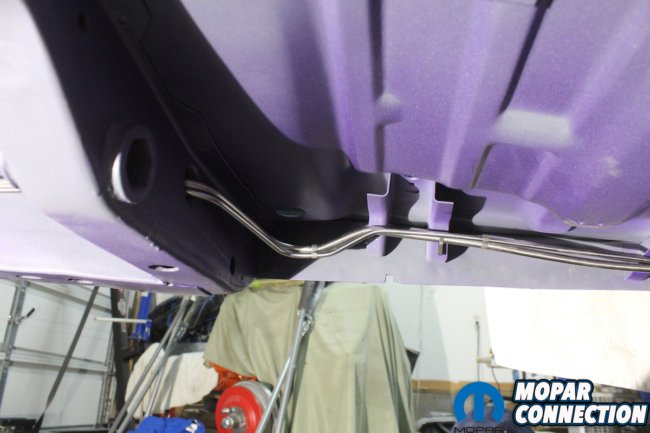
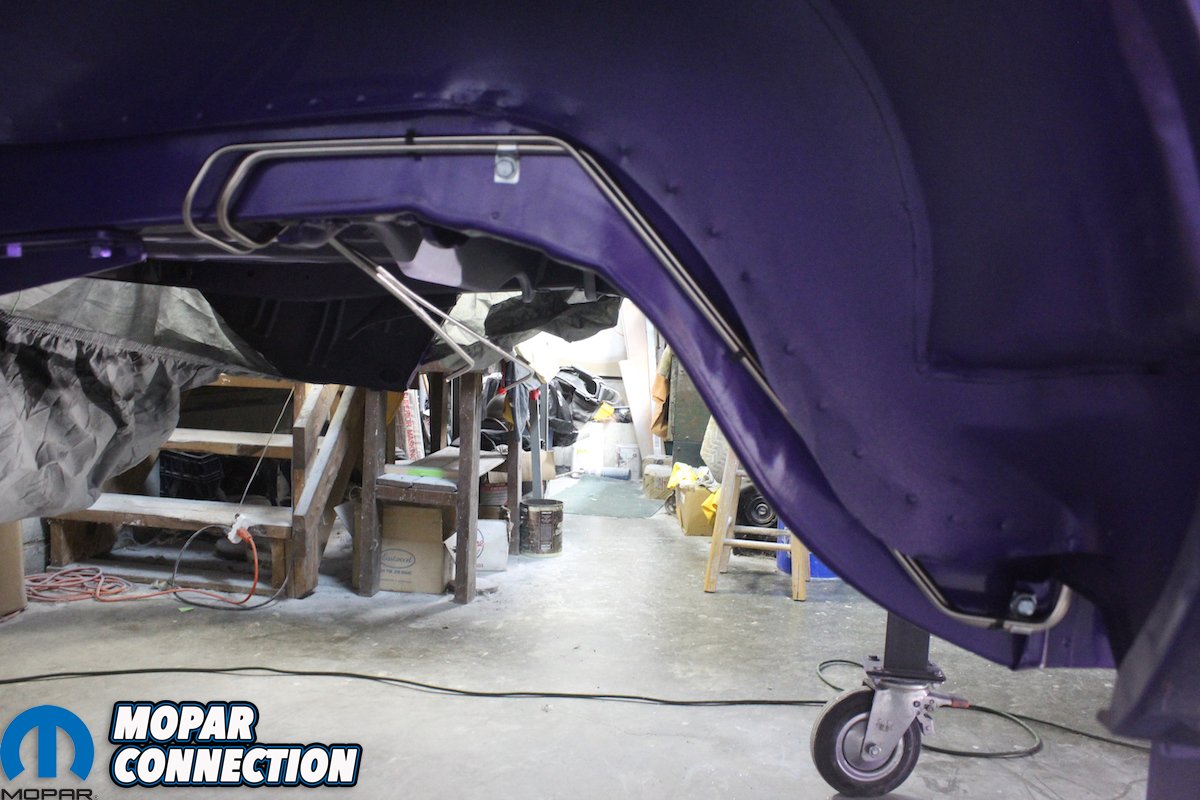
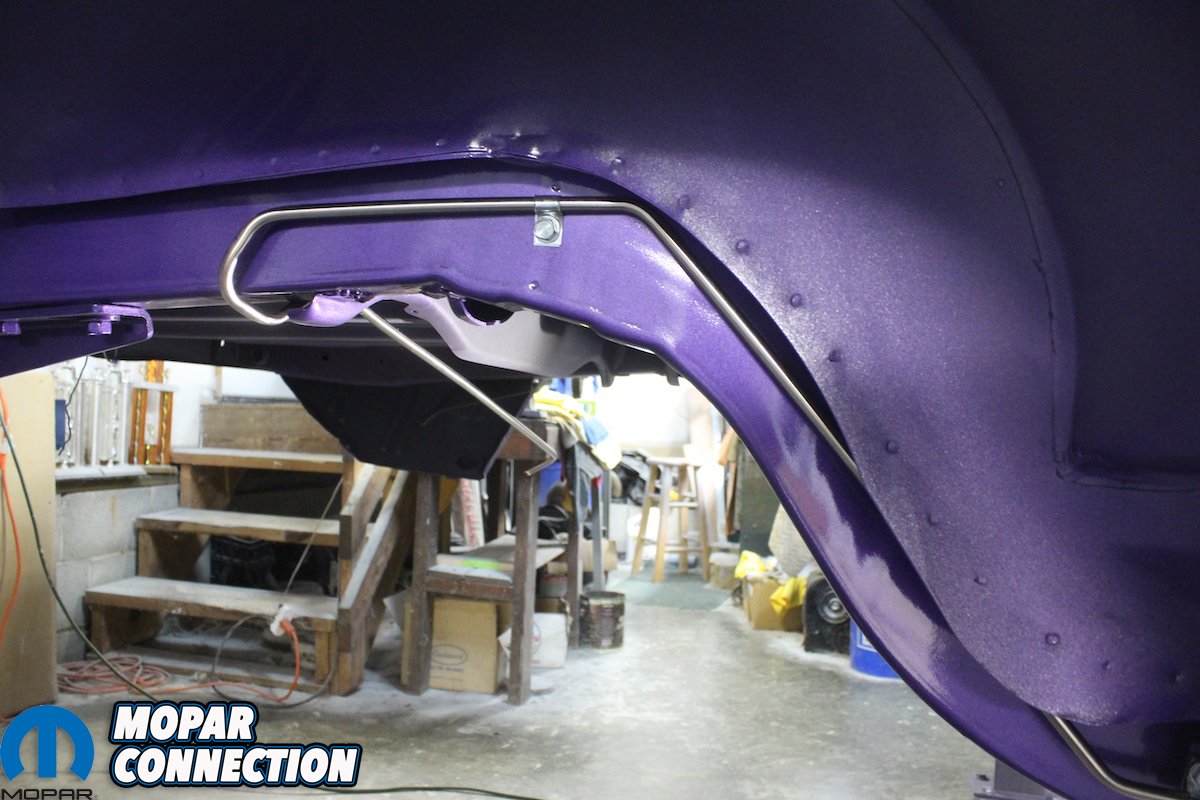
Above left: We take the bend out of the line that is required for shipping and install it from the rear towards the front of the car. It must be threaded through the torsion bar sub frame in the front. We then attach the fuel line to the frame using a clip and a bolt just before the rear wheel opening. Notice there isn’t any wheel well undercoating applied yet. It was shot after these lines were installed. Above right: The upper rear clip is then attached to the frame with the same style clip and self- threading bolt. The bend in the lines fits perfectly and it goes under the frame rail and then over to where it will attach to the fuel tank. Also notice the factory correct spot welds that AMD Installations used when they resurrected the Comeback ‘Cuda from the dead. You can’t duplicate these with a MIG welder.
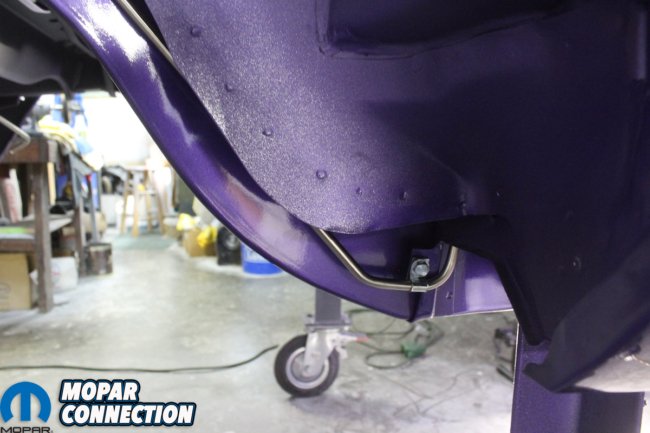

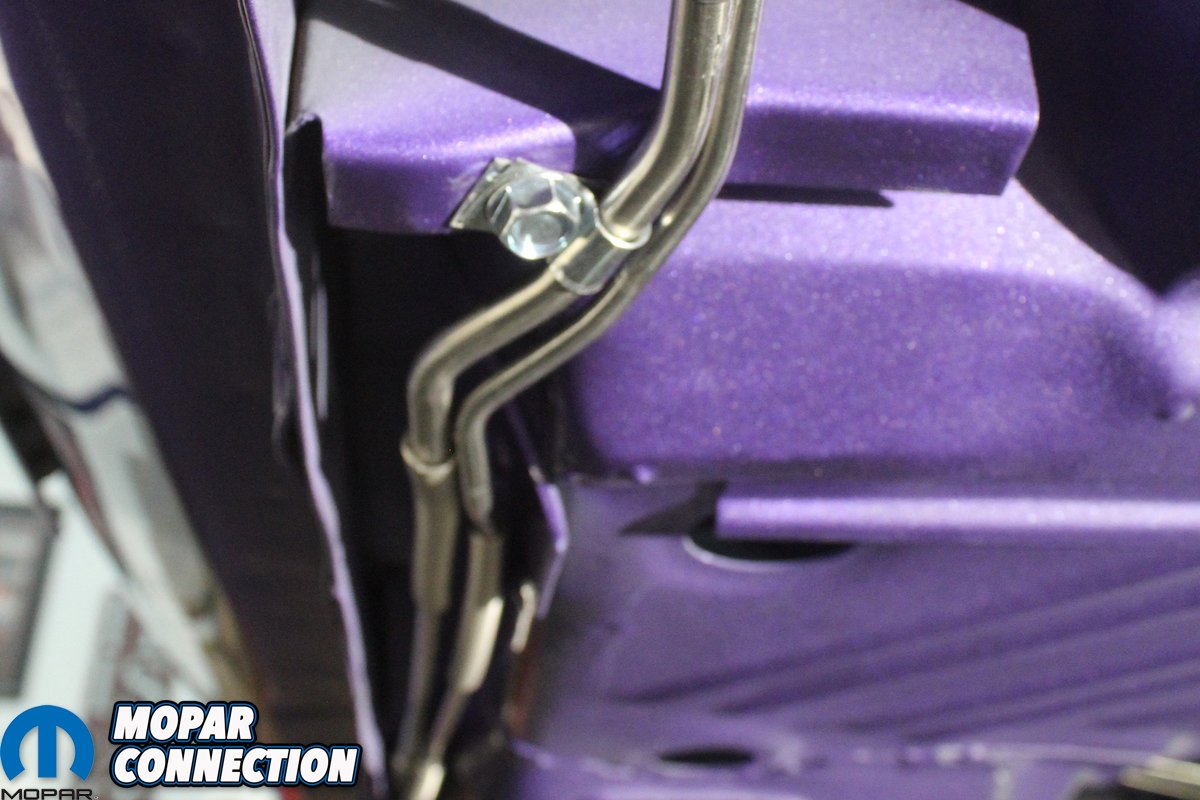
Above left: Notice that this lower clip is attached to a flange that is welded to the frame rail. The upper clip is attached directly into the frame with a self- threading bolt. Above right: We then unfold the vent line that goes from the vapor separator all the way back to the fuel tank. It bypasses the fuel pump and is attached with correct yellow zinc finish 590 Oetiker crimp clamps. This return vapor line is attached to the fuel line with several “S” clips.
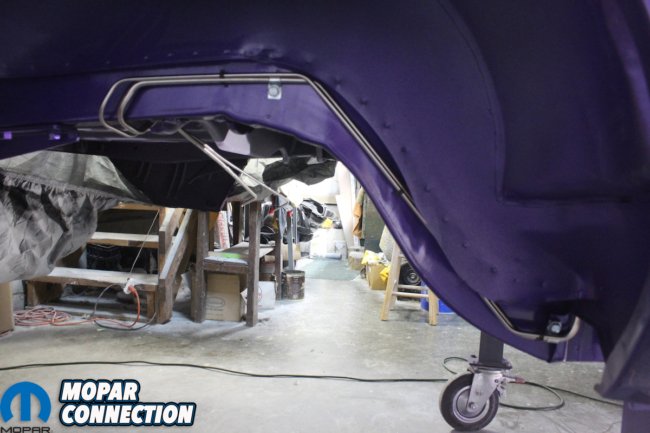
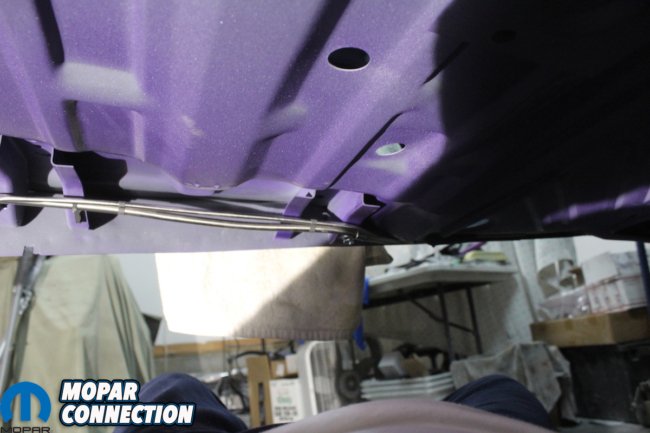
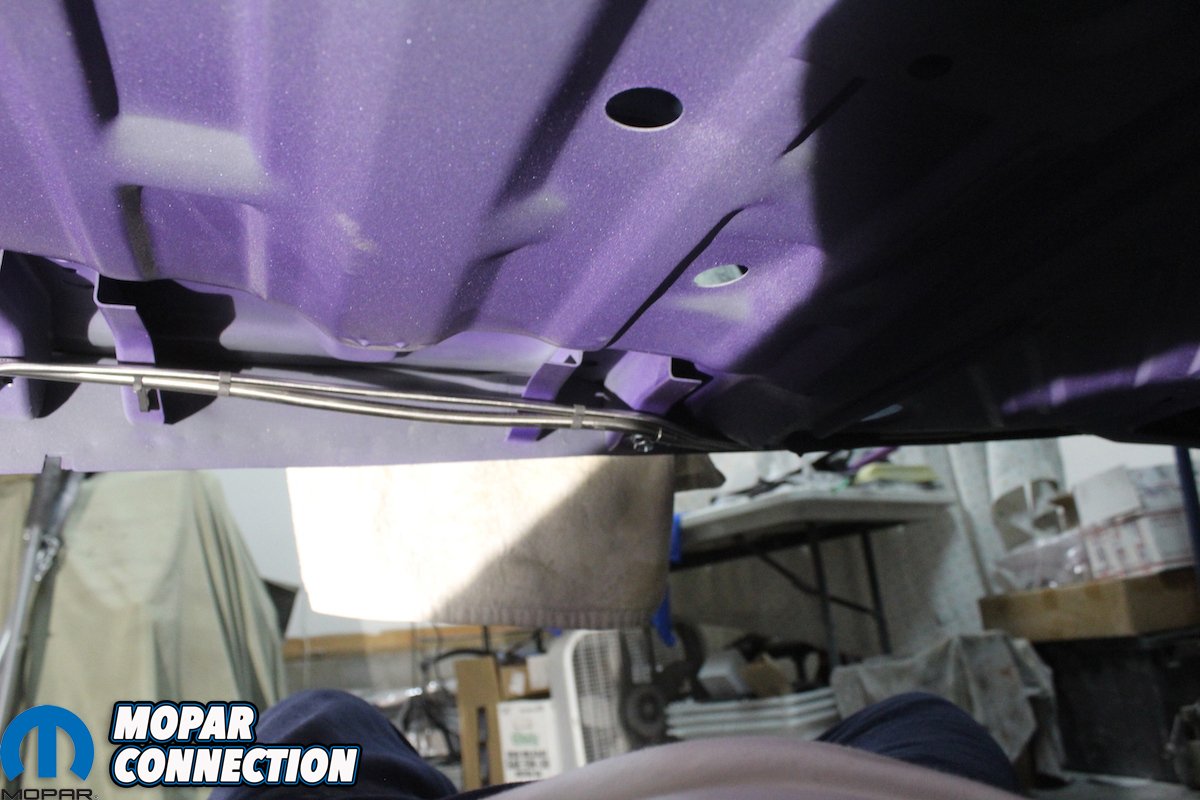
Above left: Here you can see the correct routing of the two lines joined by several black phosphate plated “S” clips. Above right: The two lines are bent almost identical and follow the same routing from the rear to the front. A push in clip attaches the two lines to the floor pan just before it goes through the torsion bar cross member.

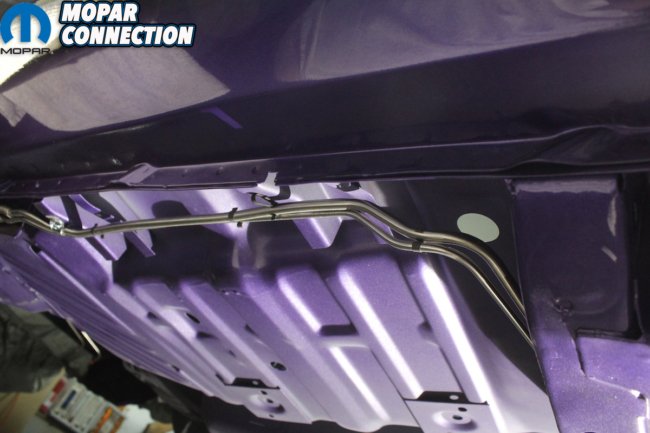
Above left: Once they come through the cross member they continue to be held together with “S” clips and attached to the frame with push in fuel line clips. Notice the correct over-spray of body color and the correct darker grey dip primer on the floor pan. Above right: Here is an inside out view of where and how the fuel line and vapor line are clipped together and attached to the floor pan. Notice the on purpose dip primer drips on the torsion bar cross member.

Above left: This is a good view of the difference between the more forward push-in clip and the more rearward clip and bolt. Above right: A close up shot shows the detail of the rearward clip and bolt only on the 3/8-inch fuel line and the 5/16-inch vapor return line with the “S” clip. You can also see the additional “spring style” protective metal wrapped around the lines. A great correct detail that comes with these lines.

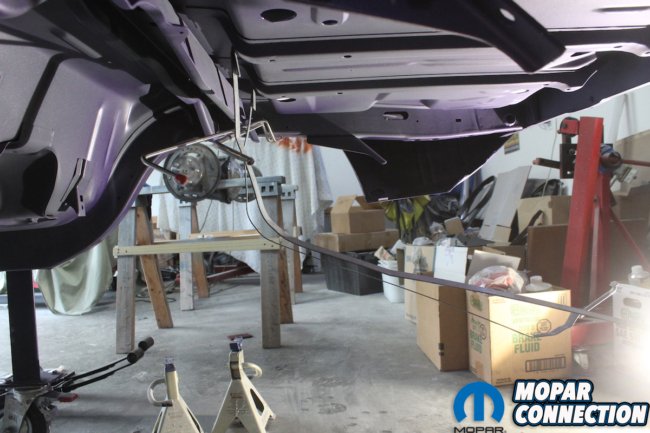
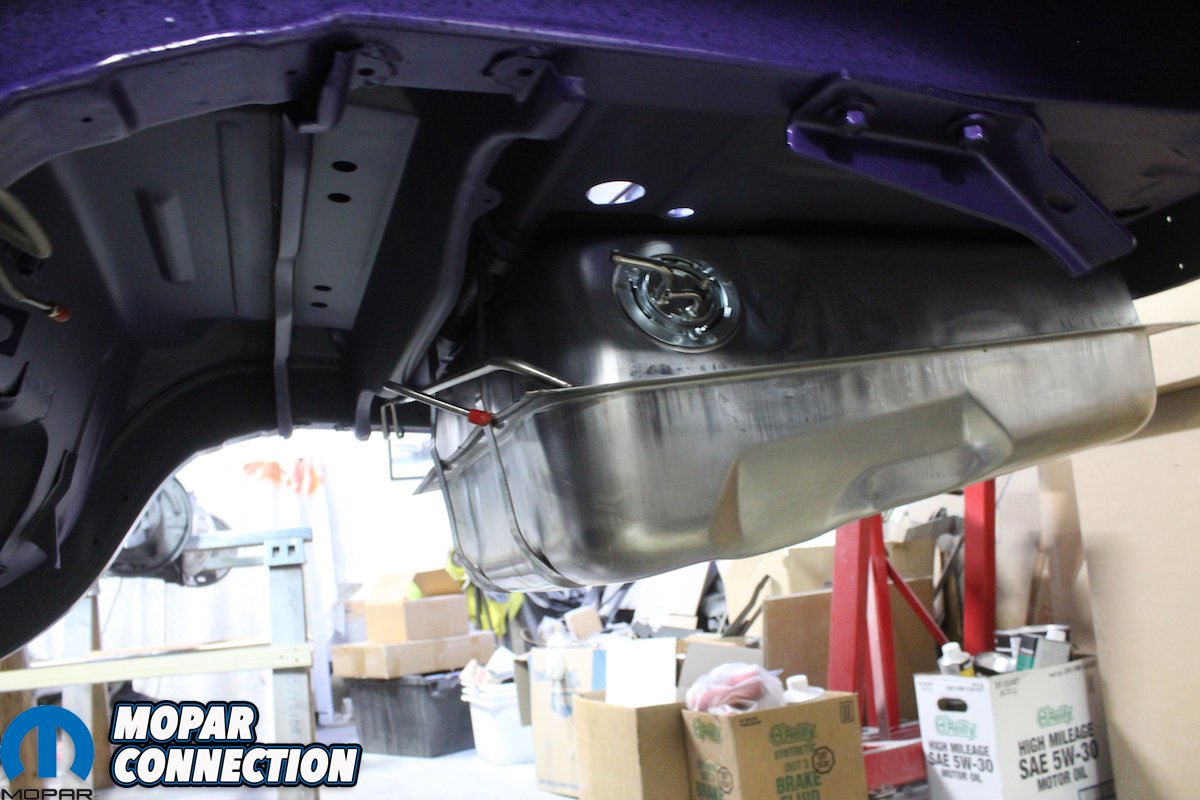
Above left: Our friends at Detroit Muscle Technologies provided the fuel tank pad that is as correct as is available. We used some 3M spray glue on the tank and the pad, and the fit is as good as it gets. Above right: With the fuel and vapor return lines in place we then attach the natural metal finish gas tank straps to the brackets welded to the floor pan. Thank goodness AMD has these already welded in place! As you can see the rear end and springs have not been installed yet. That makes this process much easier. Plus, we will apply the wheel well undercoating before the rear end and spring assembly is installed.

Above: After tightening the attaching bolts, the straps hold the tank perfectly in place. All that remains is to connect the “KV” hoses to the sending unit and all the 1/4-inch “vent lines using the correct crimp style clamps. Oh, and for those of you who are really paying attention, YES, the shipping hold down bracket, should be natural metal with black phosphate bolts. We will pull these off and finish them correctly with Rust Preventative Magic from ECS and correctly plated phosphate bolts.


