


We weren’t fooled in thinking our factory 26-inch vertical flow copper-core radiator could get the job done, especially with the wimpy electrical pusher fan we had. It took only half a dozen times of barfing half a quart of coolant on the driveway after a summer’s day of driving to know our factory cooler wasn’t cutting it. Heck, we hadn’t even raced it yet and we were boiling over at the local car cruise. Pegging our needle at somewhere between 220-and-240 degrees is not only messy, but dangerous.
Sure, we had plenty of old school ‘rodders who swore that the Ma Mopar radiator would work fine, and we knew there were a few racers out there in the FAST class running 10-second passes with mechanical fans. Yet, given all the trouble we’d experienced in fine tuning Brazen’s “Wicked Wedge of the South” 535-cubic-inch stroker, we’ve made it a policy to err on the side of “overkill.” After installing a much-needed crankcase evacuation system and chasing the last few exhaust leaks, we knew it was time to step up to a superior engine cooling system.
We were already running a high flow, 8-blade Mopar Performance water pump with an intentionally-low 160-degree thermostat (primarily just to slow the rate of flow, allowing our stock radiator to work slightly better), but our 46-year-old radiator also needed much more work to repair than would be worth the cost, so we set our sights on a new aluminum radiator. No matter how much we looked, we kept coming back to Be Cool. The Michigan-based manufacturer proudly builds all of its products within the US, and not only offers a huge catalog of aluminum radiator applications and sizes, but also for higher horsepower applications.
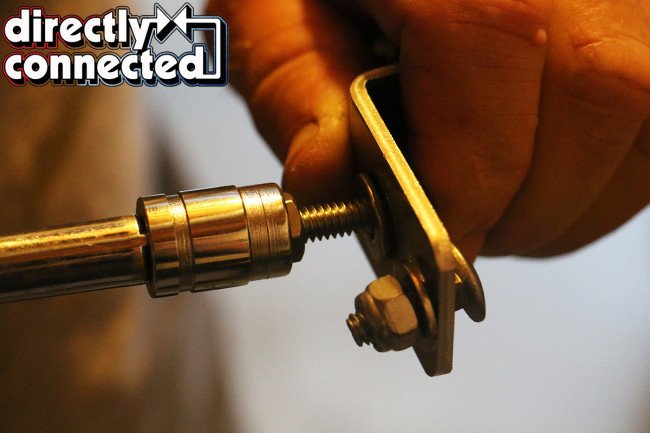

Above left: All of the supplied brackets are made from soft aluminum, so be mindful not to torque too hard or you’ll strip them out. (As us how we know.) Above right: All of the supplied bracket mounting bolts are actually carriage bolts, so it takes some patience to get them aligned and tightened down right.
Although copper works well enough to dissipate heat, copper cores are furnace brazed (a process of bonding copper with aluminum-silicon, silver, nickel, and materials) with lead, and as Be Cool’s Justin Larocque said, “Lead is a major heat soak. Be Cool radiators are made with a quality grade aluminum and are 100 percent aluminum welded.” Stronger, lighter and more efficient at dissipating heat, we consulted with Larocque and Fred Militello who confirmed that Be Cool’s Show & Go 700HP module would be “more than enough” for our Charger’s needs.
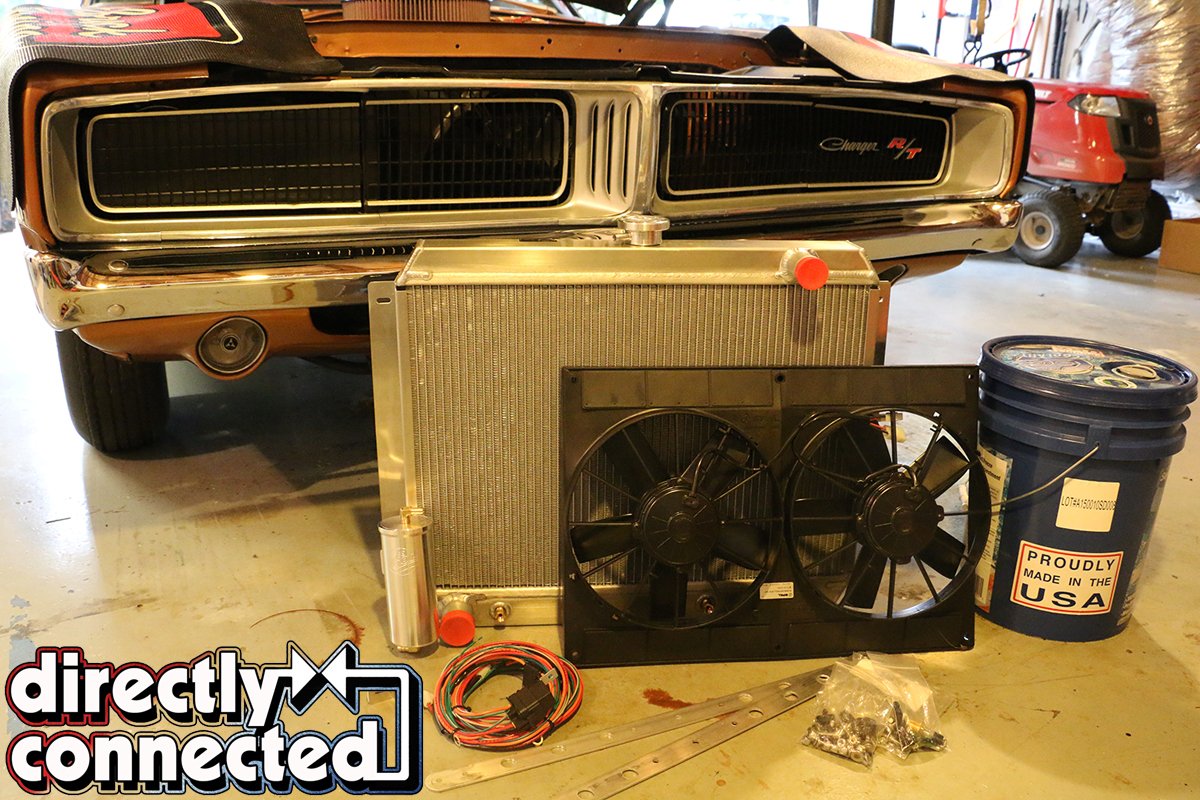
Although available with optional billet shroud covers, we opted for the all-black 11-inch Spal electric fans (rated at 2,720 cfm). The Show & Go kit is incredibly comprehensive, including the downflow “direct fit” dual 1-inch core radiator (that came in Be Cool’s “Showtime” polished finish), a diamond-cut aluminum ventilation tank, billet radiator cap, an internal 7-plate automatic transmission cooler, aluminum mounting brackets and hardware, and a complete wiring harness with temperature control sending unit and 40 amp relays (as well as the aforementioned Spal fans).
Militello noted that the measurements needed to be spot-on, as the “radiator the core is 2.50-inches [thick, with an] overall thickness is 3-inches.” And that our “fans at the middle of the shroud where the two meet is 2.6-inches and the fan brackets hold the fan shroud off the core an extra .25-inch [equaling a] total of 5.85-inches, so at the very least 6-inches is needed.” All of this meant that the two fans would allow “just enough” room for our water pump pulley.
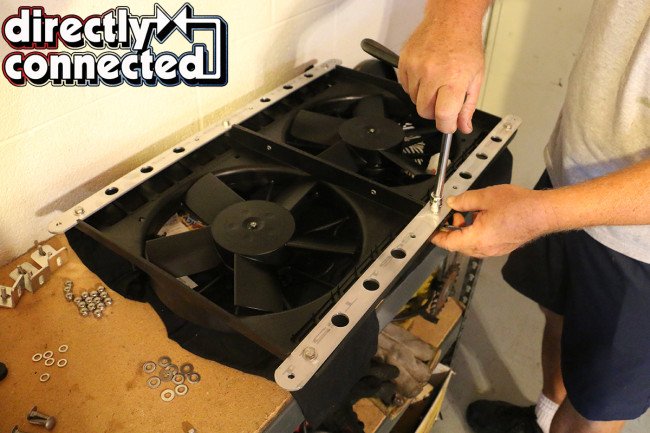
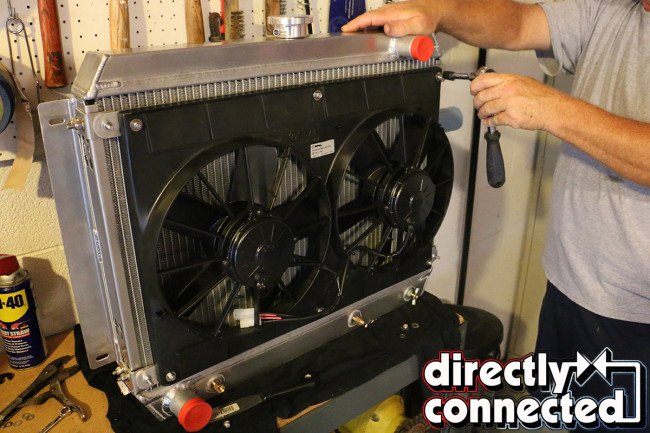
Above left: The Be Cool fan shroud brackets also include rubber bump-stopper to keep the fans from flexing into the radiator blades. Above right: With our fans tightened down, we are ready for the install.
In unpacking our Show & Go radiator, we were immediately taken back by the quality of the assembly, The welds are clean and even, and the polish is everything advertised. Following the outlined procedures, we loosened out petcock and drained the coolant from our factory radiator, while we laid out our hardware and prepared to mount the fan brackets to the radiator core. A quick inventory revealed we were short on some necessary bolts, so we sped over to the local hardware store.
Be Cool provides a dozen carriage bolts to mount the fan brackets, along with a mix of SAE and metric nuts and bolts. Because of the snug fit of the brackets to the core itself, getting these tight and aligned right took far more time than expected. Also, all of the mounting brackets are made from soft aluminum, so learn from our mistake and don’t wrench down too tightly, or you’ll hog all the openings. Another trip to the hardware store later and our fans were secured to the brackets.
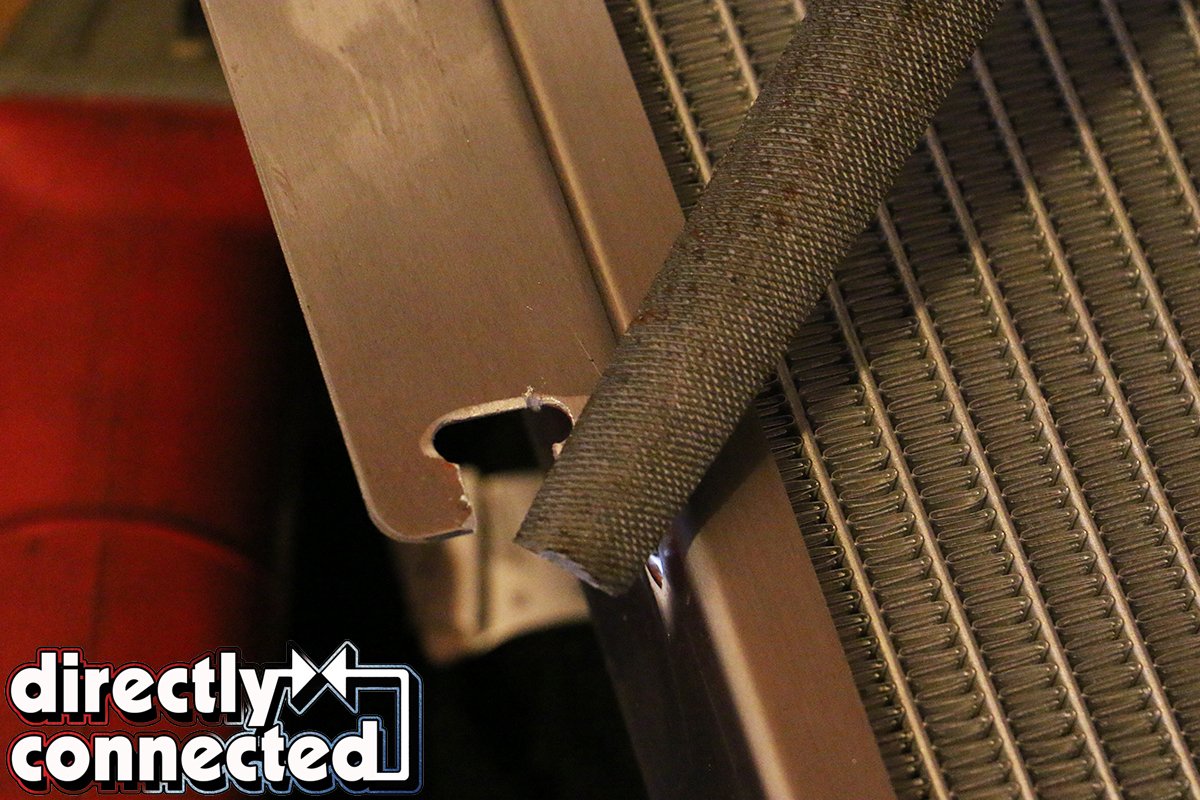
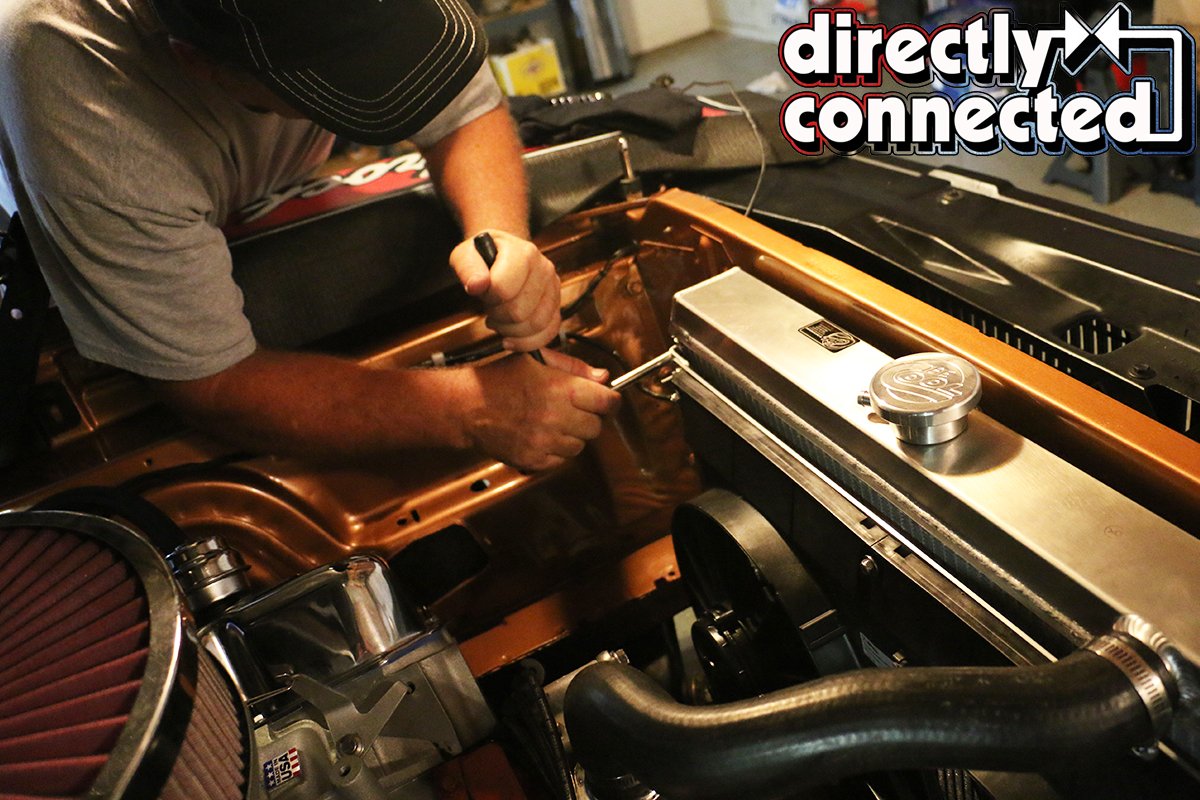
Although we were replacing a factory 26-inch radiator with an equally-sized radiator, we found some boltholes needed opening up. Factory radiators actually had opened perches on the bottom to allow for easy installation, so we took out our trusty cutting wheel and modified out Be Cool radiator likewise. With the radiator mounted and tightened down, we reinstalled our upper and lower hoses and began wiring (leaving the installation of the overflow tank for last).
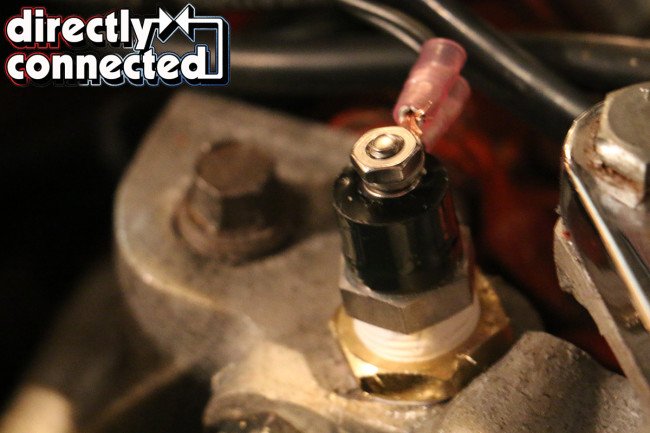

Above left: Be Cool’s temperature sending unit is set to activate the fans at 195-degrees and turn off when the temperatures reach 175. Above right: This sending unit does not interfere with your factory temperature gauge unit (shown, right).
Be Cool’s electric fan setup uses an electric temperature sending unit to automatically control when the fans turn on and off. Larocque explained, “they kick on at 195-degrees and off at 175,” far lower than our 240-plus-degree boiling-over point. We mounted our relays low on the inside of the core support below where we eventually mounted the overflow tank, so that we could run the loom up and through our existing wire loom loops.
The wires feeding power to the relays each come with their own 30 amp fuse making access and service incredibly easy as well. Be Cool’s wire loom comes intentionally long allowing you to trim the excess where/if necessary. They even provide the top quality couplers and shrink tube. Finally, we plumbed our overflow reservoir alongside the core. Because it works via vacuum, the top of it did not need to be level with the radiator cap/fluid level.
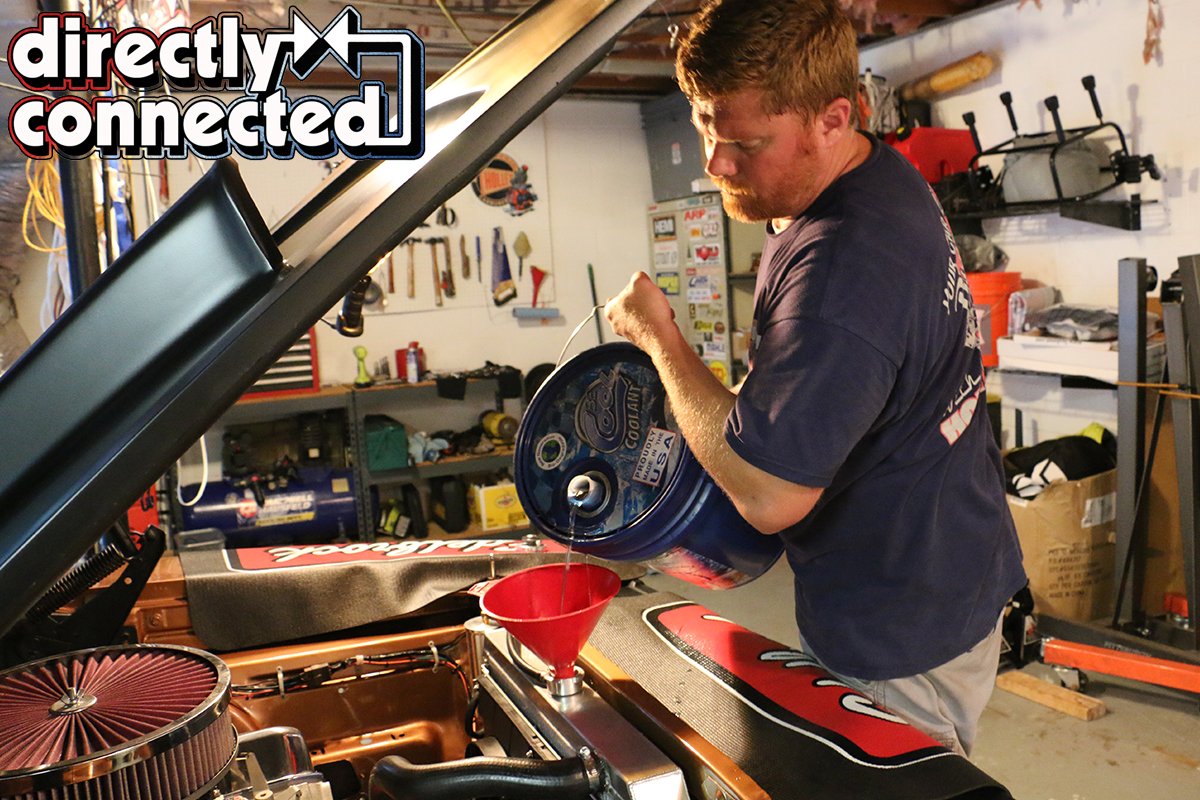
Double-checking all of our bolts, we filled up the radiator as much as we could with Be Cool’s own coolant (a 50/50 mixture of deionized water and coolant sold by the one- or five-gallon container). With it full but with the cap still off, we fired up the motor and waited for the thermostat to open up. As it did, the coolant level bubbled furiously and eventually dropped as air began to escape. We continued pouring in coolant until it maintained a constant level just below the filler neck.
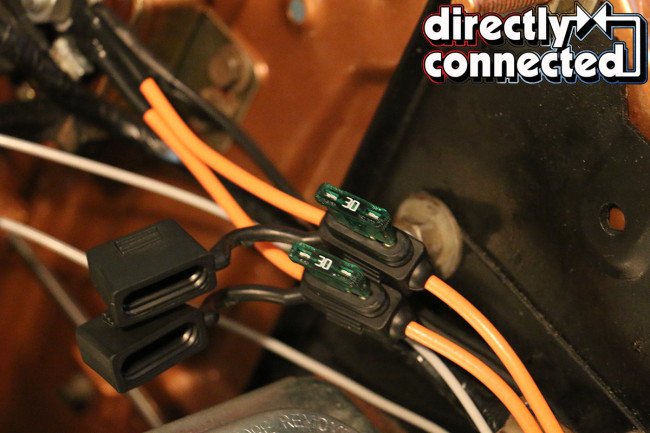
Above left: We wove our new Be Cool Radiator wiring loom up and into our factory wiring loops. Above right: The power lines to the relays come with their own 30 amp fuse.
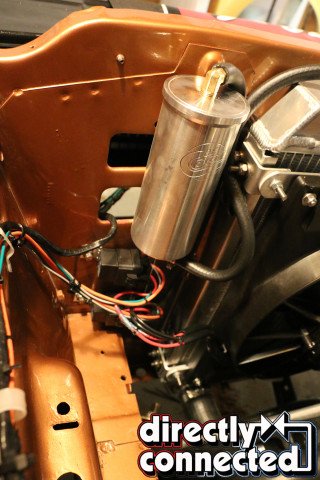
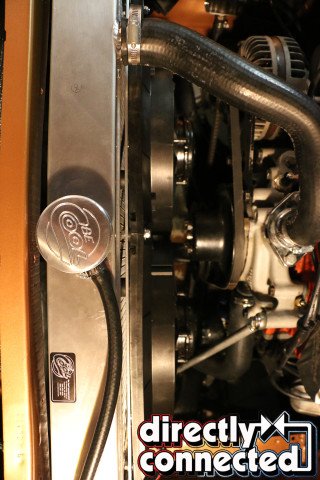
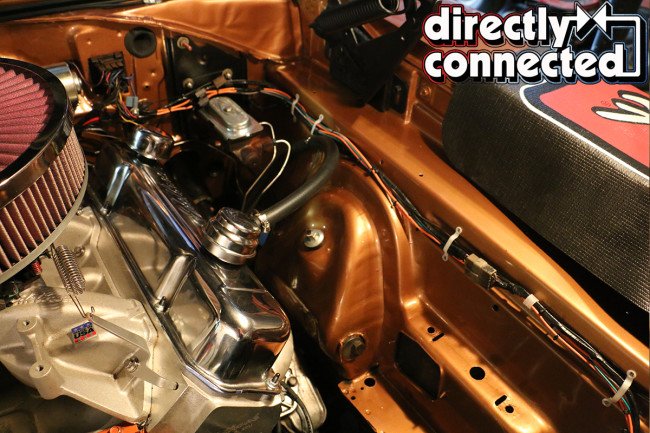
Above left: The relays are tucked up and out of the way below the reservoir tank with its overflow line well out of the way of sensitive electronics. Above center: Here you get a good idea at how close the new fan system is to our accessory-free big block. Above right: True to our word, these fans suck…literally.
Satisfied, we screwed the billet cap on and waited for the fans to kick on. We waited so long we feared we had wired something wrong until the twin Spals suddenly roared to life and sucked the page of instructions from off of our workbench a foot away, sticking the page to the Charger’s grille. We toyed with a rag to see how strong the fans’ pull was and found it could pull it from our hands 6-inches away. We were not going to have to worry about air circulation anymore. In fact, we discovered that while idling at a stoplight that when the fans are engaged, the fans literally blow a considerable amount of hot air from the engine compartment down and out alongside the car.
In over 150 miles of driving since our installation, we’ve yet to see a single drip from the overflow tank, a hiss from the cap or our temperature gauge above 220, even while spooling the engine to 4,000rpm down the highway (4.56 gears aren’t exactly freeway friendly). Although similarly-equipped Show & Go systems retail between $1,495 to $1,699, the results are incredible, and is definitely worth the price of such a quality product that is American made. For more information on what Be Cool has for your Mopar, make sure to check out their online catalog HERE.


