


To be fair, calling our stump-pulling torque-monster of a 535 cubic inch 440 Wedge a “junkyard build” would be partially, if not completely, an outright lie. Although we did fish our low mileage, HP-casting 440 block out of a dilapidated motorhome some years back, that is the only component of our Project Brazen’s engine build that could be construed as “junkyard.” (Albeit, we do like the sound of a monster torque-making junkyard Chrysler RB 440.)
Rather, the engine we had in mind would require some of the best aftermarket parts that the automotive industry could supply. In the first installment of our “Wicked Wedge of The South” we outlined that the spinal cord of our powerplant was an Eagle Specialty Products’ 426 crank and rods assembly package, more specifically, a 4340 forged 4.500-inch 8-bolt flange, internally-balanced Hemi crank and 7.100-inch H-beam rods. On its own, the complete setup is capable of producing upwards of 1,500HP, which we knew would be plenty for our needs.
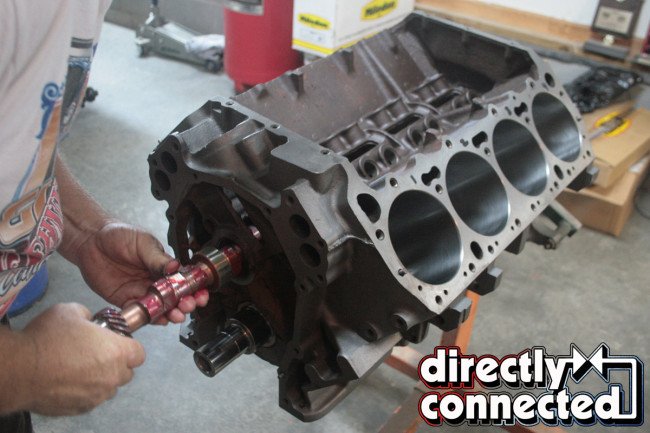

Above left: Our COMP Cams hydraulic roller cam going in. Above right: With our torque-making bottom-end all buttoned up, it was time to move on to our big horsepower-making top end.
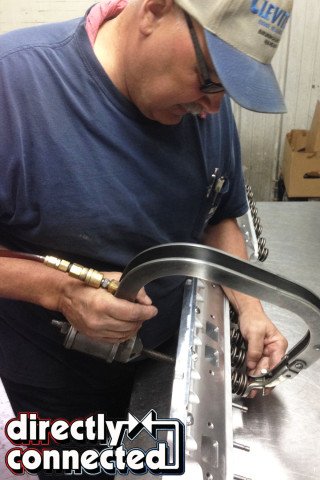
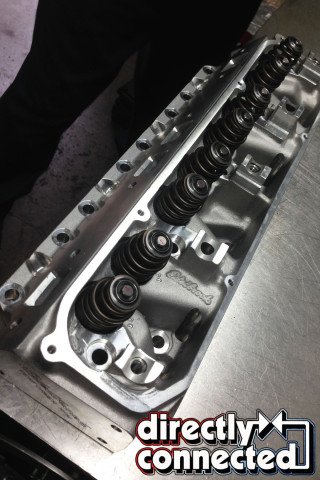
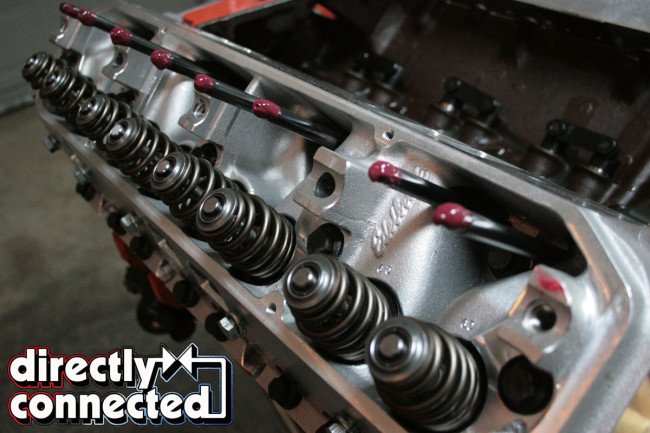
Above: Prior to installation to our bottom-end, we took our Edelbrock Performer RPM heads to Knights Automotive Machine to swap out the stiffer and heavier springs with COMP’s Beehive Valve Springs. Although they’re equal in height, the Beehives offer more seat pressure and stability at high RPM.
Topping our rods were a set of MAHLE Motorsports Power Pak -8.0cc forged flat top pistons coated in MAHLE’s proprietary Grafal anti-friction and phosphate coatings to reduce micro-welding and pin galling, as well as MAHLE’s performance rings for maximized ring-to-piston sealing, wrist pins and locks. A COMP Cams hydraulic roller cam and COMP Cams High-Tech Roller Timing set was installed before a TCI Rattler internally-balanced dampener was mated to the crank snout.
But before we got any further, let’s talk a tad more about our camshaft. The choice to go with a more street-friendly hydraulic roller cam (PT# 23-000-9), brandishing 0.598-inch intake and 0.600-inch exhaust lift (with 1.5:1 rocker arm ratio), 253/259 degrees duration at 0.050-inch, with a lobe separation angle of 110 degrees, meant it would be a nice aggressive street cam without the harshness of a solid lifter grind. Since we were planning on bolting down our Edelbrock Performer RPM cylinder heads (PT# 60189) directly out of the box, we knew that we were somewhat limiting the cam’s full potential.
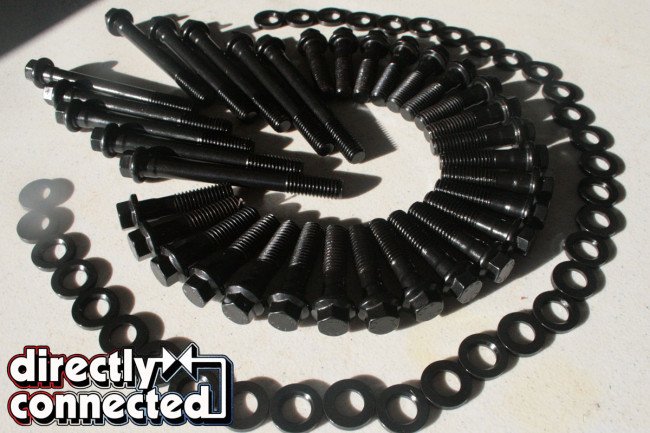

Above: Prior to installing our Performer RPM heads, we got our ARP head bolts ready for installation by applying some ARP moly to the threads and ends.
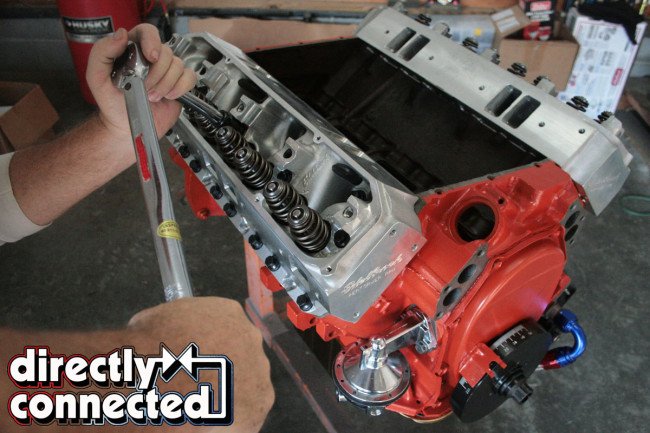
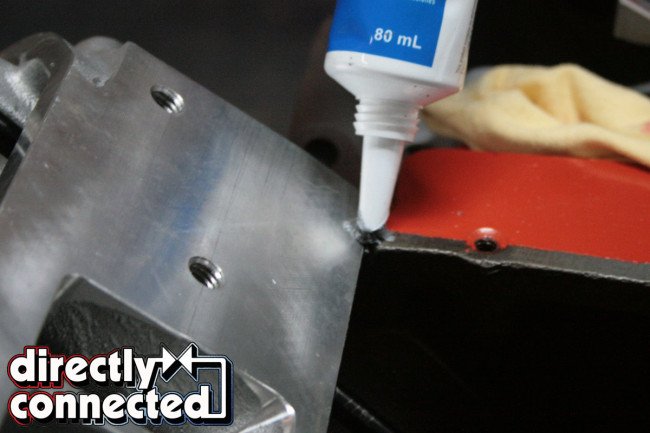
Above left: ARP recommends torquing the head bolts to 70 ft. lbs. Above center: We applied some aluminum sealant to the corners between the heads and where the pan rails bolt down as our Cometic MLS gaskets don’t seat this joint.
Speaking of which, the aluminum heads are some of the most popular in the world, and maintain their place in Edelbrock’s Top 5 selling products. Similarly patterned after ’67 440 HP 915 casting, which featured a closed, quench-style combustion chamber, the Performer RPMs are available with either 75cc, 84cc, 88cc chamber volumes, and come with 210cc and 70cc intake and exhaust runners, respectively. The fully assembled cylinder heads come with Manganese bronze valve guides, and 2.140-inch and 1.81-inch diameter intake and exhaust valves, again respectively.
We opted for the 88cc chambered heads, which are noted for being machined .100″ for clearance with quench dome style pistons. And although all Performer RPMs feature stock exhaust port locations, Edelbrock recommends TTI headers due to the heads’ angled spark plug position, for, as Edelbrock states “superior combustion.” (If you’re like us, and went with another header manufacturer, we strongly recommend Powerhouse Products’ 5/8-inch diameter Spark Plug Socket tool. You will thank us.)
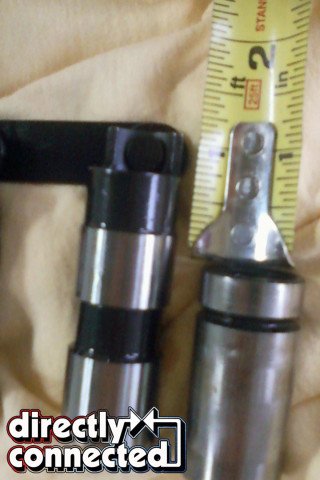

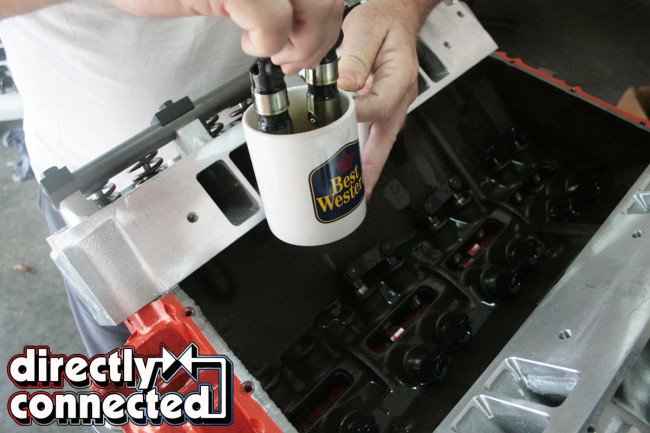
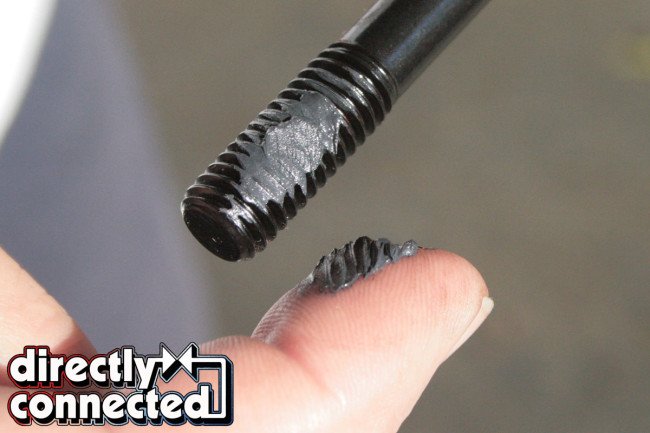
Top left: We discovered half-way through that the COMP Hydraulic Roller Lifters were nearly 3/4-inch taller in seat height than the stock hydraulic lifters, meaning our originally-selected pushrods (9.32-inches long) were far too long. Top Right: Thankfully enough, the factory low-deck B-block push rod length (8.60-inches long) were what we needed. Bottom left: As per COMP’s assembly instructions, we soaked each hydraulic lifter in COMP’s 10W30 break-in oil. Bottom right: We applied a dab of of Red Line synthetic assembly lube to all the contact points for added measure.
Out of the box, the Edelbrock Performer RPM heads came fully assembled, with valve springs at an a 1.880-inch installed height providing 140 pounds of seat pressure when closed. These allow the RPMs to flow 291cfm on the intake and 217cfm on the exhaust at .600-inch lift, which matched perfectly with our COMP hydraulic roller camshaft. But knowing we would eventually pull the heads for a full port and polish job, we returned to our friends at Knights Automotive Machine in Madison, TN, to swap out the Edelbrock springs with COMP Cams Beehive Valve Springs; these kept the same 1.880-inch installed height, but provided a superior 155 pounds of seat pressure when closed.
After sandwiching a pair of Cometic Multilayer Steel (MLS) Gaskets and torquing down our aluminum heads’ ARP bolts to the requisite 70 ft. lbs., we installed our COMP Cams Pro Magnum Shaft Mount Roller Rocker Arms. In continuing with our “full roller” top end build, the 1.5 ratio, shaft-mounted rockers are cast in 8650 chromemoly and feature an “arched, web-like design” making them both strong and lightweight. While the black oxide finish looks pretty cool, it’s really meant to prevent corrosion and increase durability. With oversized trunions, needle bearings and hardened roller tips, we knew we’d have far more valvetrain than our low RPM-revving stump-puller could need.
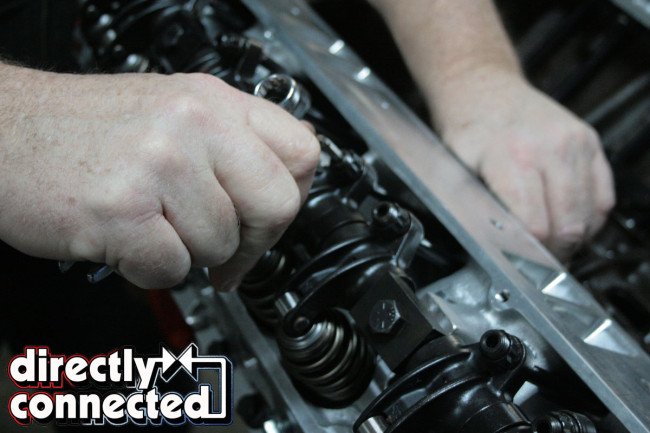
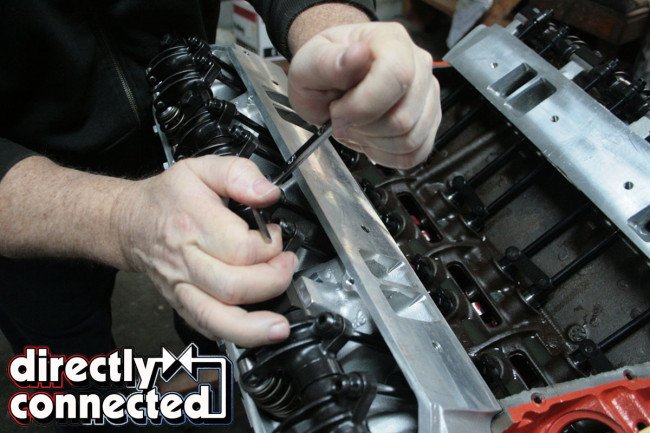
Above left: Adjusting valve lash can prove tricky depending upon what you’re using. For our WWS (Wicked Wedge of The South) build, we opted for COMP’s Pro Magnum Shaft Mount Roller Rocker Arms and Magnum pushrods. As per Mike Petralia’s instructions, the pushrods should be able to twist easily between your thumb and forefinger. Any tighter means you’re preloading your hydraulic lifters. Above right: Once the lash is set, the adjustable rockers tighten down with ease.
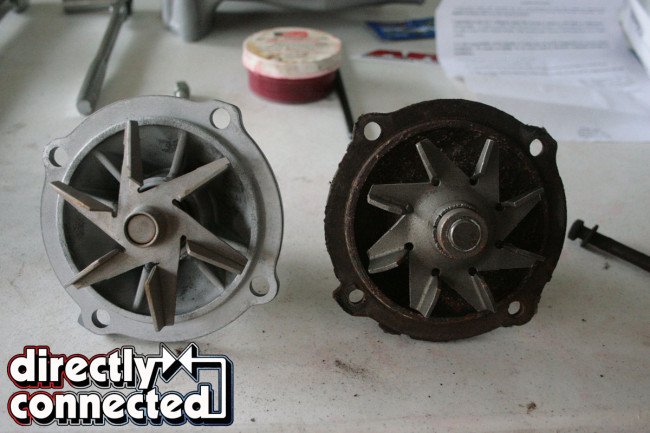
Above left: The difference between a factory iron pump (right) and a Mopar Performance aluminum pump (left) is far more than just the metal its cast from. Above right: We bolted down our water pump with new gaskets and little fuss.
We did encounter one small snag that held up our build: the push rods. Because we were building a RB 440 and all of the products from Edelbrock and COMP listed nothing contradicting the stock valvetrain geometry (B-block pushrods at 8.57-inches, and RB at 9.32-inches), we ordered COMP’s 9.315-inch pushrods. When it came time to install them, we discovered that they were nearly 3/4-inch too long. Backing off the rocker adjusters to their stops didn’t help as we needed to all but collapse the hydraulic lifters to cram them in. What we discovered was that our COMP Cams Retro-fit Hydraulic Roller Lifters wielded a significantly taller seat height than stock, requiring us to run (of all things), a traditional-length 383-400 B-block 8.600-inch pushrod.
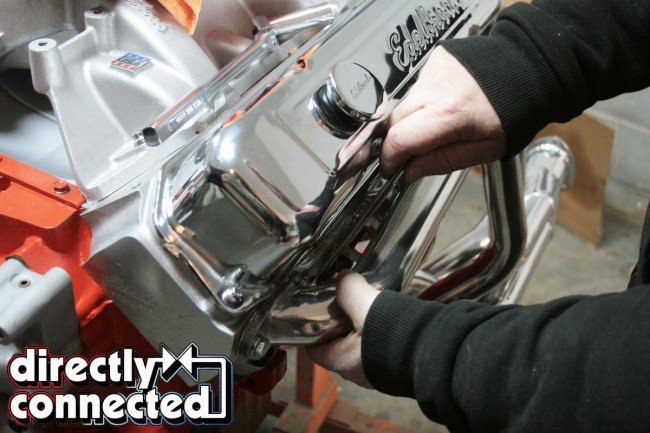
With our little conundrum resolved, the COMP roller rocker shafts were torqued to 25 ft-lbs. and our polished stamped Edelbrock valve covers were snugged down, we bolted down our Edelbrock Performer RPM Dual Plane intake (PT# 7193), again directly out of the box. The choice of the dual plane was two-fold, first being optimal torque output and the second being hood clearance. (Only later did we discover that that the manifold is 1.7-inches taller than stock, and with the big Holley Ultra XP four-barrel, hood clearance is all but impossible. It looks like a hood scoop will be in Brazen’s future regardless.)
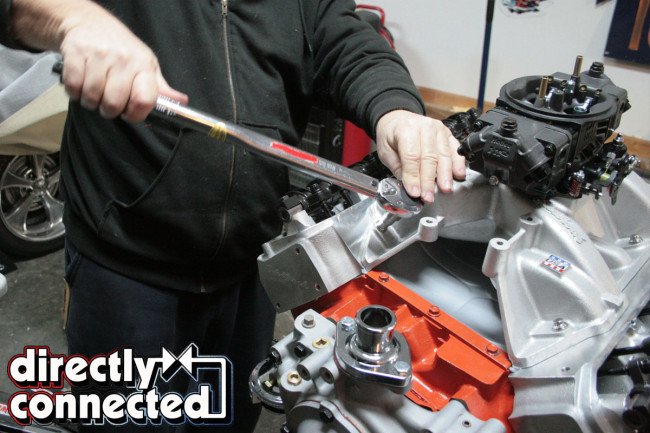
Above left: Following ARP’s instructions, we torqued the intake manifold bolts down to 40 ft-lbs. Above center: Our only real “bling” came in the form of these polished Edelbrock valve covers. Above right: Our Summit Racing ceramic coated headers feature 1 7/8 in. primaries into a 3-inch collector.
Speaking of which, we got our grubby little hands on one of Holley’s coveted Hard Core Gray 850cfm Ultra XP’s. The smoked-out carb is 38-percent lighter than Holley’s own HP four-barrels, and also features black anodized billet aluminum metering blocks and booster inserts with emulsion bleeds, and power valve channel and idle feed restrictors. It’s so good looking its a shame to hide it beneath an air cleaner.
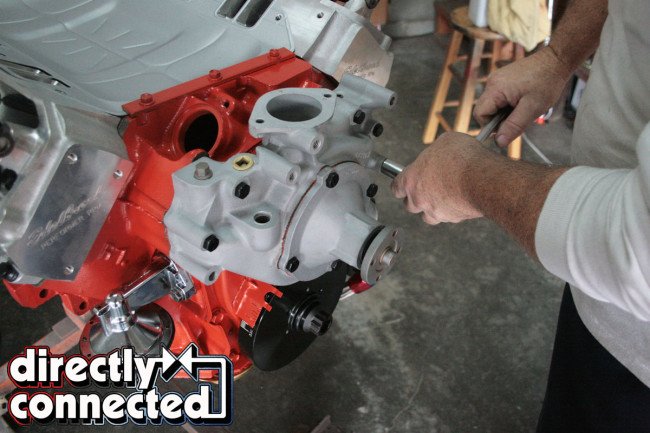
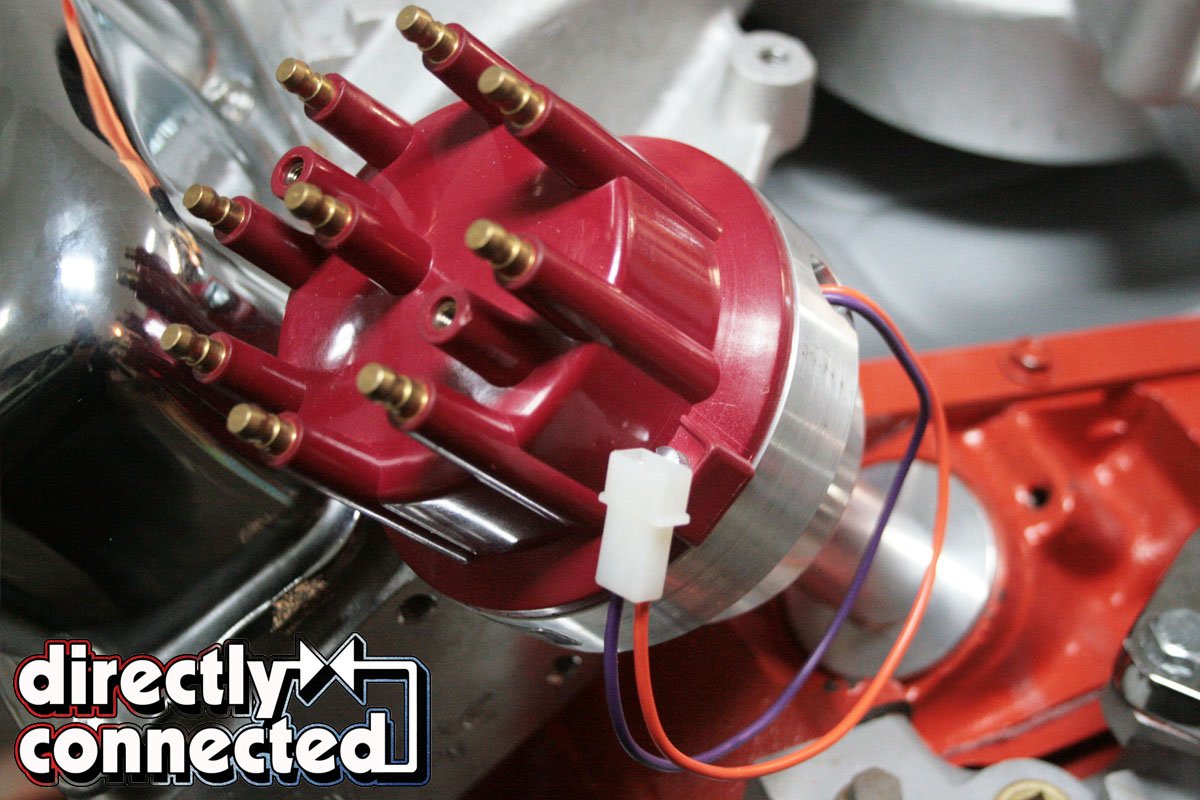
OK anyways, next went on the Mopar Performance aluminum water pump housing, and Mallory’s HEI Billet Competition distributor. It’s really a nice piece, with a CNC-machined 6061-T6 aluminum billet housing, centerless-ground and burnished shaft (with a sealed ball bearing at the top of the shaft), an easy-to-replace aluminum/bronze gear and a magnetic single pickup. But there is one huge problem: it doesn’t fit with Edelbrock’s RPM heads. We needed to mill nearly 2/5-inch from the right-hand side cylinder head to clear the large billet distributor. The Edelbrock’s are cast with lots of extra material on the ends so it didn’t injure the heads whatsoever, but it was an extra step we weren’t expecting.
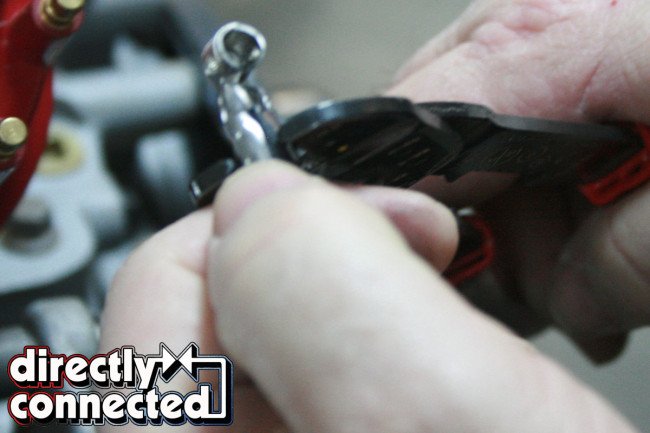

Above left: We chose ACCEL’s 9001C Extreme 9000 Universal Ceramic Spark Plug Wire kit primarily for its ceramic 90-degree boots and easy trim-and-cover system. Above center: Although not the clearest picture (sorry!), we overlapped the prongs to better secure the terminal. Above right: We took special care to give ourselves plenty of slack to clear the headers.

We opted for the ACCEL 9001C Extreme 9000 Universal Ceramic Spark Plug Wire kit because we worried that a pre-cut kit wouldn’t clear all of the aftermarket parts we had atop out RB 440 block. We chose the 90-degree ceramic boots because of the closeness of our Summit Racing Street & Strip Metallic-Ceramic Coated Headers to our odd-angled spark plugs. The ACCEL kit makes measuring and trimming plug wires very simple, and mounting the terminal is a snap when clamped down in the under/over pattern. As we weren’t planning on running any accessories, all we required was an underdrive pulley, a water pump pulley and a bracket for the alternator, and our initial assembly was complete.
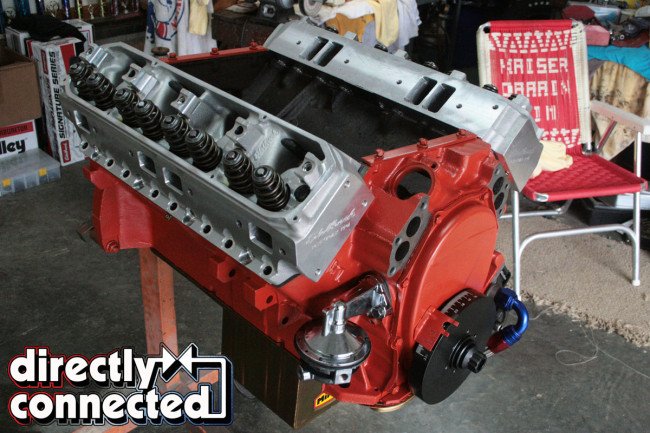
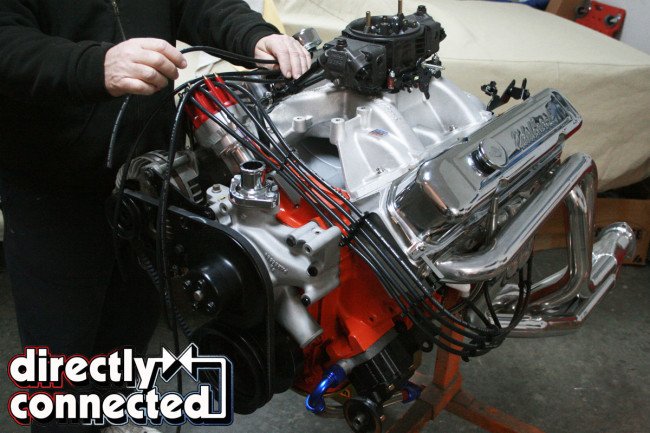
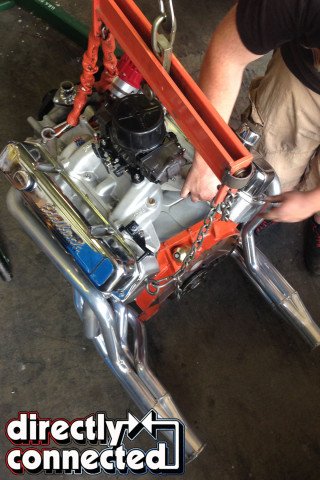
We snapped some pretty pictures of the fully assembled engine and loaded it up to be taken to Mike Petralia’s Hardcore Horsepower in Franklin, TN for a leak down test and dyno break-in. Petralia first made his name while at Weiand, before becoming a contributor and full-time staffer for Hot Rod, Super Chevy, Chevy High Performance, Popular Hot Rodding, Chevy Rumble, Street Rodder, Rod & Custom, Classic Trucks, and Engine Masters magazines. Today, Petralia owns and operates his own engine builder and dyno facility, and is what we lovingly call “The Westech of the South.”
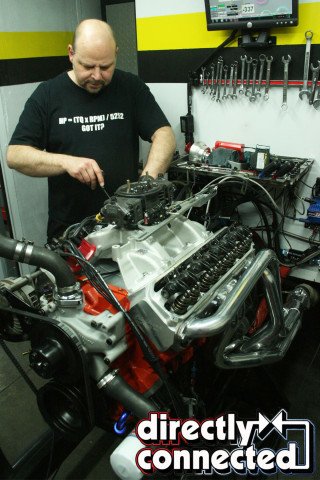
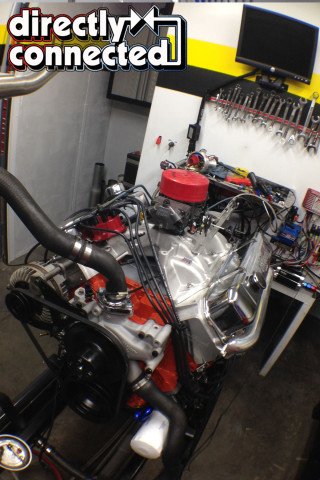
Above left: Prior to going on the dyno at Hardcore Horsepower, Mike Petralia prepared our big block for a smoke test, which pumps compressed oil smoke through the oil passages to find any leaks. Above center: After a couple break-in starts, Petralia rechecks the valve lash. Above right: With our timing advance and valve lash set, our 535 Wedge made an impressive 624 horsepower @ 5,300 rpm and 700 ft. lbs. of torque at 3,900 rpm.
Prior to hoisting any engine into his dyno cell, Petralia performs an oil smoker test to find any potential leaks. Admittedly, we failed this test twice before finally sealing up the rear main seal. Although hydraulic roller cams don’t require the tenuous break-in as a solid flat-tappet cam, we poured in six quarts of Comp Cams 10W30 break-in oil to be safe. Petralia carefully started the engine and ran it through a break-in cycle, before letting it cool down and re-checking the valve lash, which was, as he discovered, waaay too tight.
Once satisfied, we were ready to make some pulls. Although our final compression ratio came out to be a surprising 11.25:1 (our initial math had us closer to 10.5:1), Petralia had our stroker motor running on zero-ethanol 93 octane with zero pre-detonation and 6.5 psi. fuel pressure. With a very conservative 32 degrees of timing advance we started the first of our 20-something dyno pulls.
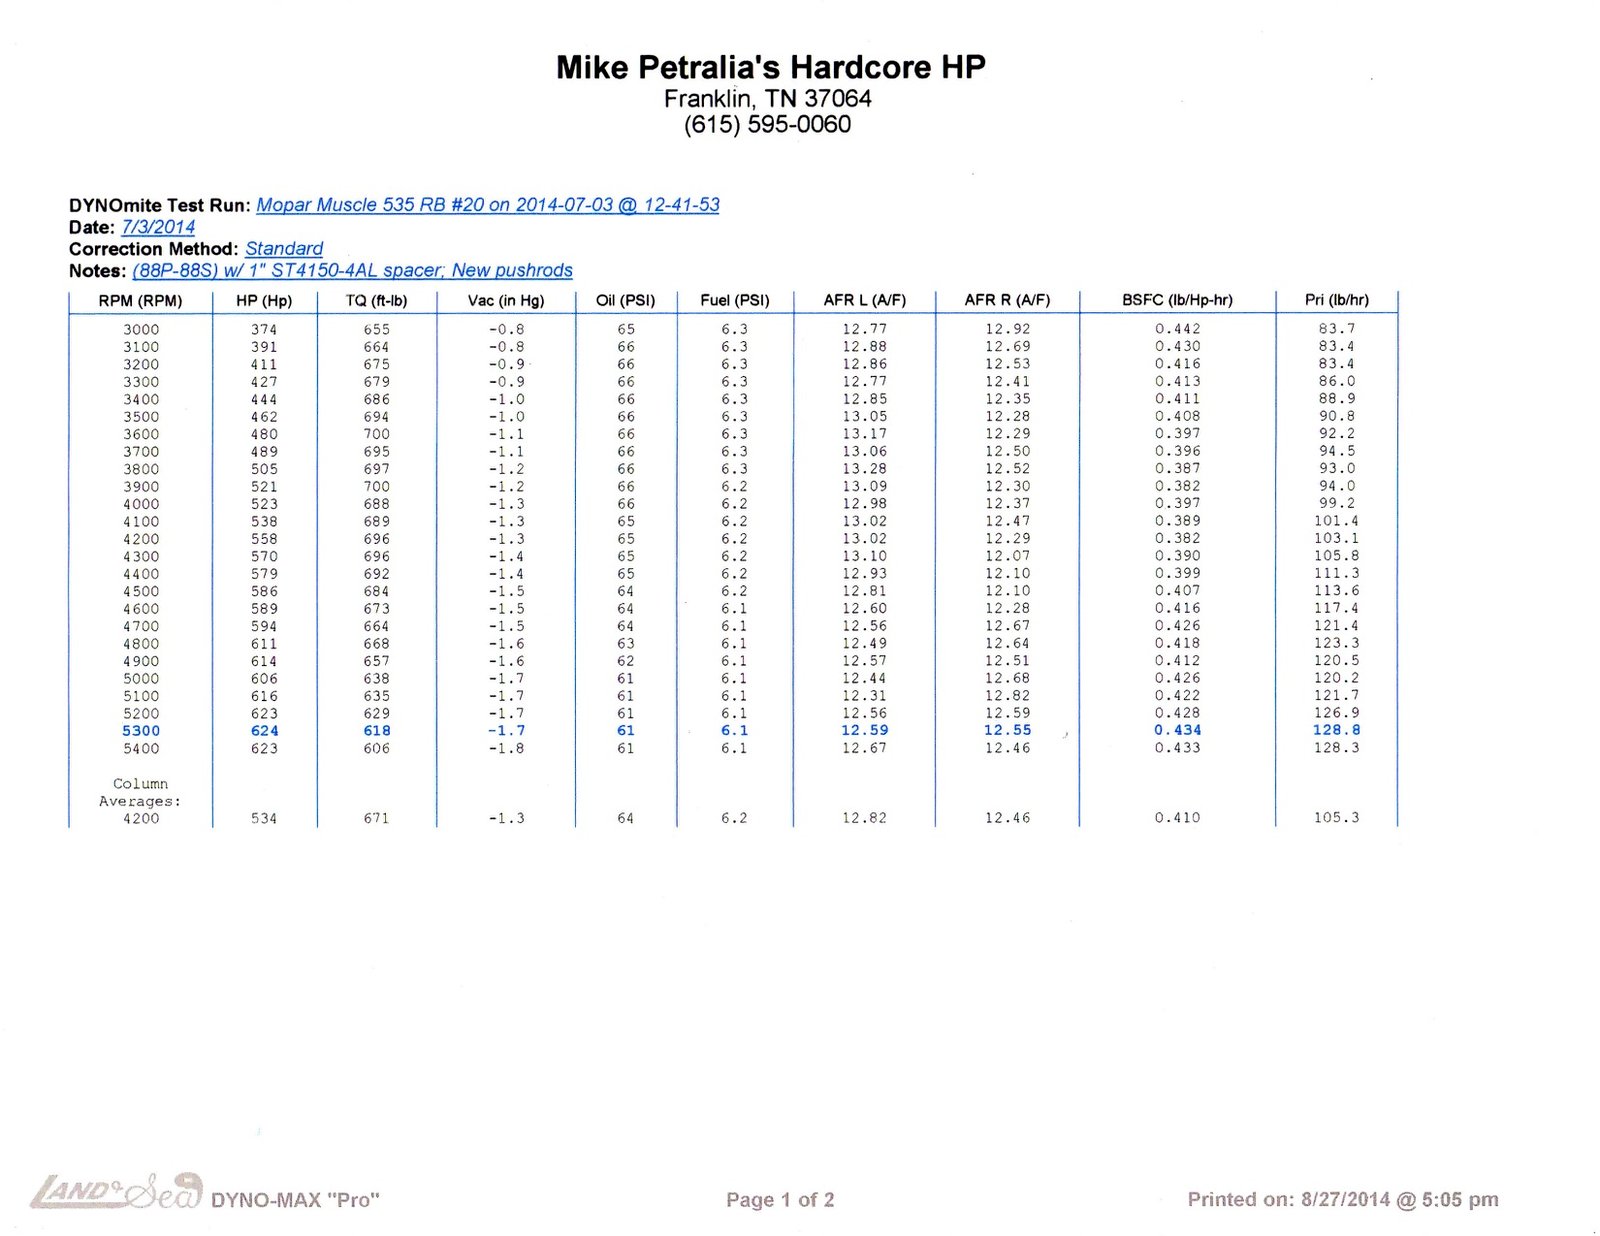 From the get-go we knew we were cranking out some serious torque. Even at 3,600 rpm we peaked 700 ft. lbs. of torque. That number would flutter between 3,600 and 3,900 where we’d hit 700 ft. lbs. again. Meanwhile, our top end would only start to build some serious power once we climbed out of the 4,000’s, with a peak horsepower of 624 at 5,300 rpm. After that, our Wicked Wedge of The South fell flat on its face.
We racked that up to our “stock in box” heads and dual plane manifold, and as Petralia noted, we were also running out of cfm despite re-jetting our Holley up as much as we could. With a professional port and polish to the heads and some tricks to the carburetor, and a taller single-plane manifold, we could push 700 horsepower. But for now, we’re more than happy with 700 ft. lbs. of torque. It also means that Brazen’s crazy-low 4.56 gears will definitely need to go if we want to make it past the 660-foot markers (although it might make for a good 1/8th mile machine).


