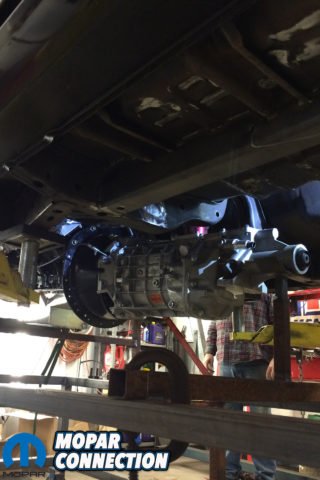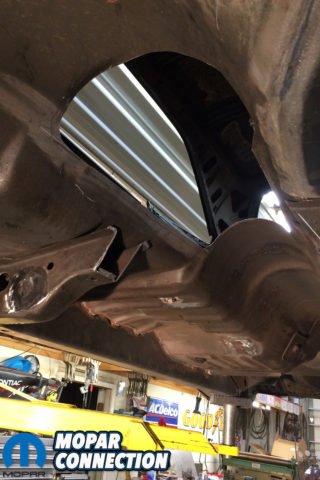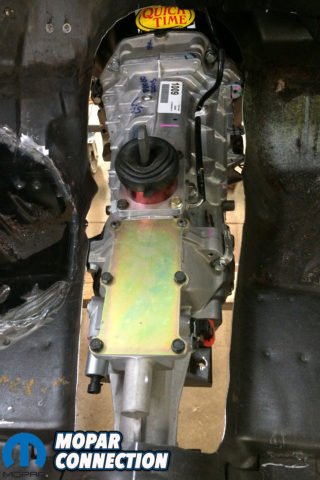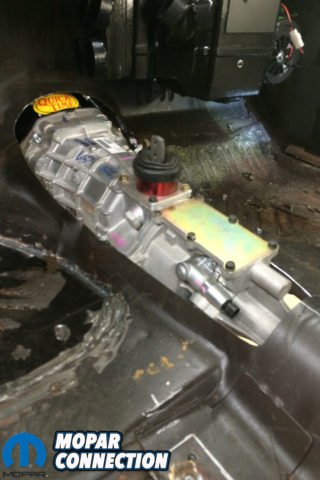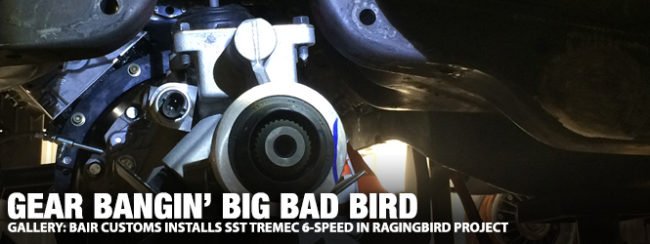
There are several companies offering modern Tremec TKO 5-speed manual transmission swap kits for classic Mopars, but only one has dedicated the time, effort and resources into engineering a way for the far bulkier Tremec Magnum 6-speed to be used in a vintage B-body while retaining the factory torsion bar suspension – Silver Sport Transmissions (SST).
As others will simply require the use of a modern coil-over front suspension swaps (since their kit requires the near total removal of the factory cross member), SST’s 6-speed PerfectFit Kit requires only minor cutting to the cross member, reinforcing it with an upper and lower cross member package designed to accommodate the larger gearbox.
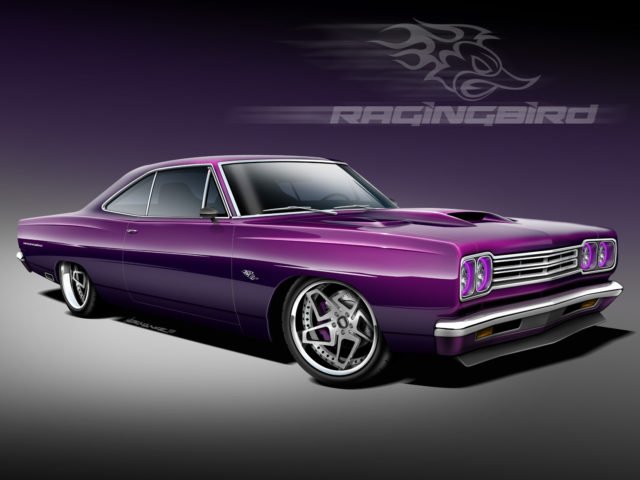
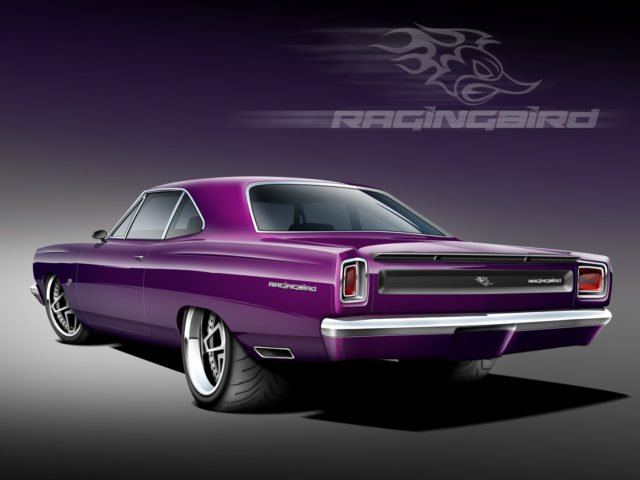
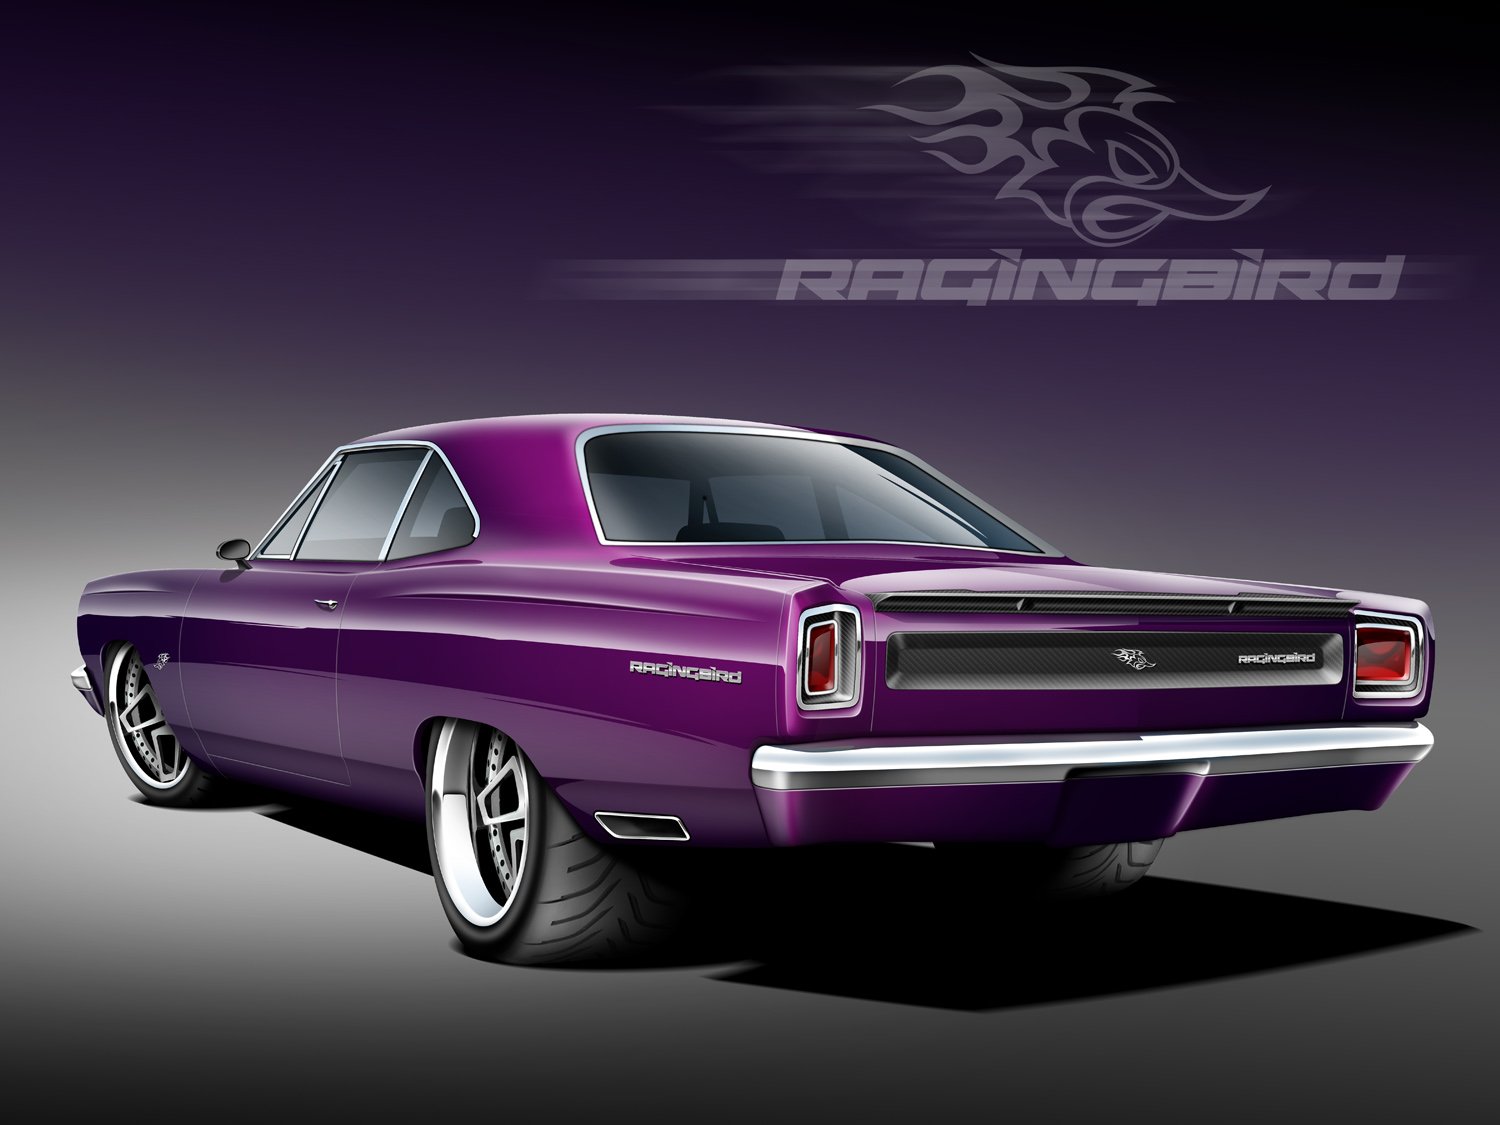
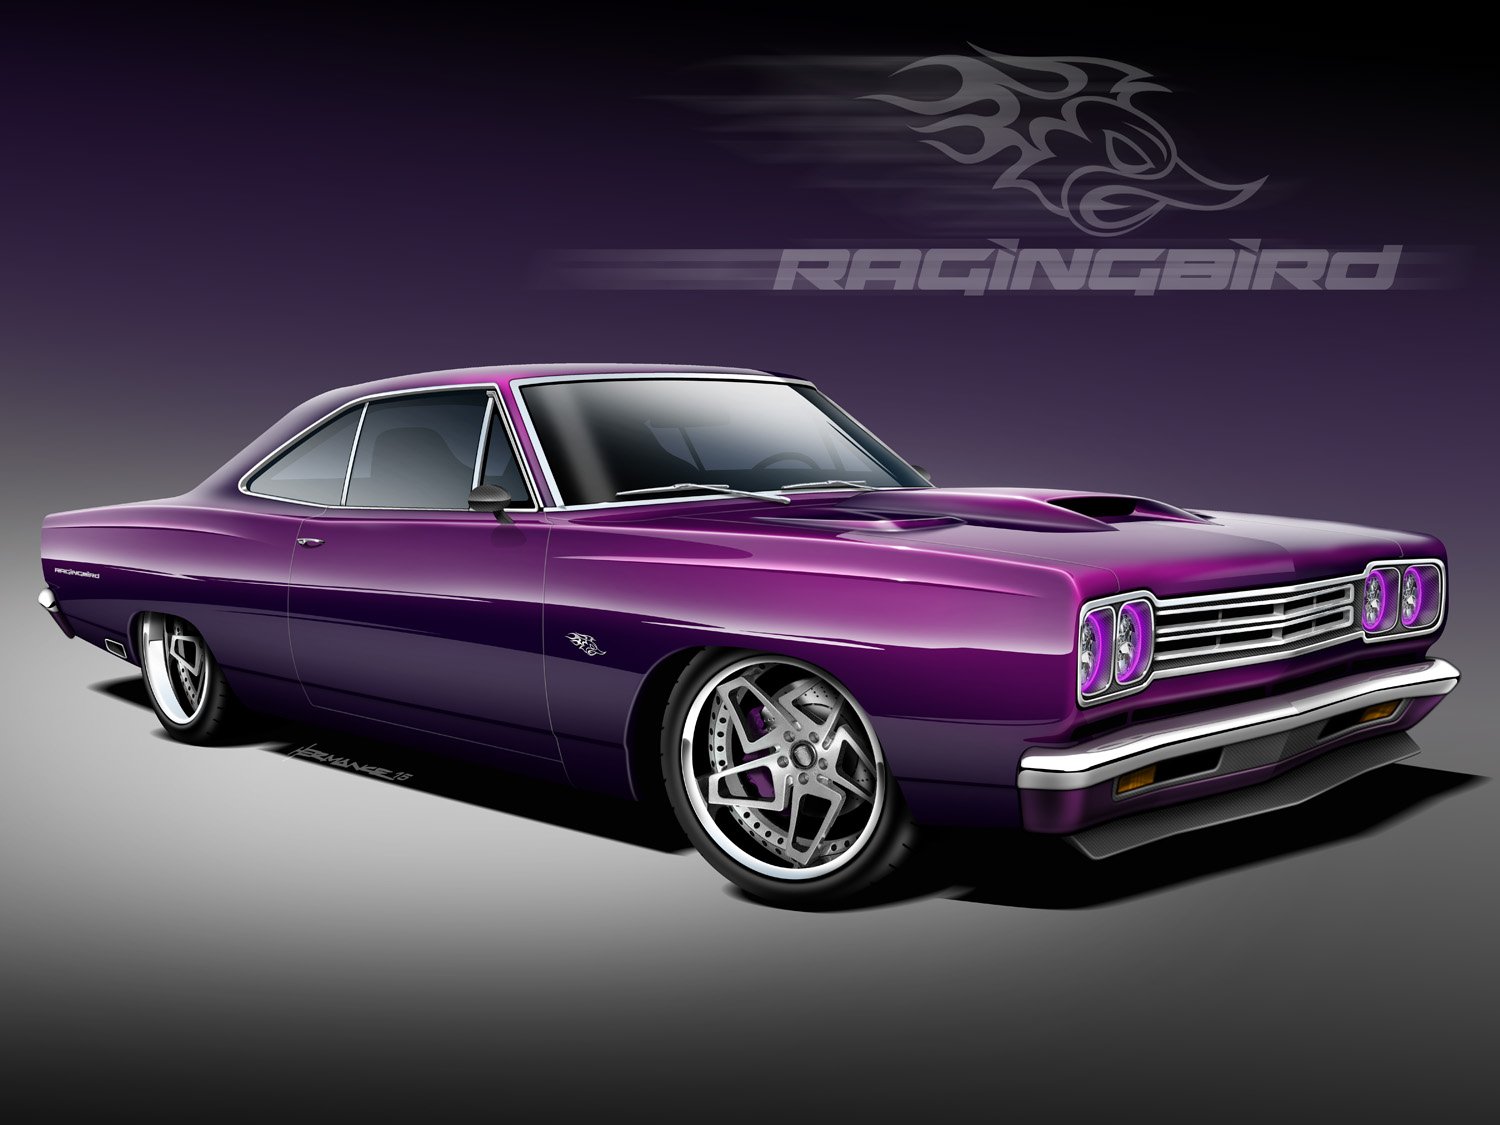
Above: Meet the Ragingbird! More power, more handling, more brakes, more style; it all comes together in one of the most incredible pro-touring Road Runner’s ever built. This car simply stops traffic everywhere it goes and flat-out stomps anything this side of a Viper out on the streets.
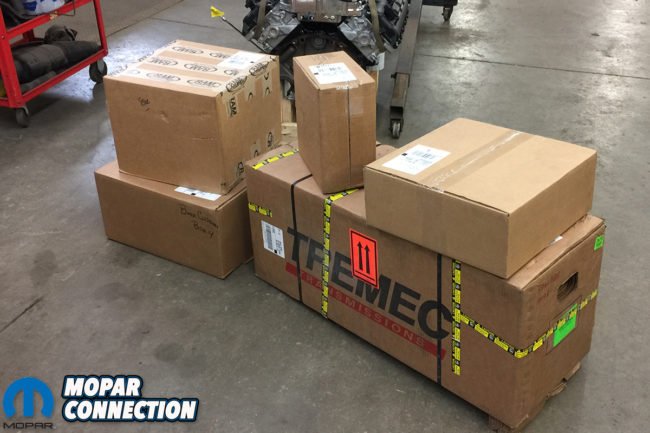
Above: We started by unboxing all of the Silver Sport components and laying out a plan of attack.
Developing the PerfectFit Kit required all of SST’s best efforts as well as some outside help from Bair Customs. Fabricators and car builders Mike Kelley, Ken Feber, and owner Jason Bair have proven themselves as a huge resource to SST, providing the manufacturer access to swathe of customized classic Mopars for testing and development, providing valuable feedback that results in a superior product for the everyday customer.
For the creation of the 6-speed PerfectFit Kit, Bair and his team offered up their current project, “RagingBird,” a wild ’69 Plymouth Road Runner powered by a wicked Arrington Performance Gen III 426ci Hemi (force-fed by a supercharger) and covered in a custom Sherwin Williams-mixed hue of Plum Crazy Purple. The customer asked for the “utmost in modern performance” so Bair knew that a Magnum 6-speed would be perfect. Bair walked us through their process and provided images and captions of their installation on Ragingbird:
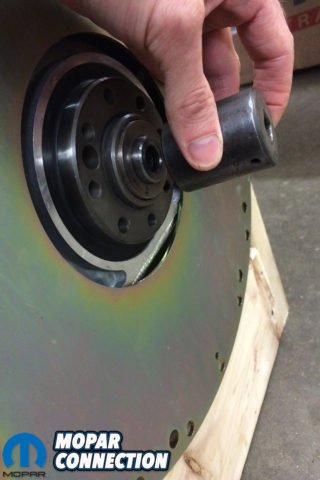
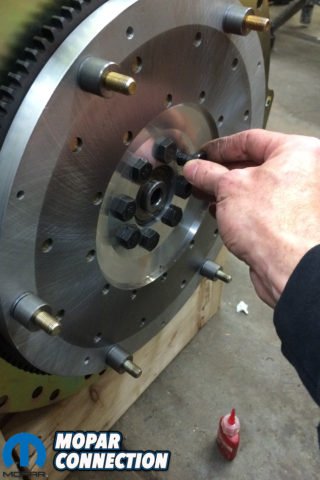
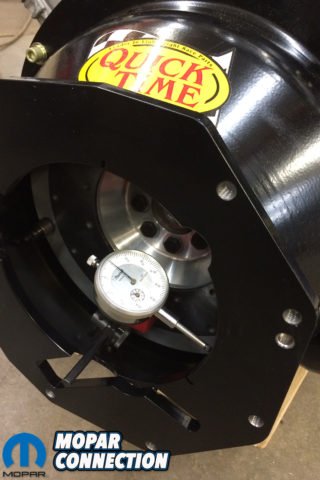
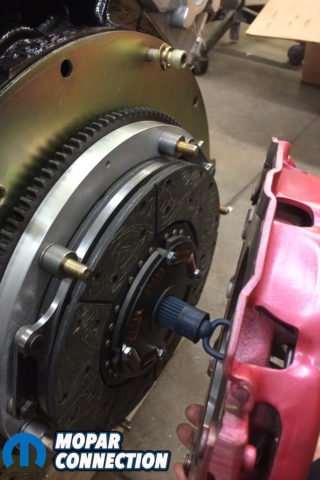
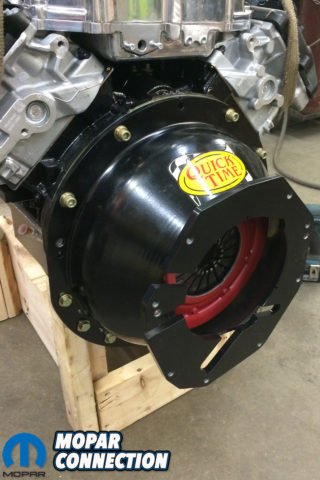
Top: The first steps are installing the pilot bearing, and the flywheel (don’t forget to put the front plate of the SFI Quick Time bellhousing on first). Then install the bellhousing and check the runout with a dial indicator. The runout must be within spec or offset dowel pins will be needed. In most cases we have not had to use offset dowel pins. Bottom: The next step is installing the dual disc clutch setup using the spacers. Install the bellhousing again and measure throw out bearing depth. Shims may have to be used to adjust the depth measurement.
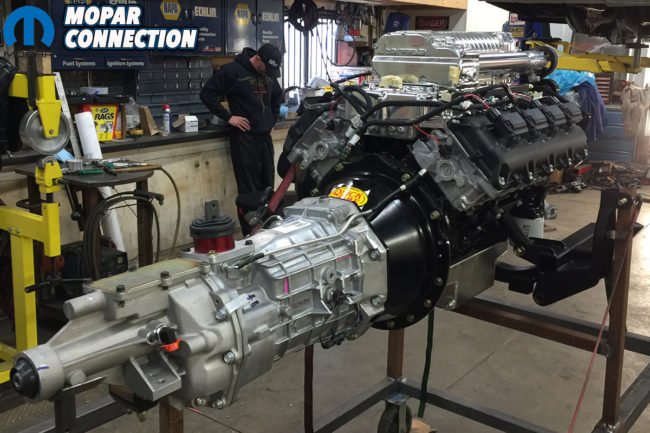
Above: With the Supercharged 426 Hemi from Arrington Performance mounted to a custom engine and transmission dolly, we were ready to get started. (Note: with the transmission and Dana 60 mounted we can then measure for our drive shaft. If you are not using factory pedals or this was an automatic car, Silver Sport can supply a manual pedal assembly that will work.)
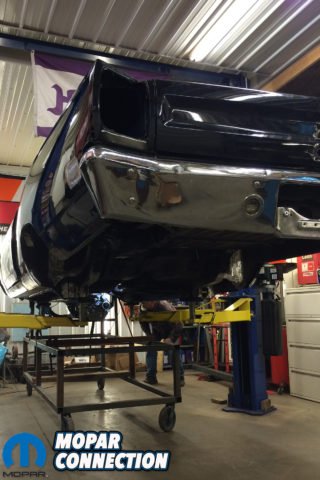
Above left: The transmission is now installed on to the bellhousing and the engine and transmission are ready to be mounted on the dolly. We are using a Reilly Motorsports tubular K-member. This installs the engine roughly were it needs to be and helps us locate the fabrication needed to fit the engine and transmission. Above center & right: With the ’69 Road Runner “RagingBird” on the lift, we lower the car over the engine and transmission dolly to check for clearance. The Tremec 6-speed is bigger than the 5-speed and requires more transmission tunnel modifications.
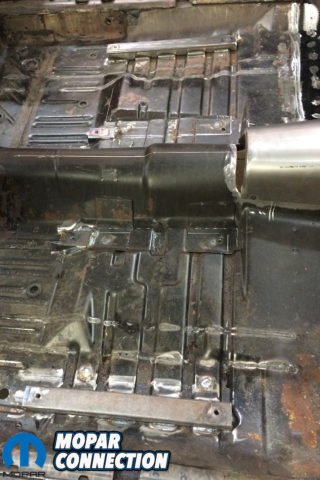
Far left and center left: On the 6-speed, the tunnel, floor brace and cross member need to be cut and modified. Center right and far right: Because we are using a coil-over front suspension system, we decided to also cut out the torsion bar mounts.
Above left: SST makes modifications to the Tremec housing and shifting mechanism to have the new shifter fit exactly where the factory shifter was, allowing for the use of the factory center console. Above center & right: With the floor, brace and cross member cut, we are now able to fit the transmission in the tunnel to make our new sheet metal and cross member.
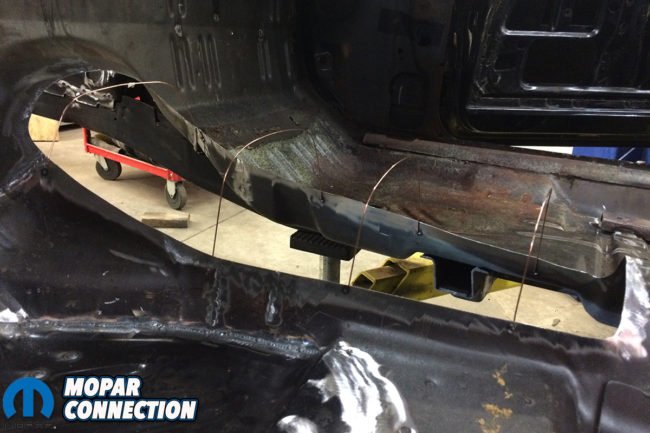
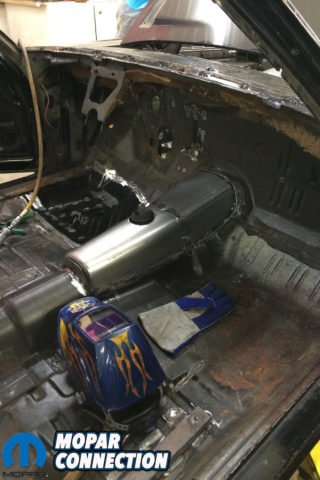
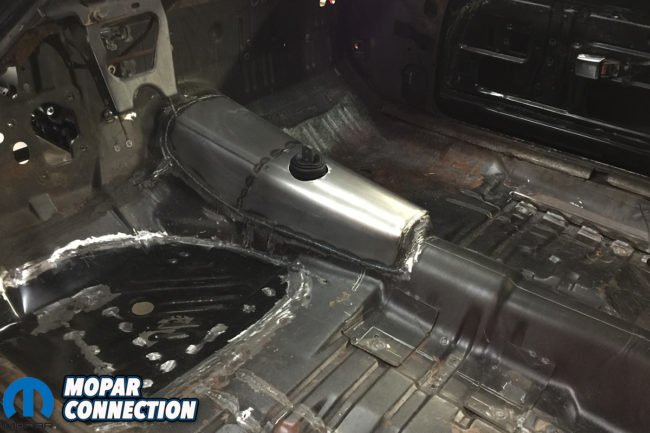
Above: A cardboard template was made to fabricate our new transmission tunnel. We then made the sheet metal to match our cardboard template and the new tunnel was welded in.
Above left: The floor brace was also reconstructed and boxed in. Above right: With the transmission installed in place we made our cross brace and mount. We used a Silver Sport cross member and mount for an example, then fabricated our own.
Above: Bair notes that if you’re using a hydraulic clutch, you will have to find a home for the clutch reservoir. “We typically mount it around the brake master cylinder. I recommend using a hydraulic clutch on all applications. It makes pushing the clutch pedal in much easier, especially with high horsepower clutches.”
Mopar Connection is also very excited to be covering the many steps in the process of Bair Customs’ creating the “Ragingbird” – so look forward to more updates on this and other Bair Customs builds here!


