


Over the last few years, we have made a conscious effort to reduce the police car look of our 2006 Police Package Charger. Although the black paint and the steel wheels still give off a police car vibe, American Muscle has helped us lose the 5-oh guise with a pair of Spec-Tuning headlamps and a chin spoiler.
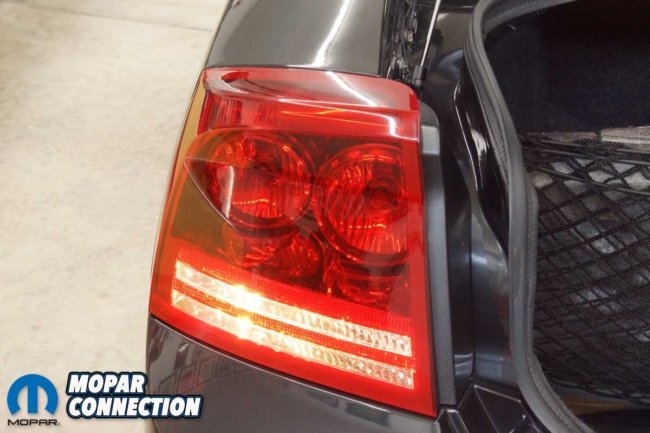
The new pieces look great, but now, those parts make others look dated. For example, the rear taillight housings are the originals, and they are suffering from cracks, chips, scratches, and fading from the years exposed to the sun. On top of that, there is no doubt some damage came from an occasional skirmish with a perp.


Above Left: The Certified Automotive Parts Association (CAPA) Certified American Muscle taillight housings are identical to the factory units. Above Right: Both taillight housings passed the rigorous CAPA evaluations, and each housing had a blue and yellow CAPA sticker affixed to it.
To fix the eyesore at the rear of the Charger, American Muscle stepped up with a pair of taillight housings (CR7287 driver side and CR7288 passenger side) with a Certified Automotive Parts Association (CAPA) grading. The housings come with a limited lifetime warranty.
Why didn’t we go with some of the more stylish lights offered by American Muscle? The answer to that is simple. While we would have liked some LED lights with smoked lenses, living in Pennsylvania requires a yearly vehicle inspection.

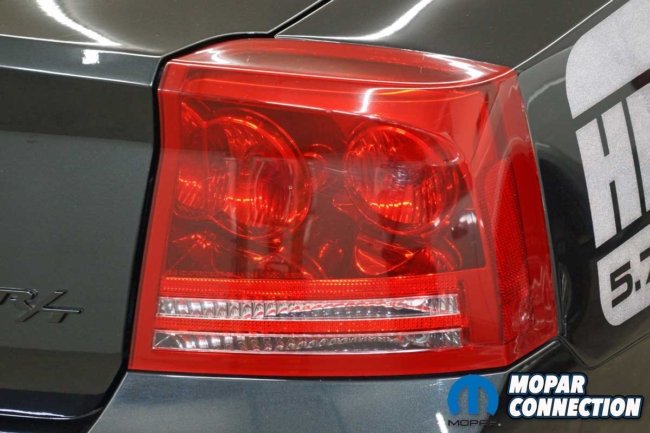
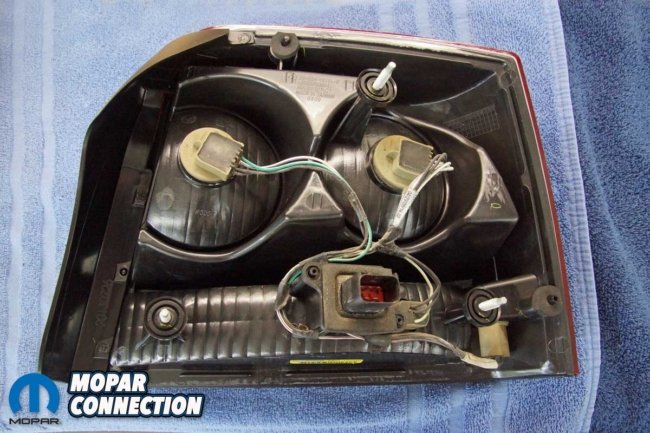
Above: With recent additions to our Charger from American Muscle, the taillight housings looked dated. Each lens had chips, stress fractures, and scuffs on them.
Although all the lights offered through American Muscle will work well on the Charger, depending upon the strictness of the inspection technician, using non-certified lights may result in a failed inspection. A “fix-it” notification will be issued, and if the current inspection sticker is out of date, the vehicle is illegal to drive.
Even though a part is listed for a specific make and model, it may not mount, function, survive, or be as safe as the original if the component is not certified. In 1987, CAPA was established to evaluate and guarantee the correctness and quality of automotive replacement parts. Because of CAPA’s non-profit, self-governing, and impartial stance, it has become the authority in the auto industry for quality and safety parts for collision repairs.
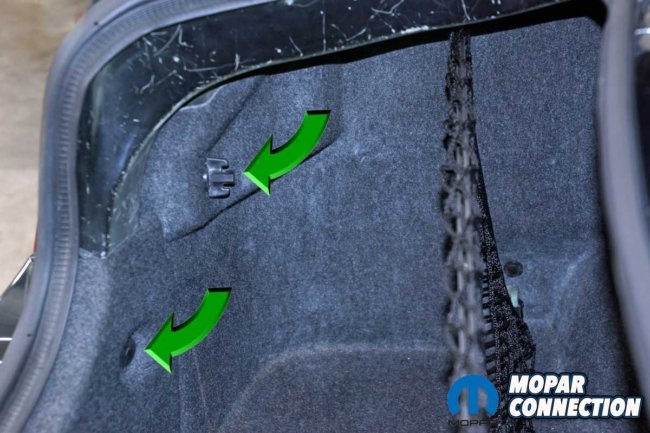
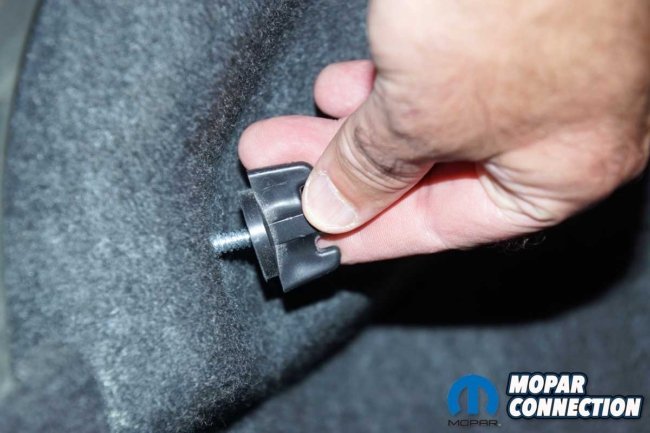

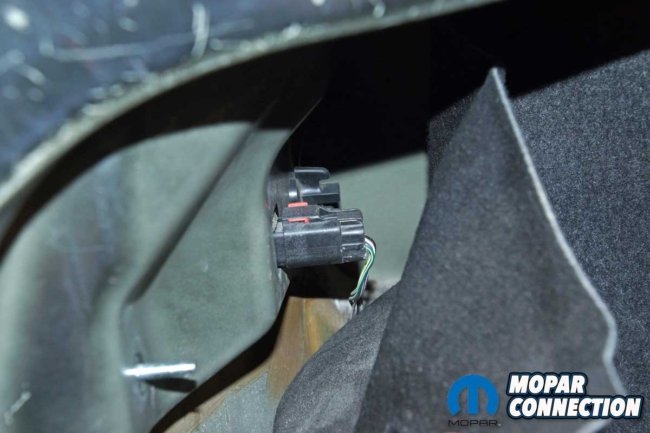
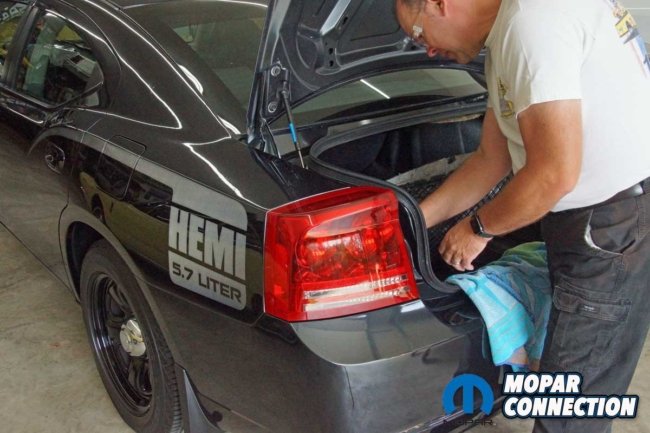
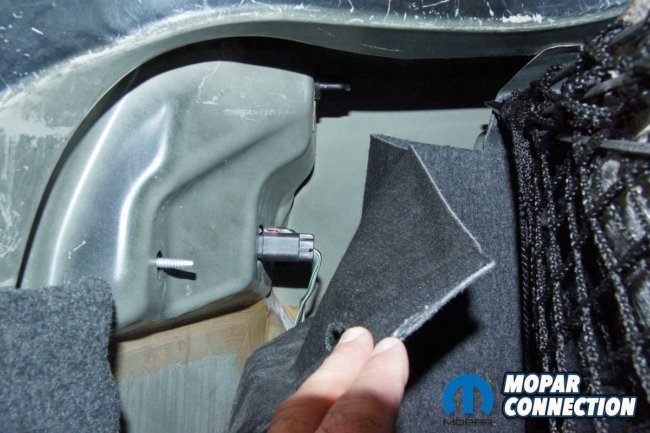
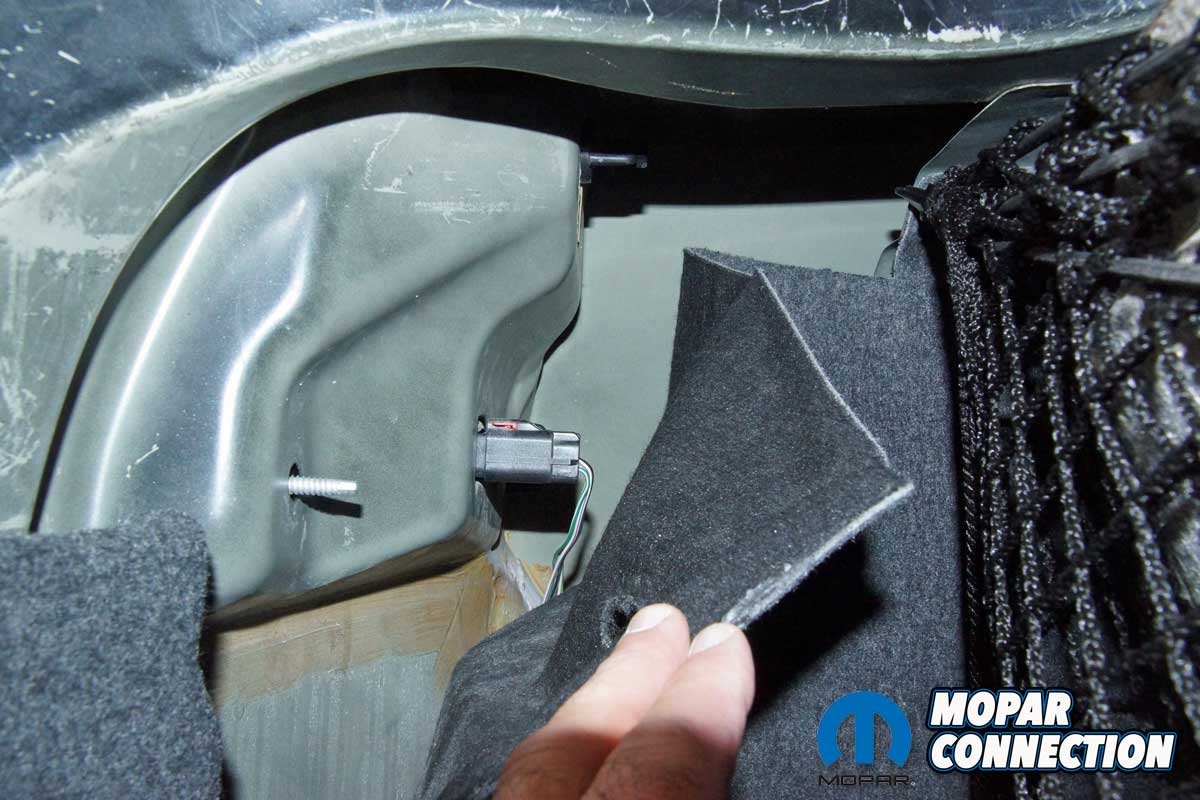
Top Left: To gain access to the taillight, we needed to pull back the trunk liner, which required removing a wingnut and a clip. Top Right: We backed off the first of three wingnuts. Bottom Left: To remove the clip, we needed a door panel removal tool. Bottom Right: With the liner pulled out of the way. We gained access to the second and third wingnuts. The wiring harness connector was also exposed.
How does a purchaser know if the part is CAPA Certified? Each replacement part that meets or exceeds CAPA’s requirements will earn a distinctive yellow and blue CAPA Quality Seal affixed to the component. If you don’t see the seal, it is not a CAPA-Certified part.
The installation of each taillight was straightforward. Starting on the driver side, we removed a plastic wingnut securing the taillight to the chassis and trunk liner. Next, we pulled back the liner to expose two additional plastic wingnuts and the taillight’s electrical connector.

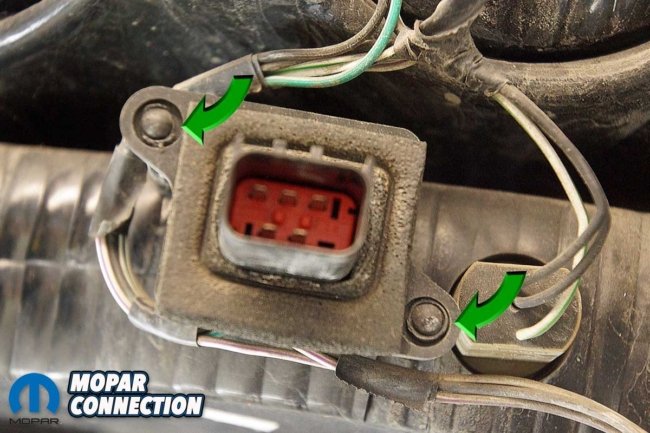

Top Left: The factory taillight wiring harness was in good shape to reuse. Top Right: The OEM connector is retained by two melted studs, which we had to remove. Bottom Left: We used a drill bit to remove enough material to release the connector from the housing. Bottom Right: We transferred the wiring harness to the American Muscle housing. While we reconnected the bulbs, we left the connector sitting loosely on the two plastic retainer studs.
The taillight connector had a safety tab that secured the electrical connector to the taillight. After moving the tab to the disengaged position, we squeezed the connector release and slipped the wiring harness from the connector.
We removed the second and third wingnuts, and the taillight was removed from the Charger. With the housing out of the car, we took a moment to compare the new unit to the original. We were pleased to find the housing’s molded shape was identical to the factory, and the new taillight had the same style of reflective chrome, a deep, rich red lens, and a clear reverse light lens. The taillight harness had to be transferred from the original housing to the new unit.

Above: Originally, the factory melted the studs to retain the connector. We needed to come up with something similar to keep the connector in place.

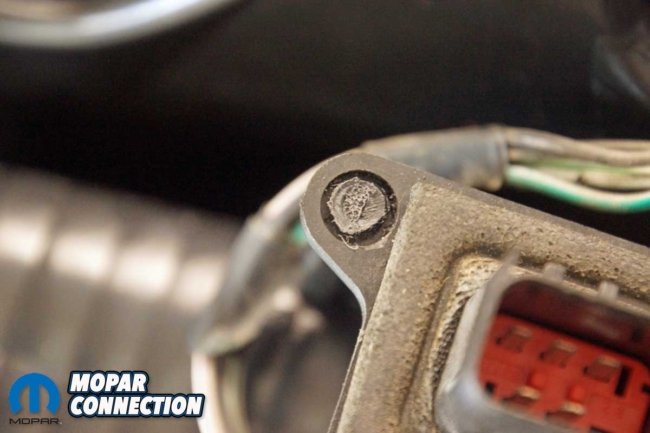
Left: To melt the plastic studs, we heated a bolt of similar size and then pressed it on the studs. Right: The technique worked well. While not exactly the look of the factory, it will retain the connector.
We had to drill away enough of the two plastic studs to free the connector from the housing. Once the harness was transferred, we guided the connector over the studs on the new housing. To secure the connector to the housing in a manner similar to the factory, we heated a bolt and melted the top of each plastic stud. The melted studs secured the connector.
With the taillight assembly ready to install, we guided the housing studs and alignment tabs into place in the quarter panel. Then two wingnuts were secured, and we reattached the wiring harness to the connector and depressed the lock tab. Lastly, the trunk liner was fitted into place, and the final wingnut was installed. To finish the job, we performed the same procedures on the passenger side taillight.
Right: The American Muscle taillight slipped into the factory location without difficulty. Left: We reconnected the wiring harness to the taillight, installed the two inner wingnuts, replaced the liner, and finished the installation with the last wingnut and a clip.
Both taillights fit well and look great. On the passenger side, the taillight appeared to miss the body line slightly. However, the quarter panel had been replaced due to an accident while in service. The quarter panel repair was done poorly, so after we purchased the Charger, we removed the panel and installed a new one. As a result of these repairs, the quarter panel placement is not textbook, contributing to the appearance.
To minimize the alignment concern, we enlarged both anchor mounting holes on the Charger’s quarter panel. The larger holes gave us a little more adjustability, and with that, we achieved a decent fit.

Left: The driver-side housing fits correctly. We tested the reverse light, and although we used the identical bulb, the light output was more brilliant because the lens cover was clear compared to the original foggy lens. Right: With both housings installed, we tested the brake, park, and turn signal lights. The American Muscle taillight housings put an end to our aged, old taillights.
After the installation, we checked the operation of all the lights, and everything operated correctly. The housings look great, and we are confident that there will be zero problems with the safety inspector when inspection time rolls around. When the time comes for an update, American Muscle has an extensive catalog of taillight designs and plenty of interior, exterior, safety, and performance parts to upgrade any late-model Charger.


