


Almost two decades ago, your author restored a ’75 Dart Swinger. The reproduction chrome roof rail trim was unavailable then, so I cleaned up, repaired, and reused the original pieces. There were a few minor imperfections, and one area had more severe damage. However, many new parts have been made available since the restoration, including the drip rail molding for A-bodies from AMD.

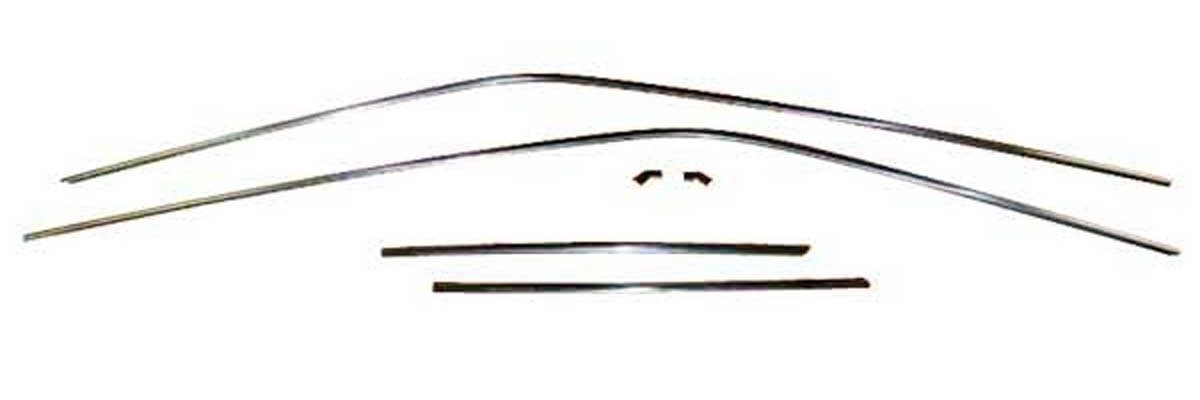
Above: When we restored our ’75 Dart, the aftermarket did not reproduce the drip rail trim. Fast forward almost two decades and the trim is now available from AMD for the ’67 – ’76 Darts and the ’72 – ’76 Scamps.
The Dart, with its slant six, Torqueflite, and a 7 ¼-inch rear end, was a unique find, especially with its air conditioning (AC). It may not have been a high-performance model, but it held a special place in my heart. The decision to restore this beak nose A-body Mopar was influenced by a moment in 1990 when I was struggling with the dual points on my ’69 340 Dart. It was then that I declared, “My next Dart will be a slant six AC car,” thinking it would be easier to work on. Dad’s response, “Your next Dart?” only fueled my determination.


Above Left: The passenger’s side roof rail trim looks decent from eight feet away. We reused it because it was all we had at the time. Above Right: The trim was not flawless; it had a minor dent in the larger trim section.


Above Left: The driver’s side roof rail molding also looked presentable from a distance. Above Right: However, it had substantial damage on the larger trim section. Something had punctured it, and we worked the damaged area the best we could.
We selected AMD’s drip rail molding (Part No. 630-2067-S) for the Dart. However, it also fits the ’67-’76 Dart and ’72-‘76 Scamp two-door hardtops. There is also drip rail molding for the ’70-’76 Duster, ’71-’72 Demon, and the ’73-’76 Dart Sport (Part No. 630-1370-S). The moldings appear similar, but they are not the same and are not interchangeable.


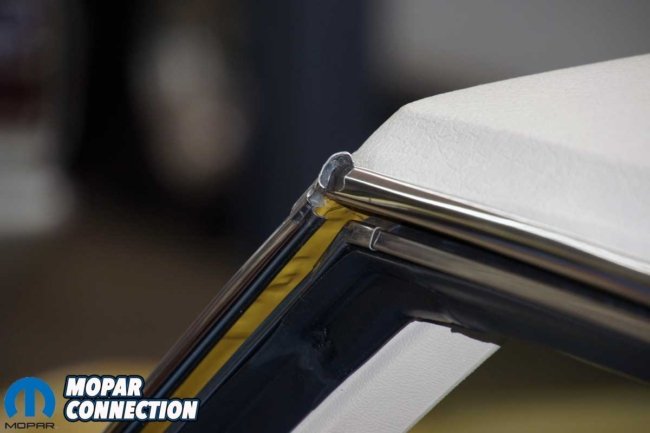
Above Left: The new long section of the three-piece trim (bottom) had a slightly different contour at the end of the C-pillar. Once installed, the difference was nearly imperceptible. Above Right: The other end of the new trim (bottom) was a touch longer than the stock piece. Again, once the trim was installed on the car, there was no noticeable difference between the two.
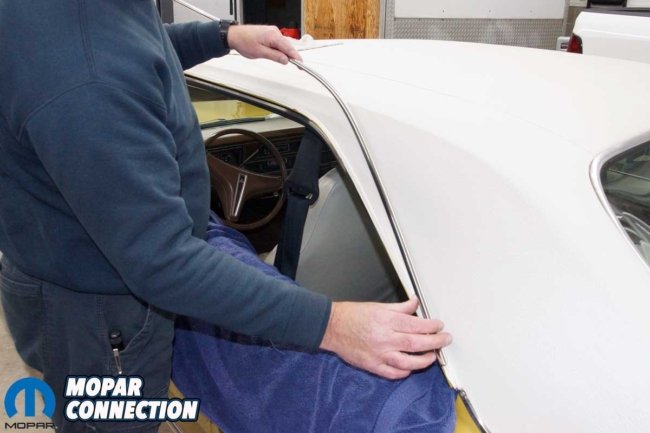
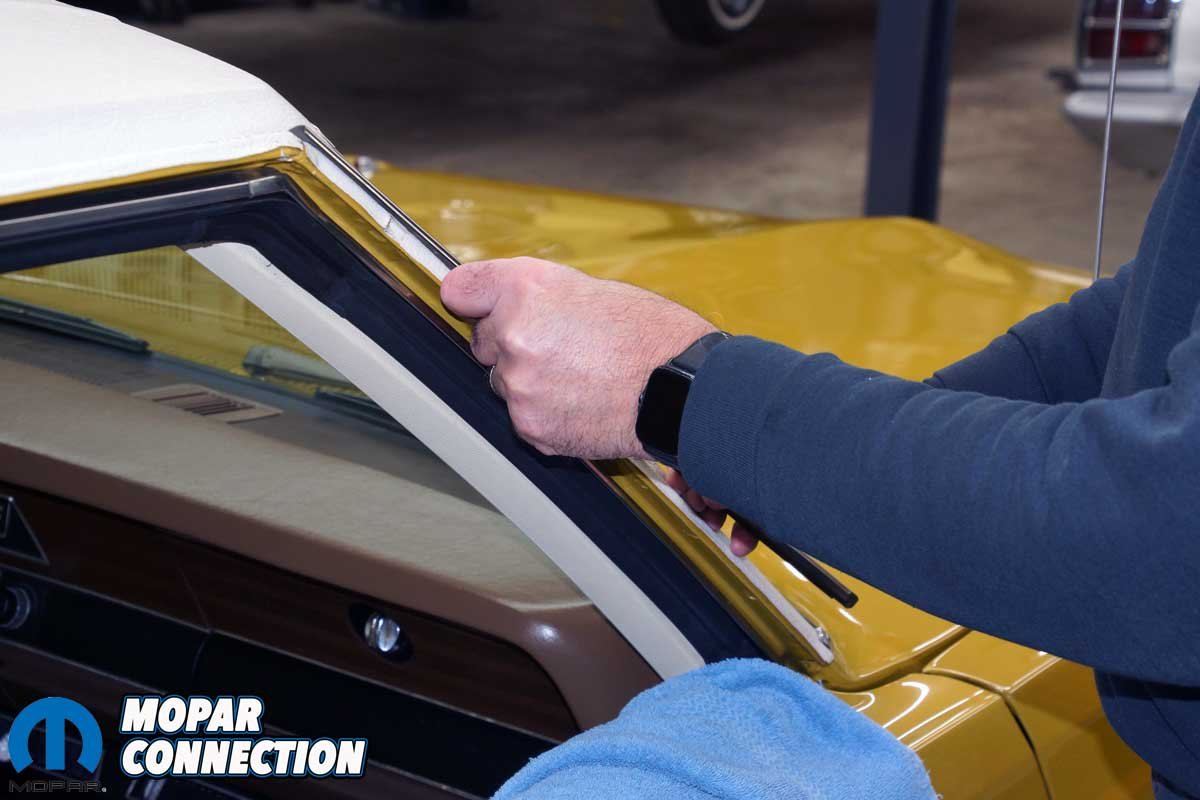
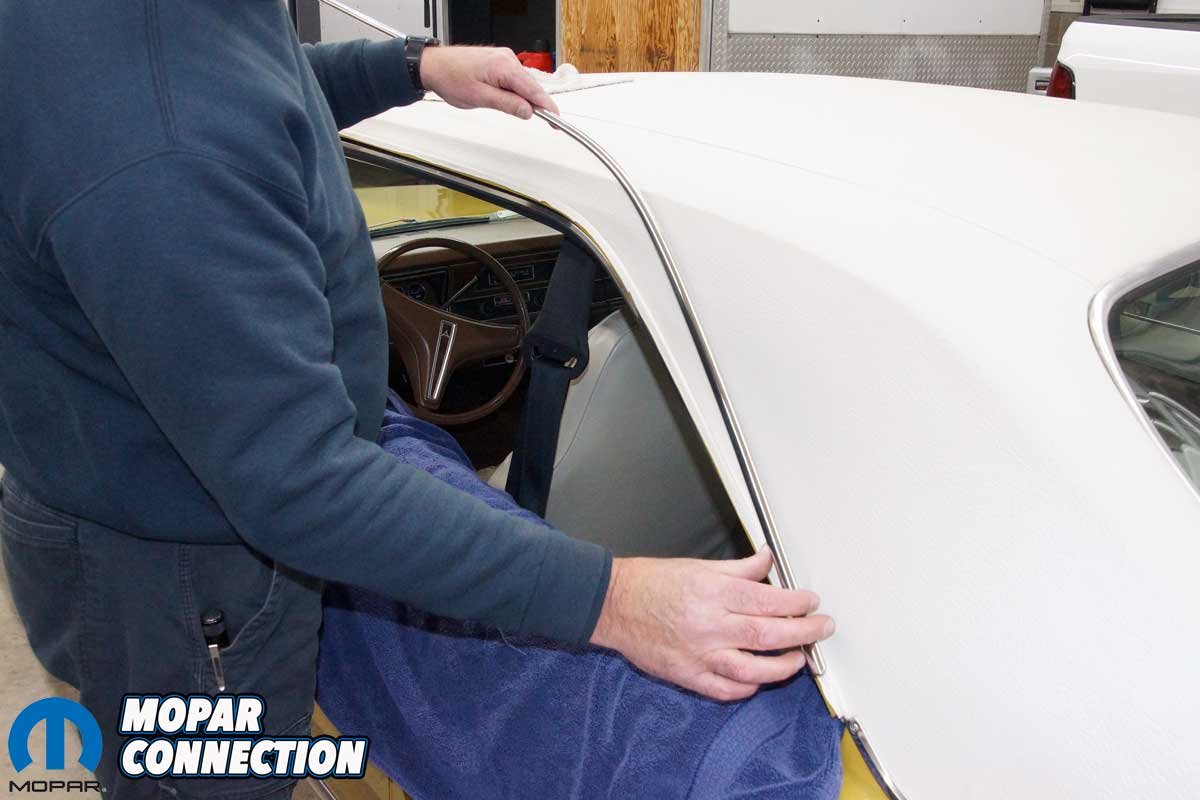
The installation process required careful removal of the three-piece drip molding from both sides of the Dart. We started on the passenger’s side, focusing on the two-inch corner section. Using a trim tool, we gently pried the corner segment from the two longer trim portions on the A-pillar and along the drip rail channel, following the roof line to the C-pillar. Each movement was deliberate, ensuring no damage was done to the trim or the car’s body.


Above Left: The trim came off the Dart without any difficulty. After removing the 2-inch corner piece, the long trim was removed by unsnapping it from the drip rail channel. We added towels to protect the painted areas. Above Right: The A-pillar trim unsnapped from the channel without undue difficulty.

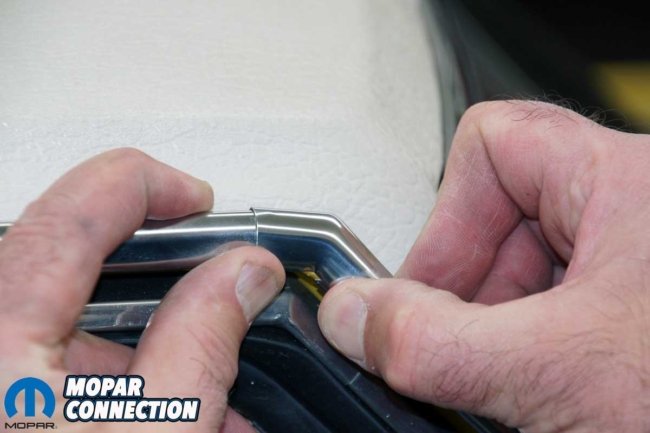
Above Left: To install the AMD trim, we lined it up and used a mallet to snap it in place. A light tap was required to snap the trim onto the drip rail channel. We applied a light tap and moved about three inches before applying another tap. We continued the process until all the trim was snapped in place. Above Right: After snapping on the A-pillar trim, we added the corner section. We lined up the top of the section to the other trim pieces, then snapped the lower section over the trim pieces to lock the corner in place.
Once the corner segment was removed, we moved to the A-pillar trim. By placing our thumbs on the underside of the trim near the top of the roof, we gradually lifted upward to release the trim. We continued loosening the trim’s length until the entire piece was unsecured.
We removed the more extensive roof rail trim in the same fashion as the A-pillar trim, but it took us much longer. Because the trim was unruly due to its length, we placed several towels over the painted areas around the work area. We were able to remove the trim pieces without any problems. The vinyl top material at the drip rails appeared in excellent condition, which was good news because we did not want to have to re-glue or replace the top.


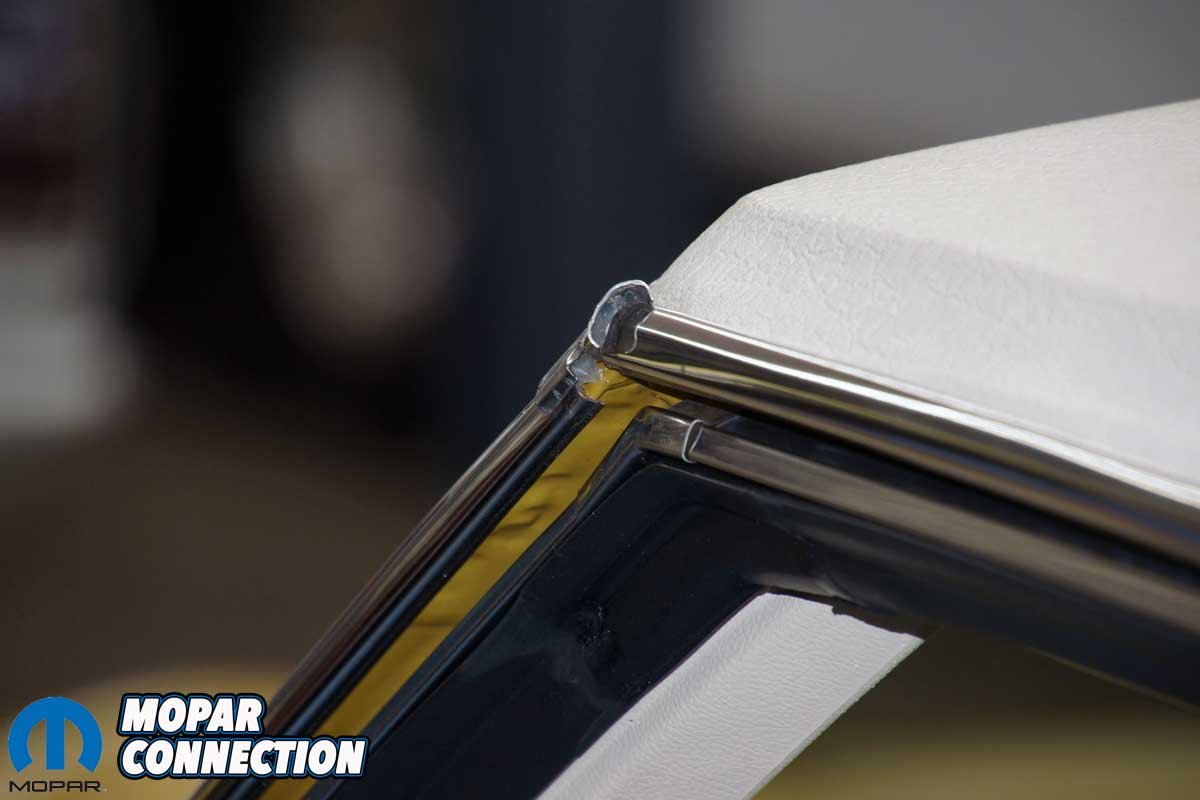
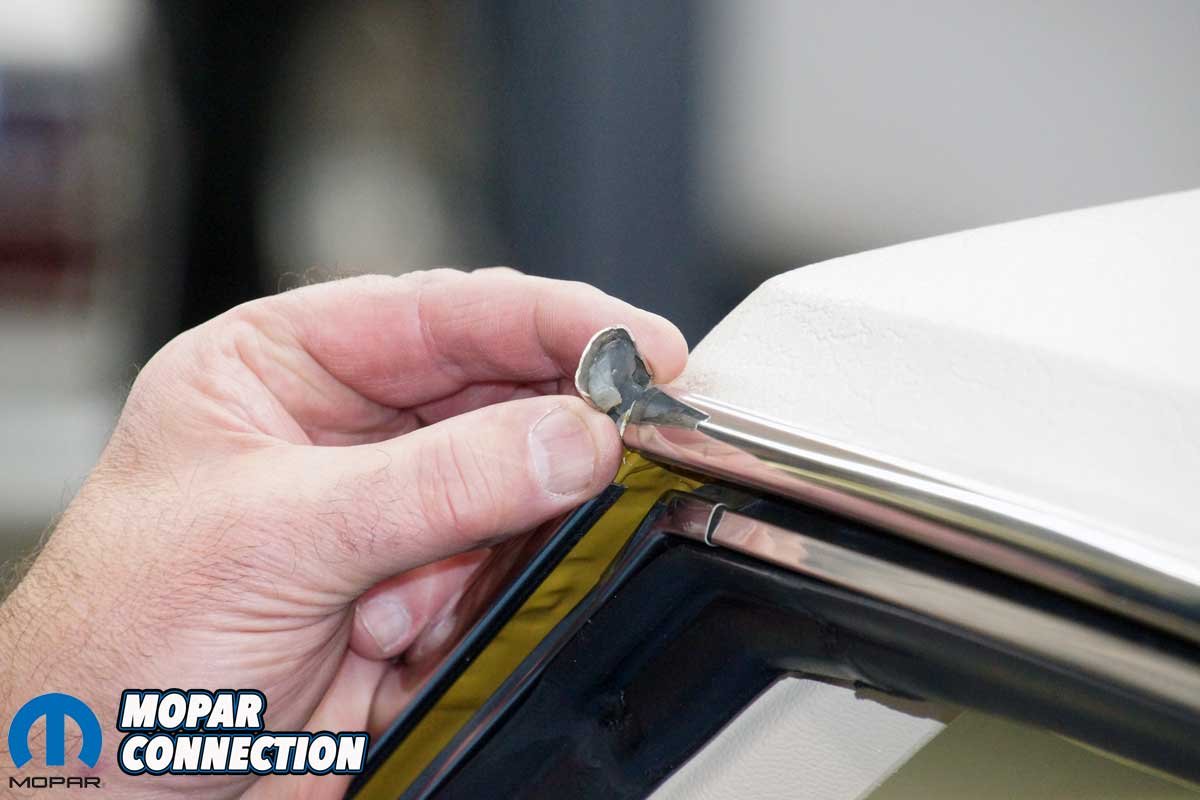
Above Left: The driver’s side corner trim piece was more challenging to remove, so we used a trim tool to lift the piece off the Dart. Above Center: We forgot that we adhered the corner to the Dart years ago because it would not snap on correctly. Above Right: The glue did not want to give up, but we eventually removed the trim piece from the Dart.
Before installing the AMD trim, we compared the original trim moldings to the new trim. This step was crucial as it ensured that the new pieces matched the original ones in terms of contours and dimensions. Each of the new pieces had the exact contours and dimensions. The longest roof rail trim section was slightly longer than the stock piece, but it would be fine.


Above Left: With the corner piece removed, the A-pillar trim was easily unsnapped from the channel. Above Right: The roof rail trim was unsnapped similarly from the drip rail channel.

Above: The trim removal was straightforward. We continued the trim removal, working across the roof to the C-pillar area of the top. Again, we employed towels to protect the paint.
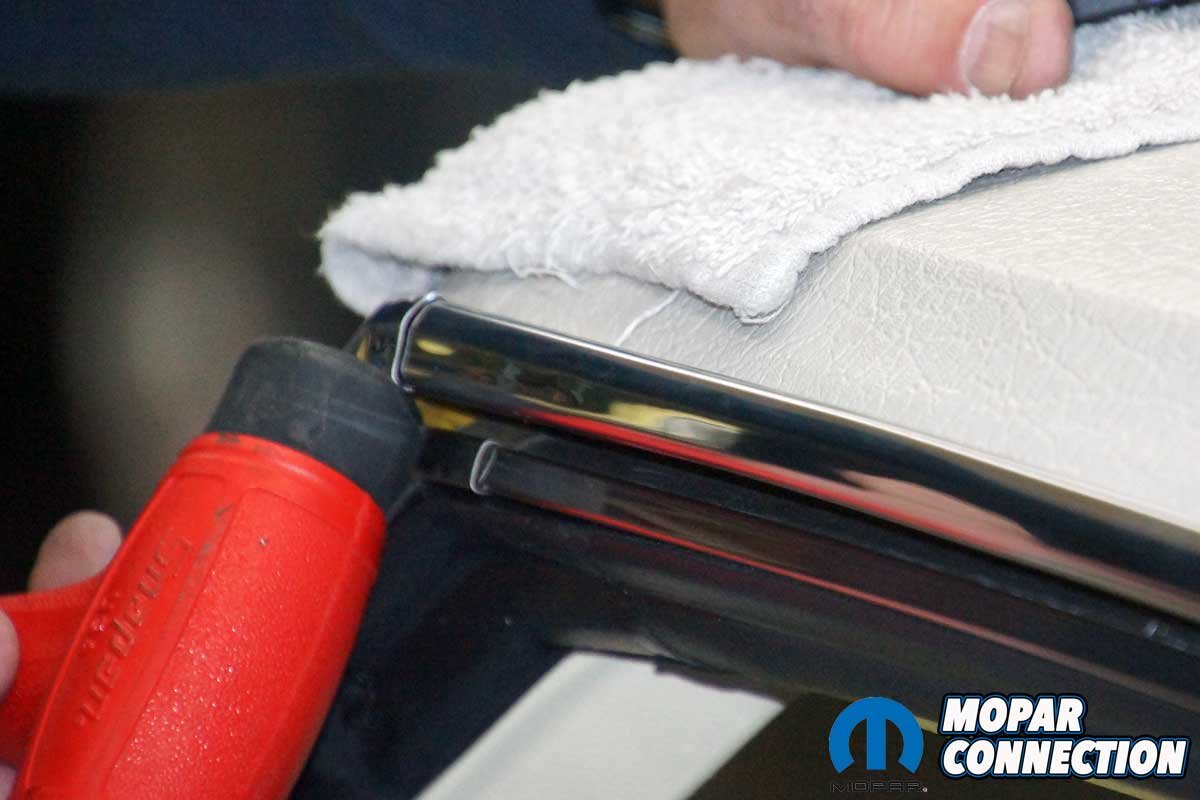
To start the installation, we lined up the A-pillar trim and started at the top of the trim. We expanded the trim over the drip rail, and once it started, we lightly tapped it with a soft mallet while working down the trim piece. Using a shop rag between the trim and the mallet minimized the chance of damage to the chrome trim.
Pleased with the installation of the A-pillar trim, we laid the roof rail trim onto the drip rail. We started at the front end of the trim by the A-pillar. Again, we carefully expanded the trim over the drip rail and continued working the trim onto the Dart with the shop rag and mallet. Once into the curved area where the trim follows the contour of the roof, we had to apply a bit of persuasion to keep the trim following the drip rail, but with time, we had the entirety of the trim installed.


Above Left: Like the passenger’s side trim, we lightly tapped the AMD trim pieces onto the Dart’s drip rail channel. Above Center: The same tapping process was used on the roof rail trim. The towel protected the trim from marring caused by the mallet. Above Right: The corner piece required metal work to fasten it securely to the other trim sections. We used a heavier hammer to manipulate the metal.
Both trim pieces looked great, so all that was left was to install the small corner section between the installed trim segments. We slipped the corner section over the ends of each installed trim piece and snapped the corner trim in place with a light application of pressure. With a light tapping of the mallet, we formed the corner section to firmly fit to the trim and drip rail.
The installation of the passenger side trim went well, so we employed the same process on the driver’s side. Just like the passenger’s side trim, we did not experience any difficulties with the installation. Installing six trim pieces (on both sides of the car) took about two hours. The task was simple, but there was no need to rush, which could have led to severe damage (scratches or dents).

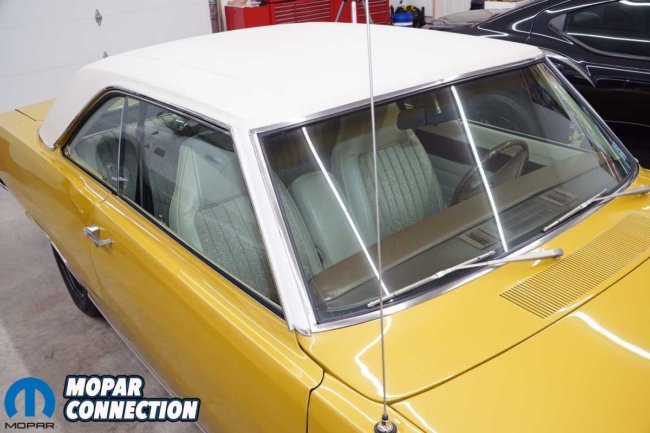
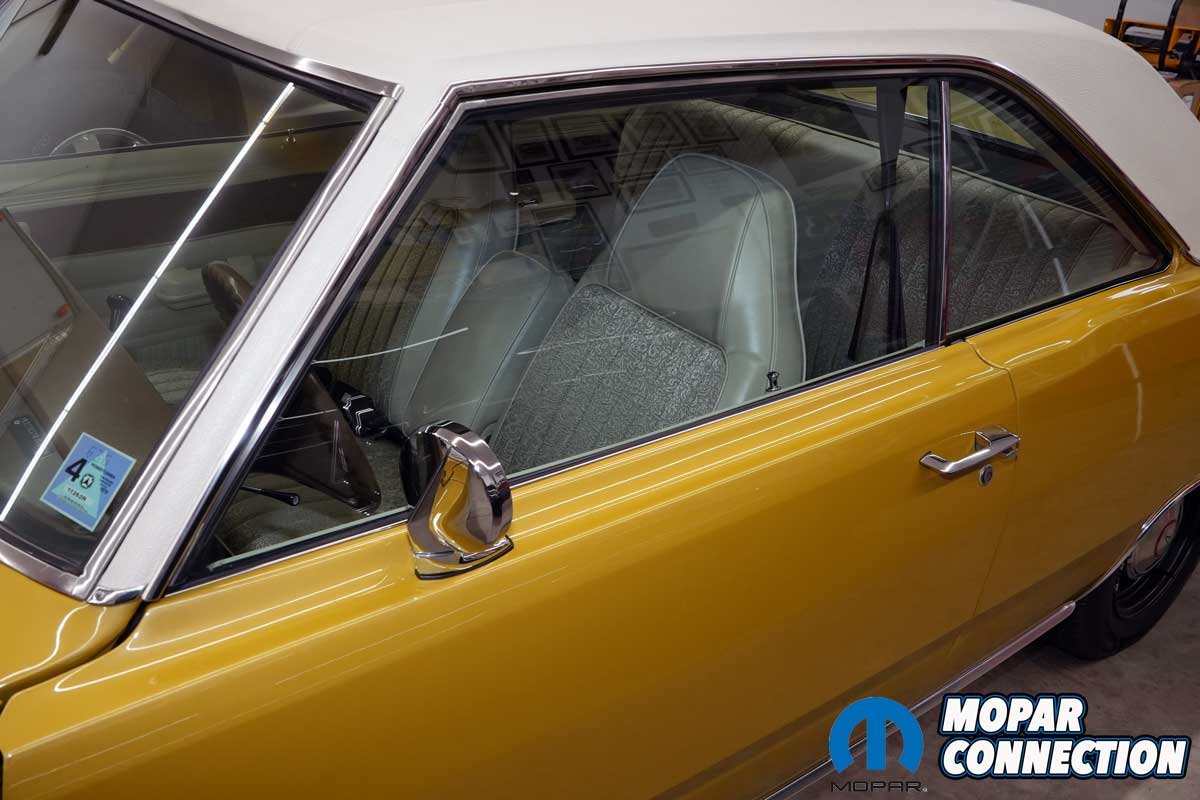
Above: The AMD drip rail moldings fit perfectly and, except for one corner piece, did not require any reworking to fit. The driver’s side corner piece that did require minor metal work was due to the misalignment of the drip rail channels, not the AMD product. Both sides of the Dart look spectacular, and best of all, there are no dents or damage.
The AMD drip rail molding looks just like the stock trim with the exception it is free from dents and imperfections and polished to a luster. For additional information about the drip rail molding kit or any AMD components, click over to AMD online.


