


Automotive upgrades and repairs on our classic Mopars are often a game of dominoes. When an improvement is made, a second component may need modification, and then a third, and so on. We recently found a “damage-free” tail panel bezel and matching trim for our ’67 Dart. After doing our best metalwork to tap out a dent or two and clean up the bezel and four trim pieces, we installed them on the Dart.


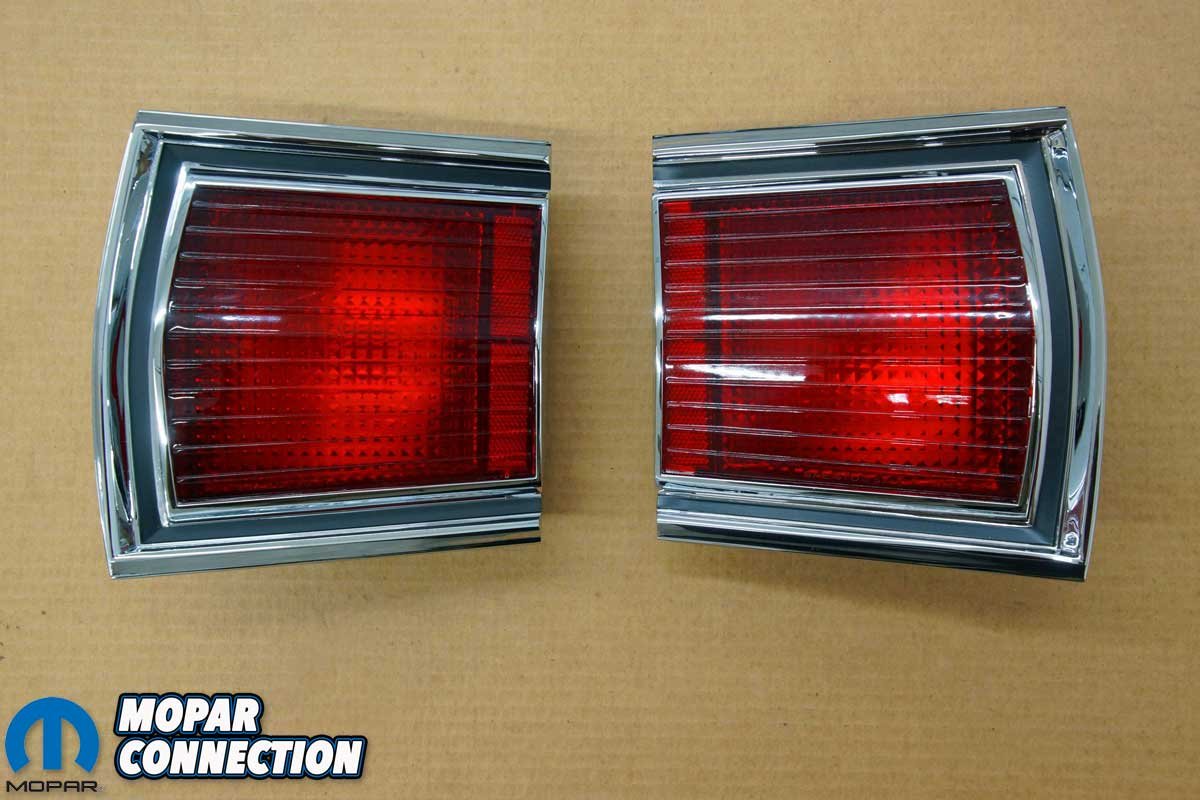
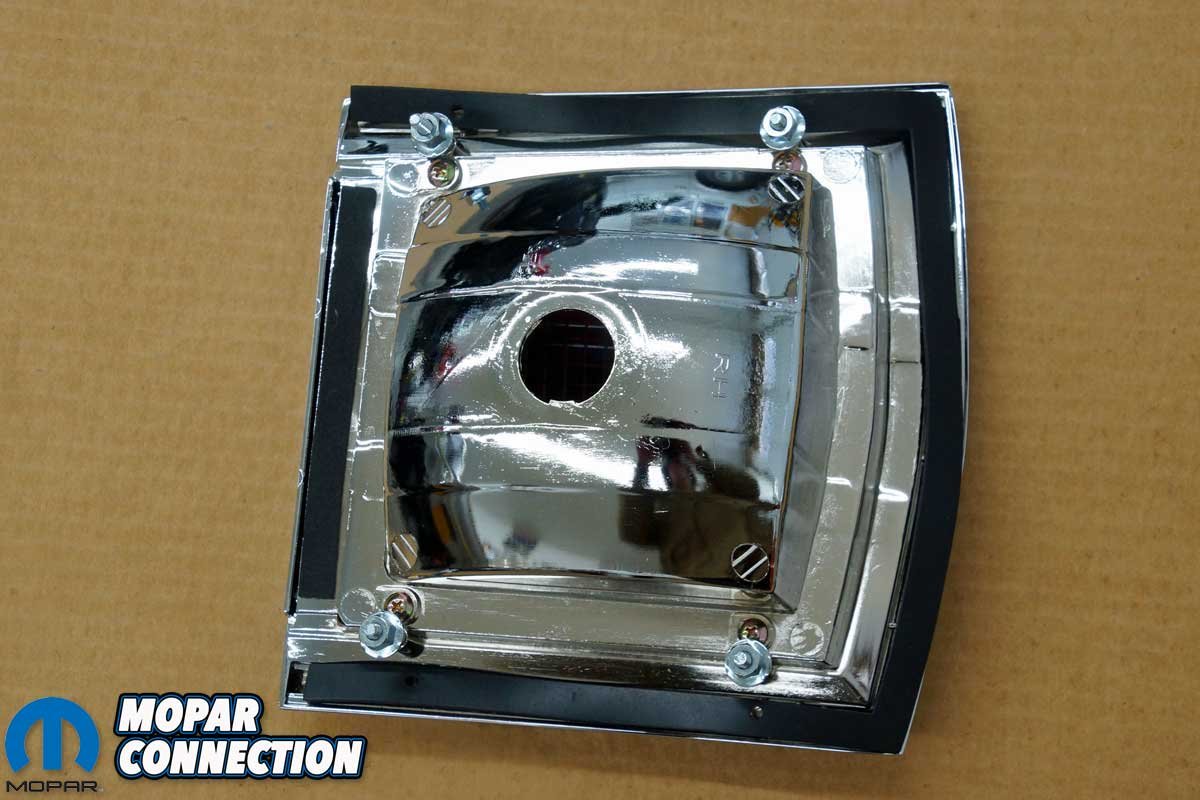
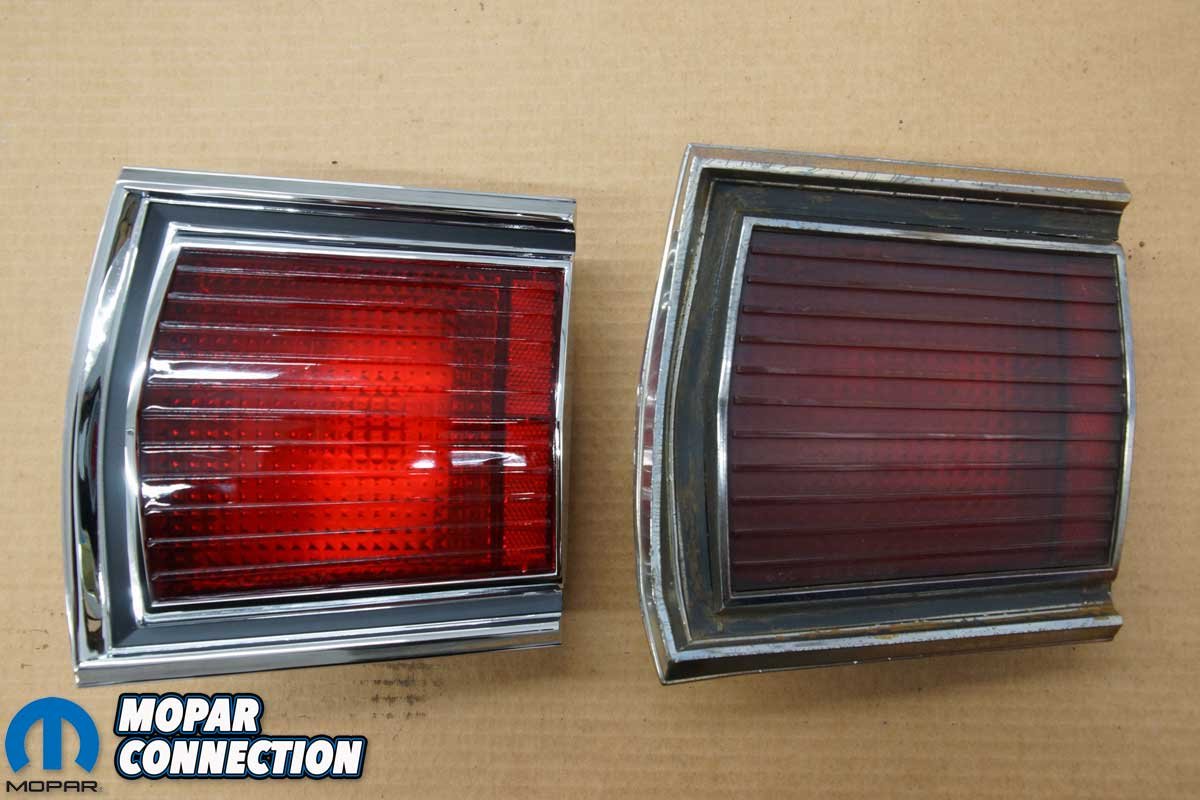
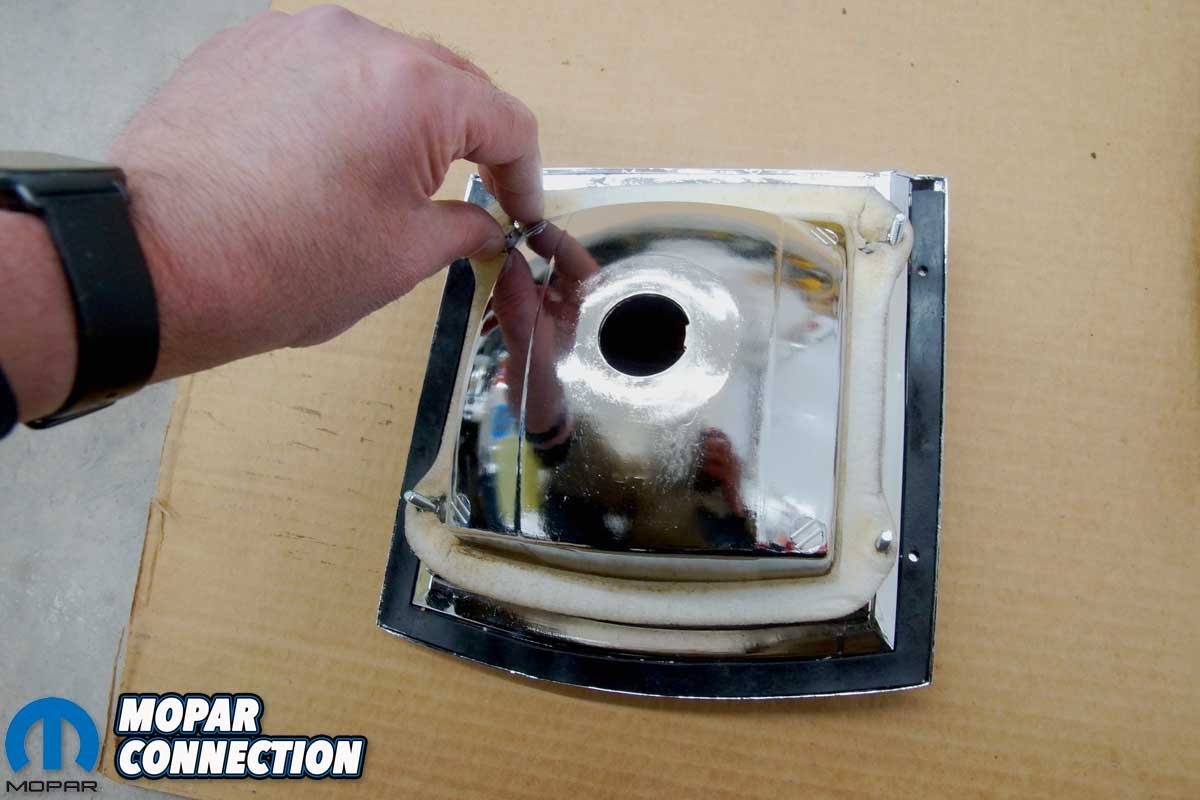
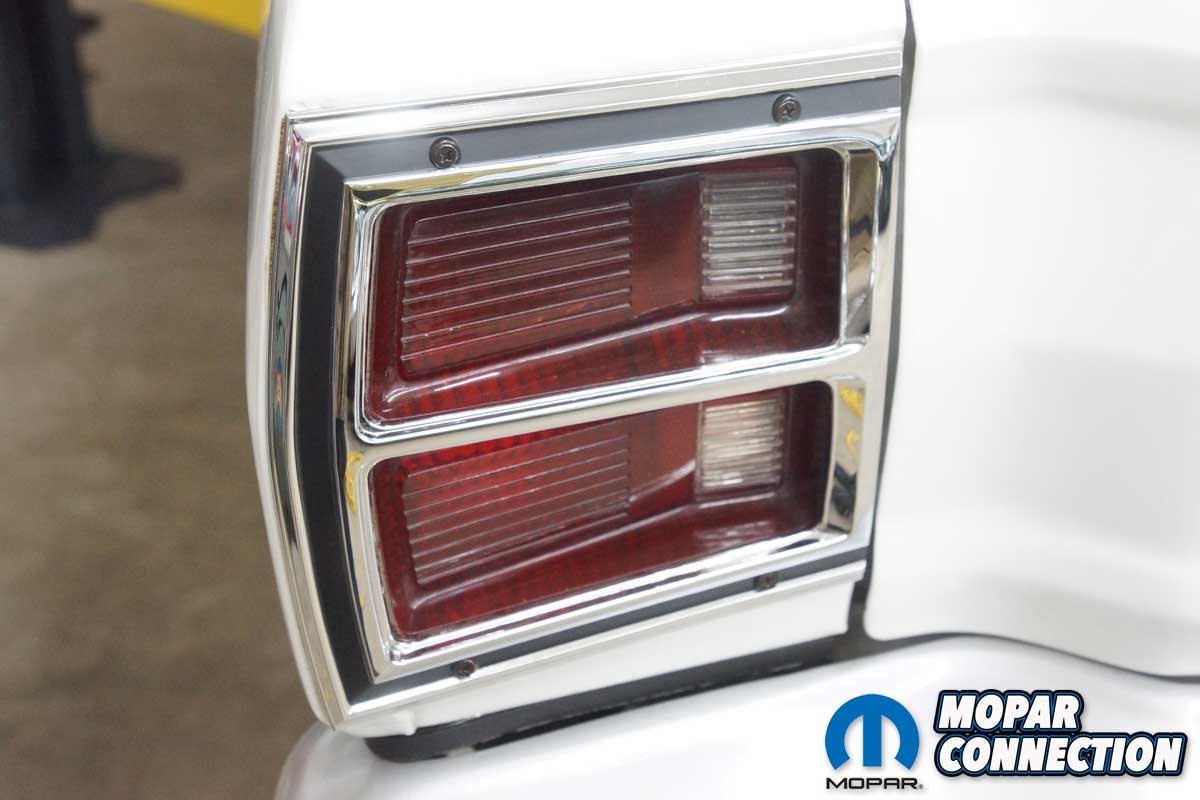
Above Left: To update our 1967 Dart’s taillights, we picked up a pair of Year One taillight housings that are wholly assembled with lenses, bezels, and housings. Above Center: The reverse side of the housing has seals and the mounting hardware already installed. Above Right: The Dart’s original taillight bezels were in poor shape, and the lenses were cracked and deteriorated.
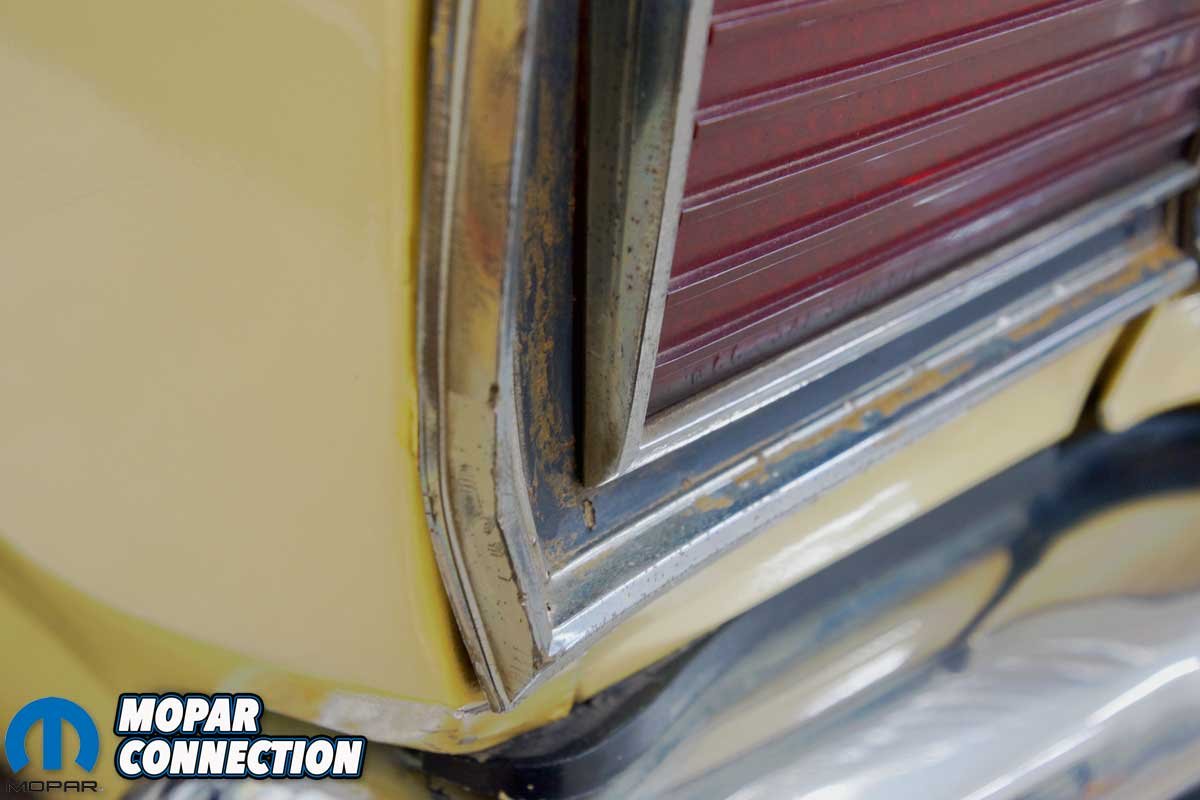
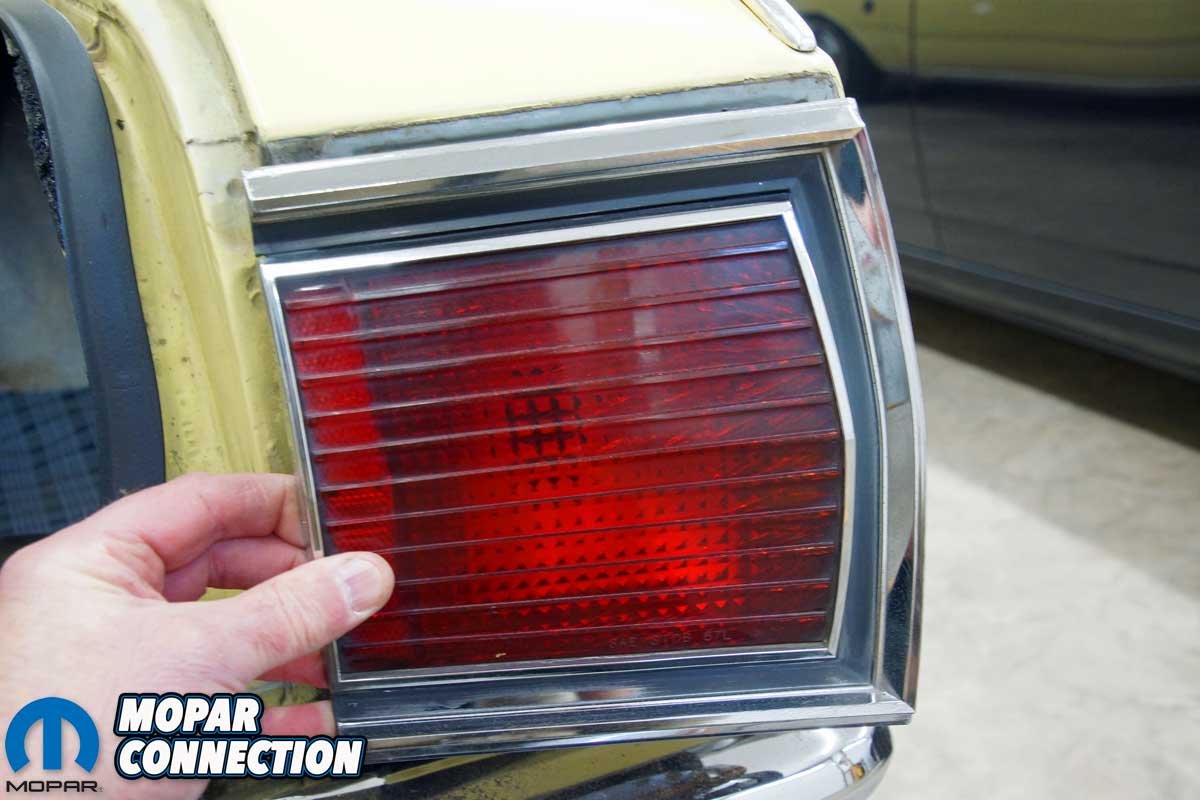
We were pleased with the update, but then, the domino effect showed up to bite us. Next to the pretty tail panel bezel, the well-aged 55-year-old taillight chrome looked terrible. Luckily, Year One has complete taillight assemblies (part no. TLA67LH and TLA67RH) for our Dart.


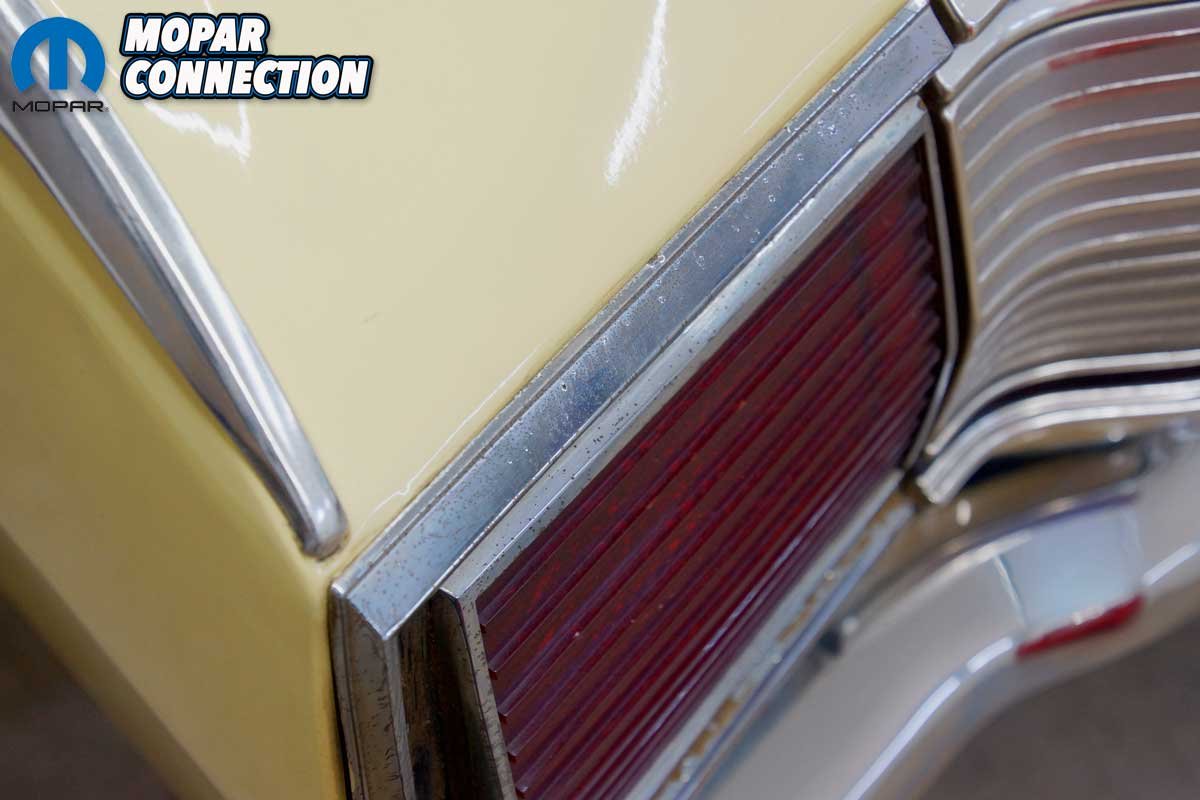
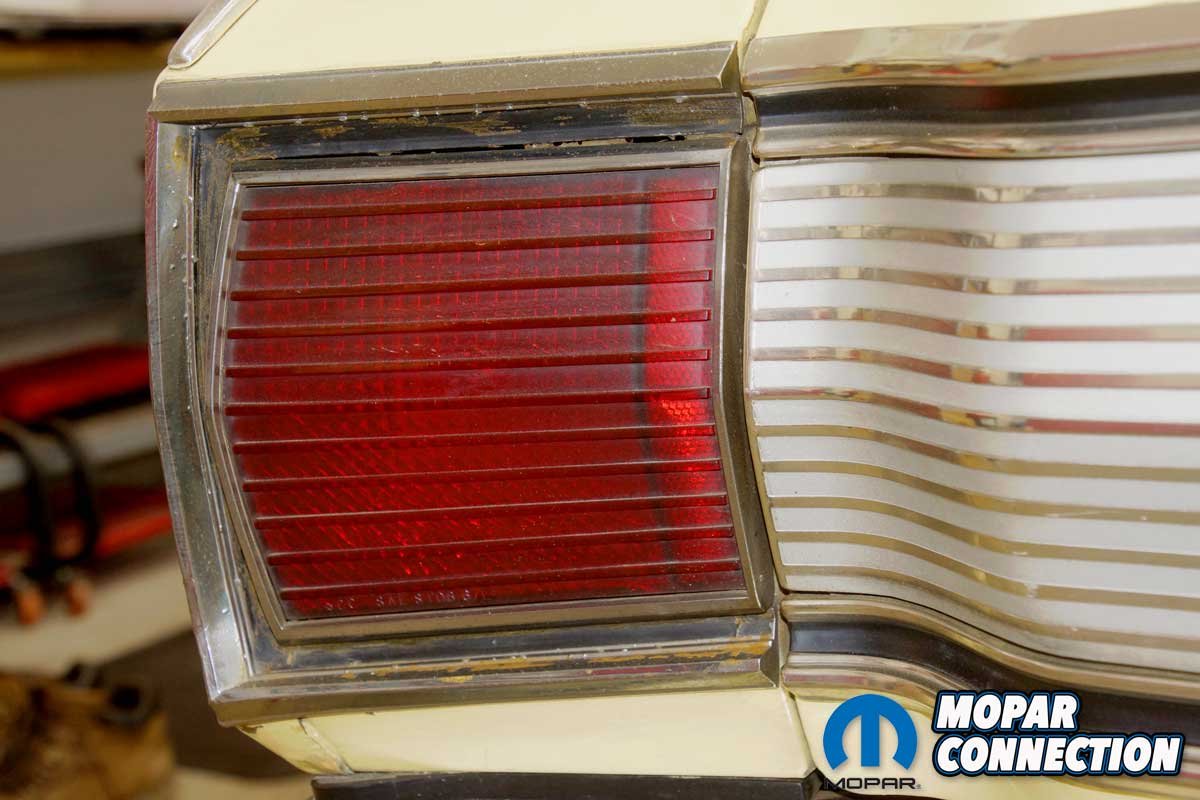
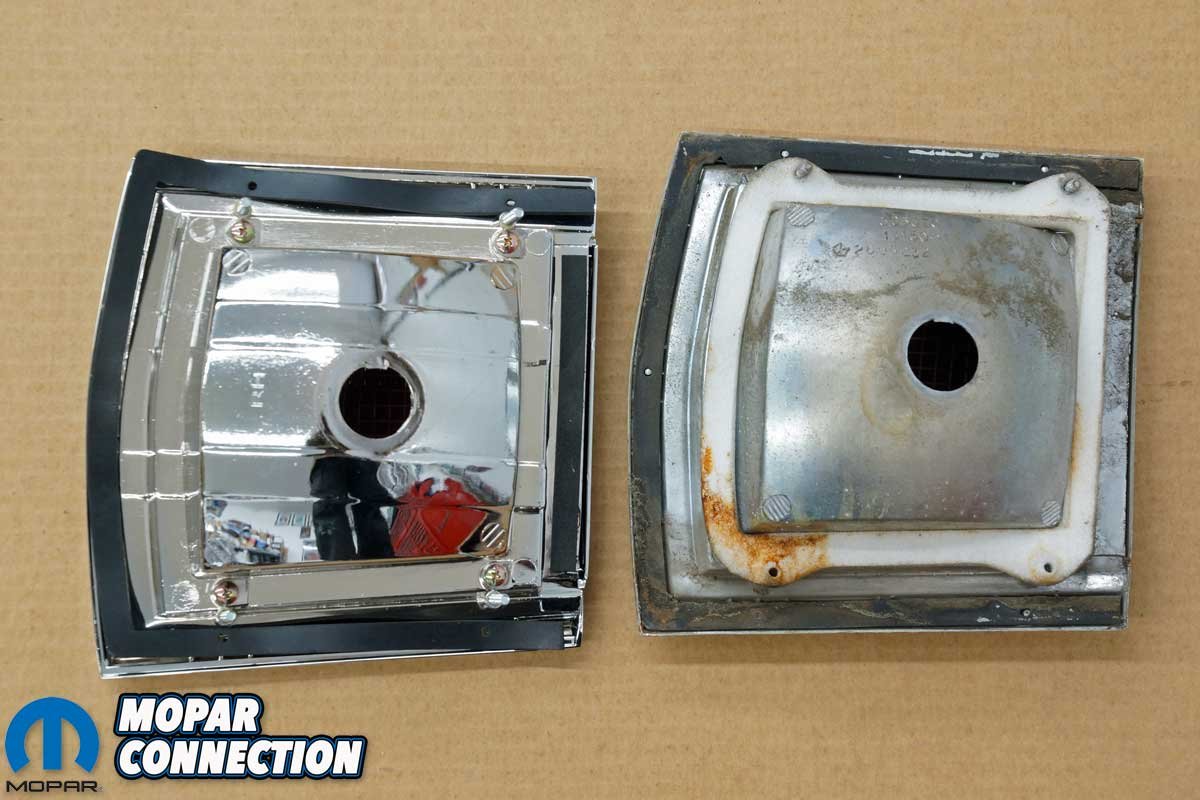
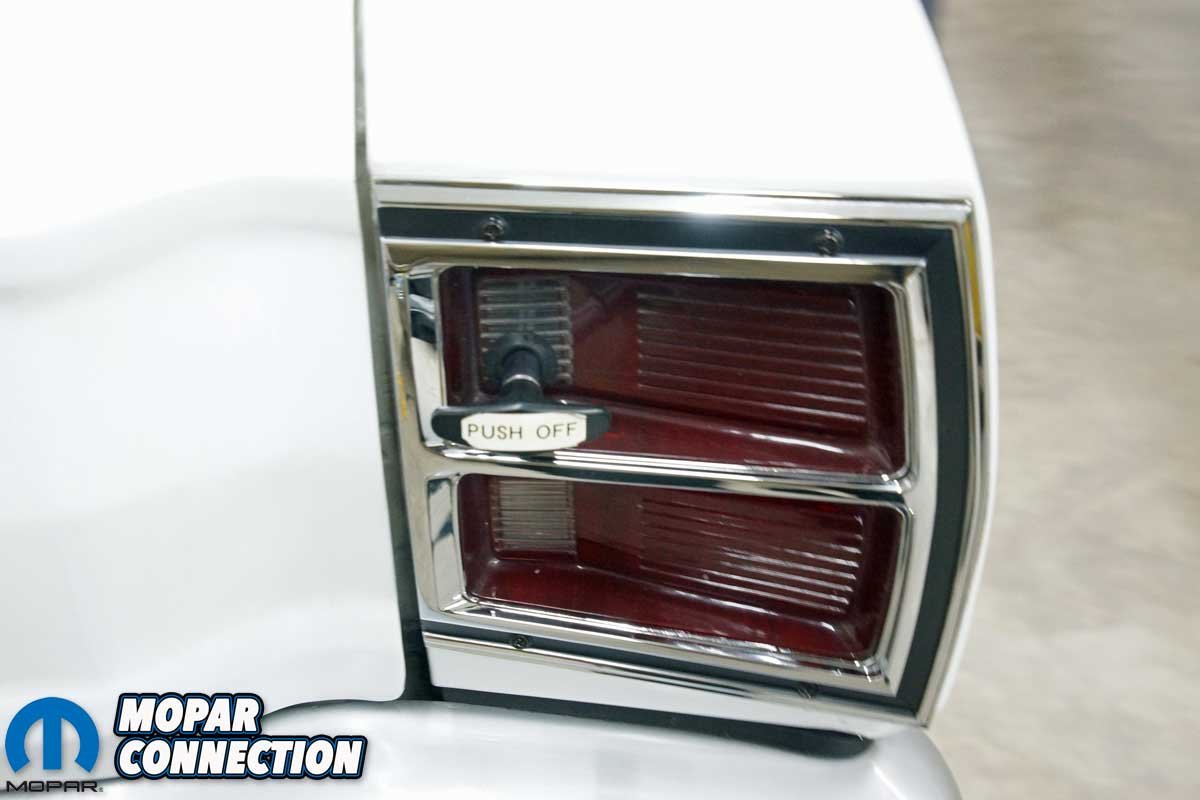
Top Left: The chrome on the original bezels is hugely pitted. Top Right: The driver’s side bezel made contact with something that left a noticeable dent in it. Bottom Left: The taillight assembly had been glued to the bezel as a make-shift repair. It was functional but not pretty. Bottom Right: Except for the bezel damage, the driver’s side taillight was in the same poor condition.
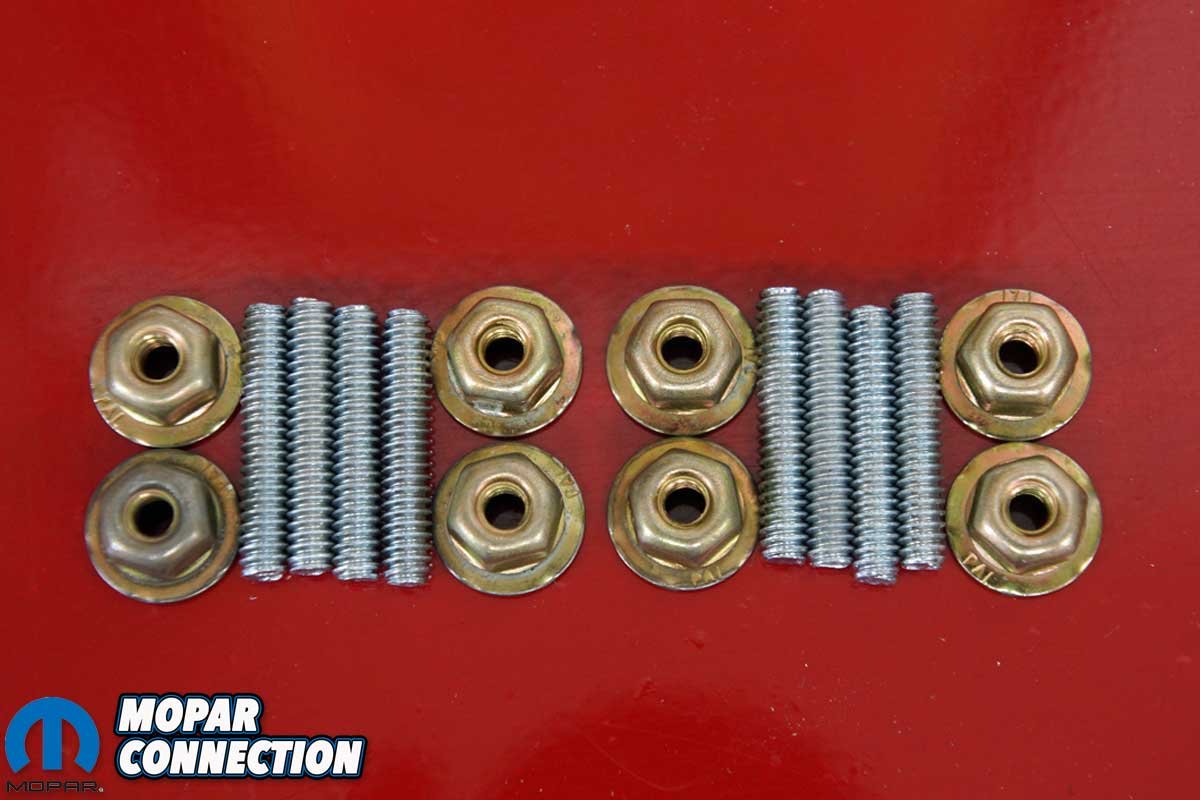
Our ’67 taillight assemblies showed up fully assembled and ready to install. For the ’68 and ’69 A-bodies and the B and E-bodies, the taillight components can be purchased as individual parts (housings, bezels, lenses) or complete assemblies. Because we wanted to guarantee we had all the necessary hardware to secure the taillights for the Dart, we picked up an installation kit (part no. TLA68), which contained all the studs and nuts we would need.
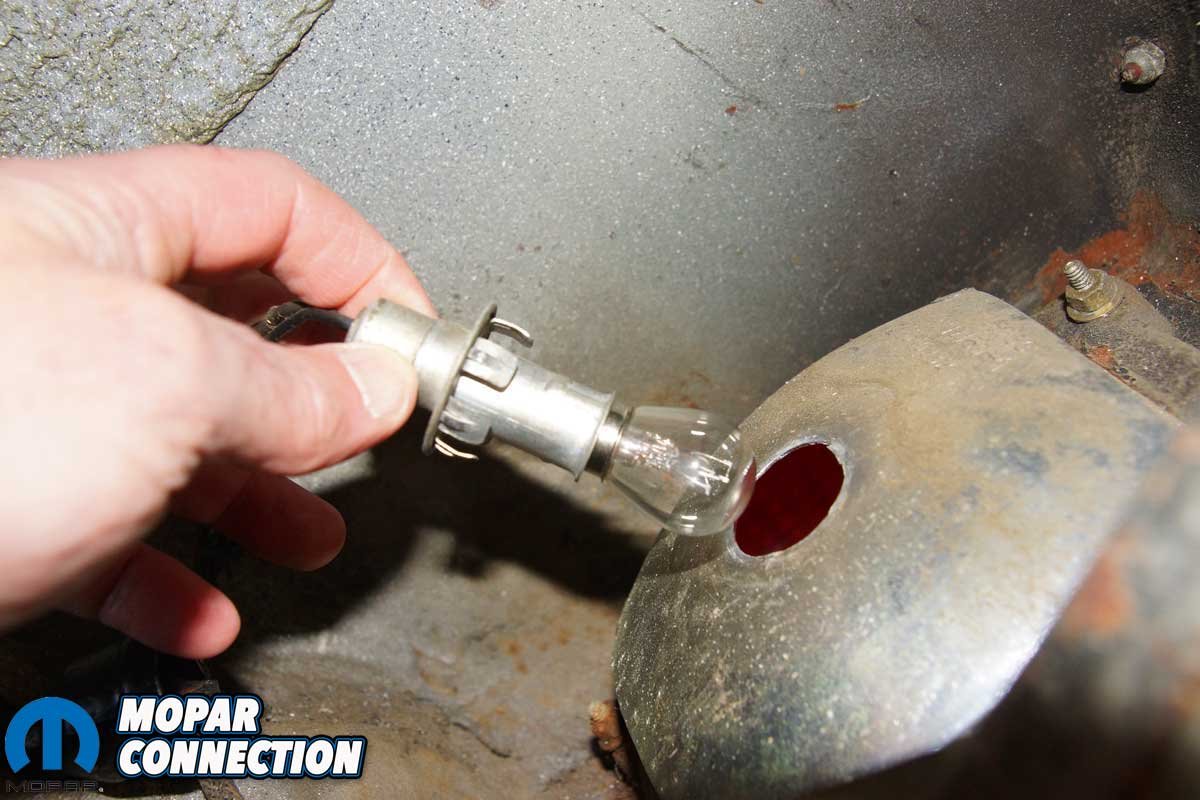
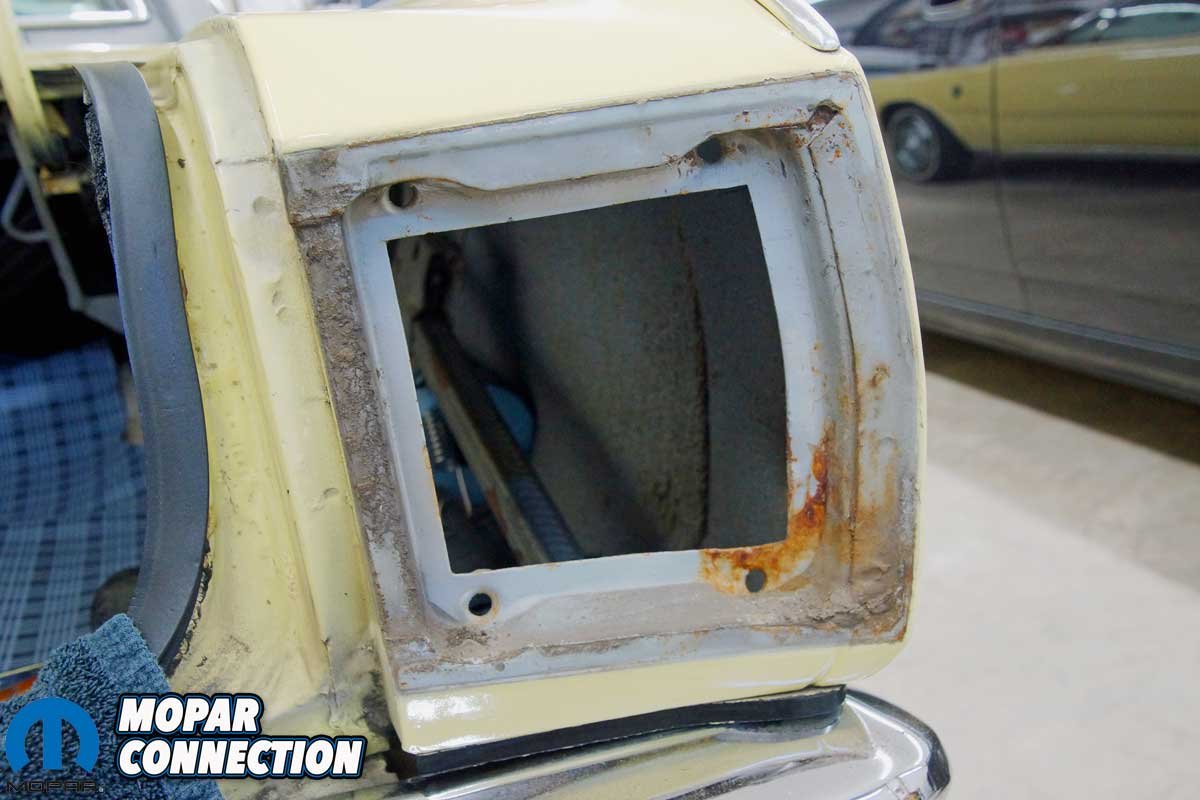
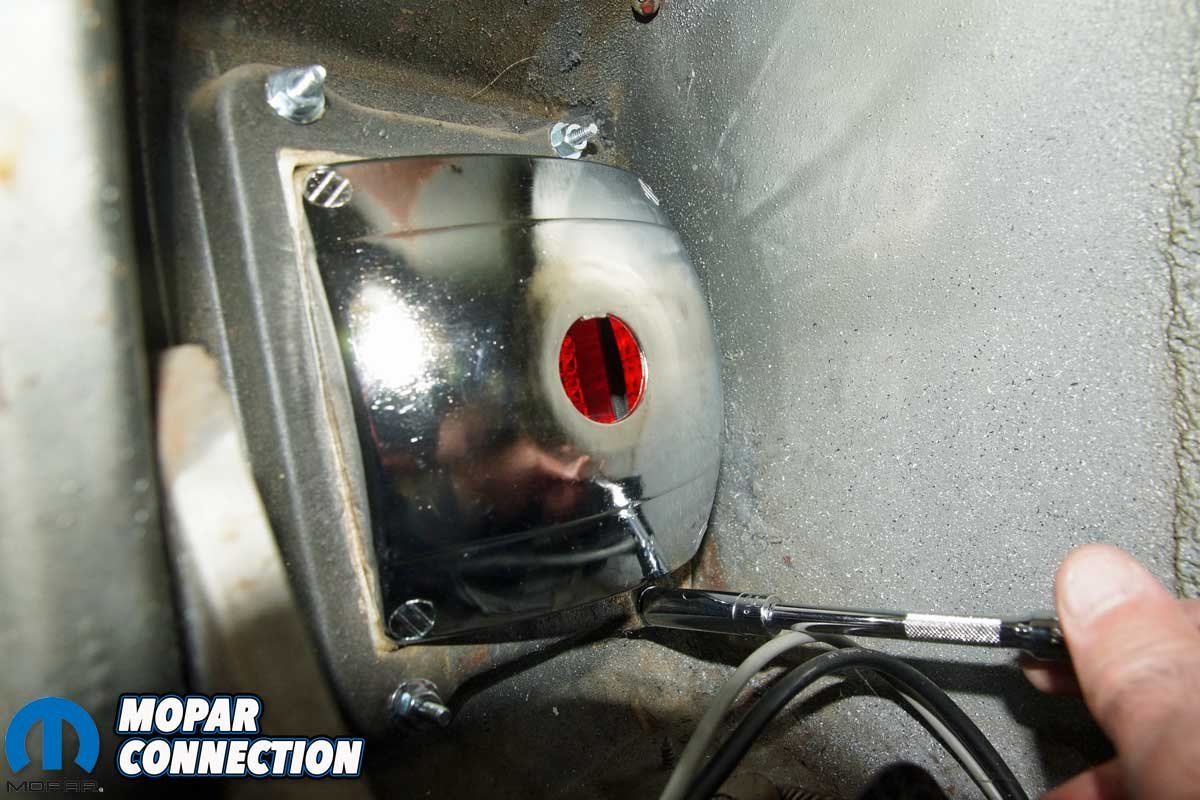
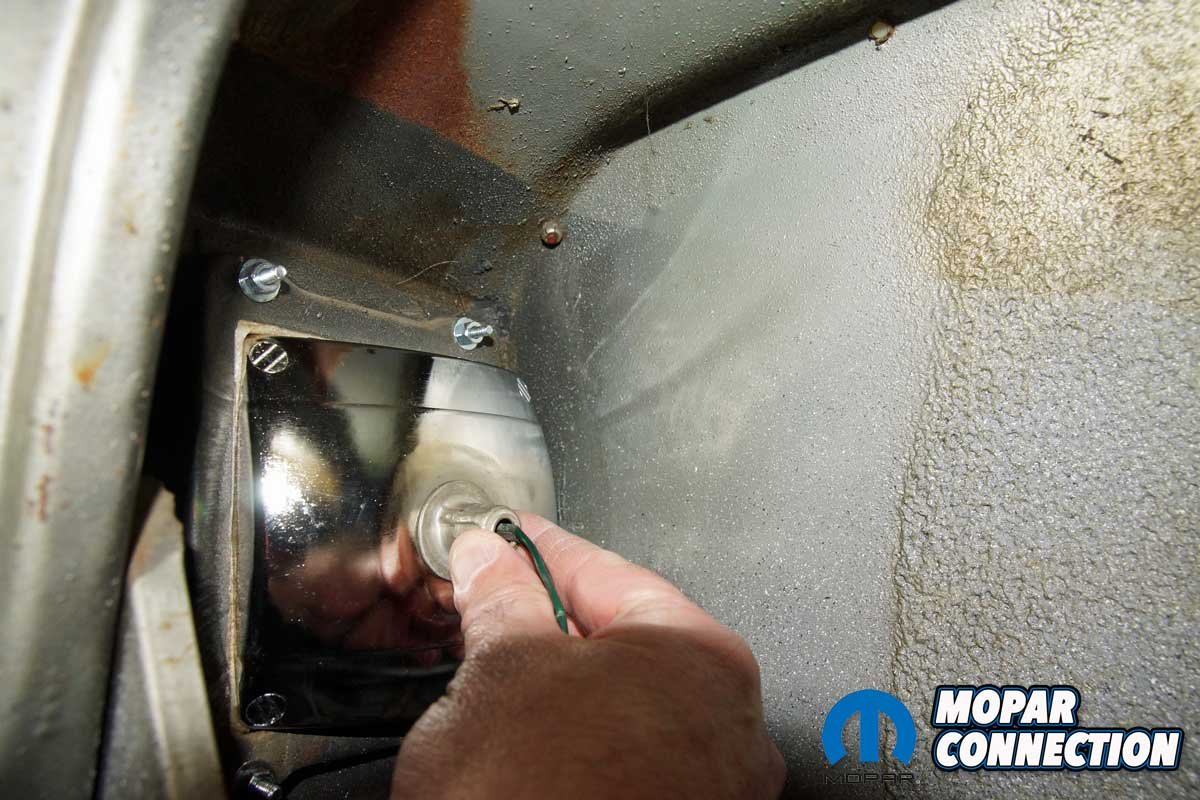
The ’67 Darts have only the brake/park/blinker light clipped to the housing. So, to begin the disassembly, we started by popping the light connector from the taillight housing. Then, we reached deep into the trunk’s back corner of the quarter panel to remove four 3/8-inch nuts from the passenger side housing.


Top Left: The 1967 Dart has only a single bulb connector. Four nuts secure the housing. Top Right: The connector popped out of the housing. Bottom Left: The passenger’s side assembly remained seized in place with the four nuts removed. We needed a mallet to persuade the housing. Above Right: Once loosened, the assembly slipped out of the Dart.
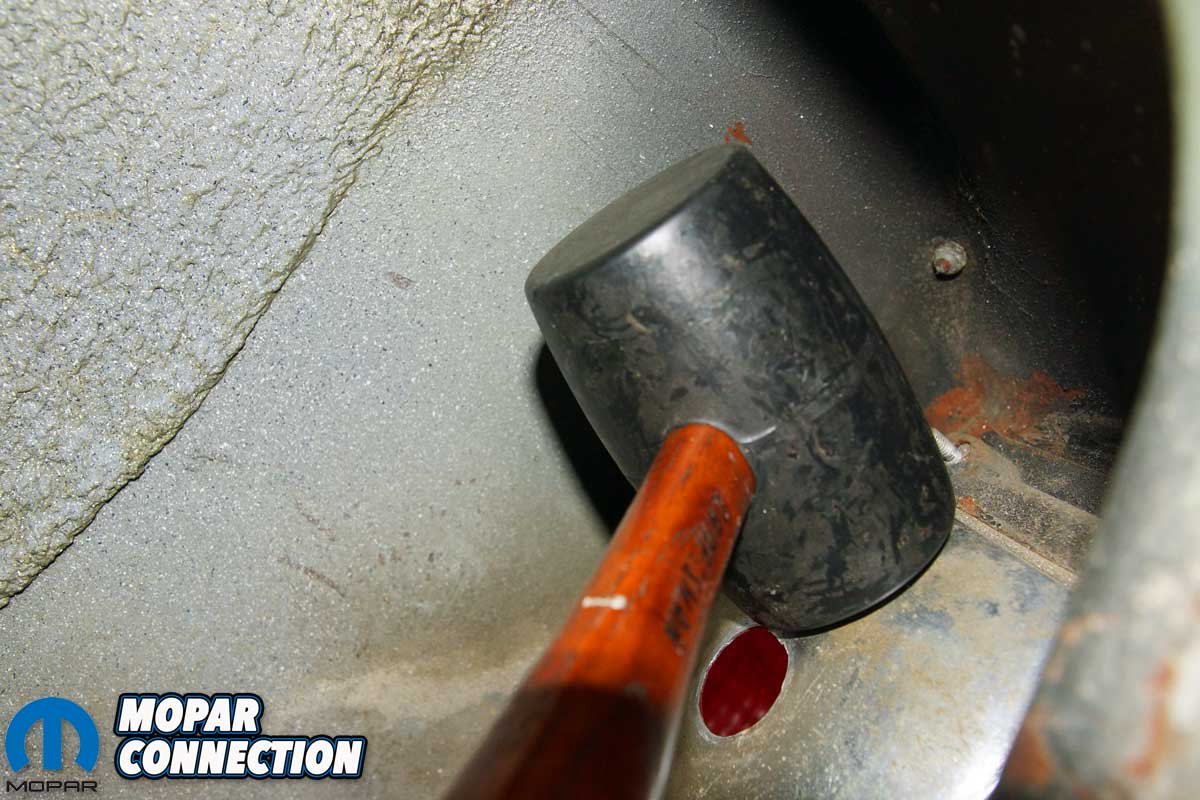
Even with the four nuts removed, we could not free the housing from the rear of the Dart. With the passing of 55 years since its installation, the housing had seized to the quarter panel. We loosely threaded a nut back onto one of the studs, and then we tapped on the housing with a mallet.
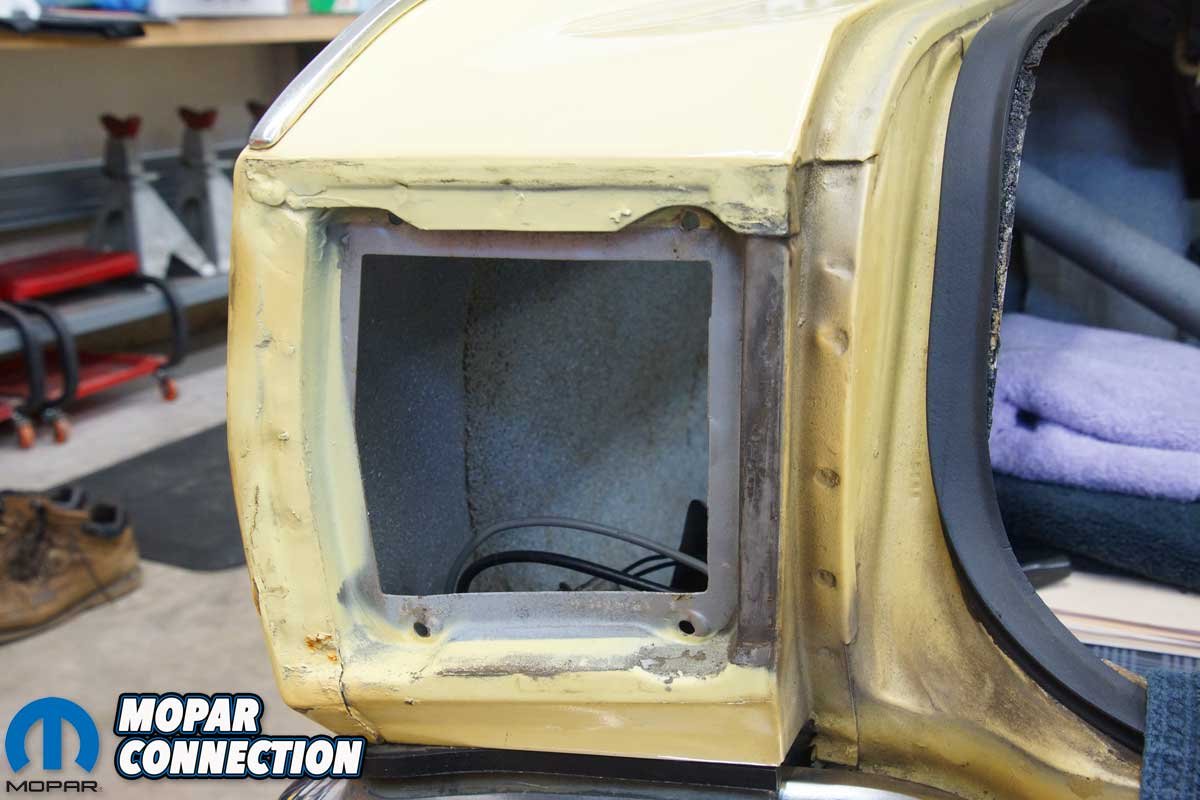
Even with a light application, the housing would not release. After a more vigorous rapping on the housing, the bottom studs loosened. One last blow popped the entire housing loose. We removed the nut, and the housing was pulled from the Dart.


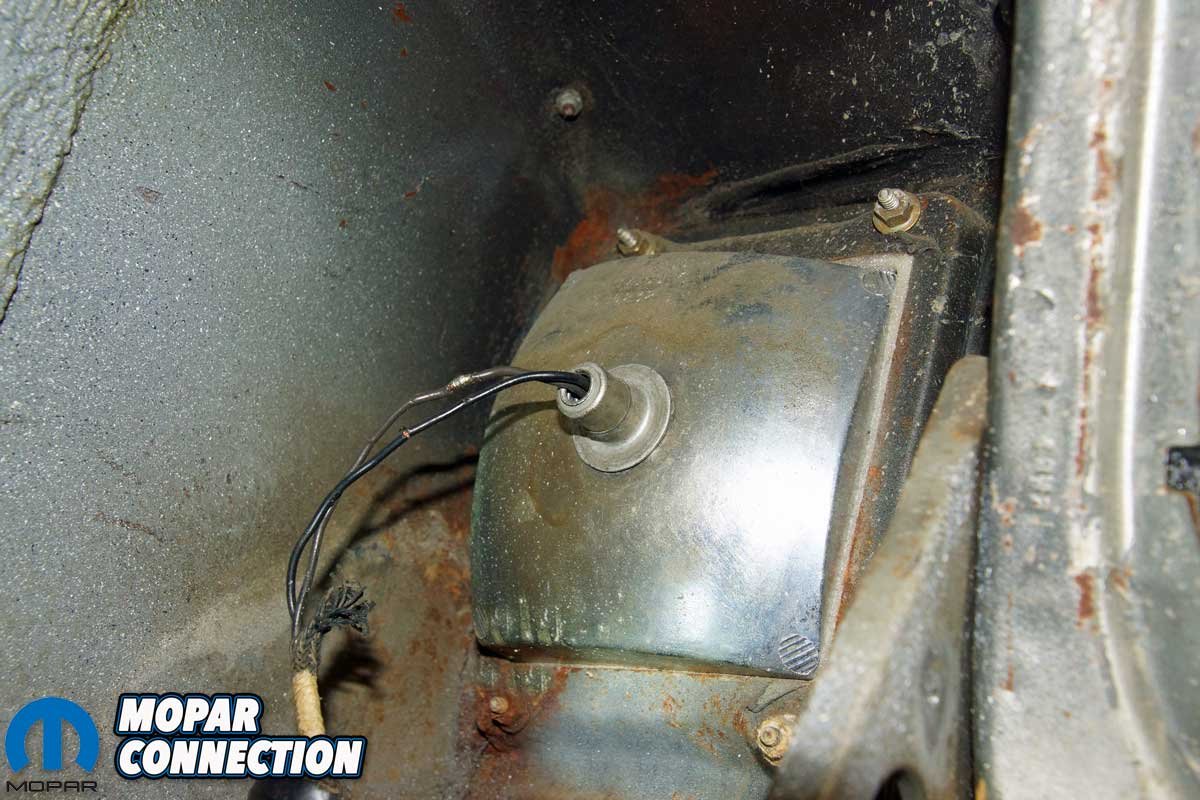
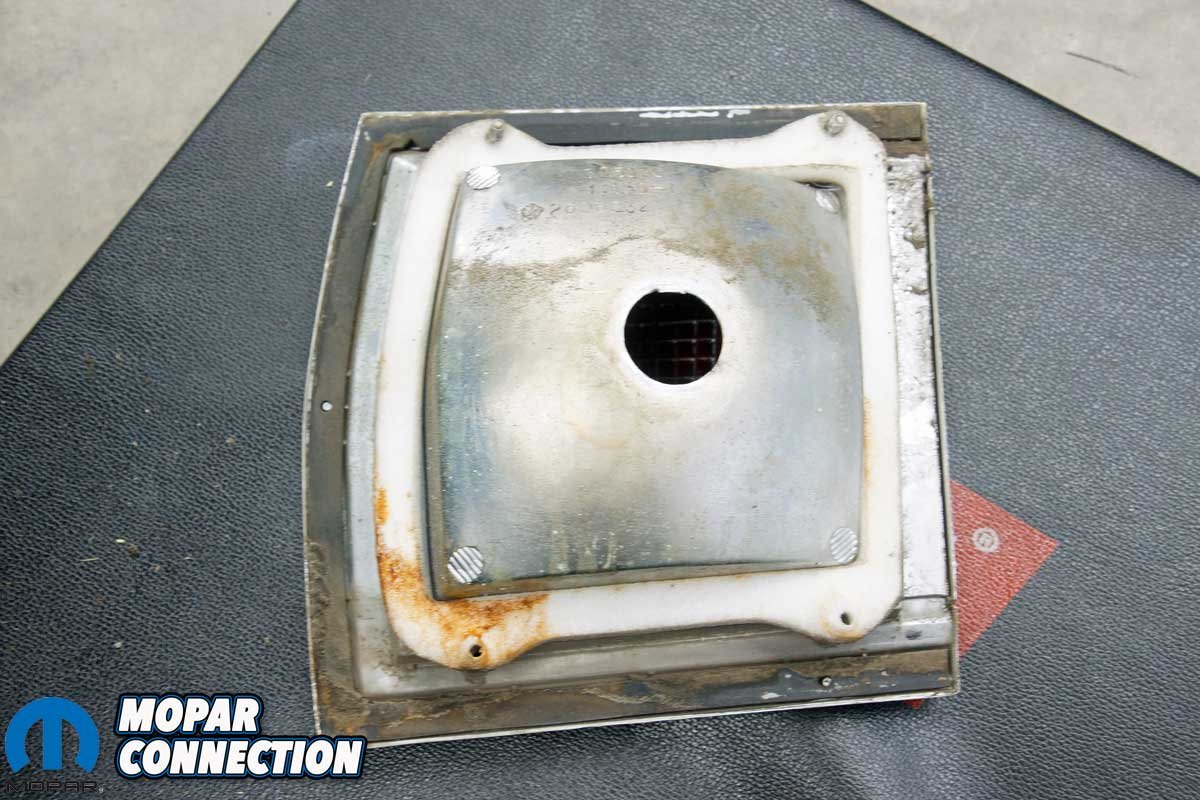
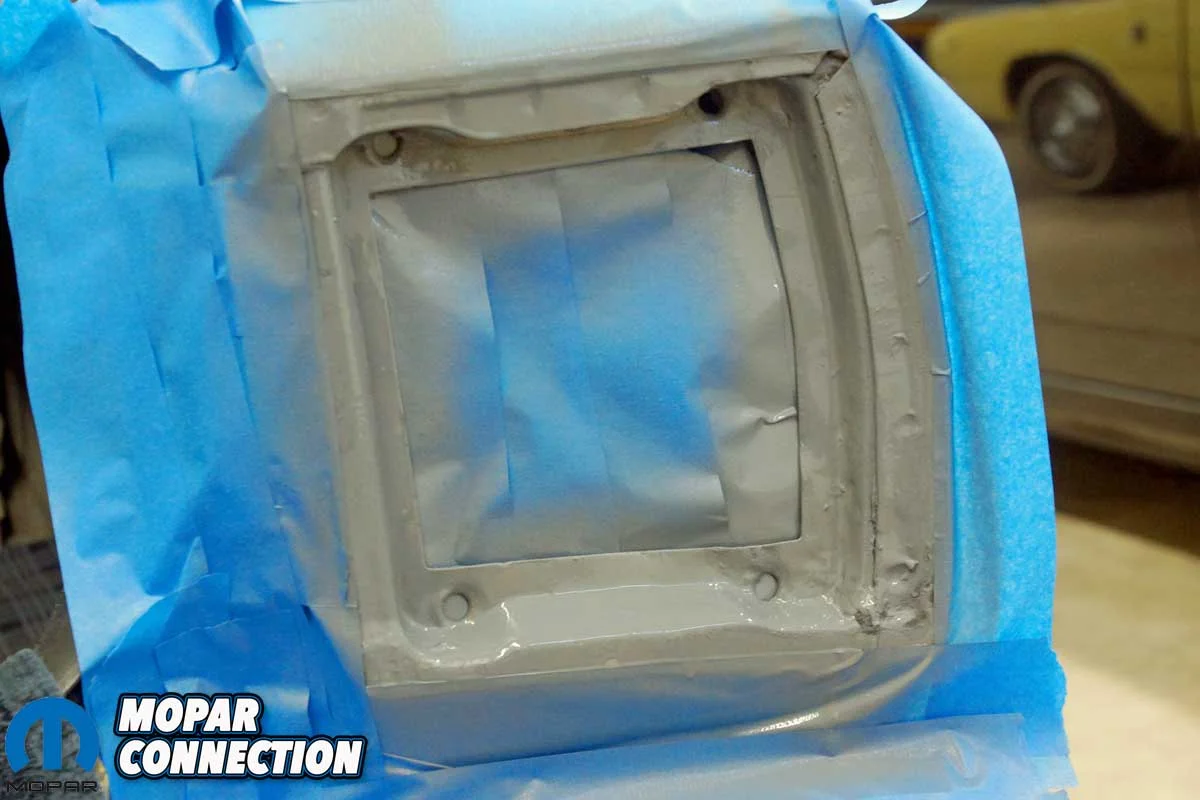
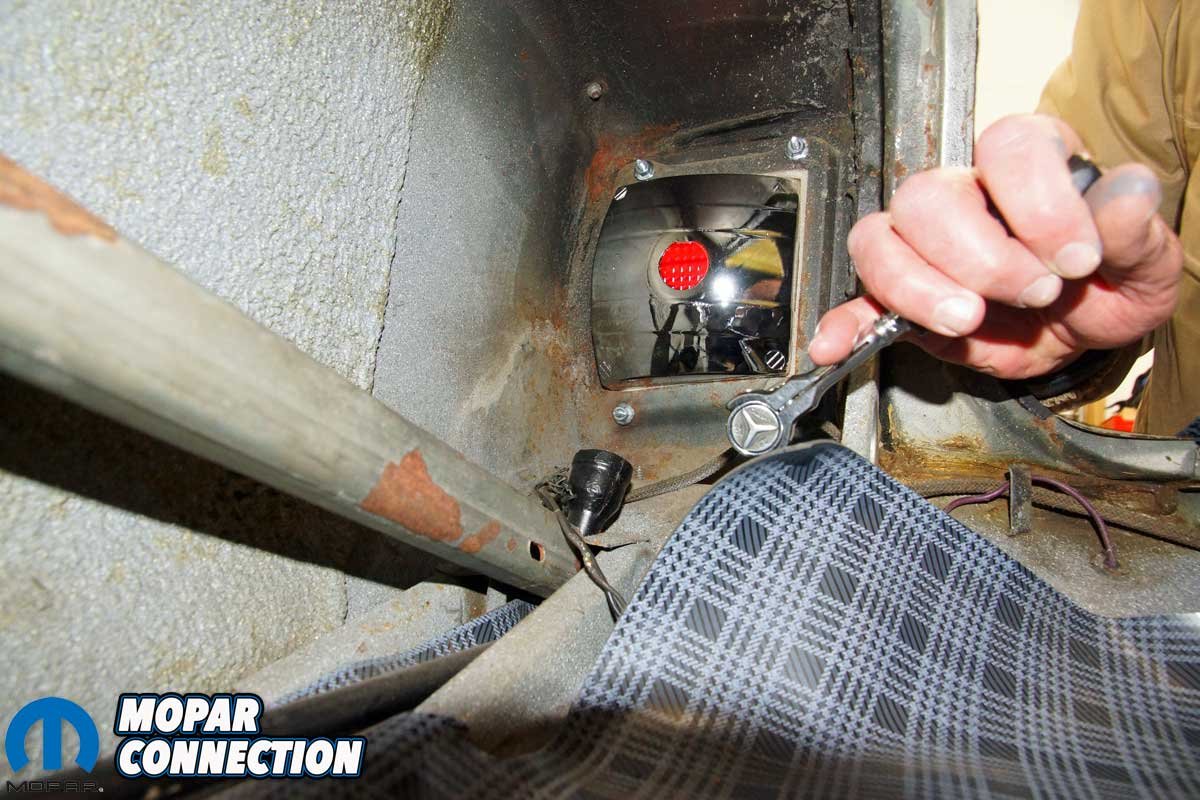
Top Left: Once the housing was out of the Dart, we found a small area of rust. Top Right: The area was cleaned and painted before installing the Year One taillight. Bottom Right: It appeared the passenger’s side factory housing had not been removed since its installation in 1967. Bottom Right: The Year One taillight (left) and the factory taillight appear identical. However, the Year One assembly has an additional seal strip.
With the housing out of its bucket mount, we, as expected, found the original silver metallic paint color. Unfortunately, there was a spot of surface rust in the bottom right corner. There was no structural damage, so we cleaned the area, taped it off, and shot the entire bucket with silver-gray paint.


Above Left: While the paint dried on the passenger’s side, we removed the driver’s side housing without difficulty. Above Middle: Although the factory light looks larger (due to its angle because of missing studs), the housings are identical. Above Right: Before installing the Year One housing, we swapped the factory gasket from the factory unit to the new one.
While we waited for the paint to dry, we took a moment to compare the new and old housings. The Year One unit was an exact duplicate of the original. However, it did have one additional seal strip not found on the factory piece.
Because the housing already had studs installed, we unthreaded the nuts from the studs. To finish the preparation of the new housing, we transferred the original foam inner seal, and once completed, we were ready to install the housing.


Above Left: The Year One housing fits perfectly into the Dart’s quarter panel mounting bucket. Above Right: The included hardware secured the housing to the Dart. Below Left: We snapped the bulb connector into the housing. Below Right: The same installation procedure was employed on the passenger’s side assembly.
After removing the masking tape, we guided the passenger side taillight housing into the quarter panel bucket. The studs slipped through the mounting holes, and we threaded each nut onto its corresponding stud. We ensured the sealing parameter gasket remained in place before tightening each nut. With the taillight housing properly fastened, we reinstalled the brake light connector into the taillight socket.


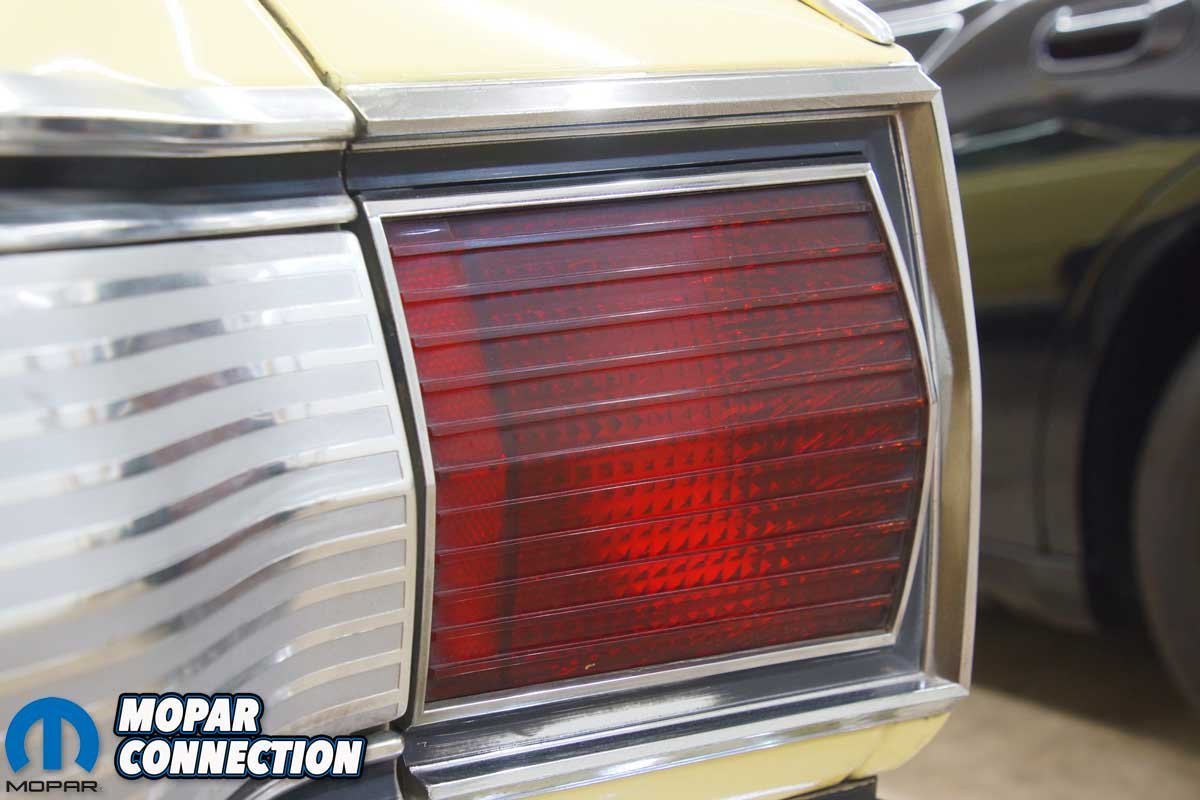
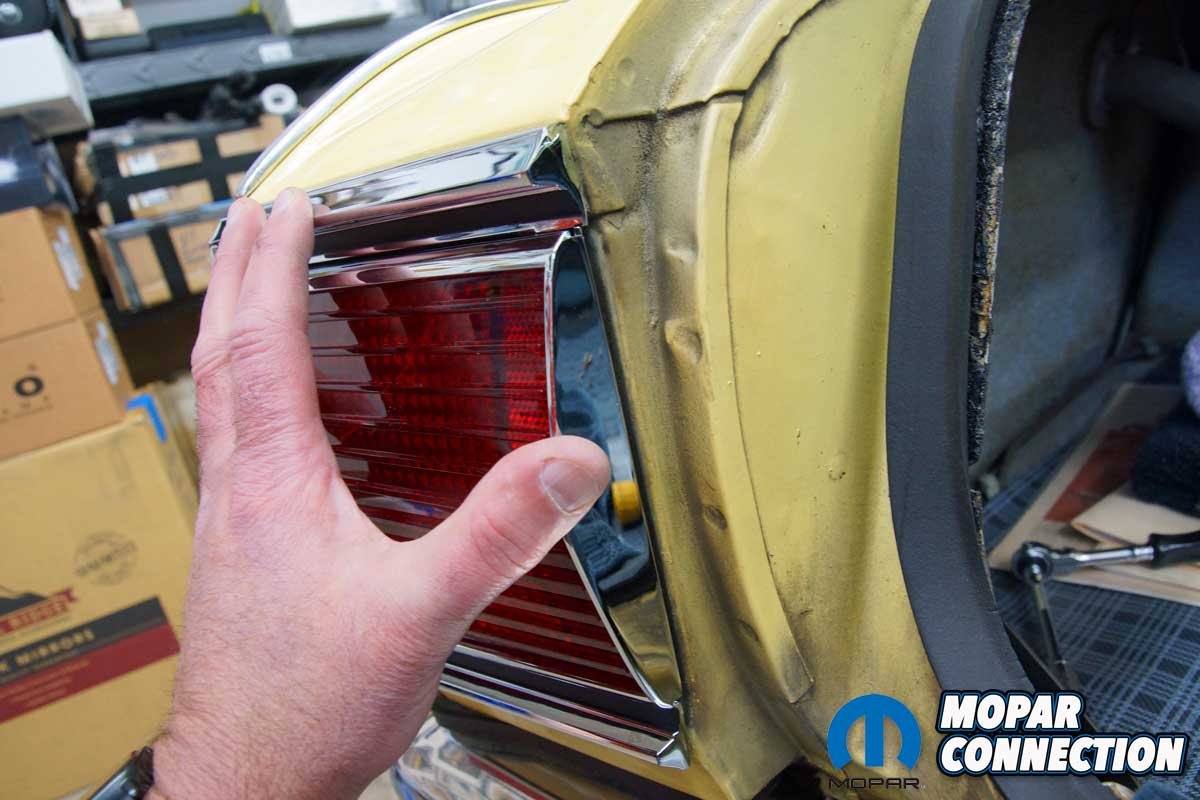
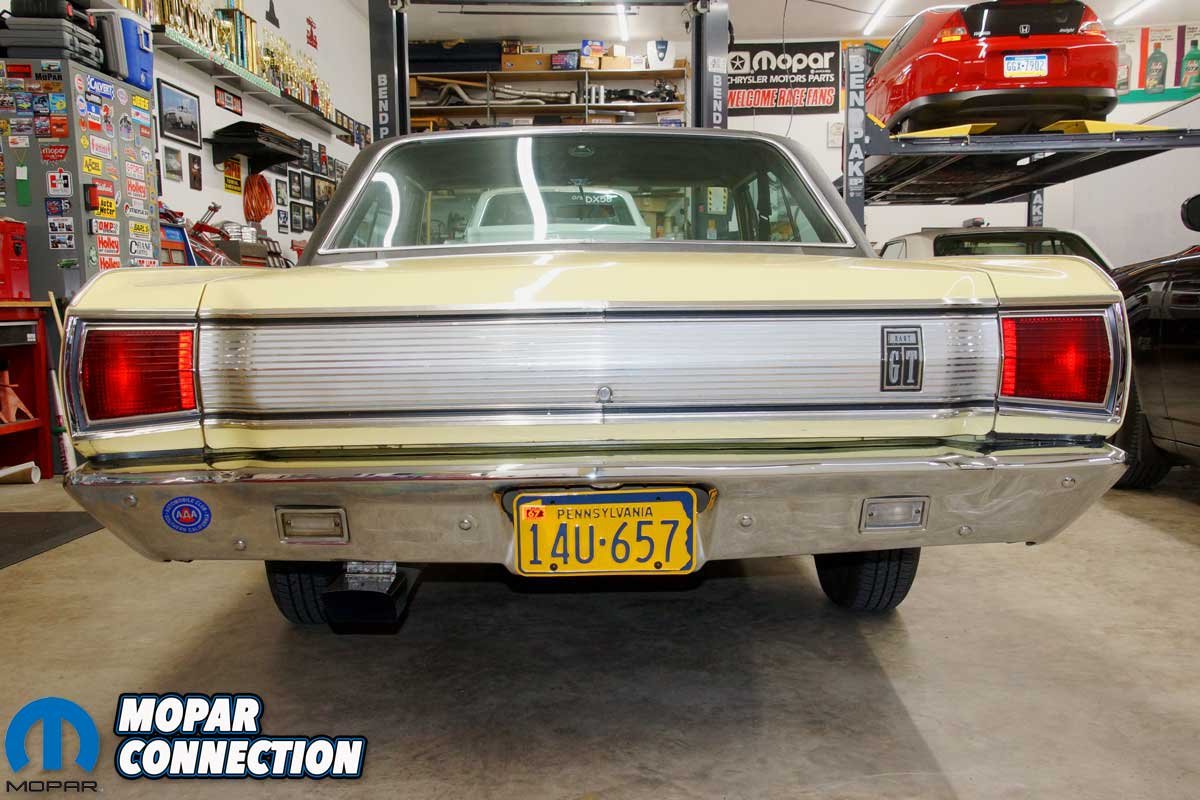
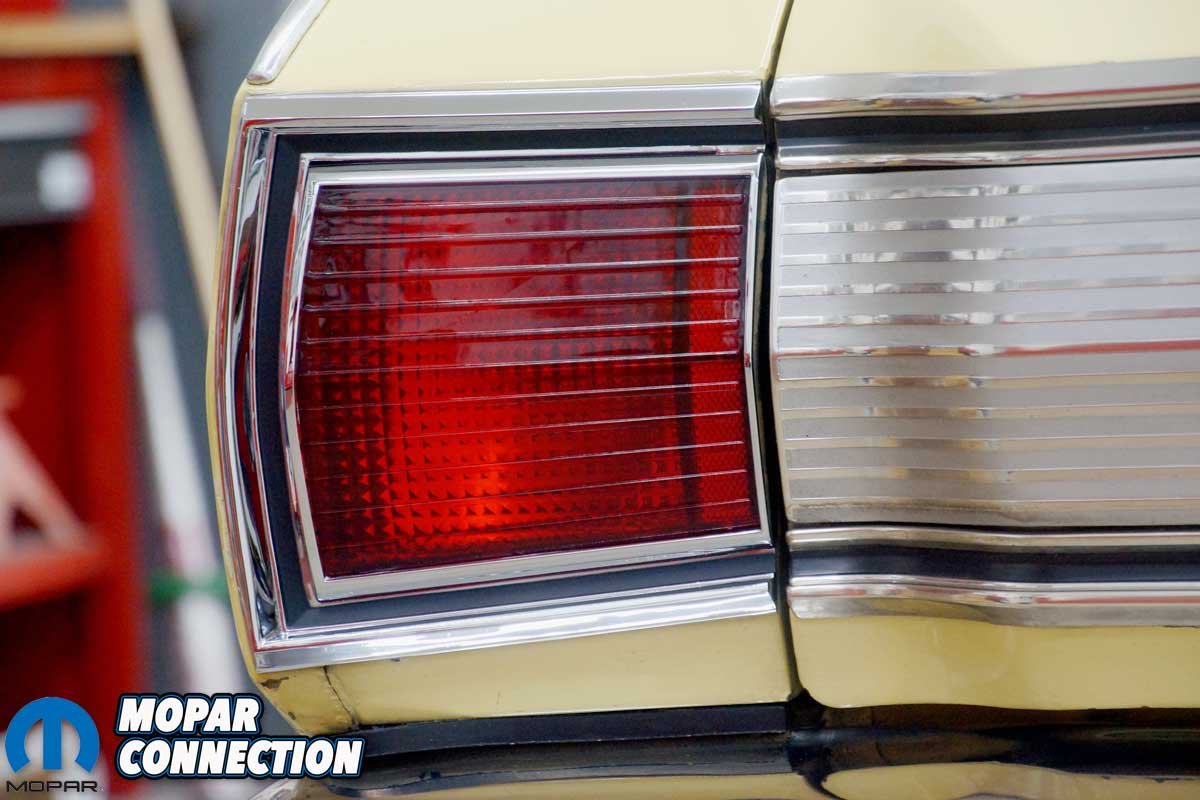
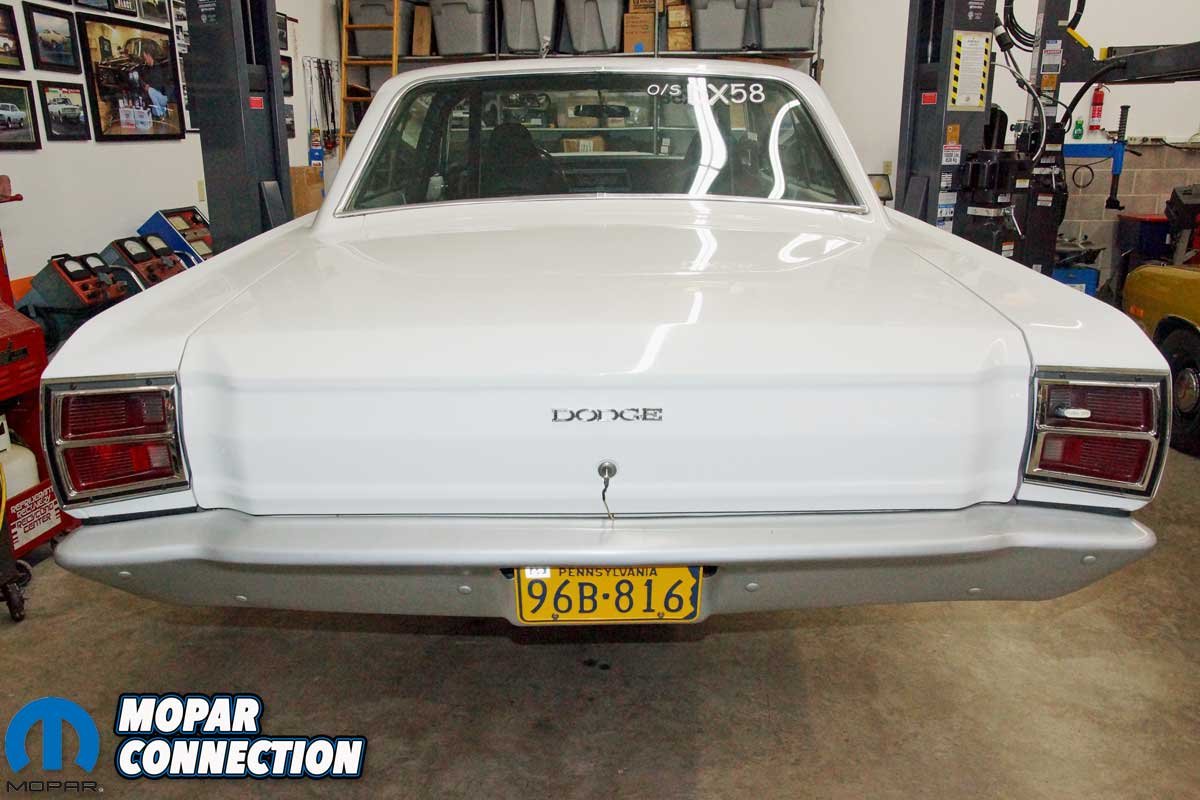
Above Left: The Year One taillights fit nicely and match our reworked tail panel bezel. Above Right: The bezel lines up perfectly with the panel trim.
Moving to the driver’s side taillight, we removed the assembly without difficulty. The taillight housing had been damaged at some point, and someone had removed it to glue the lens and housing back together. The new housing fit perfectly into the bucket, and just like the passenger’s side housing, we fastened it in place.


Above Left: A little over a year ago, we installed taillight bezels on our 1969 Dart. Above Left Middle: The bezel fits well with the factory lens and housing. Above Right Middle: The bezels look great. We also added a new Year One “Dodge” emblem to match the bezels. Above Right: Year One offers a taillight installation kit for the ’67-’69 Darts. Contact Year One to verify the need for the kit with your vehicle and desired taillights.
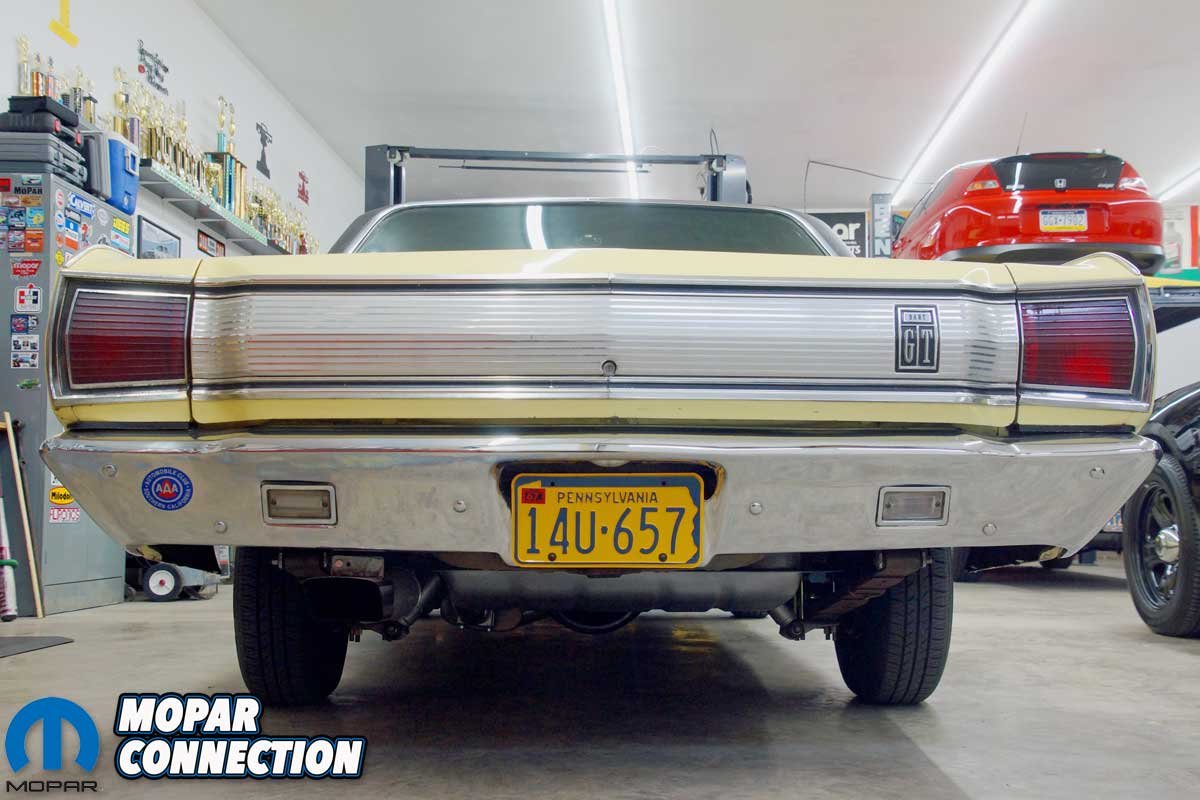
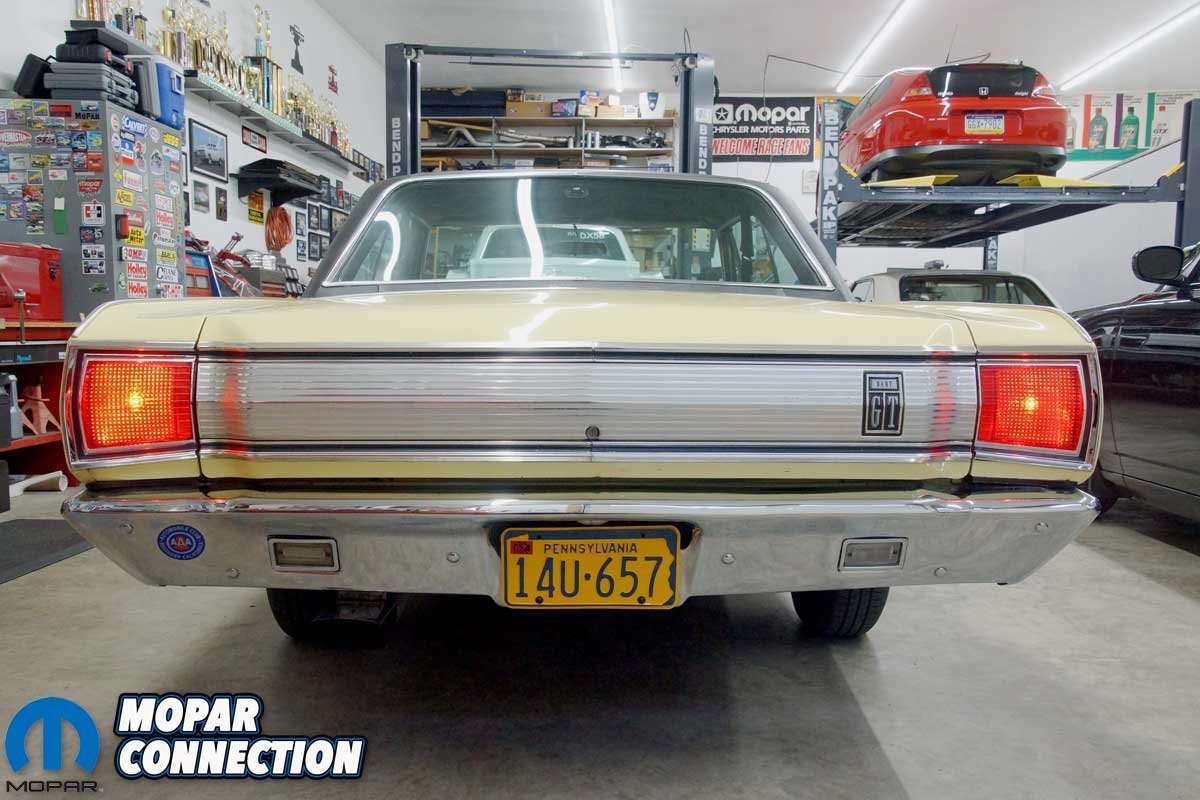
We tested the operation of the brake/park/blinker light on each side of the Dart. Both taillights worked flawlessly under all conditions. The illumination was brilliant and much brighter than the lighting projected by the original dirty, cracked lenses. In addition, the chrome on the housings was impressive. Lastly, the housings lined up well with the tail panel chrome trim.

Above: The park, brake, blinker action of the bulbs worked as required. The taillight illumination was much brighter than the old lenses. The rear of the Dart has improved greatly with the help of Year One.
If your A-, B-, or E-body taillights look worn, check out Year One for all the components necessary to refurbish the rear of your Mopar. With our refreshed tail panel bezel and trim and the beautiful tail lamp housings, now the paint is looking a little neglected. Unfortunately for us, those pesky dominoes continue to fall.


These taillights have been on the market for about 6+ years, now it is a big deal that Year One has them?