


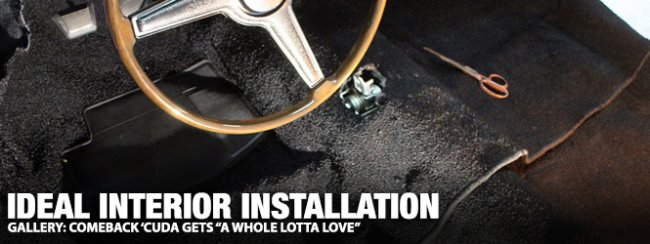
Now that the wheels and tires are on the car it is time to get the interior installed. (Or at least enough of it so we can start and drive the car and test all the functions and make sure they all work.) We have all new door glass from Classic Muscle Metal – our AMD source and sponsor of the Comeback ‘Cuda. The ¼ glass is all original and so is the hardware for the glass and the door latches.
Before installing the glass, we needed to pop rivet the door and ¼ whiskers in place. Then we needed to get all the door hardware sorted out and installed with the glass. Compared to a B-body with the vent wing assembly, this glass install was a breeze. Since we already had the door latches rebuilt and replated, they were ready to install. Next, we added in new door latch strikes and door seals from our good friends at YearOne and the doors are opening and closing like new.

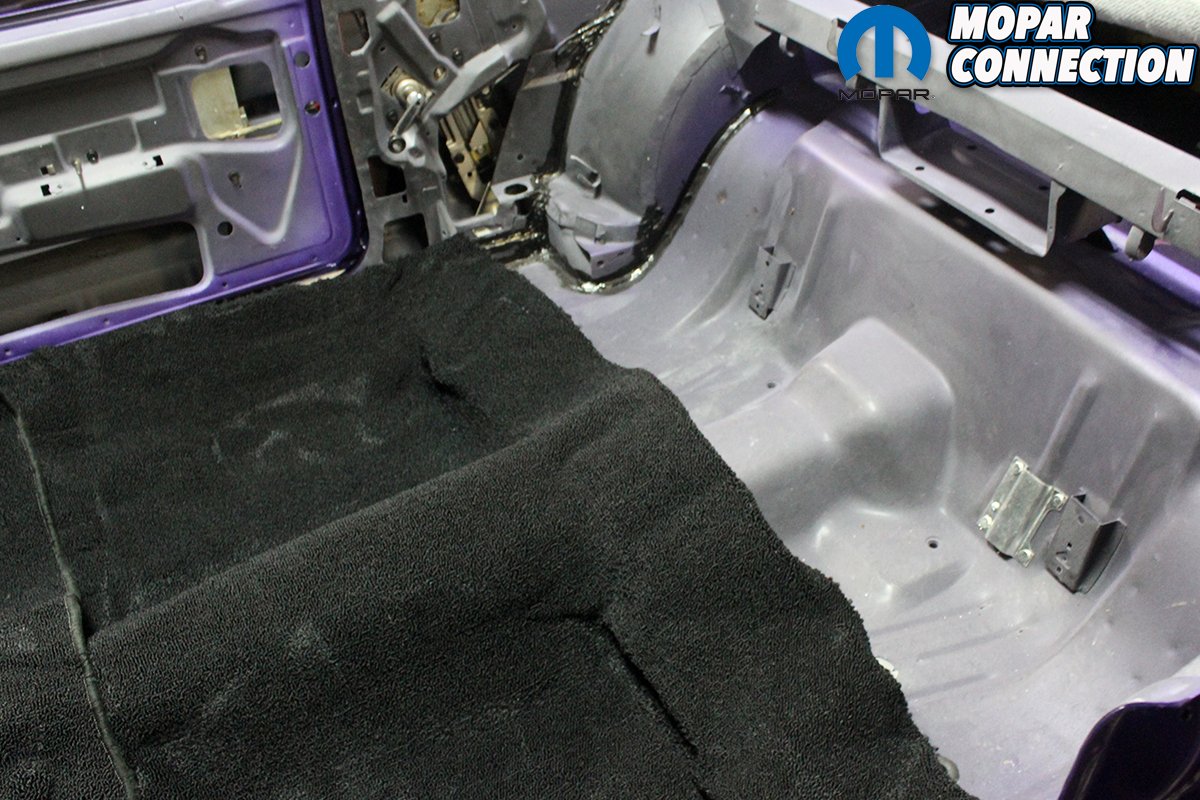
Above left:After getting all the door glass, ¼ glass and door latches installed and functional we lay out the carpet. It comes rolled up in a box and must lay out before installation. You will notice that all the hardware for the windows has been removed, blasted, and coated with “cosmoline” protectant. Also notice the mounting bracket for the dual exhaust hanger has been drilled and installed. Since the floorboards were replaced, we also had to mount the rear seat bottom clips. You must get these in the correct position or the seat will not mount properly. Above right: We lay out the rear and front carpet in the car after it has been laying out of the box trying to get the wrinkles out. As you can see the area around the 4-speed hump it really does not want to fit.


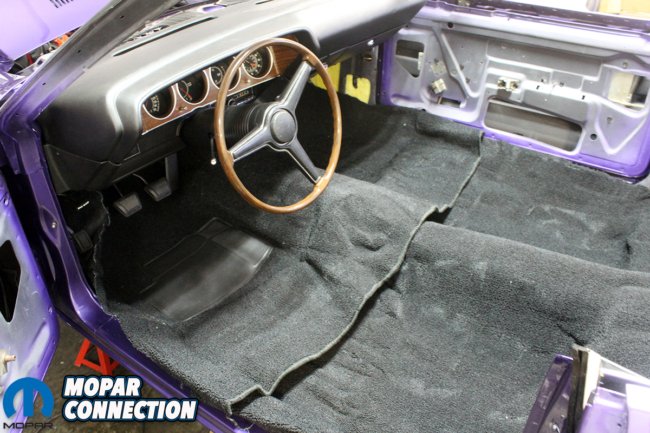
Above left: Hoping that after we cut in the shift hump and mount the shifter boot everything will lay down and look like it belongs there. We cut out the hole for the shifter and even after mounting the shifter and boot it still looks bad. Above right: We decide to order the ECS “flat ship” carpet for a 4-speed E-body. It is more expensive, but we have heard a lot of great feedback about this carpet. When it arrives, we do not have to lay it out to get out the wrinkles. We just install it and man the difference is stunning. Not just the fit but the carpet itself just looks amazing.
Next, we installed the carpet. We have used just your standard reproduction carpet in the past and tried to use it again. But with this being a 4-speed and with the unique seat belt retractor humps in an E-body, the carpet just did not fit well. We had heard about the ECS “flat ship” carpet and how well it fit compared to all the rest. So, we ordered some. And yes, it is a bit pricey but after having first-hand experience with both types of carpet we will opt for the ECS carpet. It fit all the contours exactly and the quality of the carpet itself is fantastic.
We then started on restoring the bucket seats and rear convertible seat. By the way, the hard top and convertible rear seats are completely different. And even though our original one was slightly bent from the accident, it thankfully was salvageable and did not have any rust on the frame. The seats were broken down to the frame completely. We blasted, repaired, painted, and replaced all the foam and burlap backing, and recovered the seats with new covers from Legendary Auto Interiors.

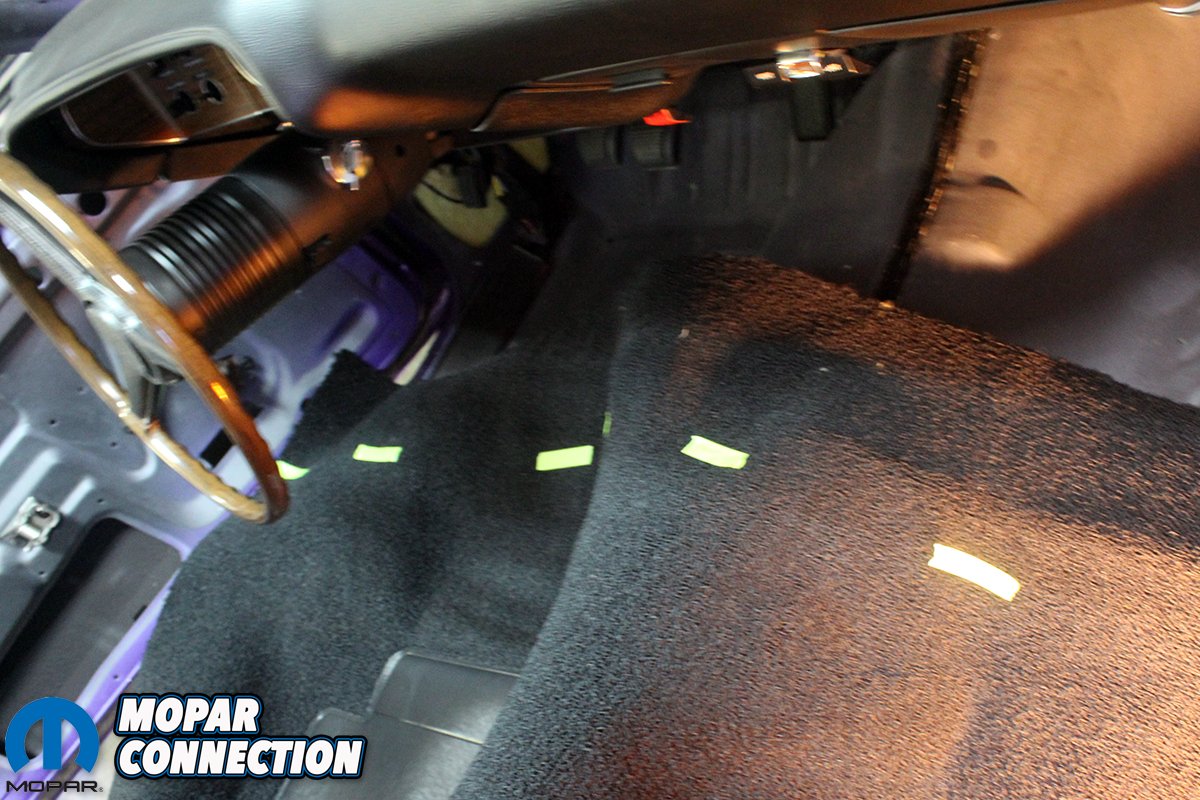
Above: So, we lay out the front carpet and carefully mark the line showing where to cut the carpet along the firewall with tape. Before it is even cut the difference is already evident. We are gonna love this carpet!
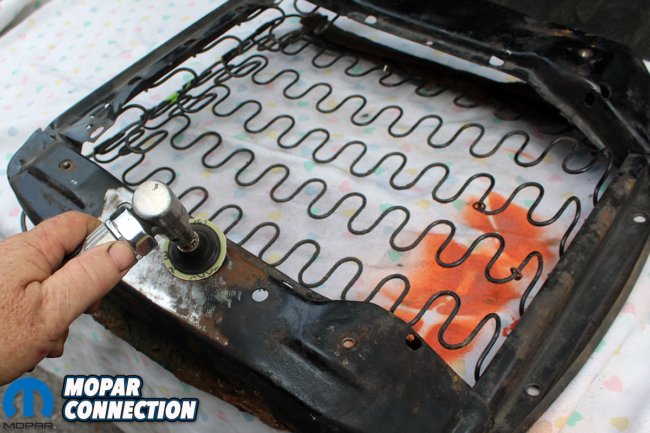
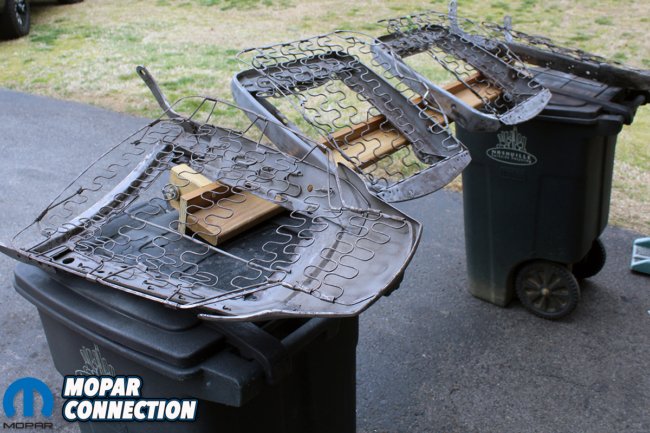

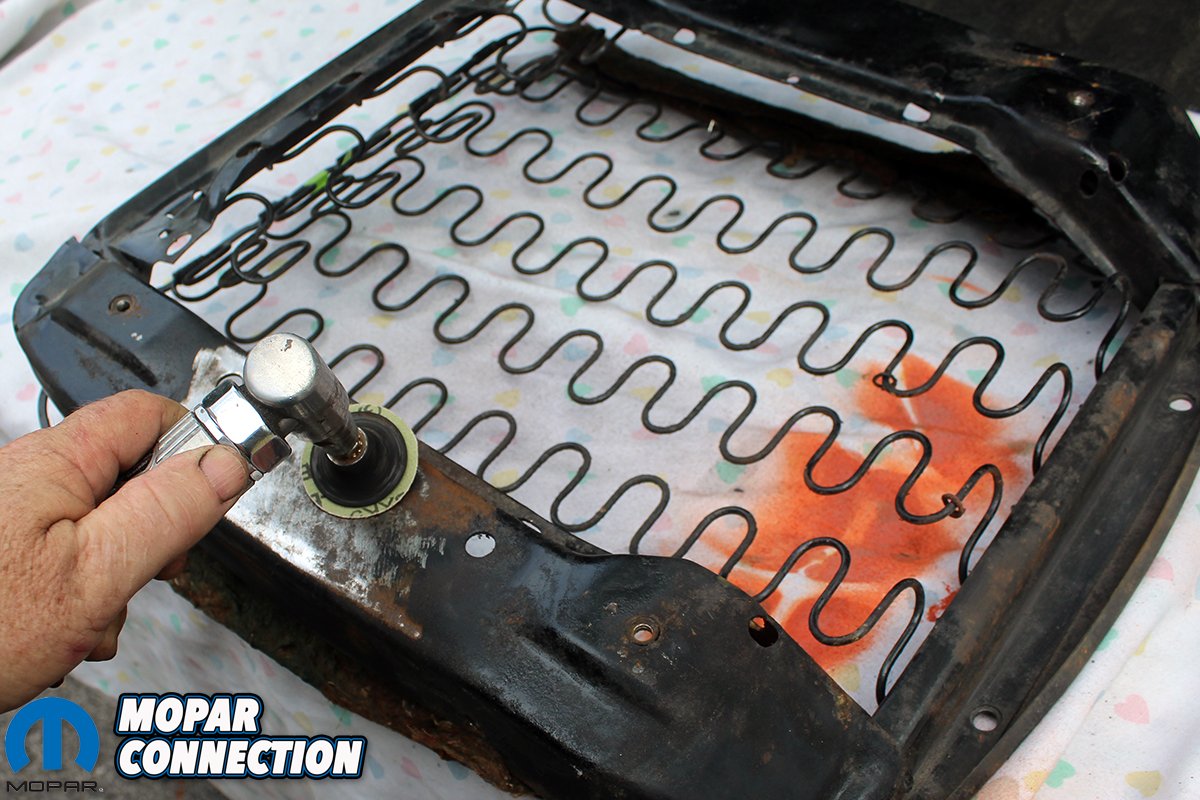
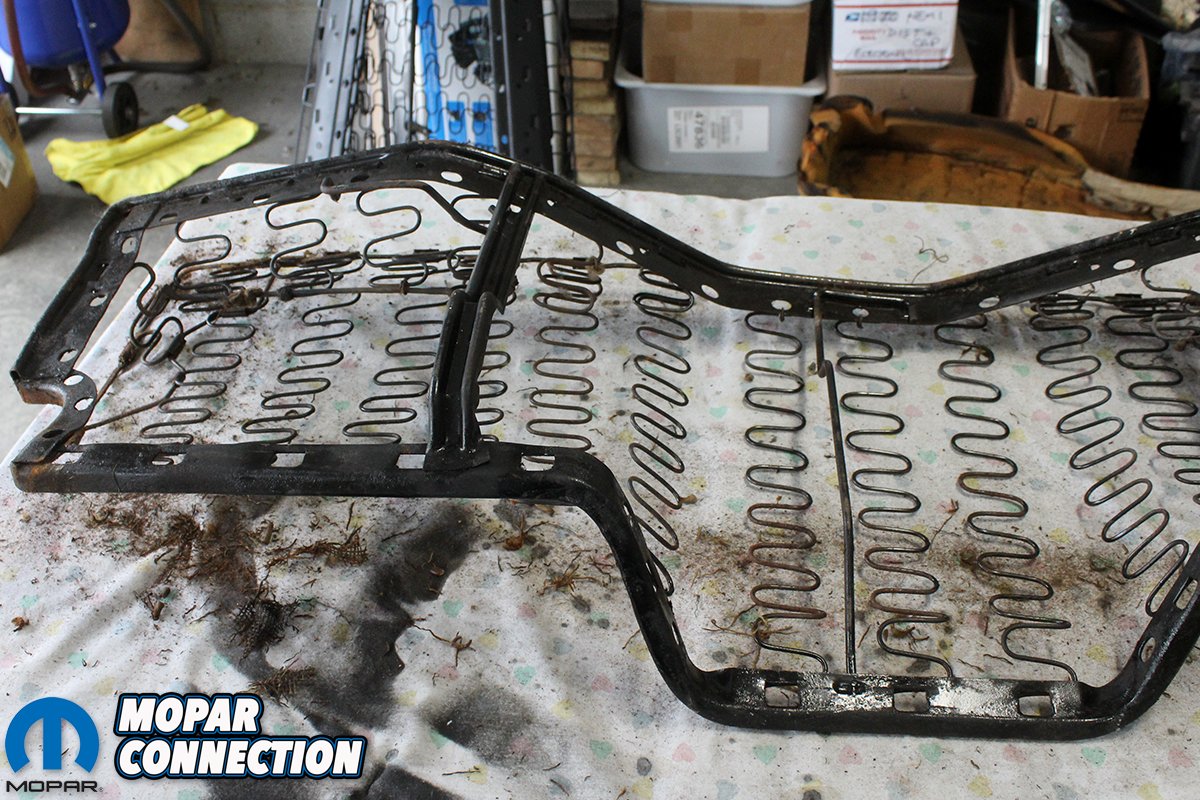
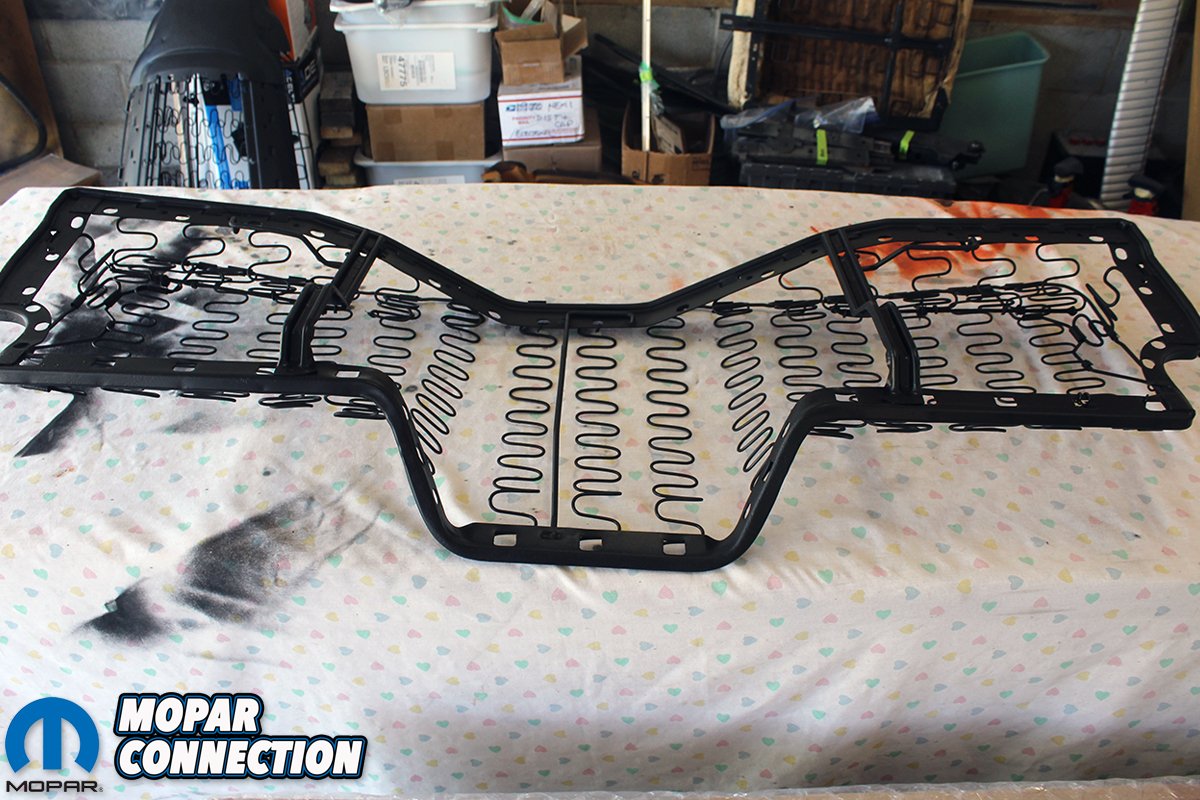
Above left: After the carpet is in position with a “rough cut to fit” we turn our attention to the seats. We strip off all the old burlap and foam and repair any bad springs. We then strip the frames with a die grinder and sanding wheel. Above center: We follow up sanding by media blasting everything to make sure we are rid of any rust or residue. Media blasting is the only way to get all the nooks and crannies clean. It is also the only way to effectively clean all the seat springs. Be sure and take your time with these seat frames because they will never see the light of day again. Above right: Now is the time to shoot these frames with an epoxy sealer. We use the “Rust Encapsulator” from Eastwood and a spray gun. Some people use POR 15 in these applications. We have found that POR 15 will peal off after a period of time. Using this epoxy has never disappointed us. By using a gun rather than a rattle can more paint will be applied with better sealing results, plus you get the durability of an epoxy paint.
Almost every supplier we contacted did not have the white interior we needed, but Classic Industries came to the rescue with a full set for front and rear seats. YearOne had the front and rear door panels and contrary to what people say on the internet they all fit perfect.
We got thrown a bit of a curve ball when we went to restore the front bucket seats. We found that we had a pair of later model seats with the back that is all plastic. (The 1970 seats have a metal hinge cover that allows the seat belt to thread through the opening between the seat frame and the hinge cover.) We then had to search out the correct hinge covers that are not reproduced and order different seat backs made specifically for a 1970 seat.


Above left: We looked for a replacement lower rear convertible seat without any luck. Anything we found was rusted badly. So, after the original frame was stripped and painted, we noticed the bend was really not that bad and the frame was rust free. Above right: After we spent some time pushing and pulling on the frame we were able to get the frame straight and ready to be recovered in new burlap, foam, and upholstery. Best of all no rust!
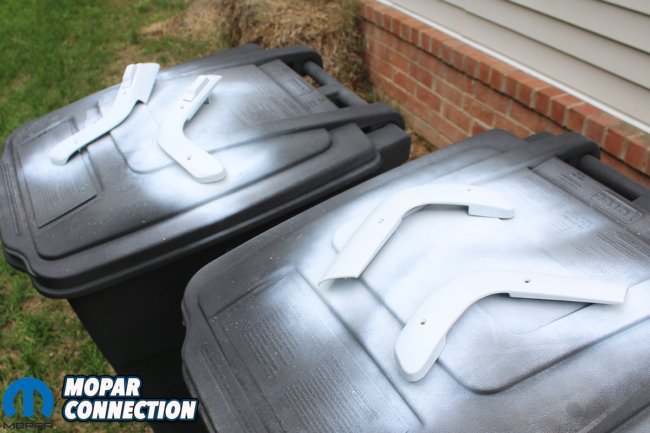

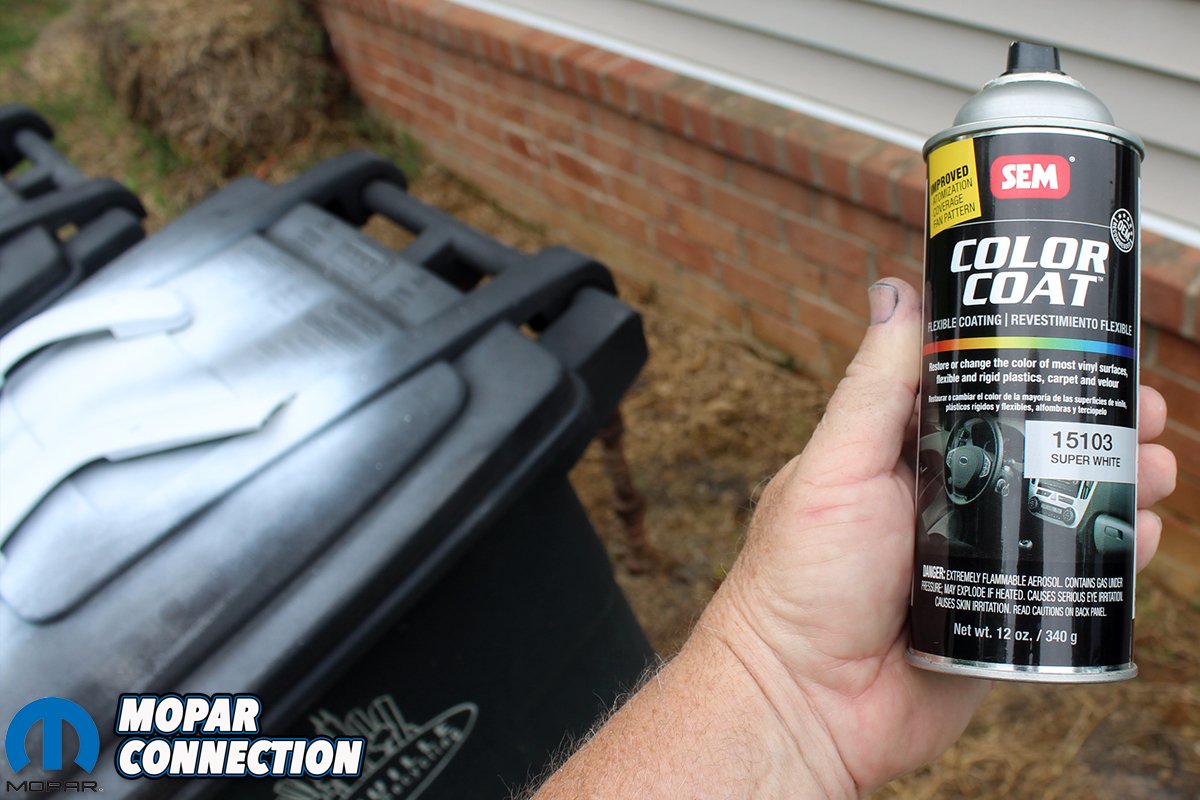
Above left: After discovering we had the incorrect seat backs, hinge covers, and even release buttons we were able to score a set of 1970 seat correct hardware on eBay. After stripping them by hand so we can preserve the original grain on the metal hinge covers we paint them all to match the slightly “off white” interior material. Above right: Since we had already restored a 1970 Road Runner with a white interior, we knew the exact dye needed to match this interior. SEM 15103 Super White. We use this dye on all plastic parts, so they all match the seat material. Be sure and clean the parts with lacquer thinner before shooting them.
We also found that even though the reproduction plastic parts were all white they are not the original white used on these cars. Fortunately, SEM makes a vinyl spray die that matches perfectly with the “creamy” white of the interior. It is 15103 Super White. We then scored a beautiful new set of seat belts with correct data tag sown onto the belt. Add in a new set of correct seat belt bolts from YearOne and the interior is complete.
Since the Comeback ‘Cuda is a convertible, we put together the carpet, front doors, ¼ glass, and bucket seats, but we have to wait to install the rear seat and panels until we get all the trim, top frame, pump, and rams so we can get the convertible top installed. We leave the top installation to the pros, so having the car where we can drive it onto the trailer is a must.
Next stop: upholstery shop to get on a new top!


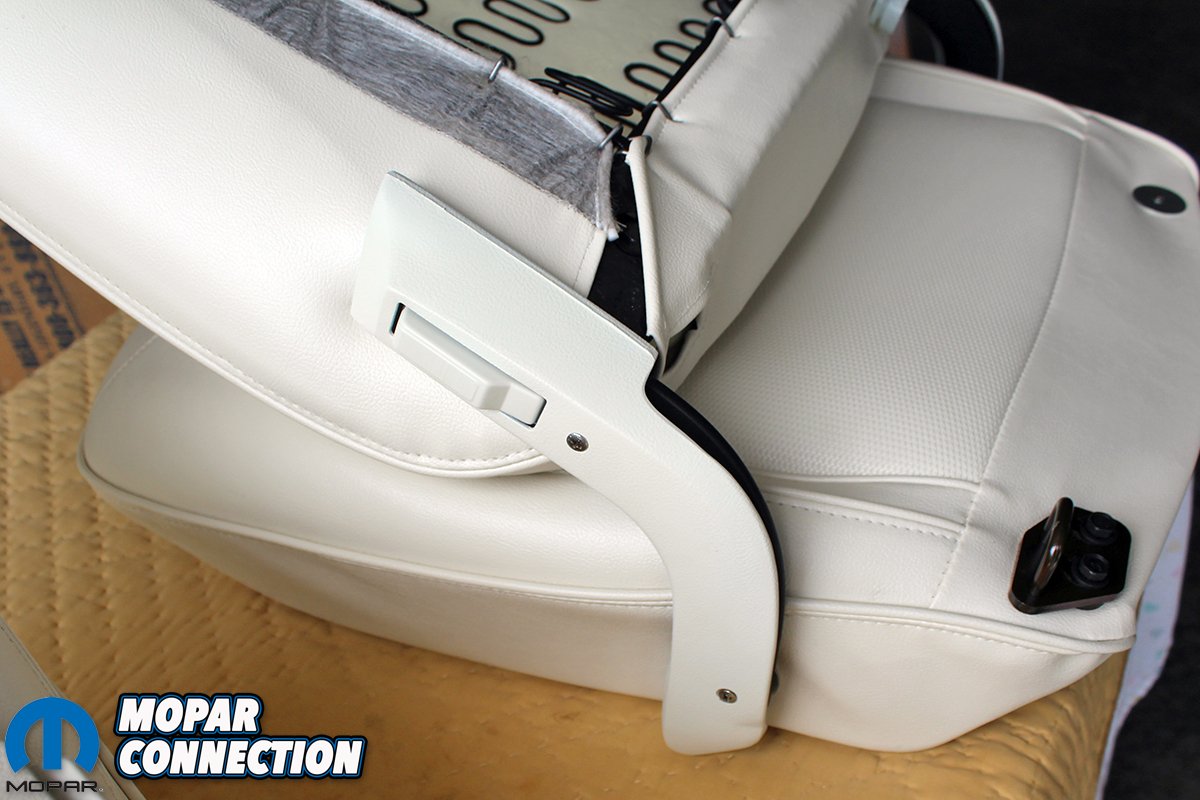
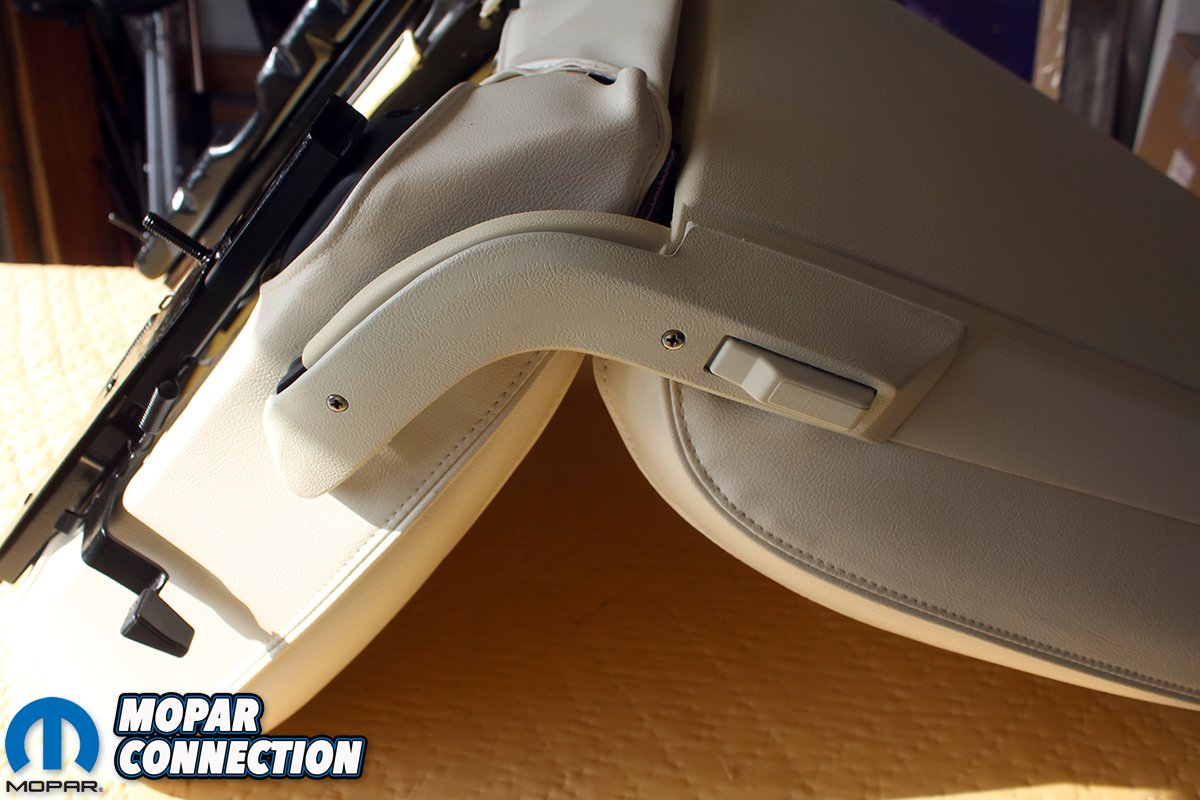
Above left: After attaching the base “burlap” padding on the seat frames we also attach the new seat foam using hog rings and hog ring plyers. The most difficult part of covering these buckets is getting the inserts attached to the frame in the correct position. After that wrapping the bolsters is easy. Get everything as tight as possible and making sure the covers are warm helps to stretch them in place. The remaining few wrinkles will relax after you set the seats in the Sun for a few hours. Above right: You then find all the mounting holes for the latches. Using a fine point awl helps find the holes. Attach the pre-painted hinge covers and make sure the button releases the latch and the latch is positioned correctly. Test this now before attaching the seat backs. Notice the hog rings holding the covers onto the frame.


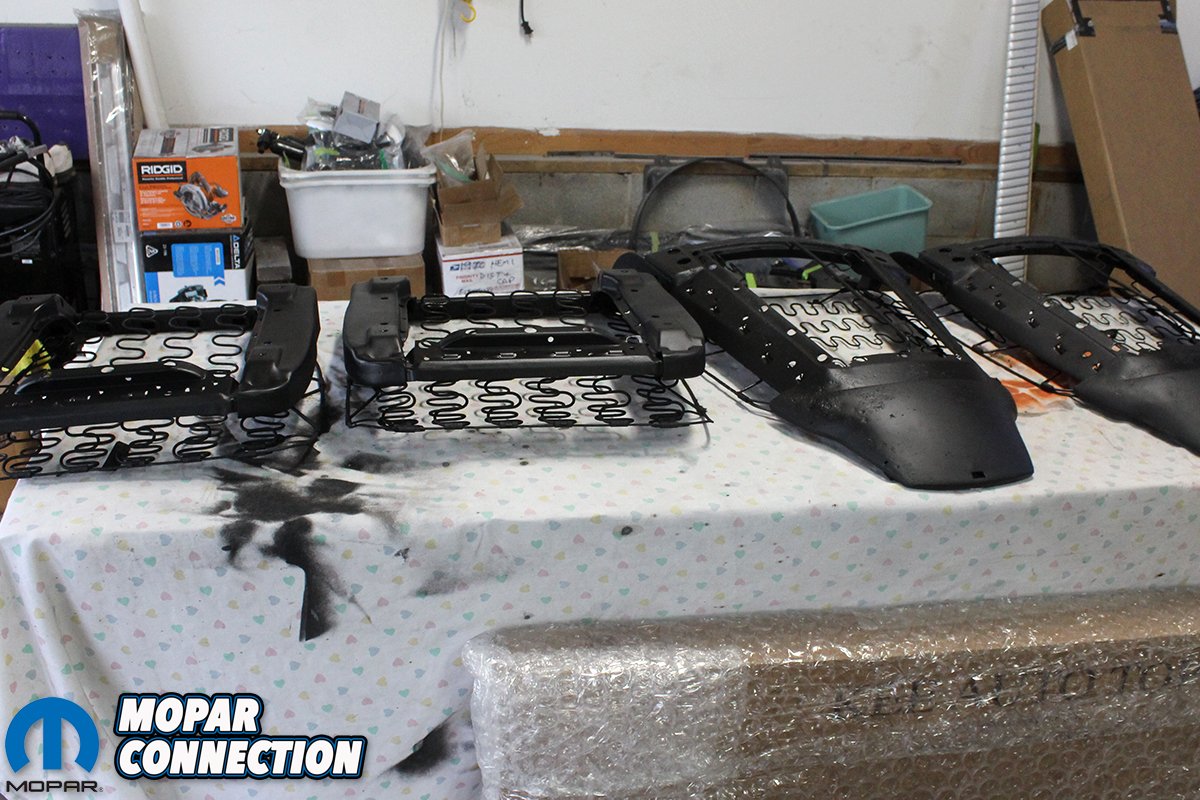
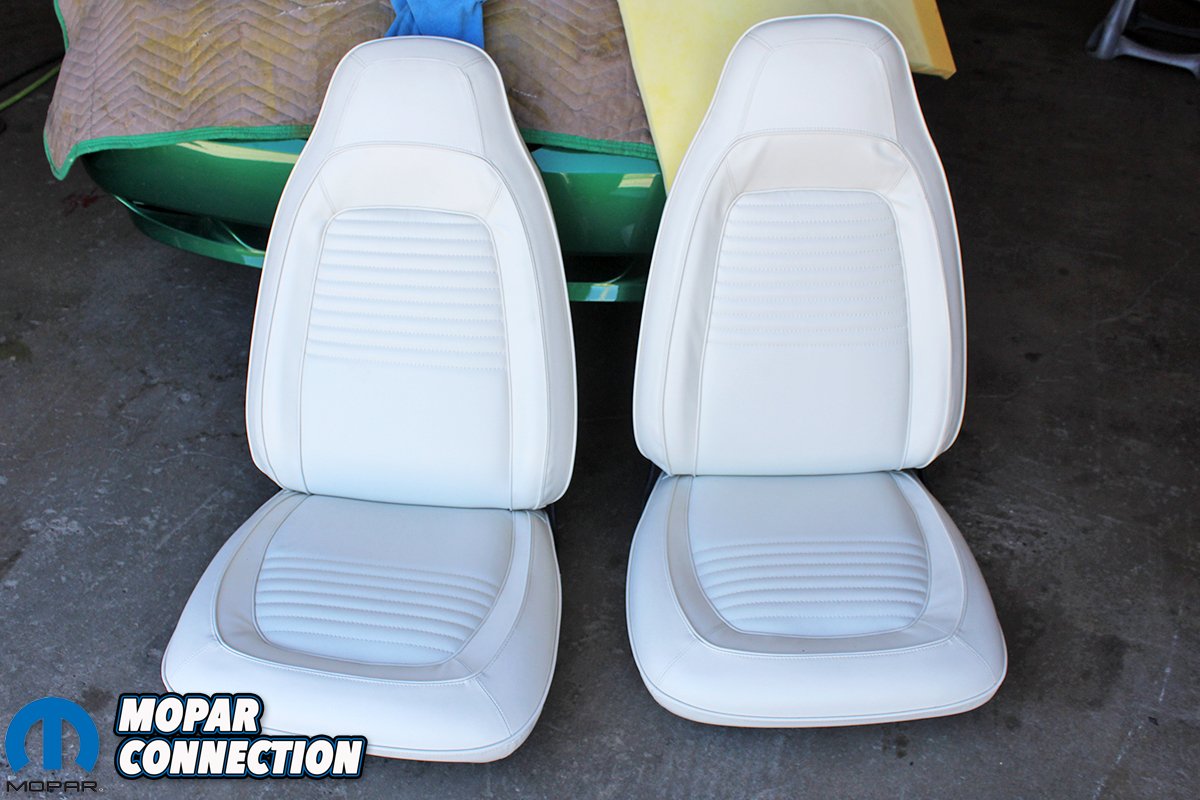
Above left: If you have the correct 1970 seat backs, they attach and fit nicely. If you have the later year seat backs you will immediately know. Notice how good the seat looks when the seat back covers the frame behind the side hinge cover. Above right: We disassembled the seat tracks, cleaned, blasted the frames, painted, and greased the slides before installing them. Do not be tempted to just put your old tracks back on without completely restoring them. It will show and the function of the seat will be greatly affected.
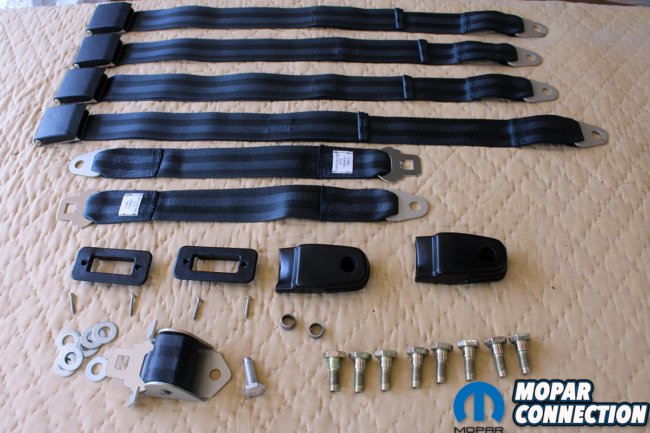

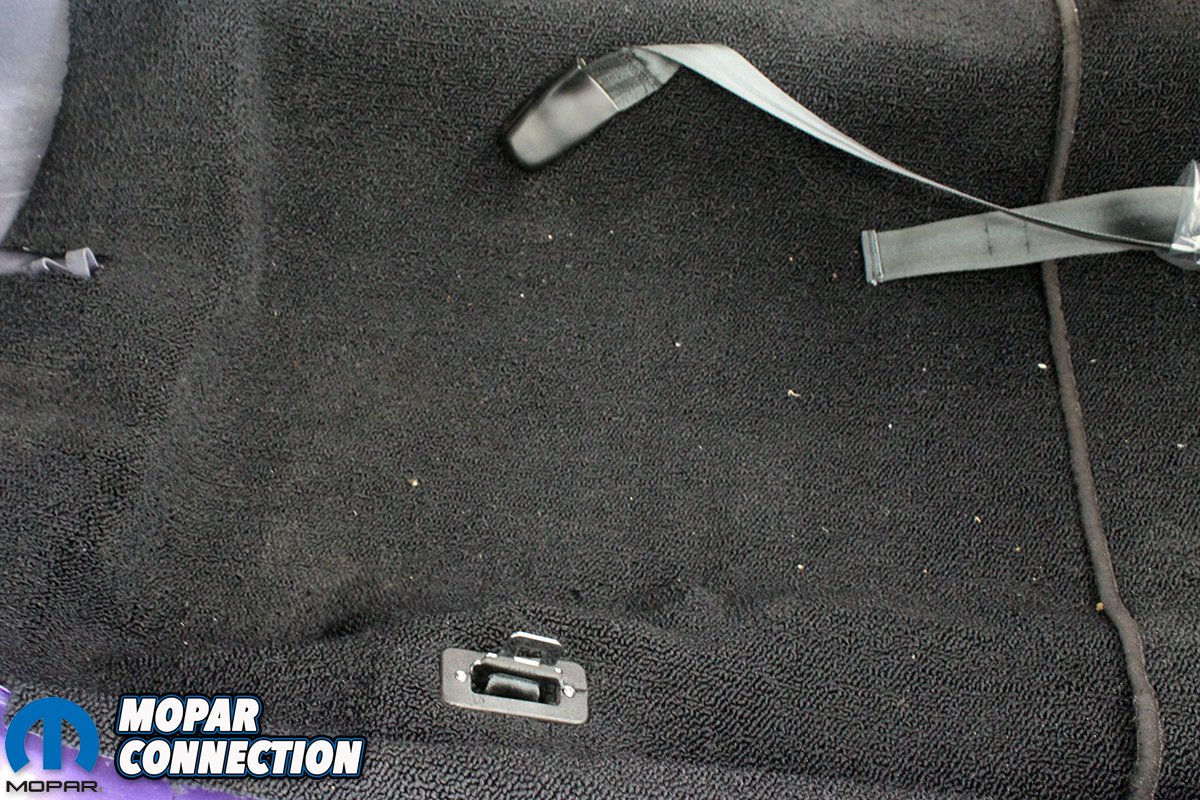
Above left: With the help of one of our great sponsors Classic Industries, we were able to score a complete set of correct 1970 seat belts with correct date coded tags sewn onto the webbing. We then restored the bezels that allow the retractable belts to come through the carpet. Thanks to YearOne the correct shoulder seat belt bolts are essential along with the spacers. Since it is a convertible the shoulder belts are not needed. Above right: The retractable seat belt mechanism attaches to the floor pan first, then an inverted plastic cup goes over the mechanism followed by the carpet. We then cut the slot for the belt and attach the bezel to the plastic cup with two screws. Do not forget to install the rubber seat bolt covers on the buckle side of the belts. Also notice how absolutely perfect the ECS carpet is laying in the car.
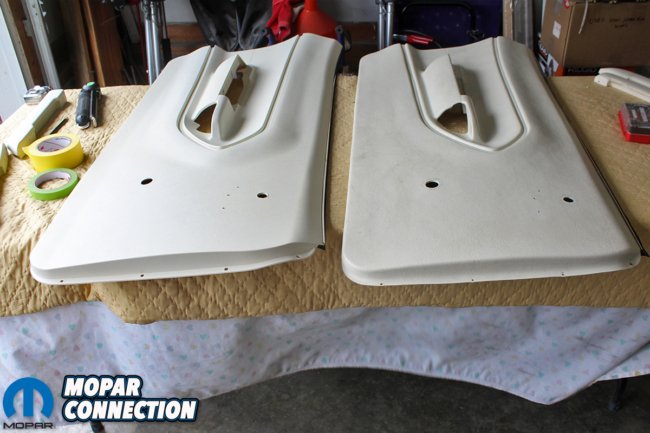
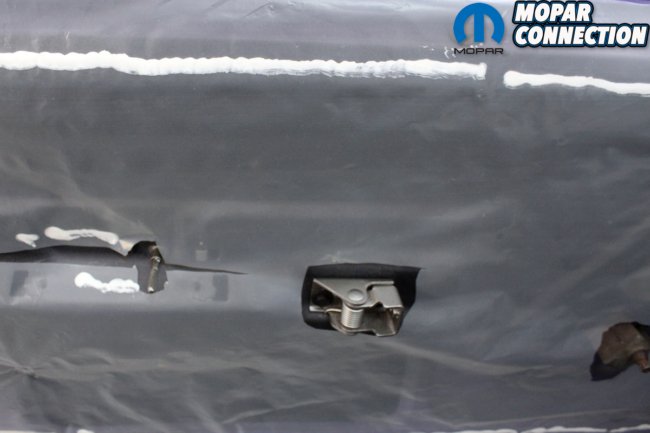
Above left: We then get out the door panels from YearOne. We clean them with lacquer thinner and shoot them with Super White SEM dye. We did have to take the old panels out for verifying the location of the ‘Cuda emblem. We also painted the door arm rests and attach them with the correct screws. The door window sweeps are already attached to the door panels and fit great! Above right: Before you put the door panels on, you definitely need to make and attach a vapor barrier to the door. Just get a sheet of plastic and cut it to fit the door and the openings for the handles. We use caulk to attach the plastic since it will peal back later if needed. This helps to keep moisture out of the interior and it also helps with wind noise on a hardtop. Once the barrier is in place pre-punch the holes for the clips on the panel that attach it to the door. That makes the installation go a lot smoother.


Above left: When we were drilling the holes in the door panel for the ‘Cuda emblem we noticed they needed a little attention to detail. They were not bad enough to replace but the black edge was ragged. We took and cleaned them up with 0000 steel wool and shot them with a light coat of semi-gloss black. After they dry just remove the color off of the face of the emblems with the 0000 steel wool. They will then look like new. Above right: We then attach the door panel and all the new hardware, and the finished door panel looks great!


Where did you get door latches rebuilt and replayed?
Local platers in your area offer these services. You’ll have to do some research.