


For the classic Mopar enthusiast, there’s no better automatic transmission than the TorqueFlite 727. Built to withstand the labors of daily driving as well as the grueling lead-foot starts from the stoplight (or the Christmas tree), the TorqueFlite could pretty much take it all. From its release in 1962, the TorqueFlite was drafted to withstand the unmerciful “neutral-drop” launches from those racing push-button shifted Max Wedge Chryslers, to eventually the brutality dished out by the 426 Hemis and 440 Six-Packs. Over time, the 727 proved formidable, whether propelling a family sedan, a load-bearing Ram or a race-ready muscle car.
That is not to say that the TorqueFlite was not without its shortcomings. Not all 727 3-speed automatics came equipped to handle the power of a Magnum 440 or a 7-liter elephant, and those unfamiliar soon discovered the differences between the degrees of performance: namely the total number of clutch plates, clutch springs and their respective spring tension, governor weights, the preset up-shift speed, band friction material and construction, as well as the torque converter stall speed. And in more taxing circumstances, properly operating a high performance-build 727 makes the difference between a healthy and happy TorqueFlite and a smoked one.

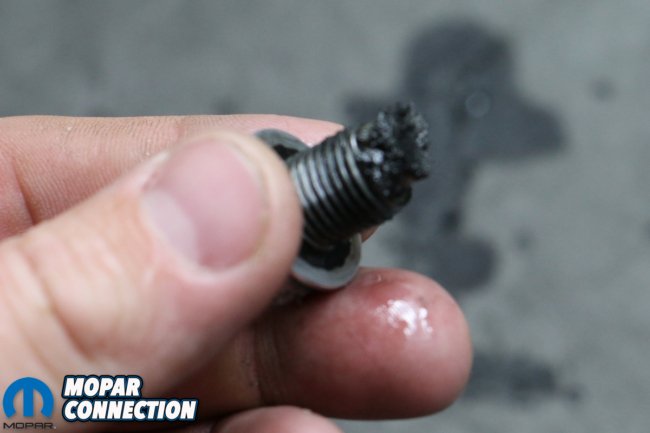

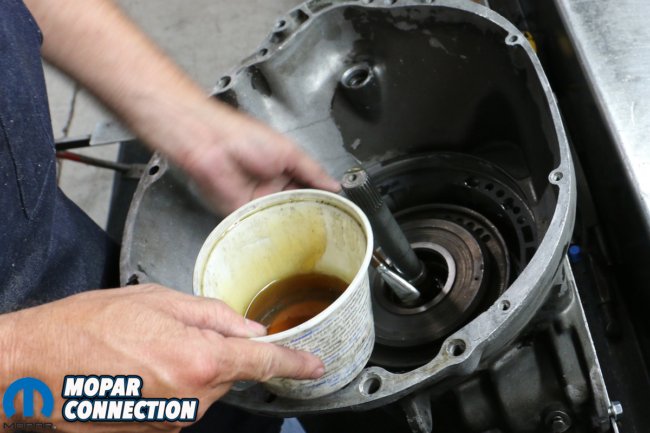
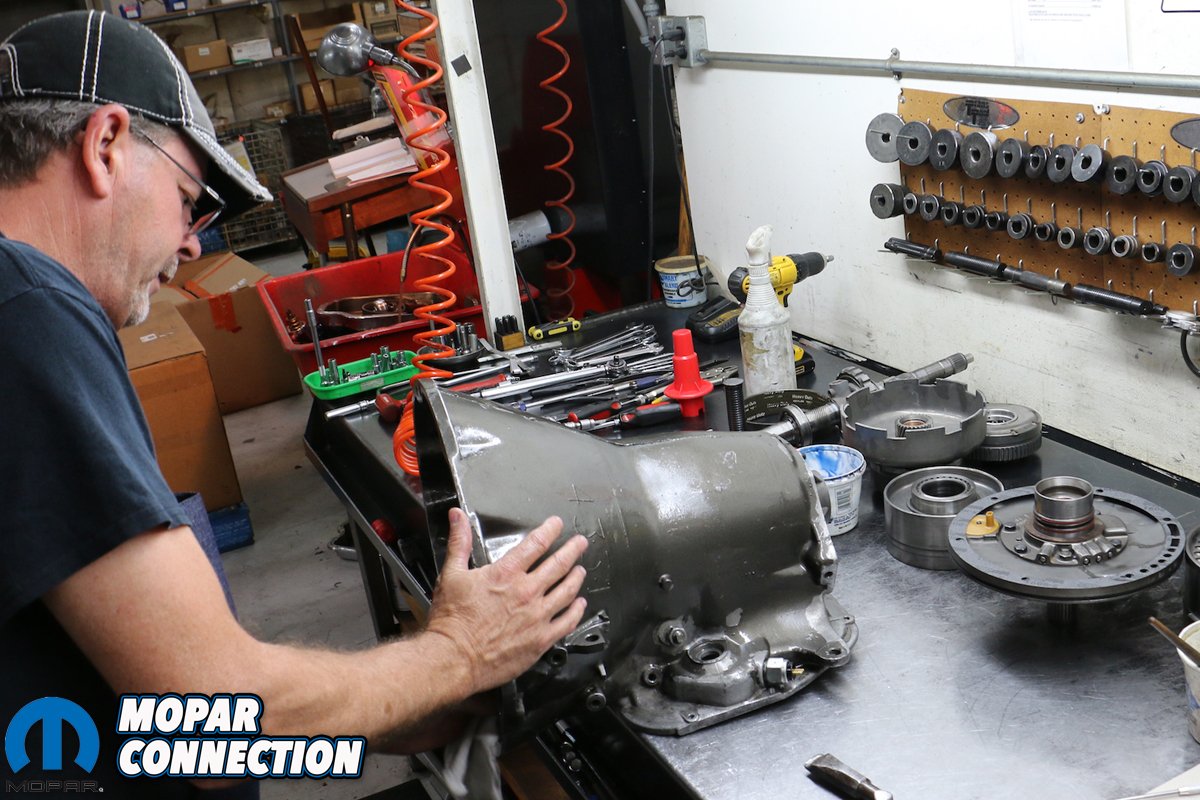
Above left: Our TorqueFlite 727 had been built using several high performance items from the TCI Automotive catalog, but misuse and simply over-powering the automatic during one-too-many burnouts left it in sorry shape. Above center: Pulling the drain plug revealed not only inky-black automatic transmission fluid, but a magnet full of glitter. Above right: The drain plug wasn’t the only one full of metal; our deep, cast aluminum pan was smeared with metal shavings and the residue of cooked clutches.
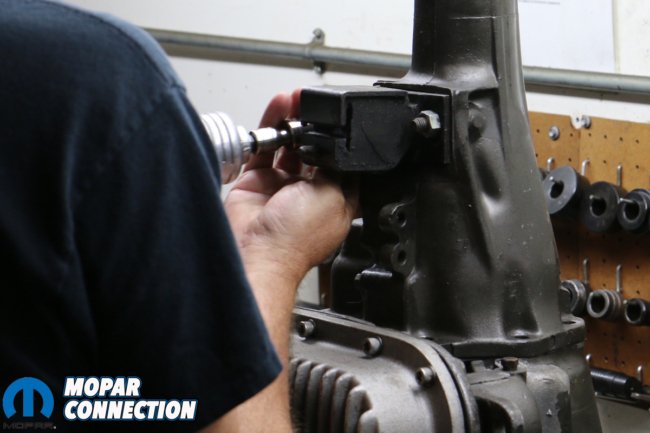
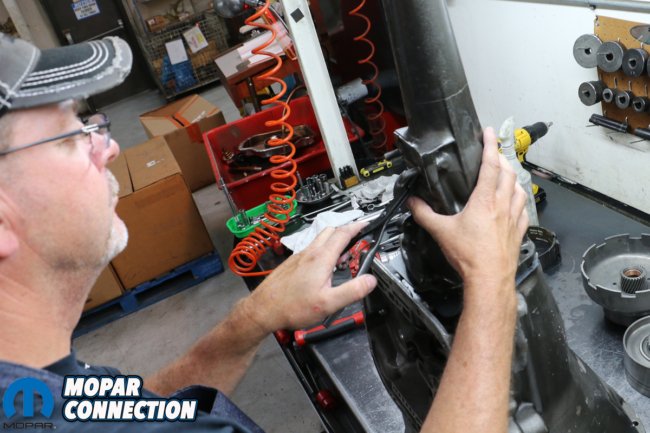
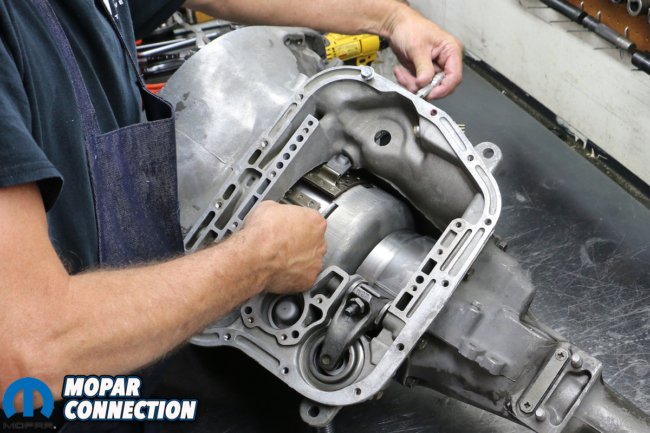
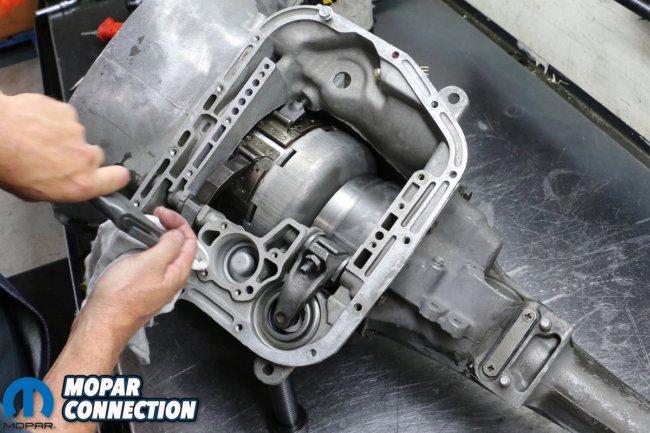
Above: Disassembly went quickly; removing the transmission mount, circlip and tail extension, and pan.


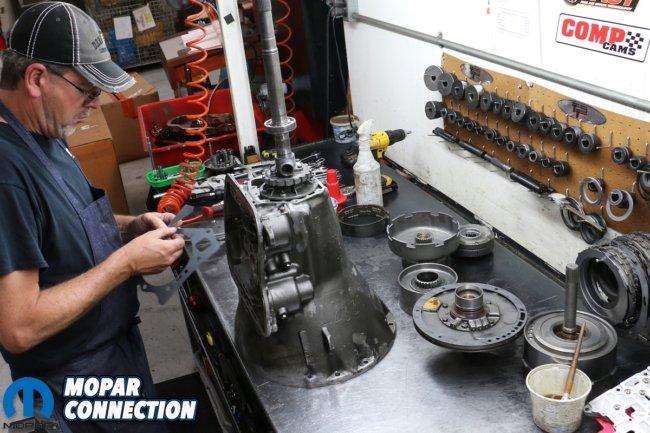
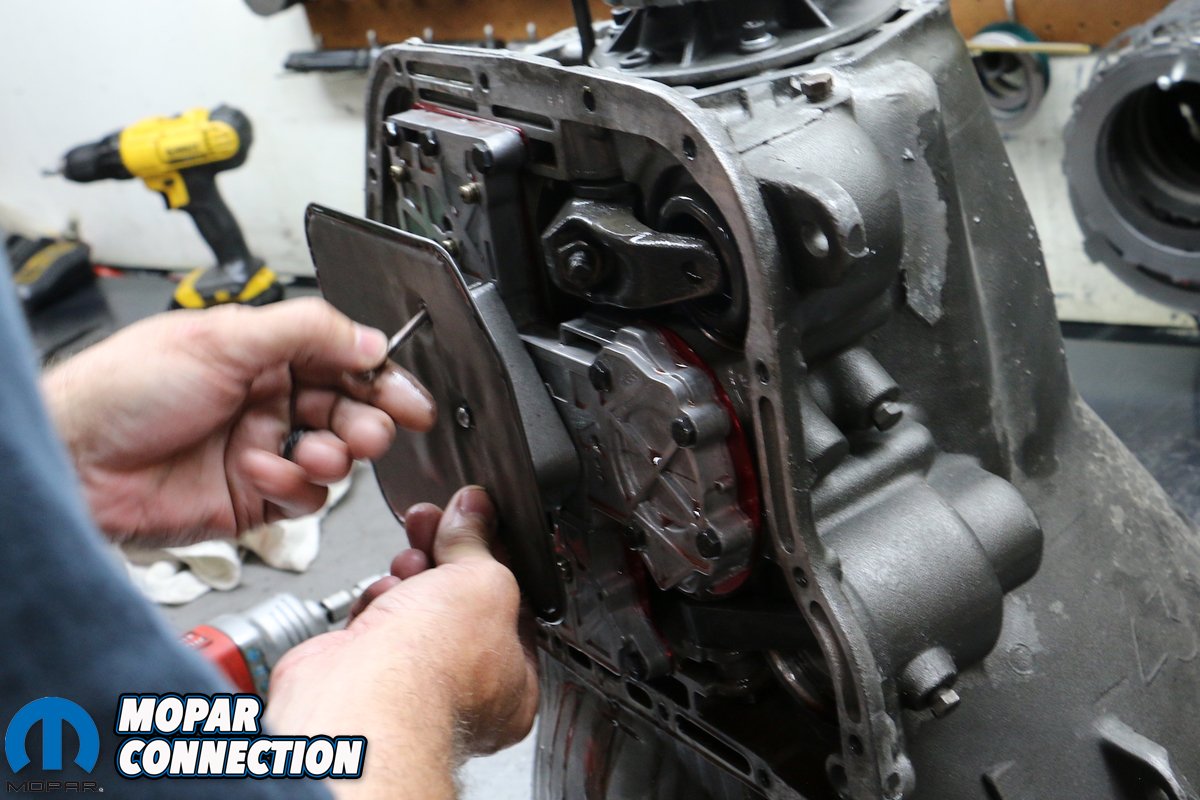
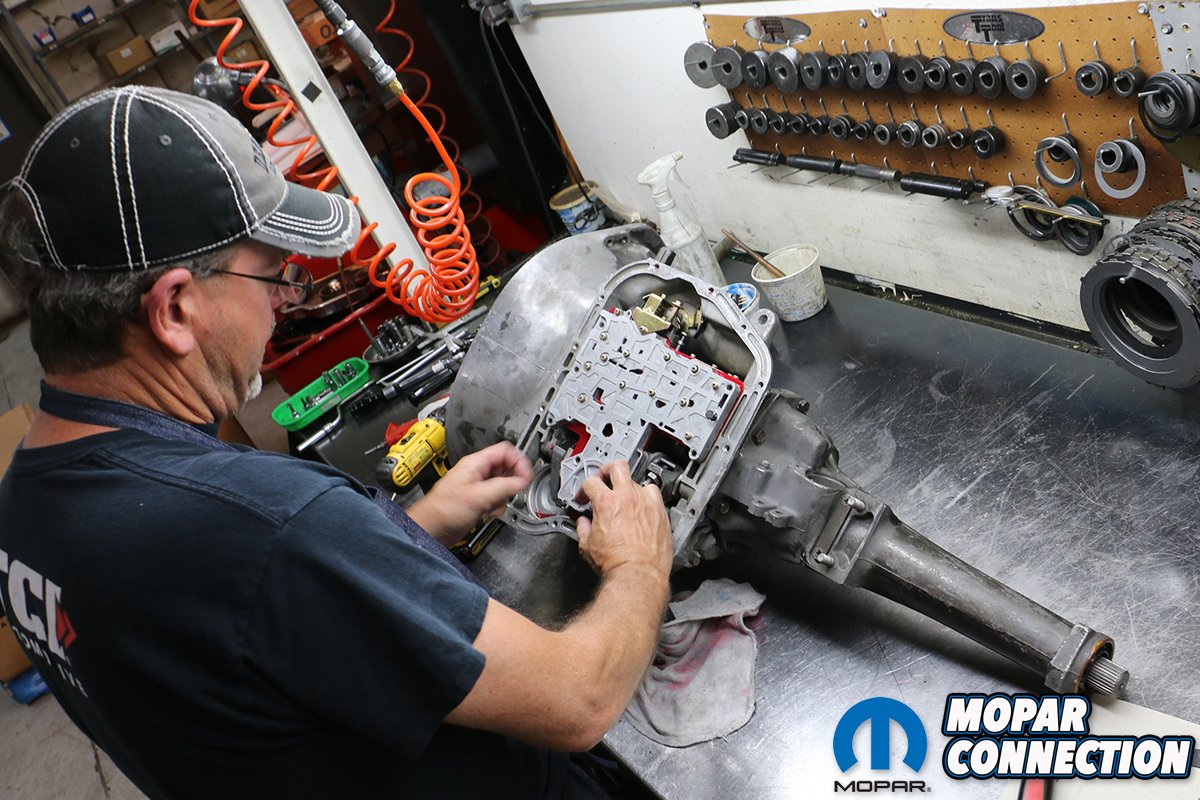
Above: With the pan off, TCI’s Jeff Reed could better observe the possible damage to the TorqueFlite. Three screws hold on the transmission filter, with another 10 holding the reverse-pattern, manual valve body.
One particular example occurs in the instance of burnouts. Certainly one of the most popular things to do, properly operating your TorqueFlite through a burnout is paramount to your transmission’s survival. Due to today’s modern tire compounds, the need to heat up the tires to gain maximum traction lead to the use water to build up tire speed quickly. According to performance transmission builder John Hutchinson of Hutch’s Transmissions, “All water burnouts should be started in second gear. […] As soon as you come out of the water, you should start to decelerate (or do a power burnout directly to the staging line) to be sure [that the] tires never grab dry pavement.
“If you are running a 3-speed transmission, I would recommend always starting burnouts in second gear regardless of make. Starting a burnout in first gear with water under the tires and shifting to second applies a great deal of unnecessary shock to the low [gear] clutch[es]. Once the tires start to spin be sure to switch to high gear as soon as possible to finish the burnout. The exception to this would be a transmission that uses an intermediate band where you could start and finish in second gear if needed. Those transmissions would include a Ford C4, C6, Chrysler 727 and 904’s. None of the GM 3-speed transmissions should finish a burnout in any gear except high,” Hutchinson concluded.


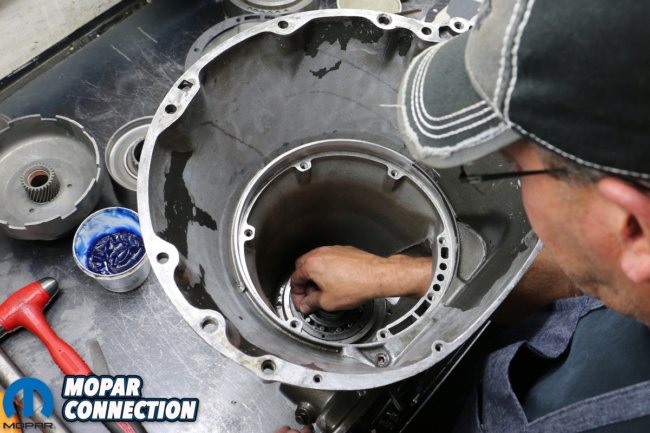
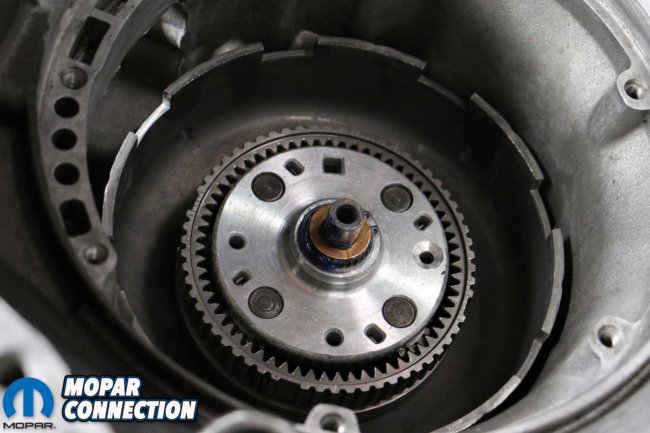
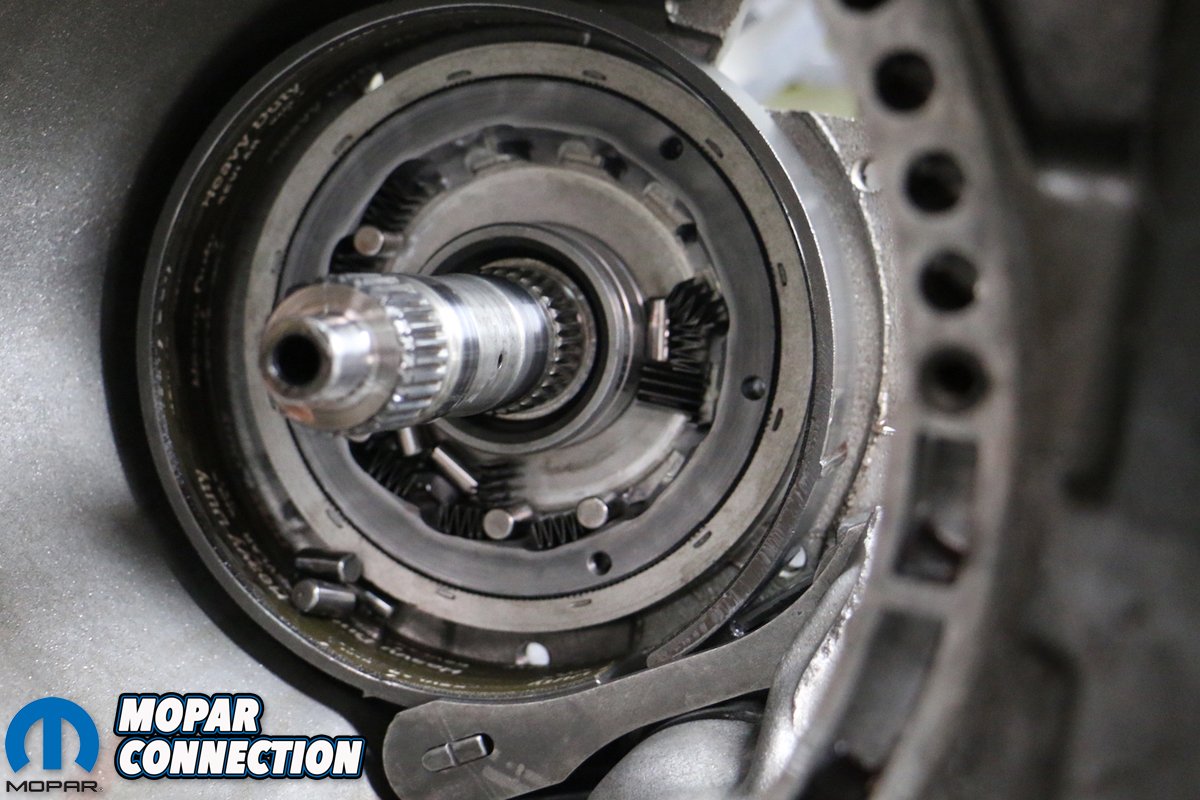
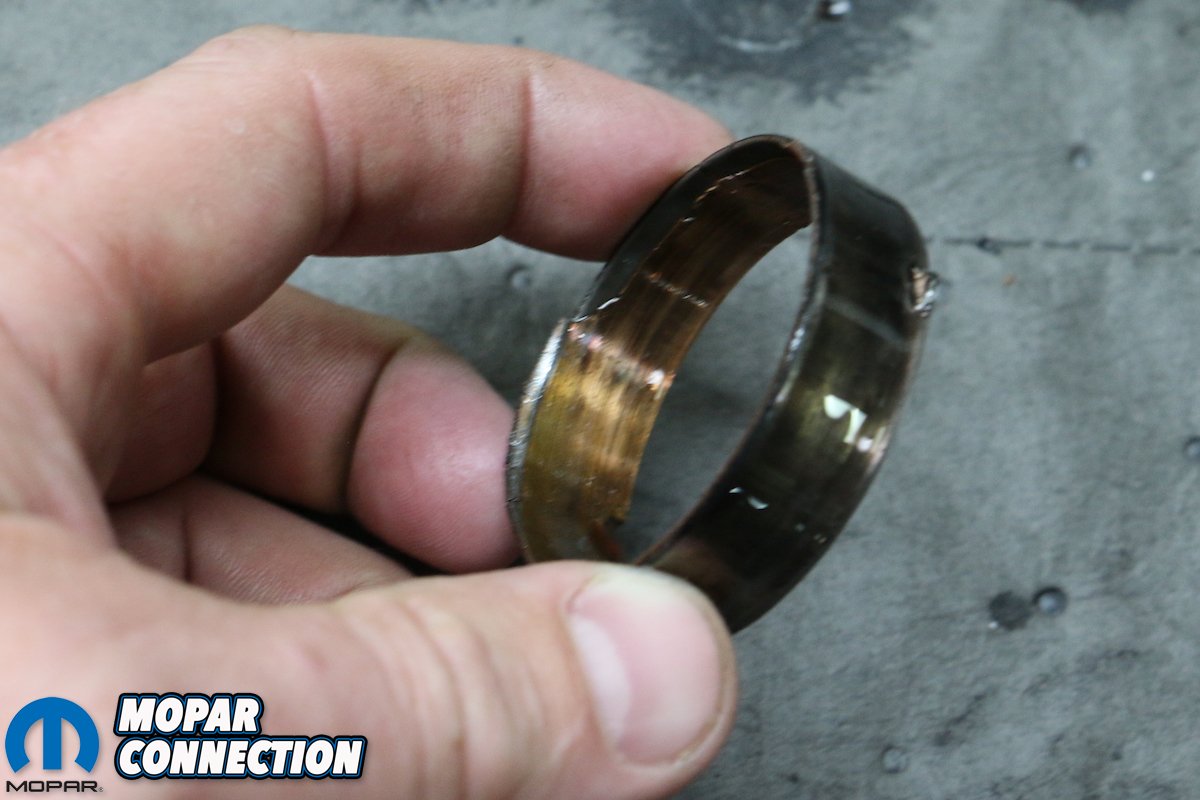
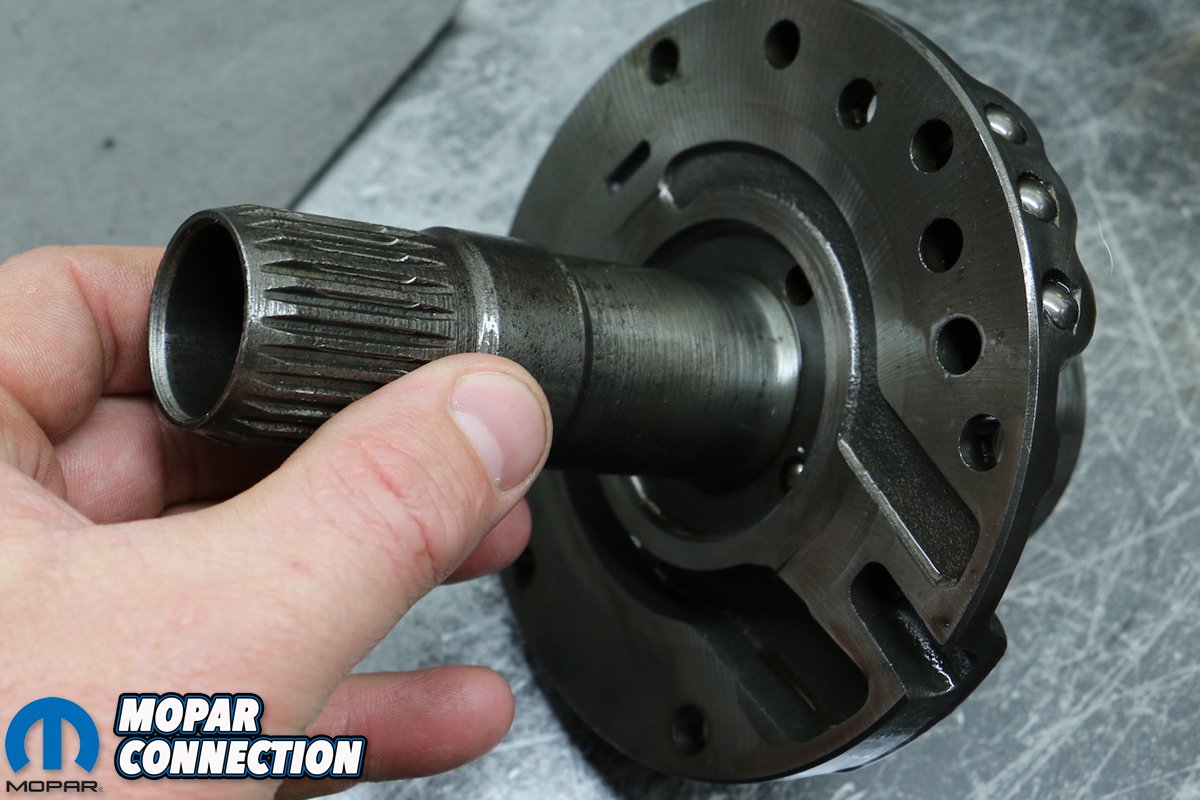
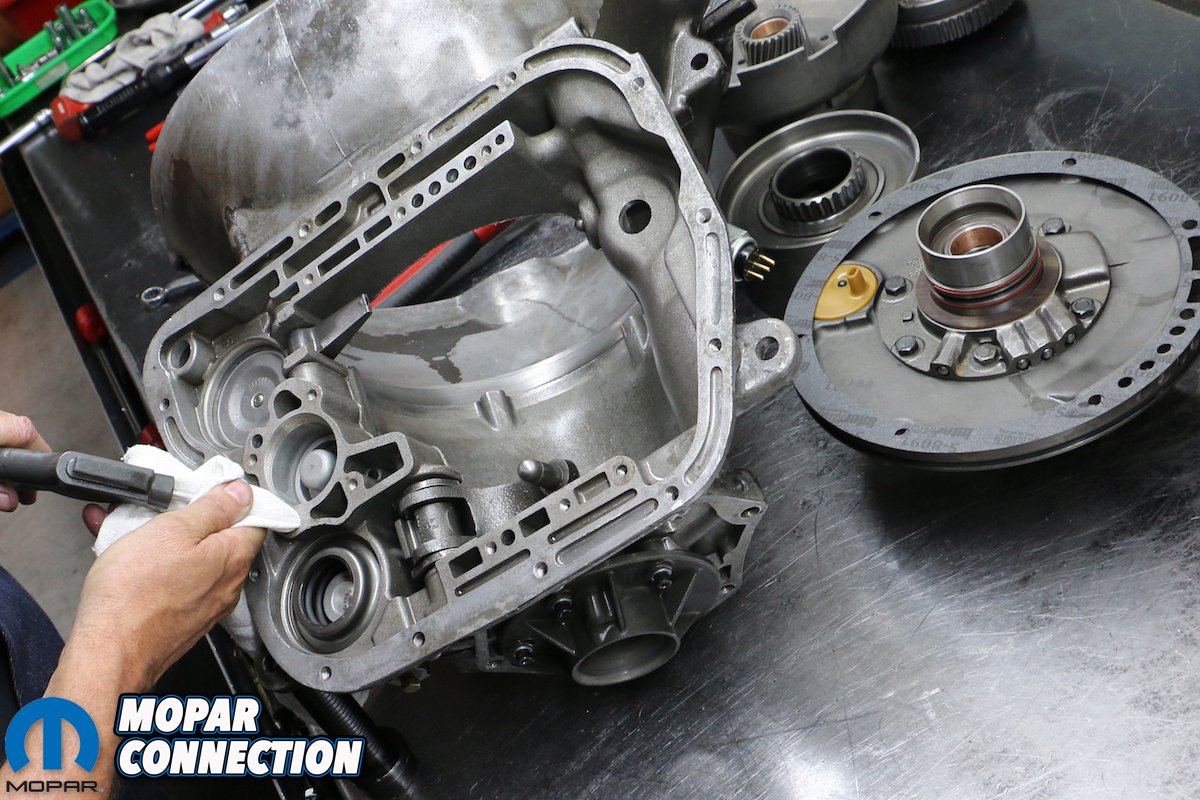
Above left: Almost instinctively, Jeff knew that our front pump was the culprit. Pump failure would account for nearly all of the damage that occurred throughout the TorqueFlite. Above right: What Jeff called our “smoking gun,” the brass bearing had completely failed, even showing signs of spinning freely in the pump itself. Jeff recommended replacing the pump with a recently refurbished one. We agreed.


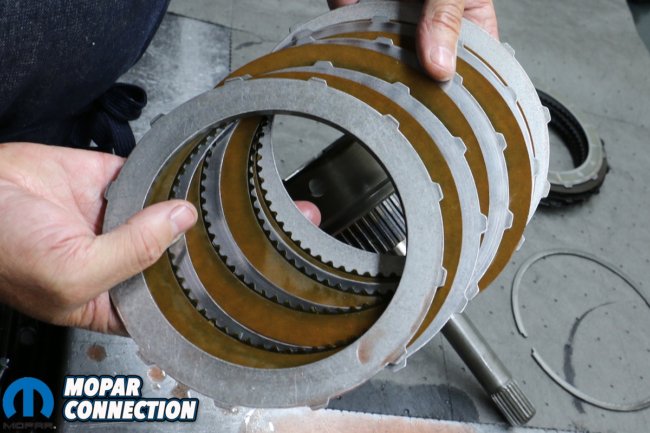
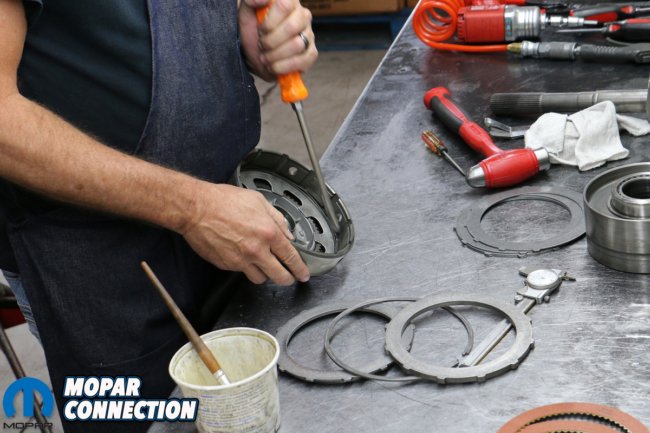
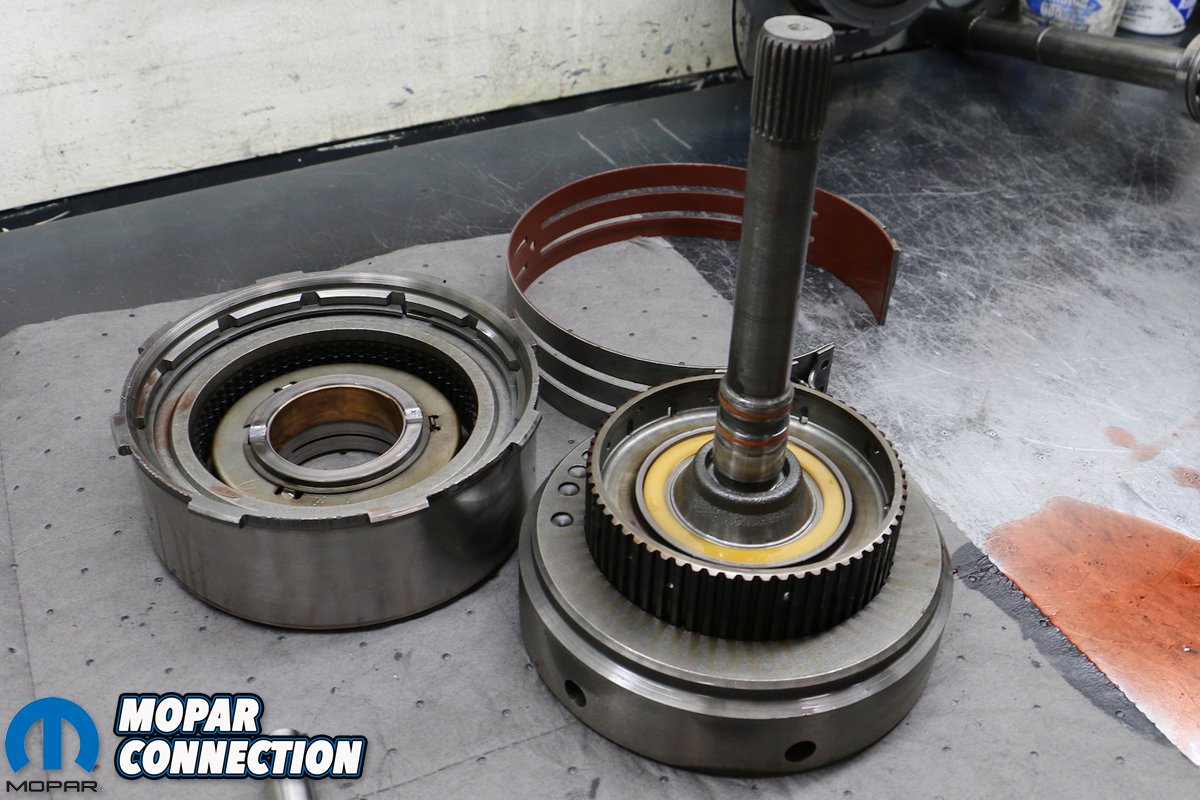
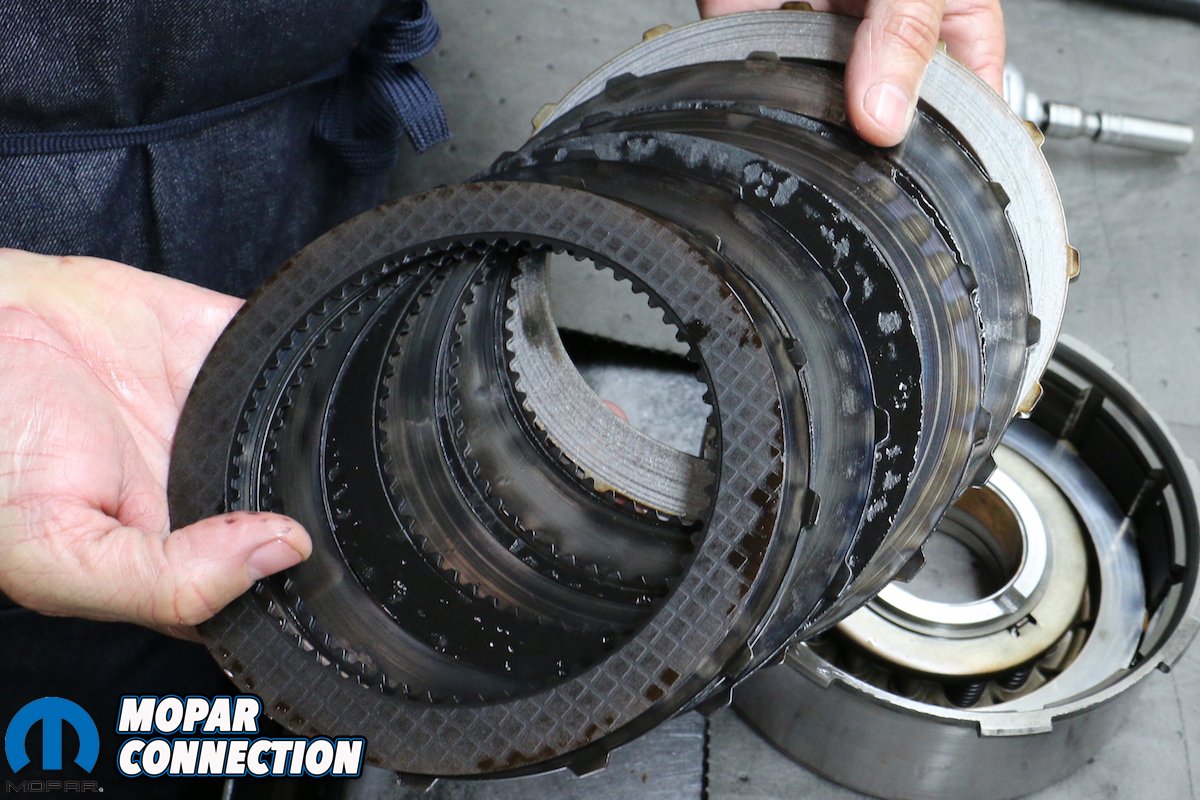
Above left: Although the culprit for our TorqueFlite’s demise was definitely the pump, the remainder of the transmission didn’t go unscathed. Our bolt-in sprag, albeit uninjured, featured worn roller bearings and springs requiring replacement. Above right: The most striking scene was the sorry shape of our clutches and steels. Clearly, far too much heat passed through our TorqueFlite, quickly boiling these into oblivion.
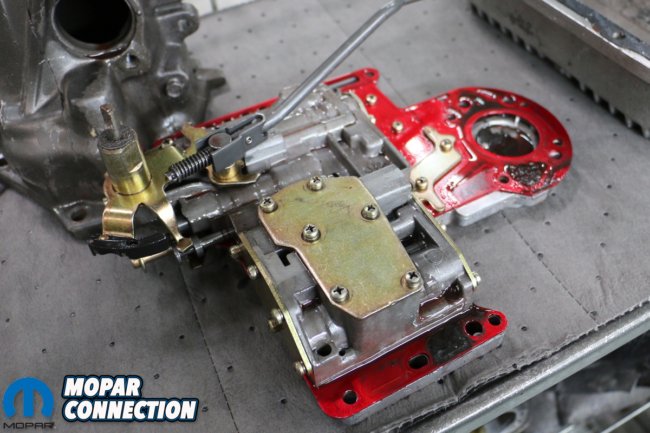

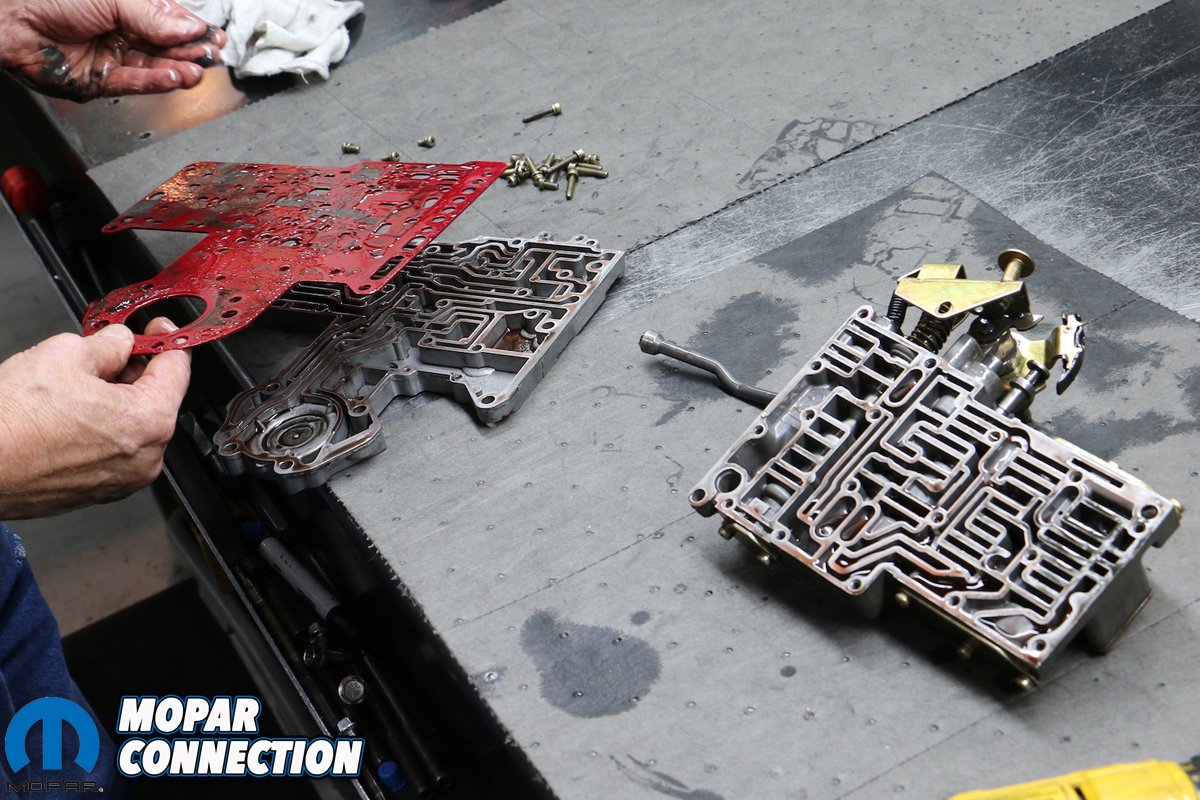
Above: Further inspected revealed that while the reverse-pattern, manual valve body was not injured, it was heavily clogged with the flotsam of burned clutches and cooked steels. The valve body would need to be completely disassembled, cleaned and rebuilt.
It was this “unnecessary shock” that injured our particular TorqueFlite. In previous transmission build tutorials we expertly destroyed our 727’s overrunning clutch assembly, or “sprag” through misuse – namely downshifting from second to first gear. The sprag is a pressed-in housing containing spring-loaded rollers to slow and stabilize the transmission’s rotating assembly, and more importantly, prevent excessive damage if the transmission is allowed to free-wheel. Unfortunately, this also means that the sprag directly absorbs all of the combined kinetic energy of the transmission and engine.
Consequently, if the sprag starts to come loose it can literally spin out of the transmission case with catastrophic effect. To counter this, many racers resort to either drilling and tapping the factory sprag, effectively bolting it down in place, or turn to TCI Automotive. TCI’s overrunning clutch kit (i.e. bolt-in sprag) is already drilled and tapped, as well as fitted with new springs and rollers. Celebrating half a century of performance transmission parts since opening its doors in 1968, TCI has cemented itself a rock-solid reputation among racers, builders and tuners alike. Considering that our TorqueFlite needed much more than just TCI’s new sprag kit, we took our 727 to TCI’s Ashland, Mississippi headquarters in person.

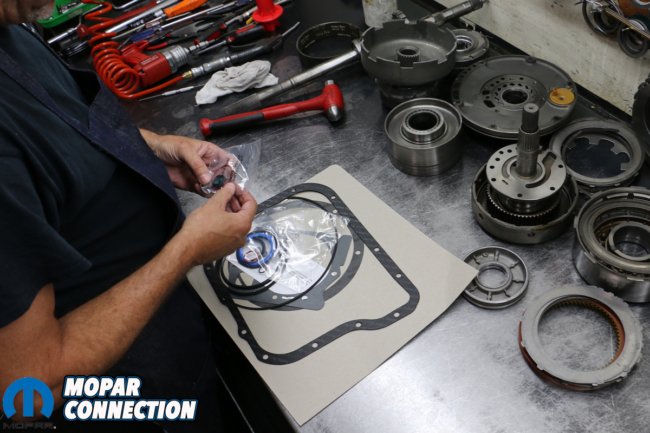
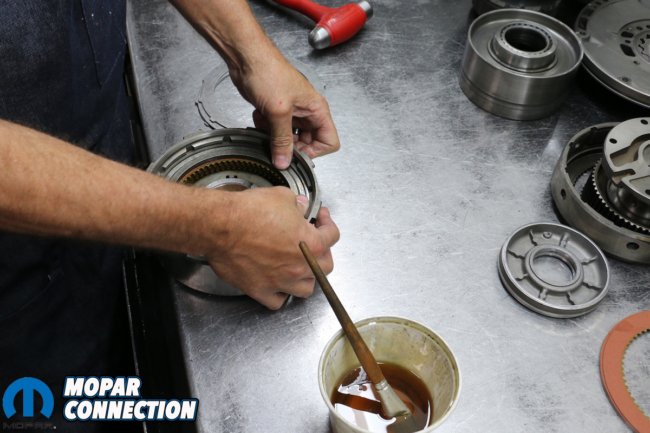
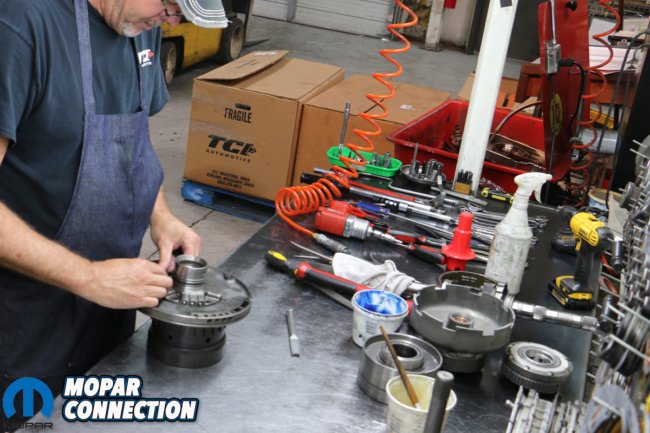
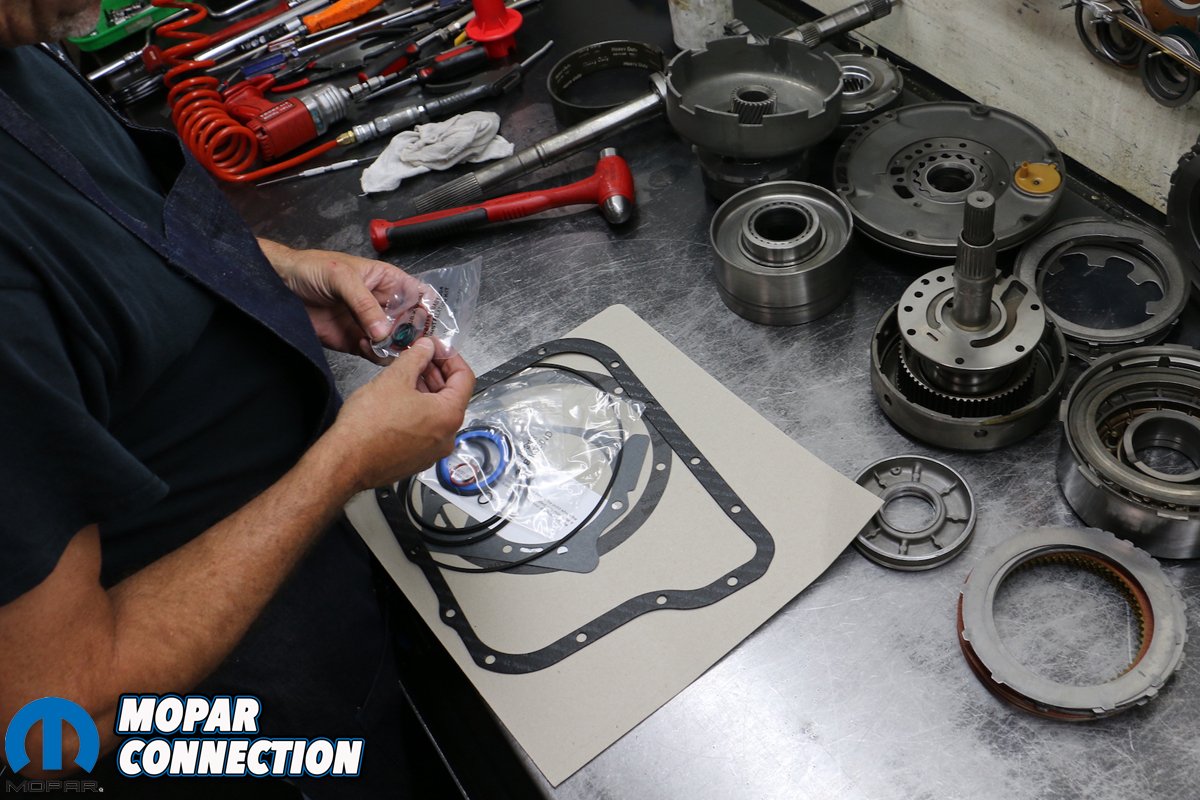
Above left: With the TorqueFlite completely disassembled, the parts we were planning to reuse were soaked (and agitated) in a chemical solvent to remove any remaining shavings, grime and debris. Above right: As our parts were being cleaned, Jeff began piecing the rebuild kit and arranging our work station for a quick and efficient rebuilding process.

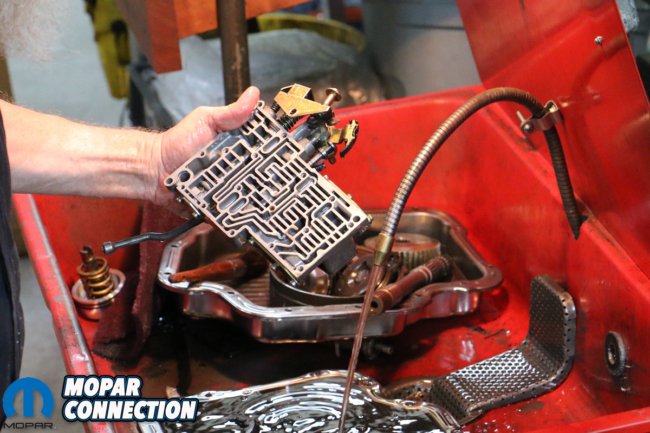

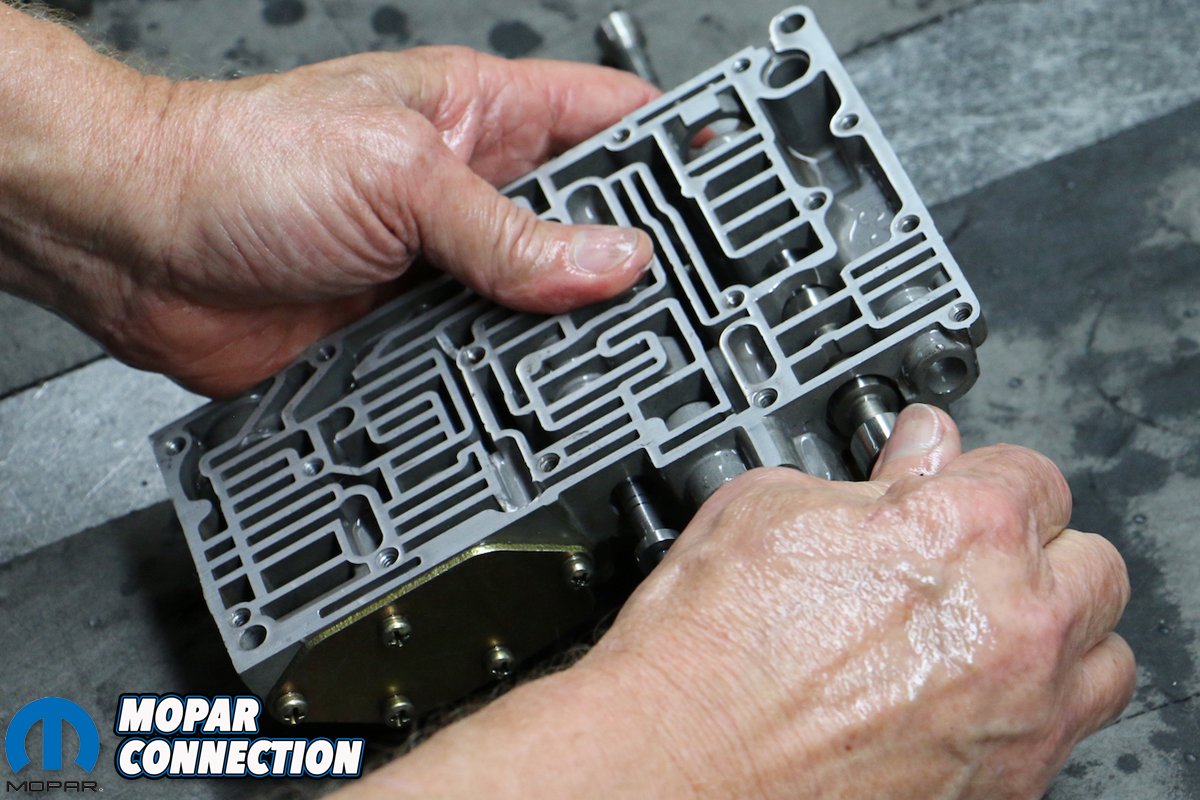
Above: The reverse-pattern, manually-shifted throttle body we had was already a TCI Automotive Super Street Fighter unit. It was thoroughly cleaned, inspected for damage or missing parts, and meticulously rebuilt with new components where necessary.
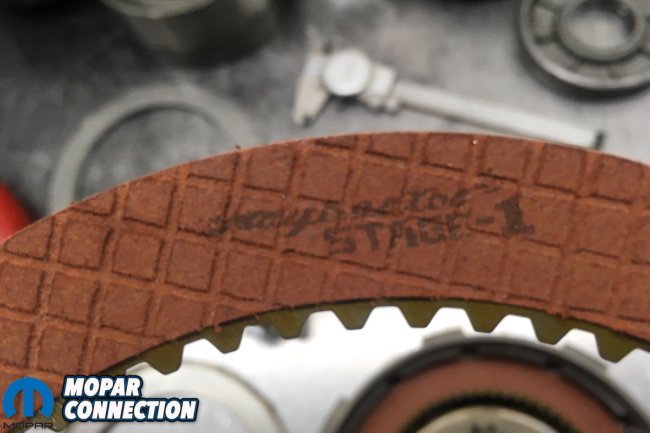
Above: Quite the stark difference between what came out and what is going in; the Super Street Fighter kit includes Red Eagle clutches, heat-treated Kolene steels, a Red Eagle flex-style high performance intermediate band, Kevlar high performance bands.
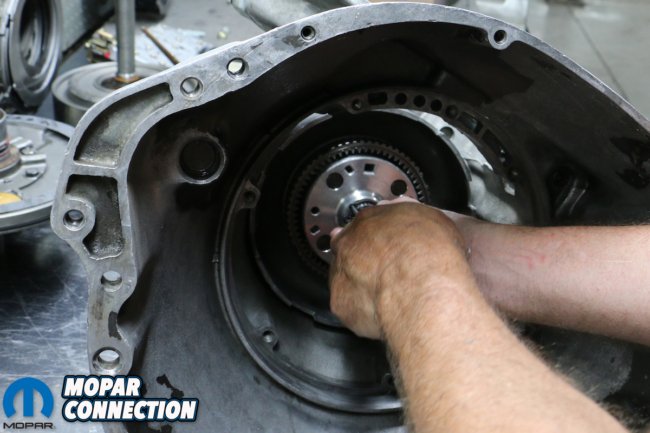
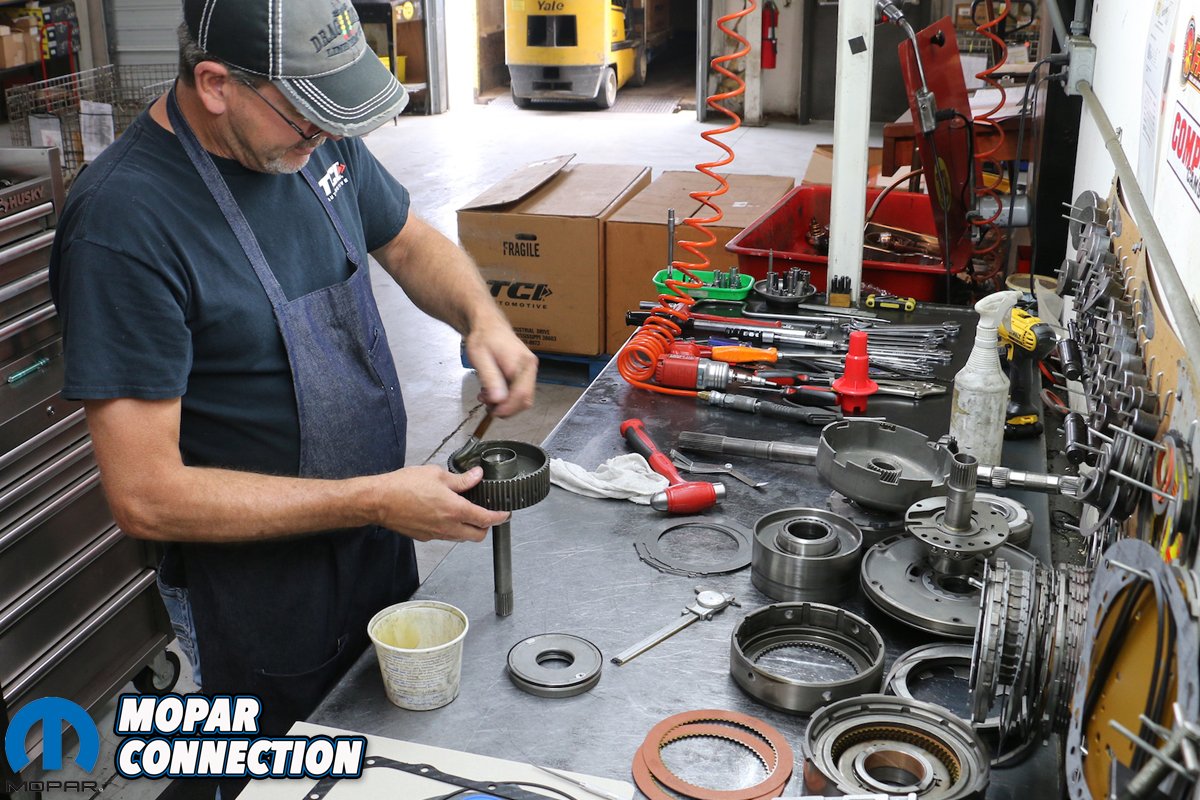
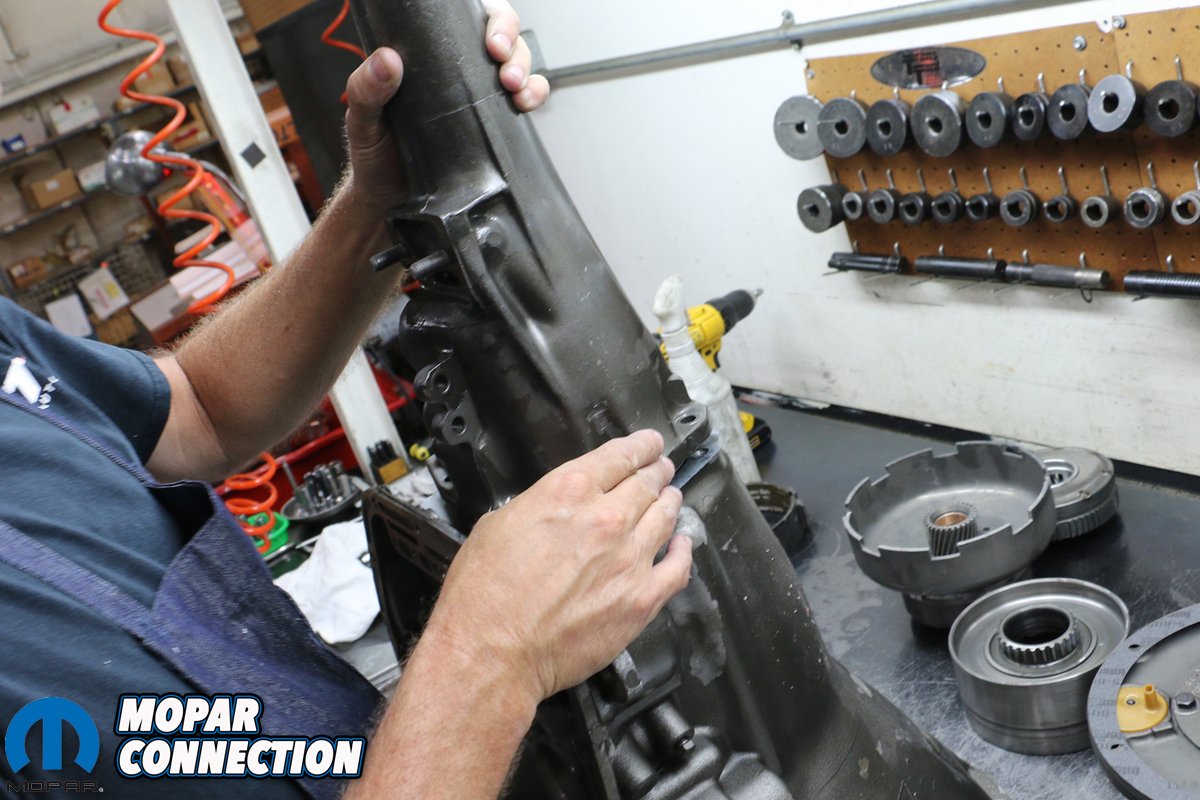
“Ooh,” Jeff Reed hissed through clenched teeth, making a painful expression as he began dissecting our TorqueFlite. “Yeah, that would do it.” Jeff Reed is TCI’s head of Direct Race Sales as well as the company’s racing transmission builder for 34 years, having started back when he was in high school. Reed is one of the company’s most respected assets and keeps several high-profile racers in the winning circle year-after-year. Reed wasted little time digging into our once-hot rodded TorqueFlite, rapidly disassembling the 3-speed automatic on his steel-topped work bench. Almost immediately Reed pointed out several things ailing our transmission.
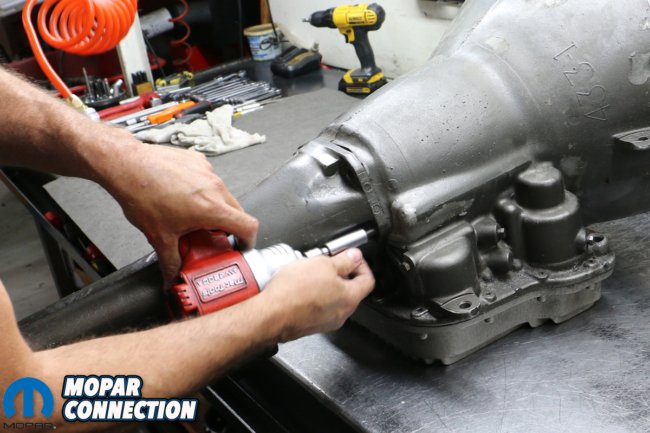
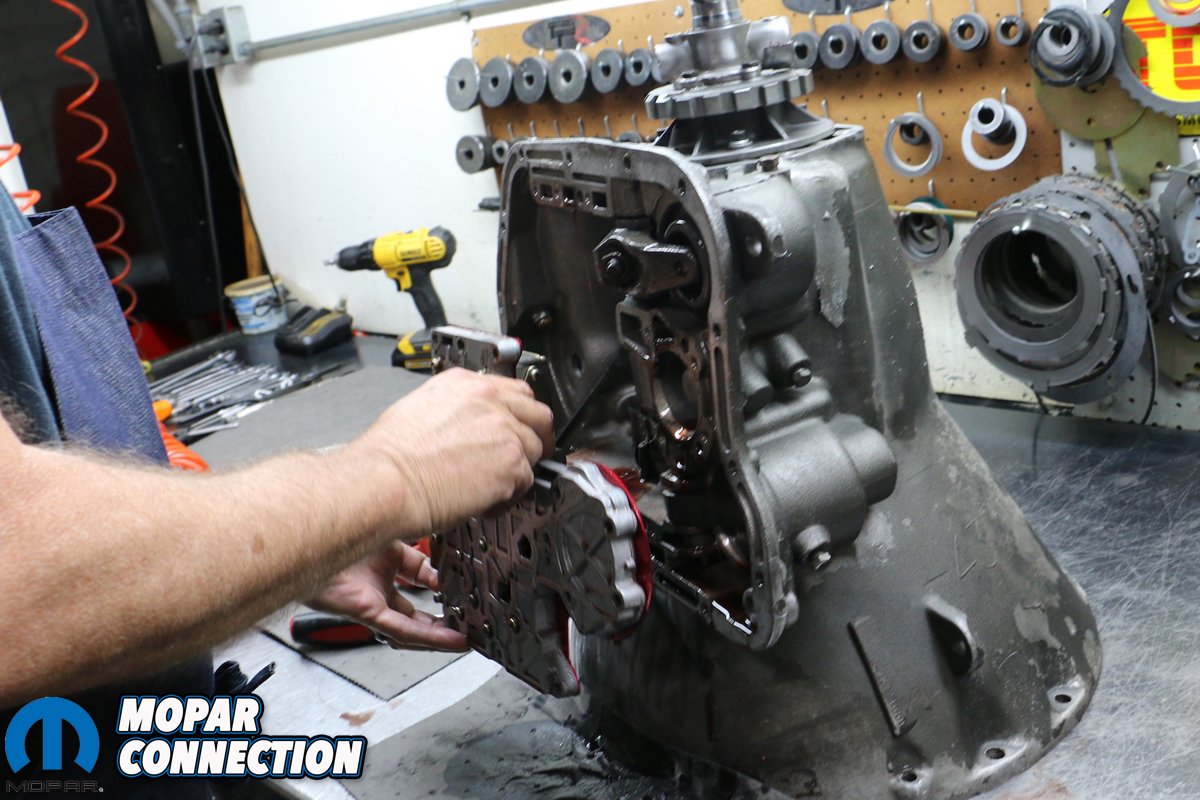
Reed had already barreled through most of the work: the valve body was already out with the twist of ten bolts, the attached filter too and its three screws, showing beneath it the clutch drums and servos. The pump assembly and its seven bolts were out too. Reed noted that it can sometimes be difficult to pull out the pump without the use of a thread-in slide hammer. With the valve body out, Reed merely tapped the pump forward from the inside with a long screwdriver. With the pump out, so too came the planetary gears held in by a snap-ring (or “circlip”). Then came the clutches and drums all slide out in sequence.
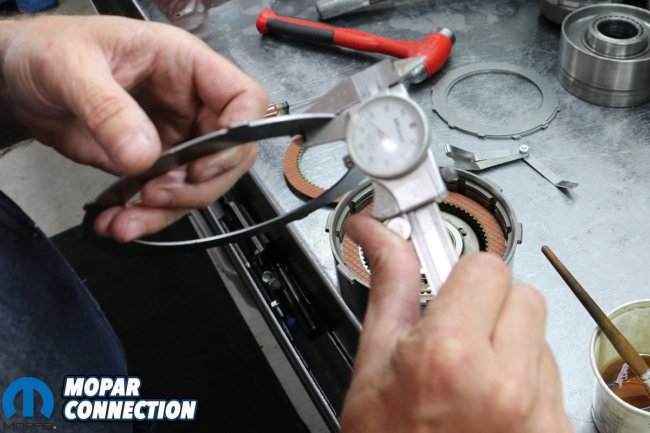

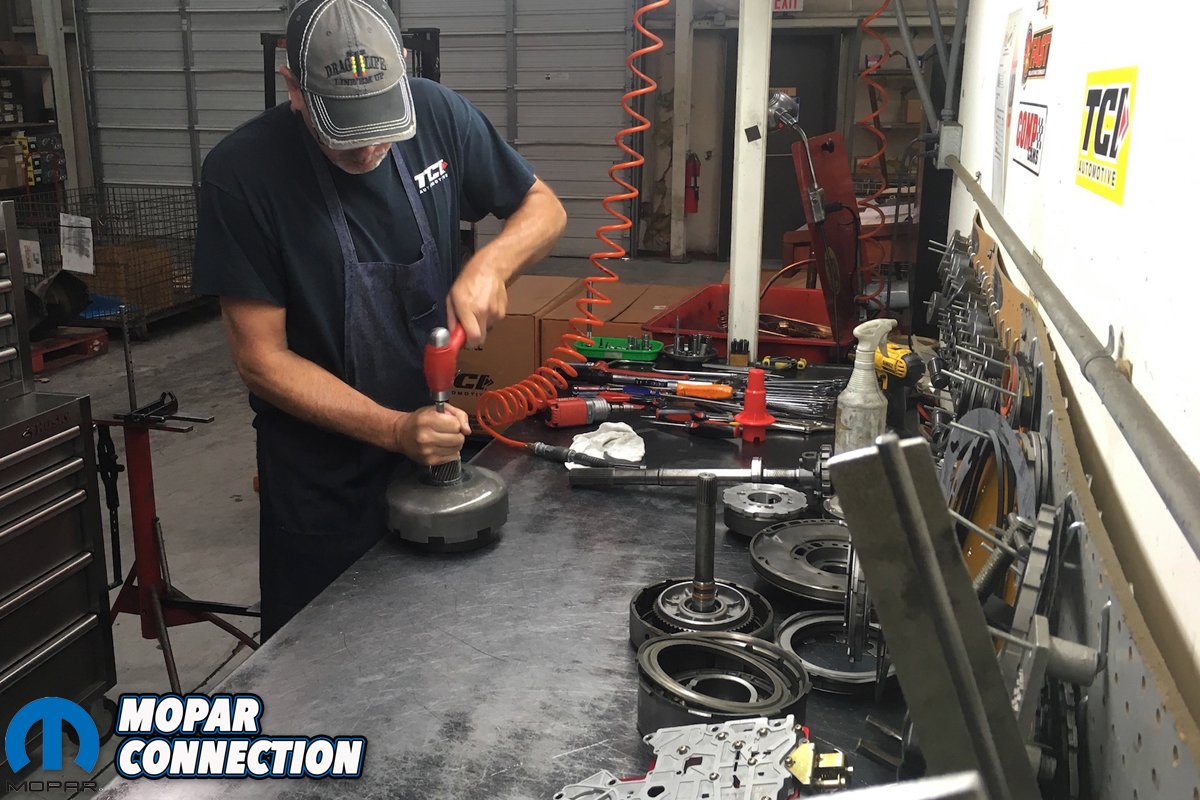
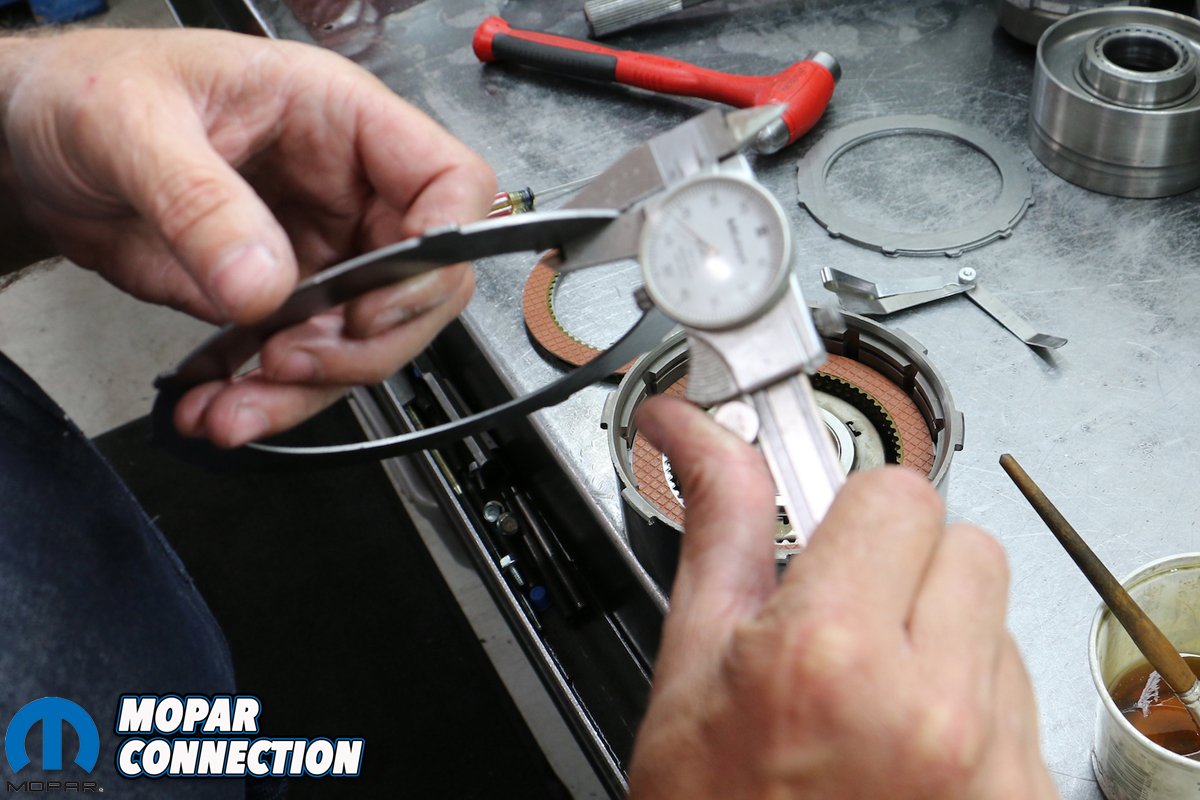
Above: Prior to assembly, Jeff meticulously measures the steels and checks for any inconsistencies in the forward and rear clutches. Throughout every step, Jeff liberally lubricates edges and surfaces to thwart possible binding during assembly.


Above left: The big front drum came from the factory with eight (8) high clutch springs to provide ample clamping force during high-gear shifting. Above center and right: Final preparations are made prior to inserting the alternating five-clutch and four-friction plate setup.


Above: The front drum is smartly packed alternating between clutches and steels. TCI Auto’s Super Street Fighter kit uses Red Eagle clutches and heat-treated Kolene steels for the maximum amount of bite, meaning added resistance to slippage and excessive wear.
“Look here,” Reed pointed. “The pump’s input shaft spines are eaten off, and all the brass off of the pump bearing is gone too.” He waited a beat and added, “It needs a new boost valve sleeve too.” With the pump out, Reed immediately began de-indexing the drums, withdrawing planetaries and observing the damage. There was plenty of finely ground glitter in the pan (as well as a couple larger bits), so we expected the worst. “Well, here ya go. No high gear – the clutches and steels are completely smoked.” True to his word, the clutches and steels were blackened and discolored. Gratefully, the damage was rather rudimentary. The case was good. The overrunning clutch had held together.
“Well doctor,” I teased. “What’s the prognosis?” Reed cocked a sideways smile, “You’re looking at our Super Street Fighter kit. Some heavy-duty clutches, a rebuilt pump, and a reverse-pattern full manual shift valve body – it’ll hold up to what you’re building and should be no problem on the street.” Reed explained. Whether rebuilding your transmission yourself or purchasing a complete TCI automatic, they offer several levels of performance: the Sizzler, Street Fighter, Super Street Fighter, and Race transmissions. On paper, the Super StreetFighter is meant to bridge the gap between their StreetFighter and Race series offerings, intended for cars producing upwards to 600 horsepower.


Above left: The rebuild kit included new piston seals for the servos, which Jeff lubricates generously before reassembling. Above right: With a high-pressure air nozzle, Jeff tests to make sure that each servo is responding correctly when pressure is applied through the circuit.

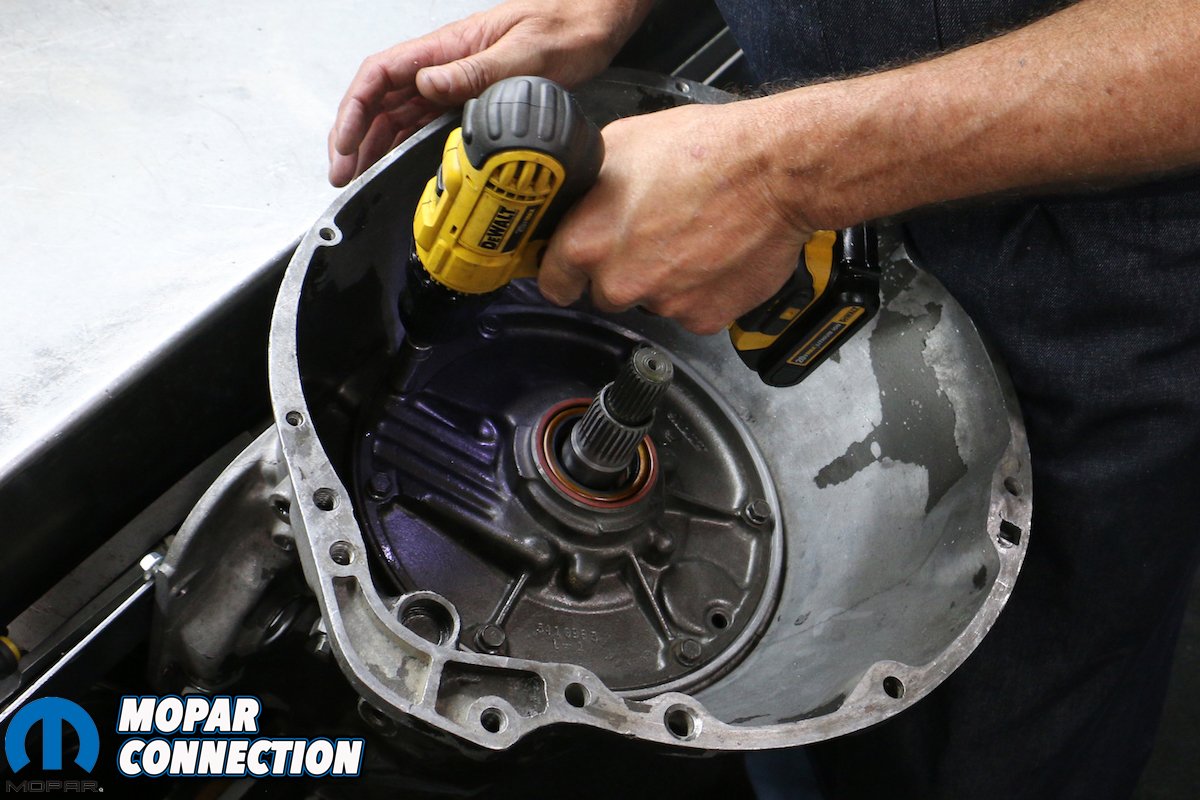
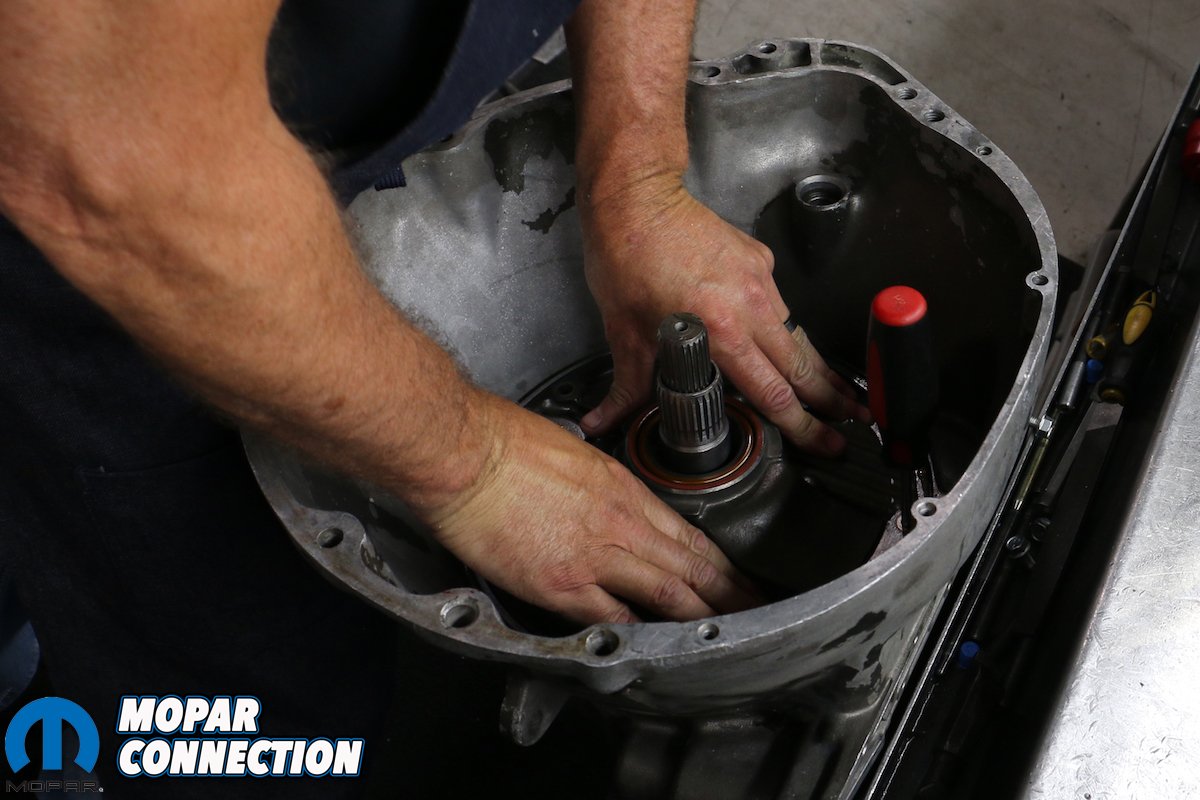
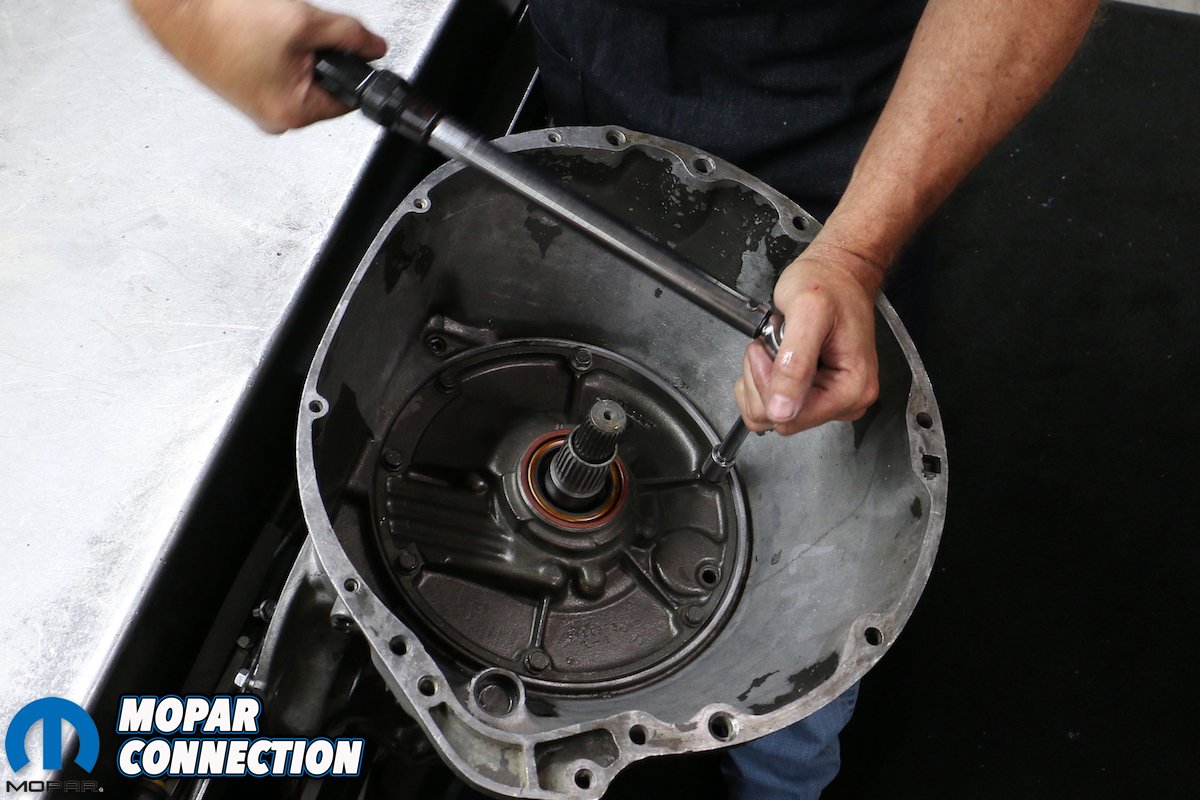
Above: With the output shaft installed, Jeff installed a new gasket before reattaching the tail extension. The final step being snapping on the circlip holding the shaft in the cone.
Above left: Jeff double checks the new roller bearings and springs in the bolt-in sprag before final assembly. Above right: Evidence of TCI Automotive’s commitment to excellence, Jeff noticed that the threads on one of the oil pan bolts had stripped out. He quickly cleaned up the hole and threaded in a heli-coil.
“Most of the [components] used in the Super Street Fighter are used in the full Competition Series transmissions as well,” explained Reed. “We use Red Eagle clutches, heat-treated Kolene steels, a Red Eagle flex-style high performance intermediate band, Kevlar high performance bands, and a 4.2 ratio band apply lever.” As hinted at earlier, this 727 had been built-up previously, having replaced the shallow stamped steel pan with a TCI cast aluminum pan adding over 2 additional quarts of ATF and finned for better heat sink cooling; and a reverse-shift-pattern manual valve body, doing away with the factory kick-down linkage.
Prior to piecing the 727 back together, several steps were taken: several of the “hard parts” like the tail cone, case, sun shell, drums, servo pistons and other items that didn’t require replacing were sent through TCI’s broiling chemical tank. The steaming, noxious solution made quick work of decades of grime and contaminants that could gum up our soon-to-be-rebuilt TorqueFlite. Our “sun shell” drum showed some slight surface rust requiring a couple passes of emery cloth (or steel wool) to knock off the oxidation. Reed also inspected our planetaries for any “slop” in the gears. Although this TorqueFlite had once come with two three-pinion plantaries, the forward planetary was swapped for a four-pinion unit years earlier. It was still in good shape.

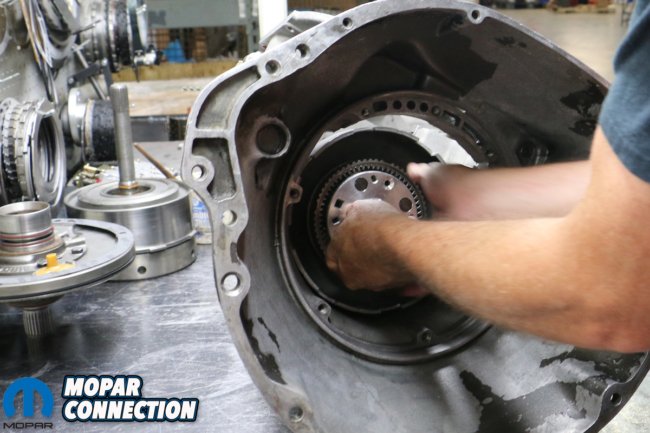
Above left: With the rear drum installed, Jeff sets in the first bearing before the annulus gear and rear planetary. Above right: The rear planetary has three (3) pinions or gears.

Above left: With the rear drum and planetary installed, a snap ring is installed prior to installing the sun drum. Above center: With the sun drum (or sun gear-driving shell assembly) installed, so too can the front annulus and four-pinion planetary gears be installed. These are the low-reverse drum. According to Tom Hand, “The front annulus gear is splined to the rear clutch discs and it drives the front planetary. Depending on gear selection, the sun gear-driving shell assembly will be driven by the front or rear clutch packs and will transmit torque to the rear planetary assembly. The thrust washers prevent wear between the rotating members.”
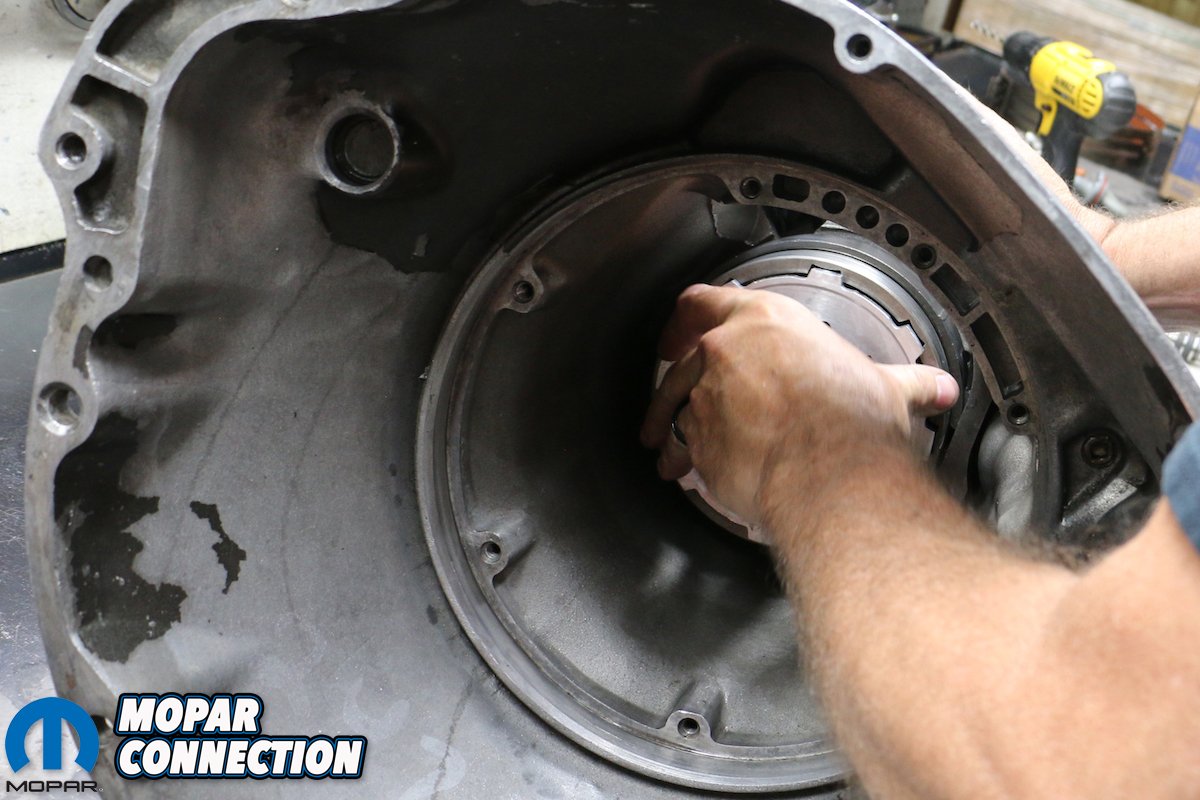
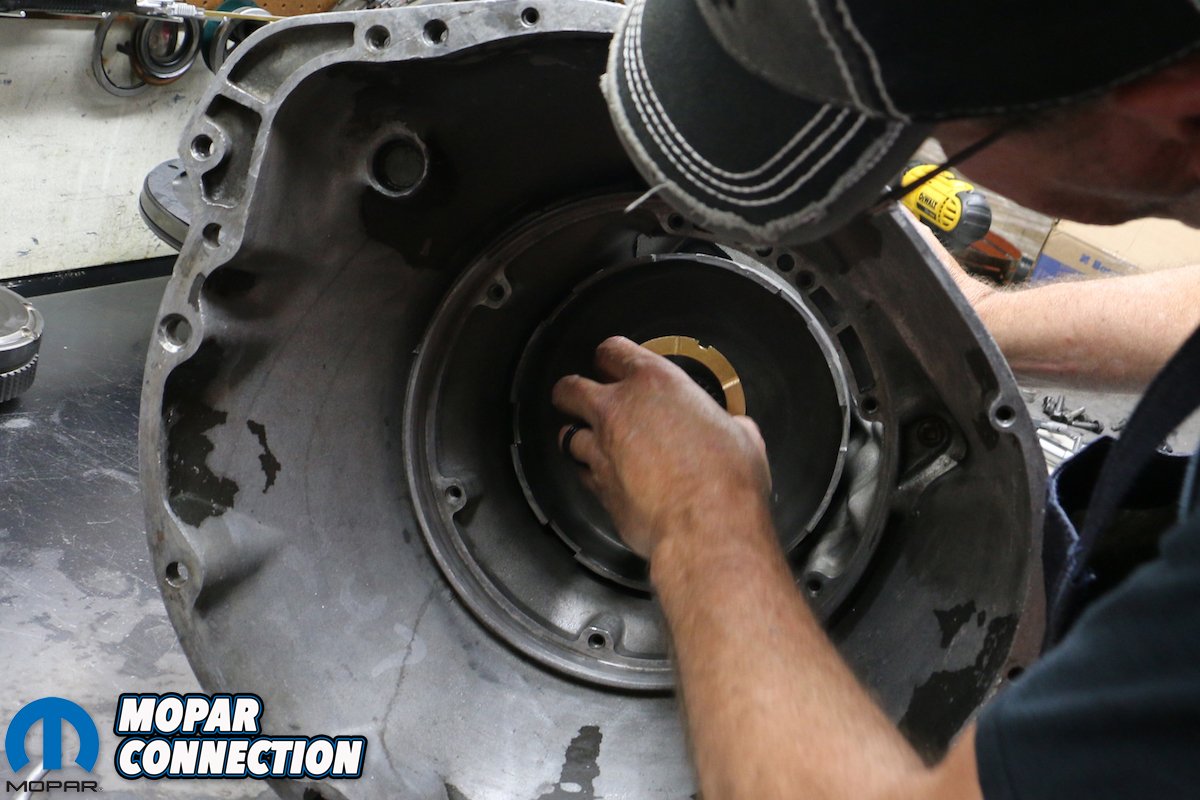
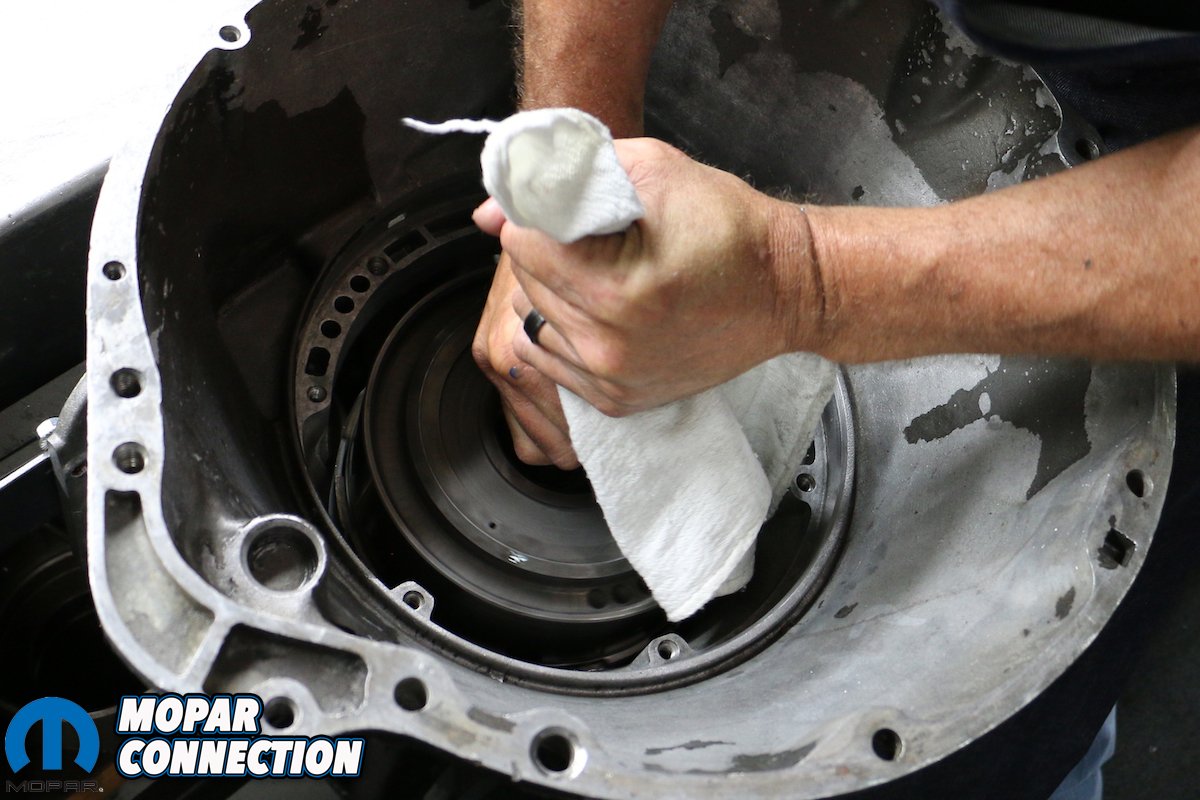
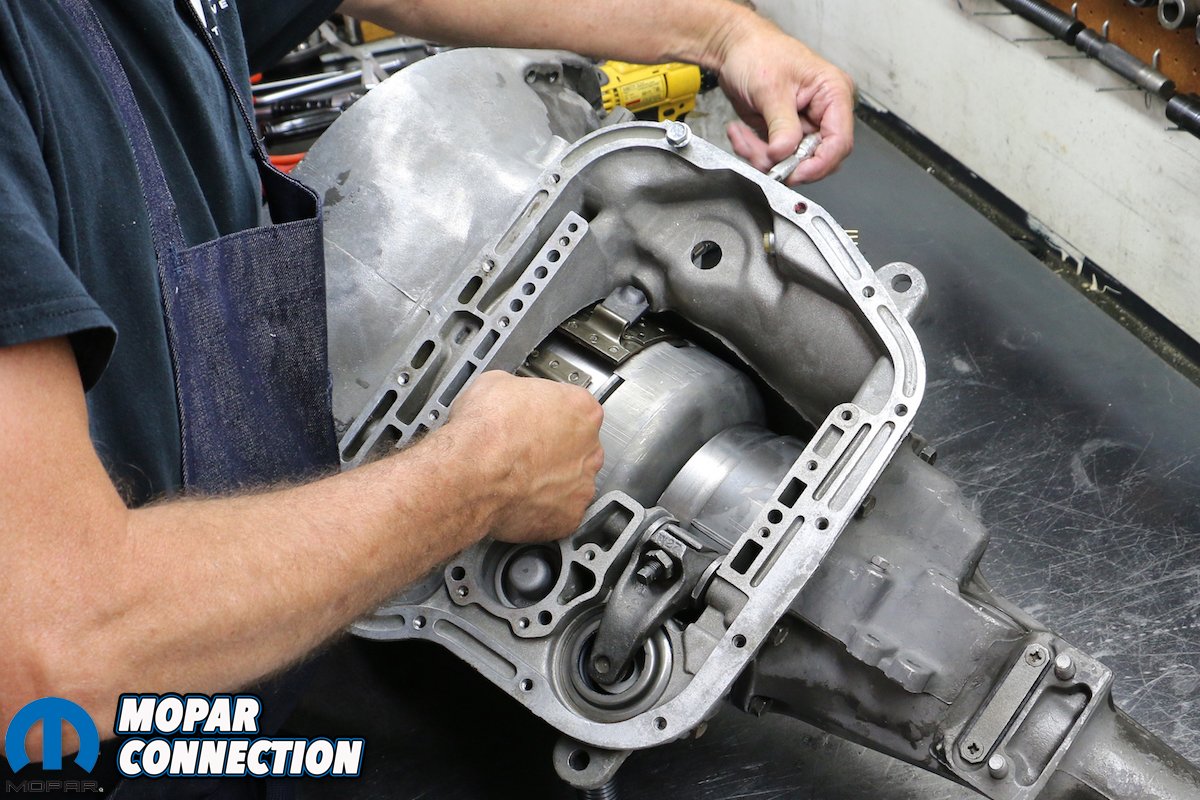
The failure, Reed diagnosed, began in the pump. Because the pump failed, the bearings, clutches and steels quickly burned up leaving the transmission smoked, slipping in and out of gear hardly capable of making it up the driveway. Because of this, Reed took extra care to blow out the circuits in the case prior to the rebuild. First in was the bolt-in sprag. New springs and roller bearings were hand-laid and arranged. Next came the output shaft equipped with a fresh bushing. The new rear drum friction band came next, mating up to the rear band’s articulating arm, which is actuated by a sprung servo that was replaced with a billet piece, and constricts the band when shifted either into first gear or reverse.
Next, the clutch drum indexes into the bolt-in sprag, allowing the drum to spin clockwise (yet locks, preventing it from turning counter-clockwise). With the drum in, the rear annulus and three-pinion planetary can go in. We’ve noted that many top performance builders prefer that the three-pinion planetary be swapped for a four-pinion billet piece. While our front planetary is a four-pinion, we kept our costs low by retaining our rear as-is. With the forward drum – equipped with the two sun gears – was followed by the front annulus and front four-pinion planetary. The sequence is capped off with a snap ring over the end of the output shaft.

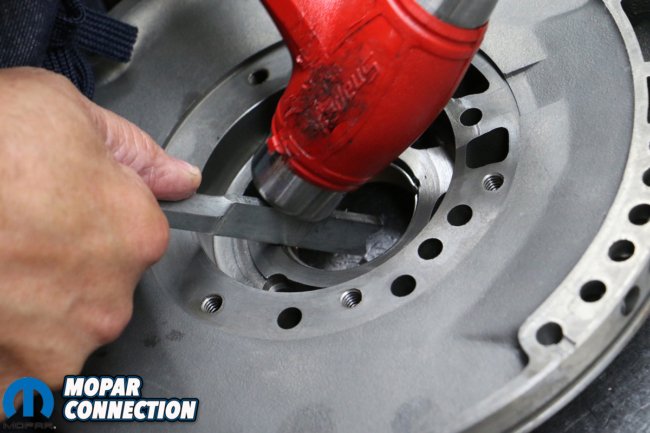

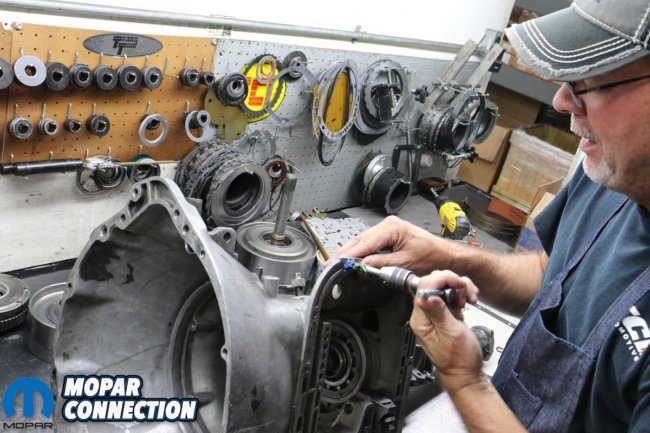
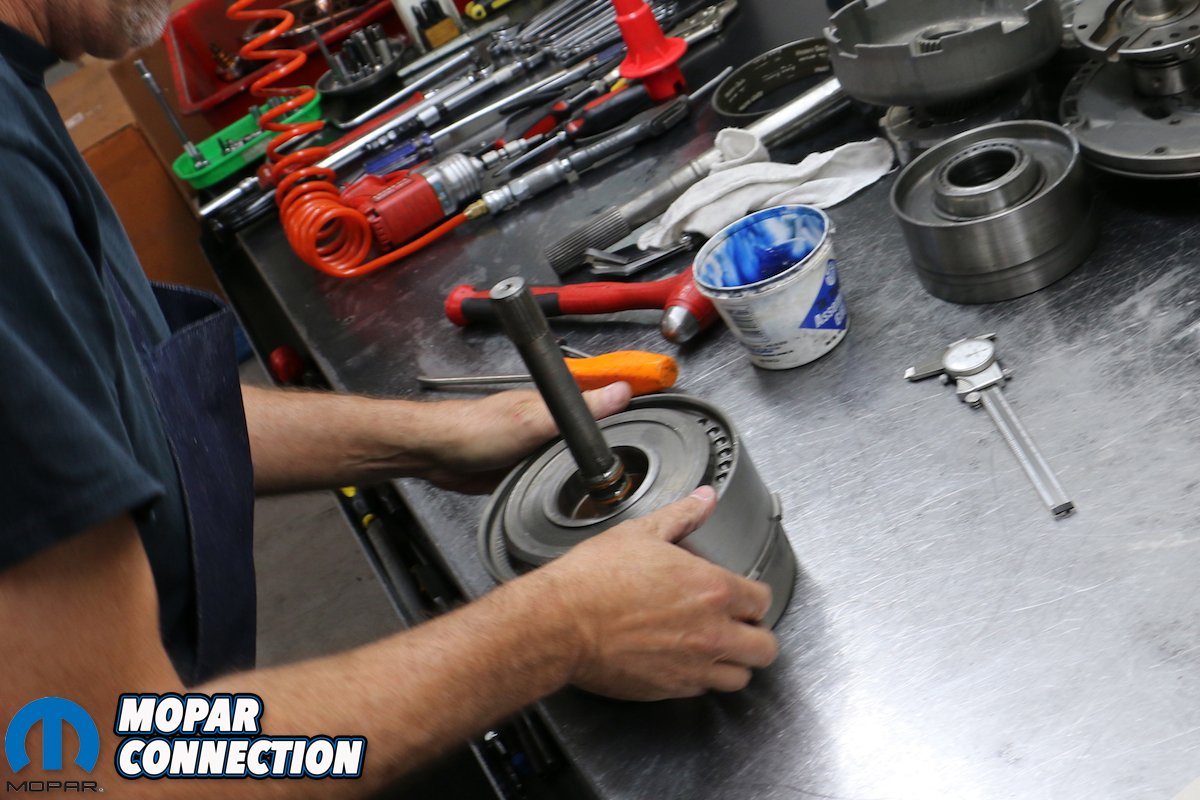
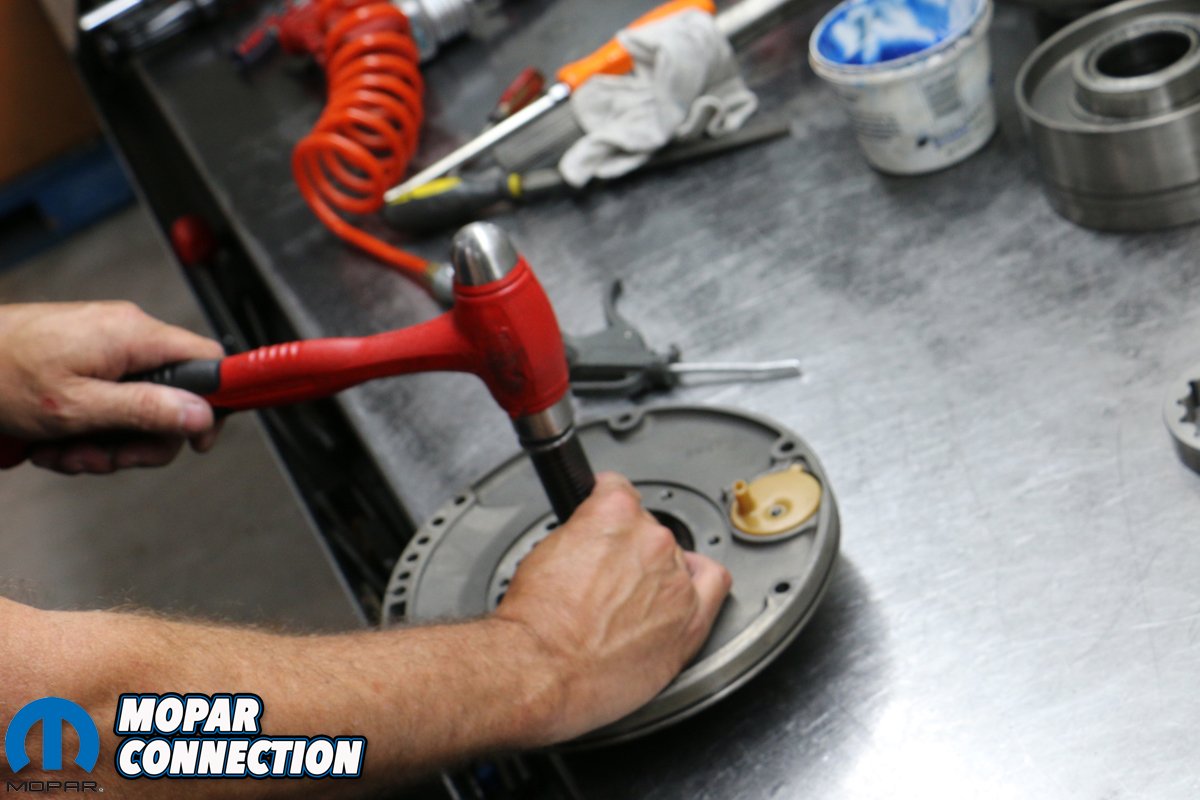
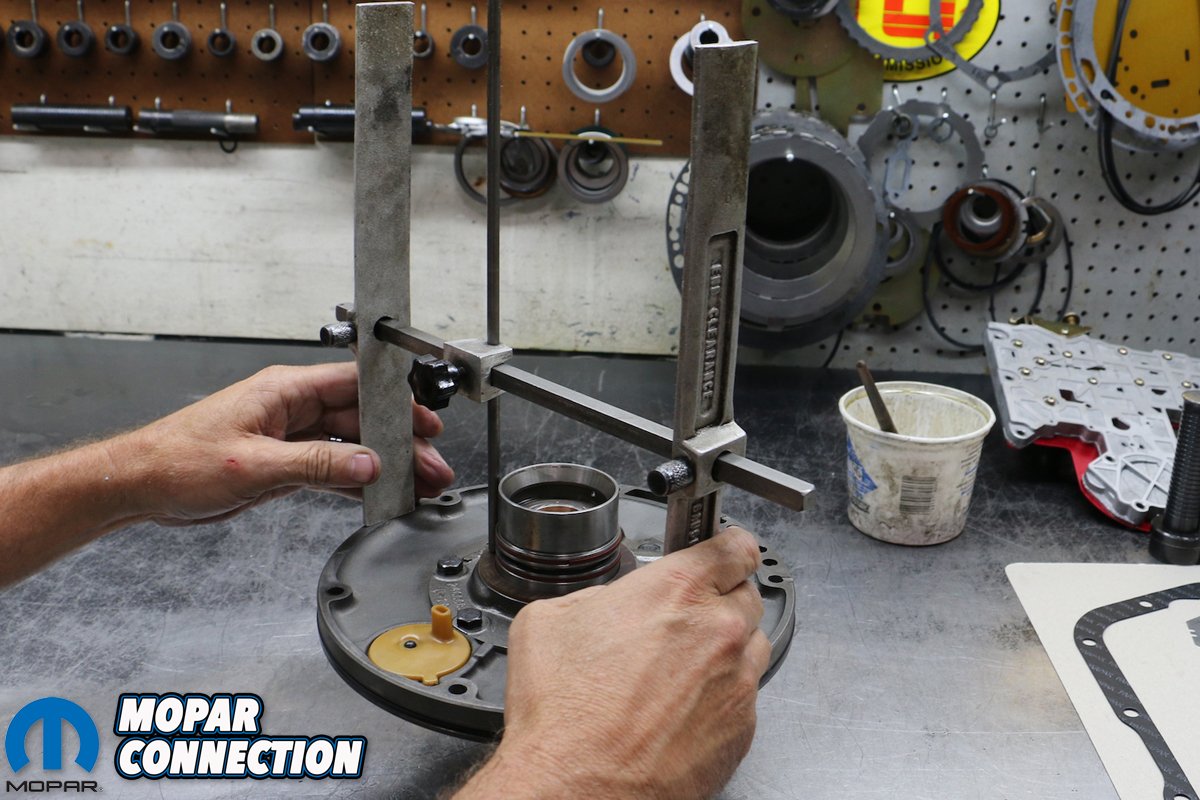
Above left: Beginning with a clean, refurbished front pump, Jeff installed a new seal. Above right: Equally, a new brass bearing was pressed in to the pump. Jeff also smartly hammered into the leading edge to keep the bearing for slipping again. Bottom: Final measurements were made to ensure a machined-fit and to mitigate future pump failure.


Above left: Some final assembly lube on the gears ensures that the pump will mate with the input shaft effortlessly. Above center: The pump needs to be properly aligned with the specific circuits and bolt holes. Above right: A final pass of the torque wrench guarantees that it’s properly installed.
Mating the output to the input shaft is the forward gear assembly. Reed went about packing the front and rear clutch drums with new springs, retainers and seals before the Red Eagle clutches and new high performance steels were shuffled in. “.055-inch clutch clearance is preferred,” Reed noted. “We’ll take that down to .040-inch (direct clutch – high gear) with .030-inch clutch clearance for the forward clutches.” One by one, the rear and front clutches index together on the input shaft before Reed slides the forward band around the drum.
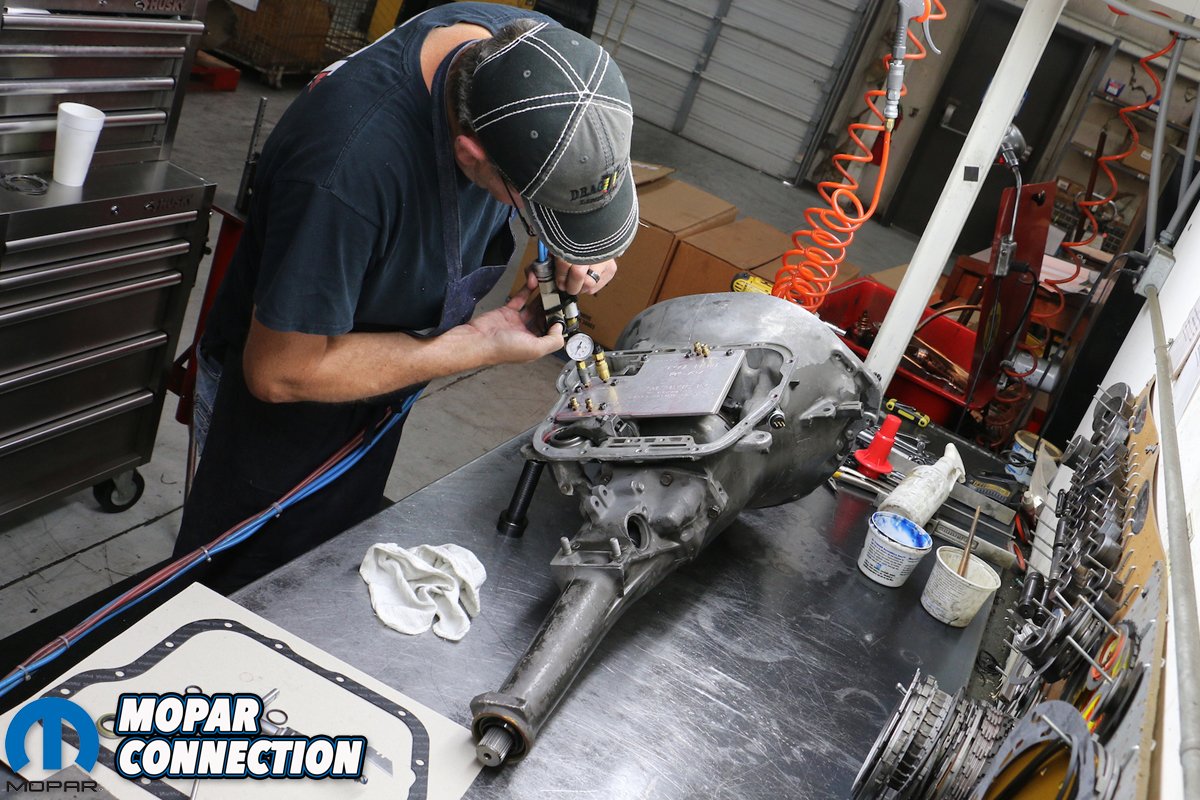
A new brass bushing and seal are pressed into the rebuilt front pump. A gasket is laid in place and the pump is aligned and bolted down. Once sealed up, Reed spun the 727 over on its side and adjusted the bands, torquing the adjustment screws to 72 in. lbs. on the second gear band tensioner. After a thorough cleaning and inspection our reverse manual valve body was reassembled and reinstalled with a new filter. Prior to bolting down the aluminum pan, Reed pressure tested the 727 to ensure that the new servos actuate the band arms, while the transmission is systematically rolled through all the gears.
Above left: With the pump installed, Jeff turns his attention back inside to install the heavy-duty band tensioner and pre-set the adjustment screws to 72 in. lbs. As per TCI, its a good rule of thumb to adjust the screws once, over-tighten them a turn or two and back them off prior to readjusting the screws back to the proper torque rate to best set the bands. Above right: With the bands’ tension set, Jeff takes an air nozzle to verify that all of the pistons respond to pressure appropriately by blowing into the adjoining circuits.


Above left: The freshly rebuilt reverse-pattern, manual valve body is screwed down in place. Above center: A high performance mesh filter and billet spacer is attached to the valve body. Above right: Jeff attaches a custom-made fluid tester that pumps hundreds of pounds of fluid through the circuits to ensure that pressure is constant and that there are no leaks.

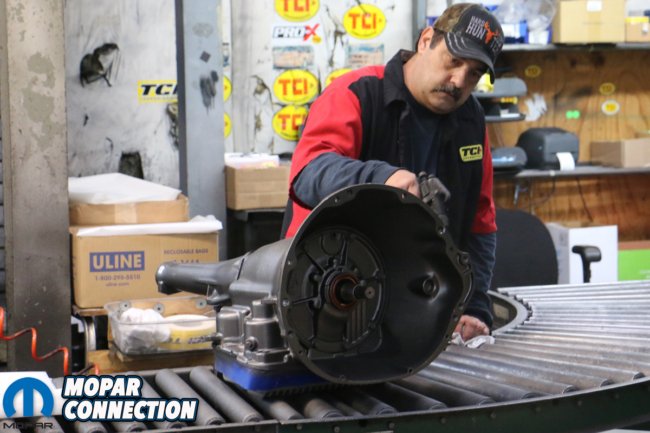
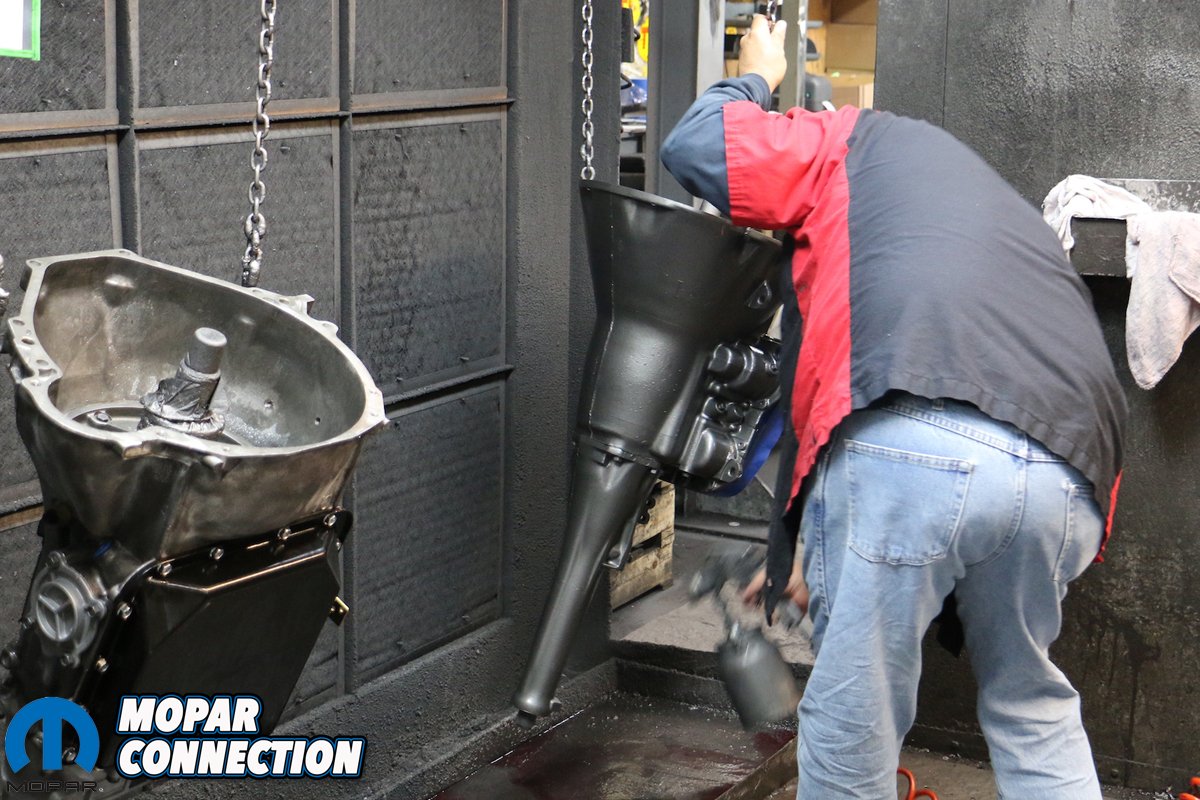
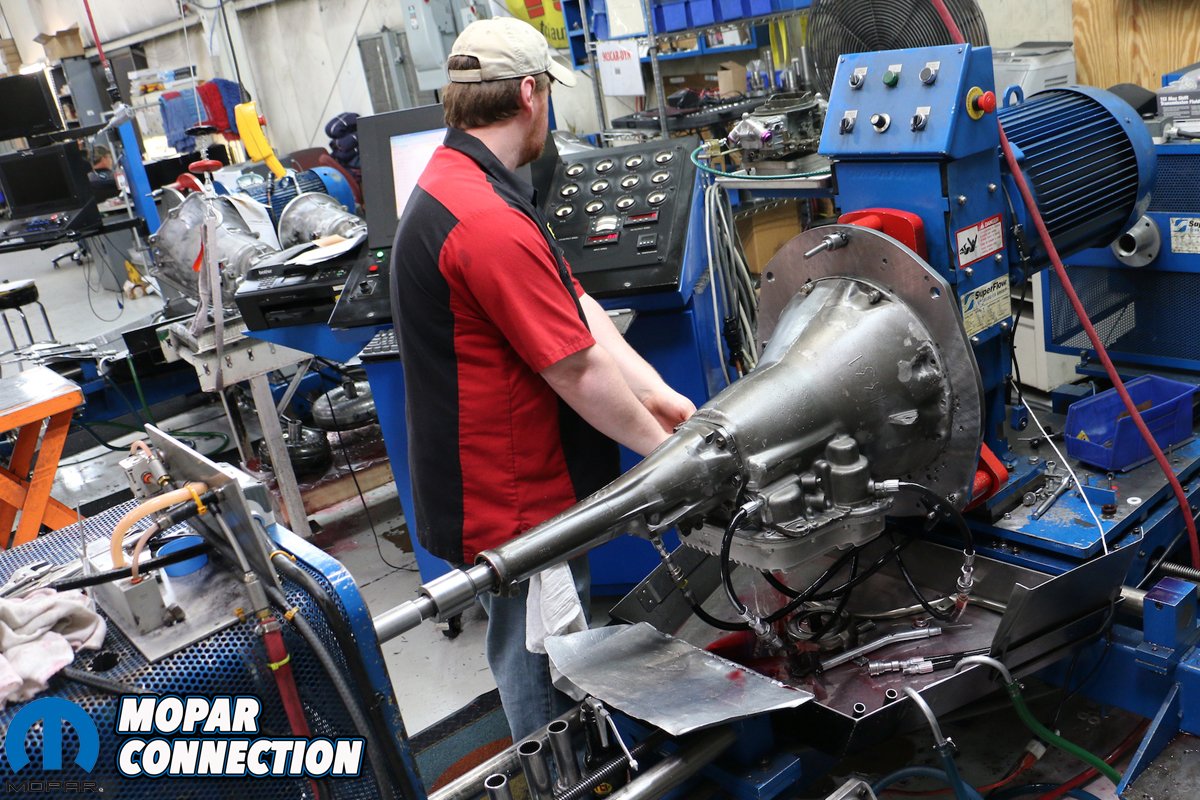
Above left: After final assembly, our TorqueFlite 727 was set up on one of three transmission dynos to be rowed through the gears and pressure tested. Having passed with flying colors, it was off to paint. Above right: TCI applies its own proprietary heat-dissipating paint giving the transmission a nice clean, even look before being bagged, tagged and sent on its way.
Were that not enough, the freshly buttoned-up TorqueFlite is then carted over to one of three transmission dynos where the transmission is fitted with a special dyno converter, filled with 140-pounds of line pressure, shifted into high gear, and spun on dyno. It’s the last bit of double and triple-checking that goes into a TCI-built performance transmission. Once completed, we watched as the 727 is lifted over on an elevated conveyor through a small paint booth before being smartly coated in a proprietary heat-dissipating gray paint.
With that, our newly-TCI-rebuilt 727 TorqueFlite was bagged and tagged and lowered in to the bed of our truck, with a Super Street Fighter torque converter. Made with furnace-brazed fins, needle bearings, and a hardened, pre-ground hub, Reed selected which Super Street Fighter converter would be the right pick for our set up. In fact, helping select the right parts and package for your particular build is one unsung specialty of TCI. Transmissions never seem to get the glory that big, impressive engines do, but the usefulness and effectiveness of a car hinges on how much of a beating the transmission can take. Thankfully, there’s TCI Automotive who’ve been keeping street rodders, muscle car builders and drag racers rolling for 50 straight years.


What about backing off the the band adjusting screw after torqueing to 72 inch pounds, otherwise bands will stay locked onto the drums
Yes, you are correct. The sentence “As per TCI, its a good rule of thumb to adjust the screws once, over-tighten them a turn or two and back them off prior to readjusting the screws back to the proper torque rate to best set the bands” has been added.
What TF filter uses 4 screws? I’ve only ever found 3 screws?
Mike
And you’d be correct. That was a typo I didn’t catch.
nice….