
Trying to keep a carburetor running at perfection is tough. We spent the whole racing season this year swapping carburetors trying to get Orange Crush to run decent. Yes, we would have taken “decent” over the headaches and pain we suffered all year. Luckily that is over and we have moved into the 21st century by installing Edelbrock’s Pro Flo 3 EFI and Universal EFI Sump.
We battled carburetors all season. One minute we had the car running great. We would get to the track and then bam! It would start running way rich, start sputtering, have no throttle response, etc. It was horrible and not only did it suck to drive all the way out and have that happen, but we wasted a lot of money and time dealing with it. We finally had enough and called up our friends at Edelbrock for advice on what EFI system we should go with.
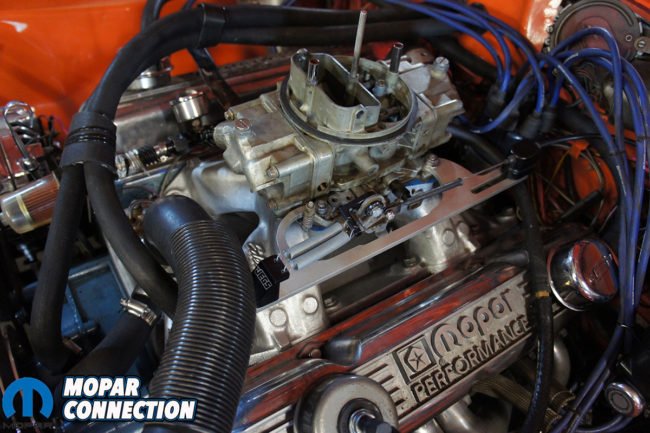
Above: Our 650 Holley Double Pumper that had seen better days.
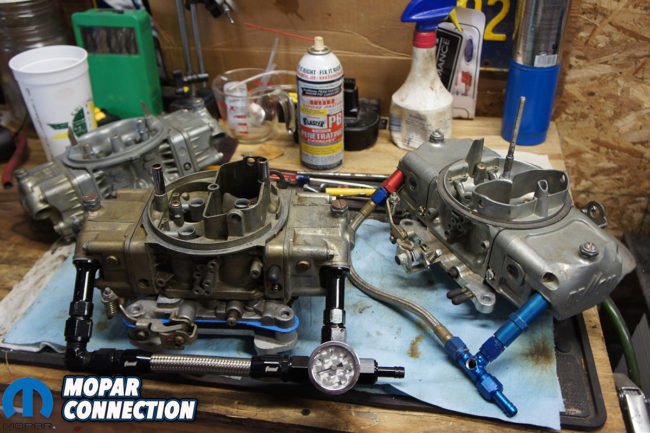
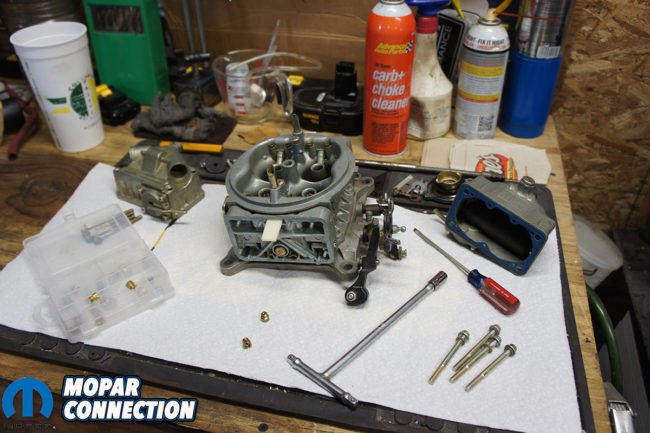
Above: Familiar site this year, what carb to try next and then changing jets for better performance.
There are many options available for swapping from a carburetor to EFI. Although they are all fall under the fuel injection category, they are not all built the same. Edelbrock’s August Cederstrand explained,”The two most common setups are TBI (or throttle body injection) and sequential multi-port fuel injection. TBI is basically a glorified electronic carburetor and feeds fuel into the intake similar to a carburetor. The sequential multi-port injection, like our Pro-Flo 3 EFI, has individual injectors and will send specific amount of fuel into each cylinder. Our Pro-Flo 3 EFI is much more tunable and precise than TBI and will net better results in the end.”
This made a lot of sense but as most would guess, TBI sounds a lot simpler to install. Swapping a carburetor has to be less work than drilling for fuel rails and injectors. We asked August how much work this was going to take. “Our Pro-Flo 3 is basically a manifold swap. The Pro-Flo 3 EFI comes with a manifold that is fully assembled with fuel rails, injectors, throttle body, and all the sensors. Once the manifold is on, you plug in the harness and hook up a couple wires and bam! you off to the races.”
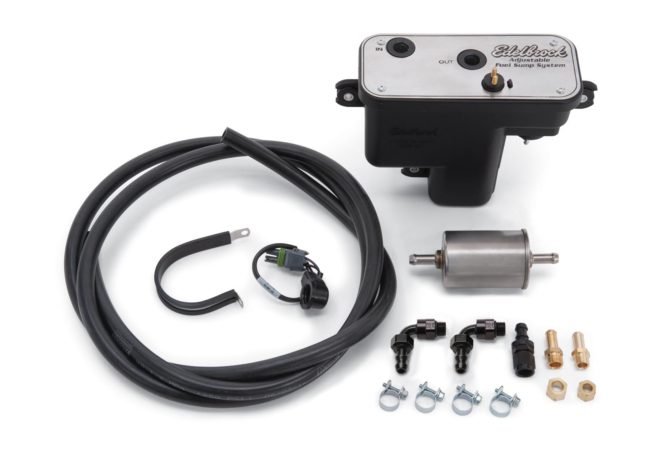
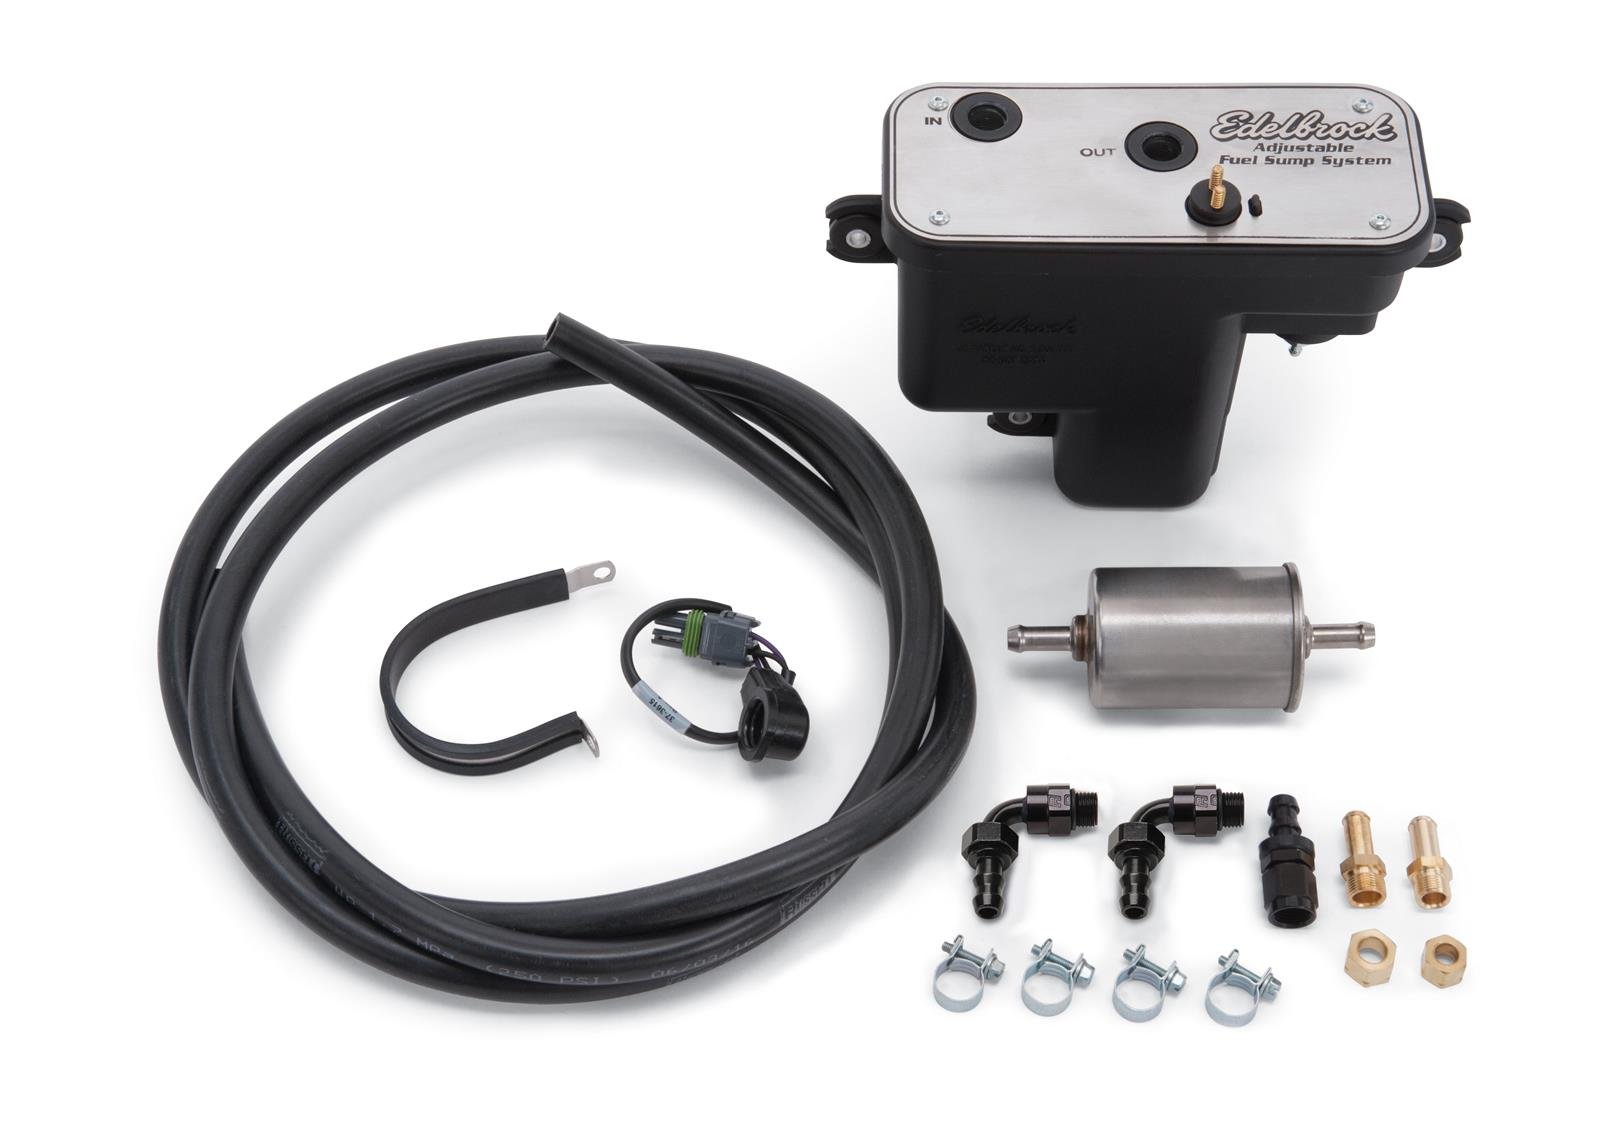
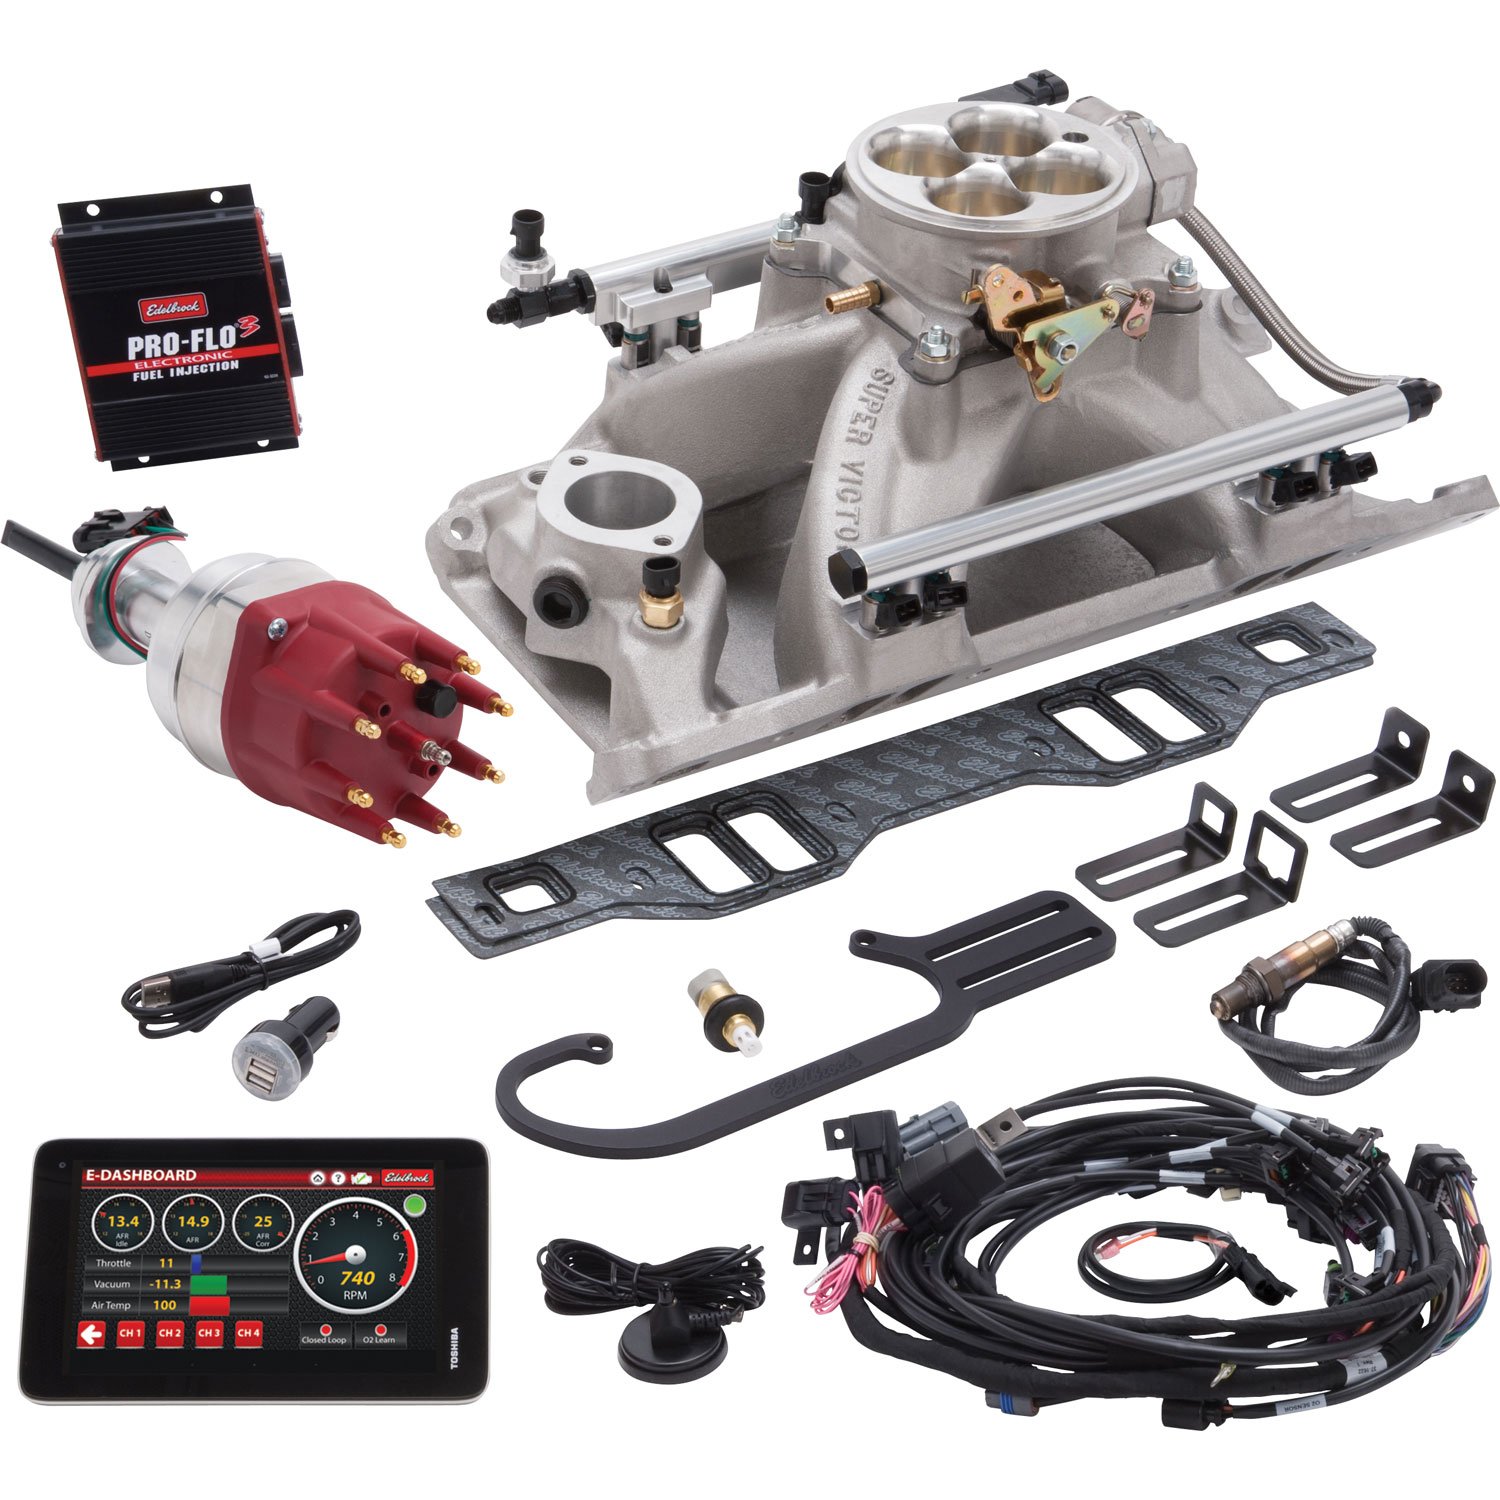
Above left: You can see that the Pro-Flo 3 EFI system comes with everything to make the swap hassle free. Above Right: The Universal EFI Fuel Sump includes line, fittings and filter to plumb from our mechanical pump to the Pro-Flo 3 EFI manifold.
We talked with August some more and learned all about the Pro-Flo 3 EFI. The system comes as a kit and includes everything you need for the swap – all the way down to zip ties for the wiring harness and the O2 bung to weld into your exhaust. Other kits might be cheaper but they are missing many pieces that end up costing more than initially planned. We can attest that after the installation we didn’t have to buy as much as a hose clamp. The best part of the whole system is that it completely runs the motor, including driving the ignition and saved us from getting a CDI box necessary. If you already have a CDI box, you can still use it with the Pro-Flo 3 EFI.
The Pro-Flo 3 EFI system is a self-learning system and with use of the E-Tuner app, is tunable. It starts off with a preloaded base tune to get the car running and driving. After that it will learn how you drive and tune itself the more you do. Unlike others that you need to upload software or use a laptop to make adjustments, the Pro-FLo 3 EFI uses their E-Tuner app expressly.
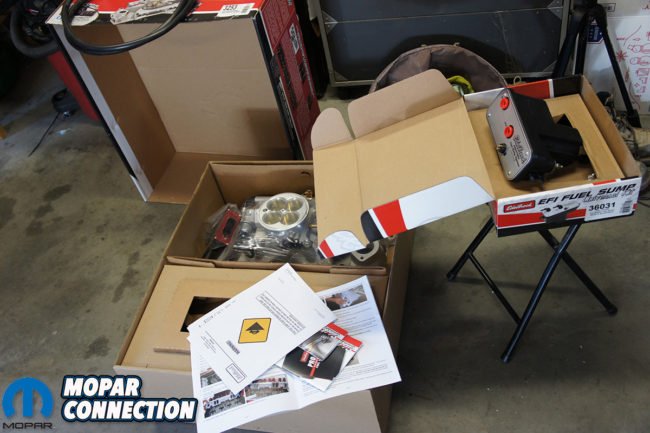
Above: Just opening the boxes and laying all the pieces out for a smoother installation.
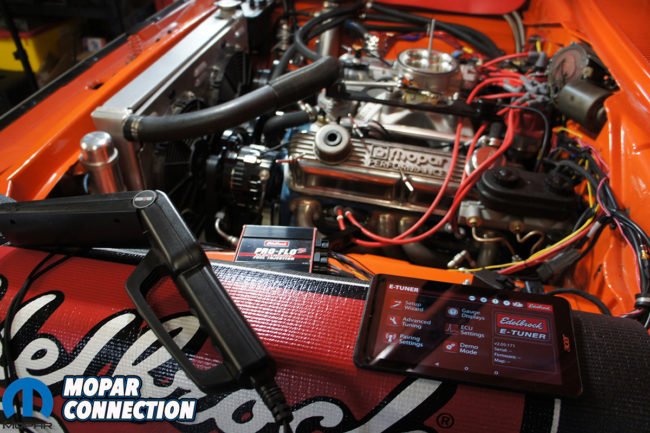
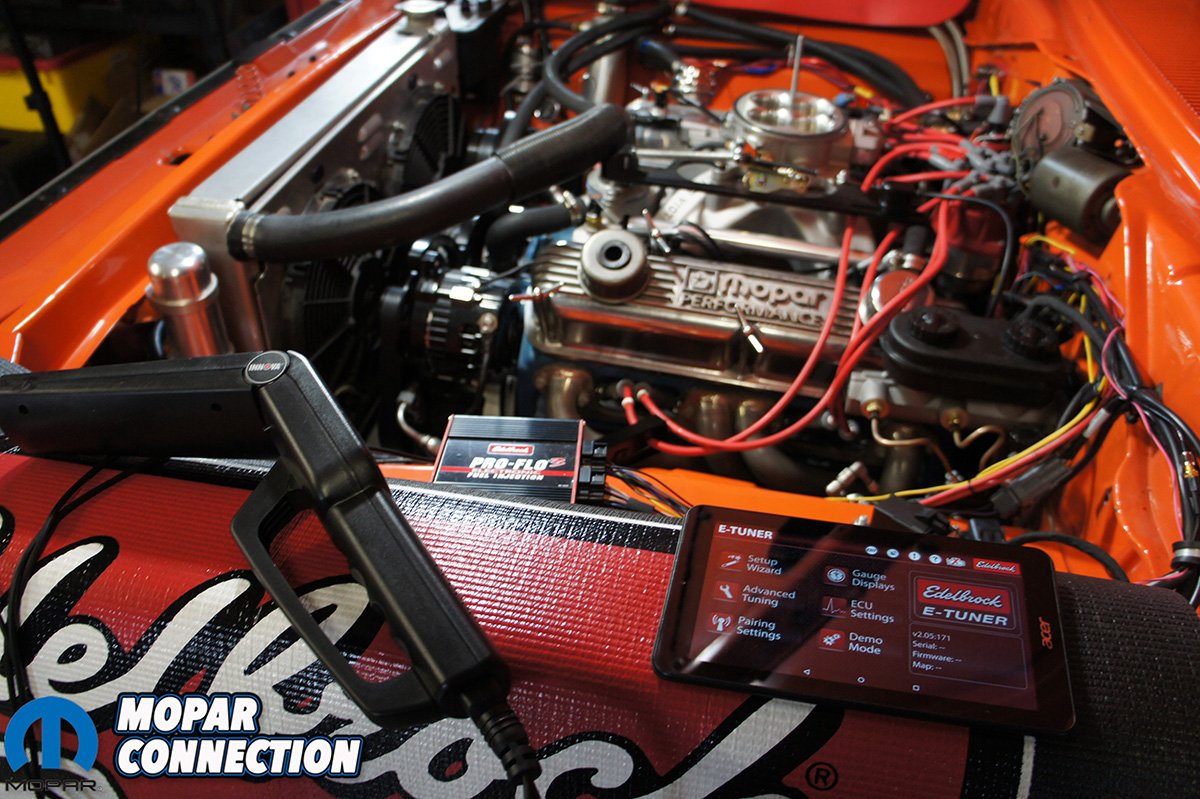
The E-Tuner app can be ran from an Android phone or tablet. Edelbrock has made a 7” tablet an option for the Pro-Flo 3 EFI. Others require a hard-wired module, the Pro-Flo 3 EFI uses the latest Bluetooth technology to allow for a complete wireless setup. Whether using your phone or tablet, the E-Tuner app can display an array of different gauges, allow on the fly AFR tuning, timing control and more. You can even program it to run 2 electric fans and adjust what temperature they kick on and off at.
Easy-to-install, ready-to-run, and able to control our ignition system without additional CDI box, and tunable on the fly? What more could you ask for? Our only other concern was fueling the Pro-Flo 3 EFI system. Luckily, Edelbrock had that covered too with their newly redesigned Universal EFI Sump. You might have seen their sump used in other installations but recently they have made it more compact and easier to mount. All it requires is 6-7psi from your stock mechanical pump and is capable of sending 35-90 psi to the fuel rail. The Pro-Flo 3 EFI only requires 58psi and the sump is set to that out of the box.
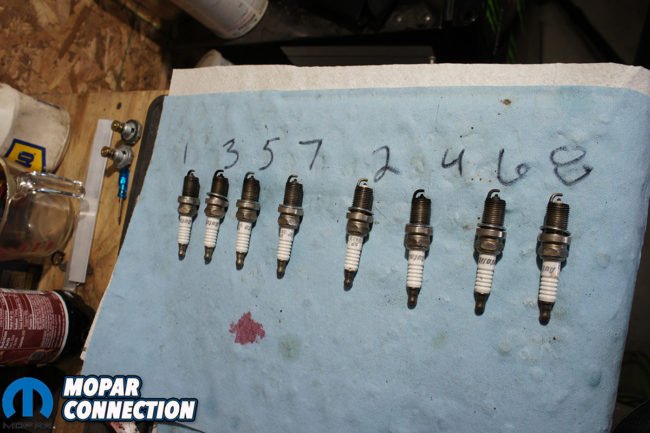
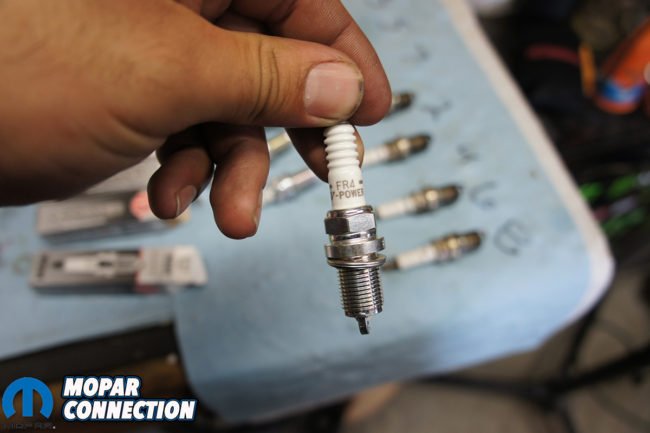
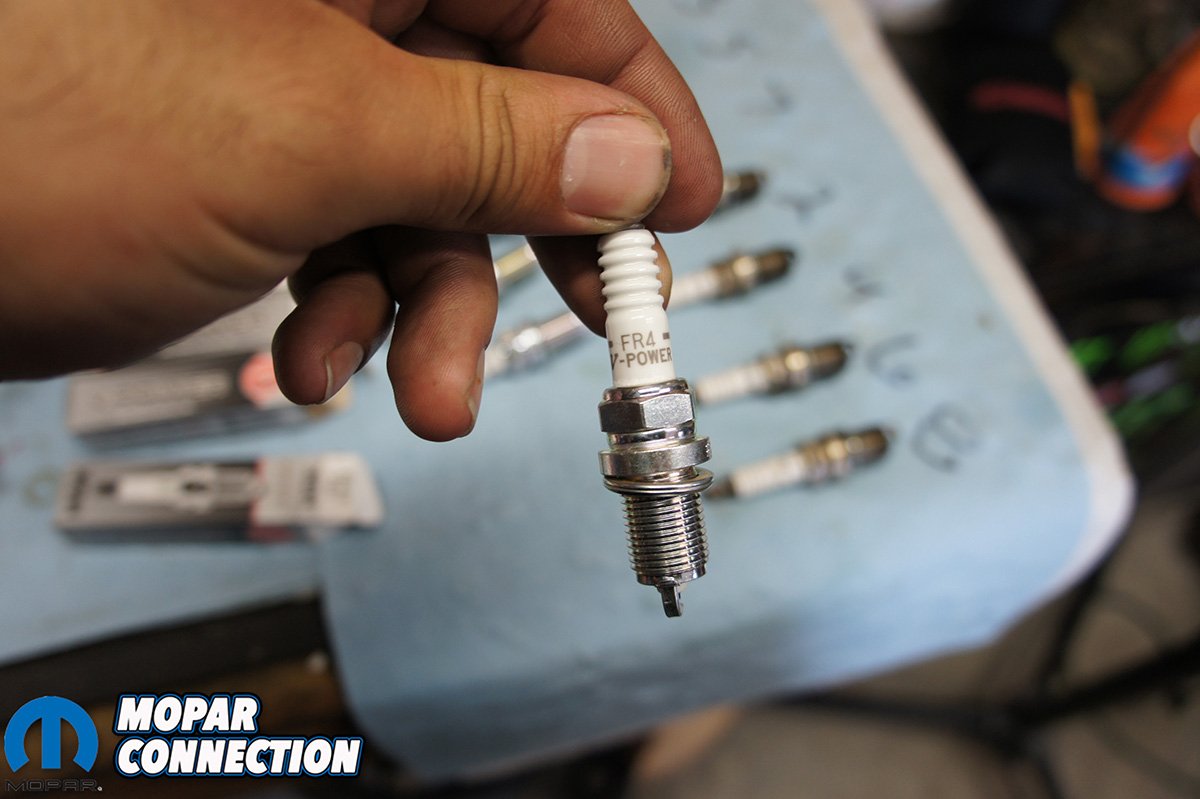
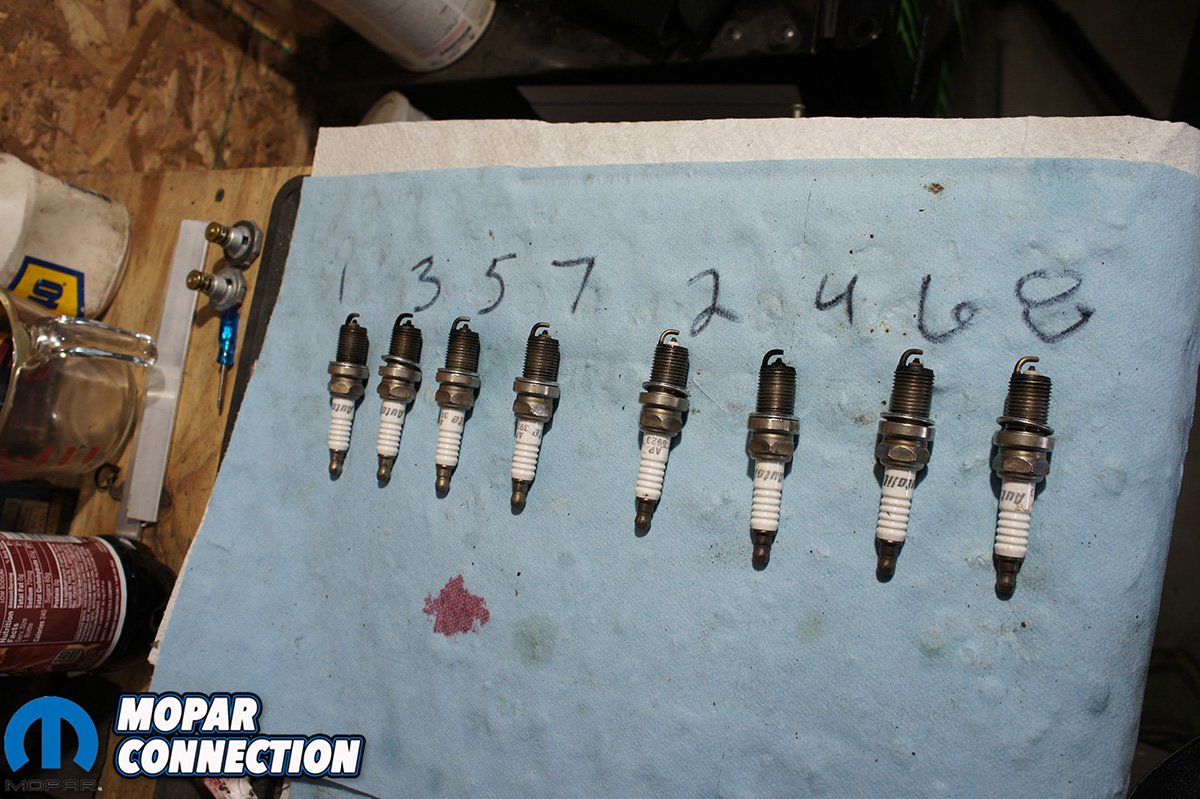
Above: Before we got too far in, we removed the old plugs and installed new NGK FR4 plugs.
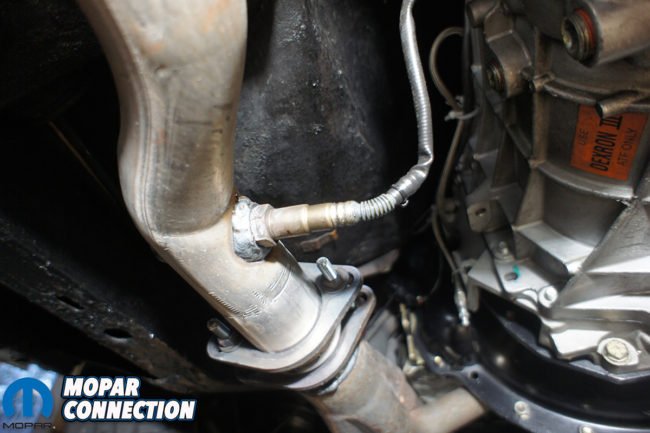
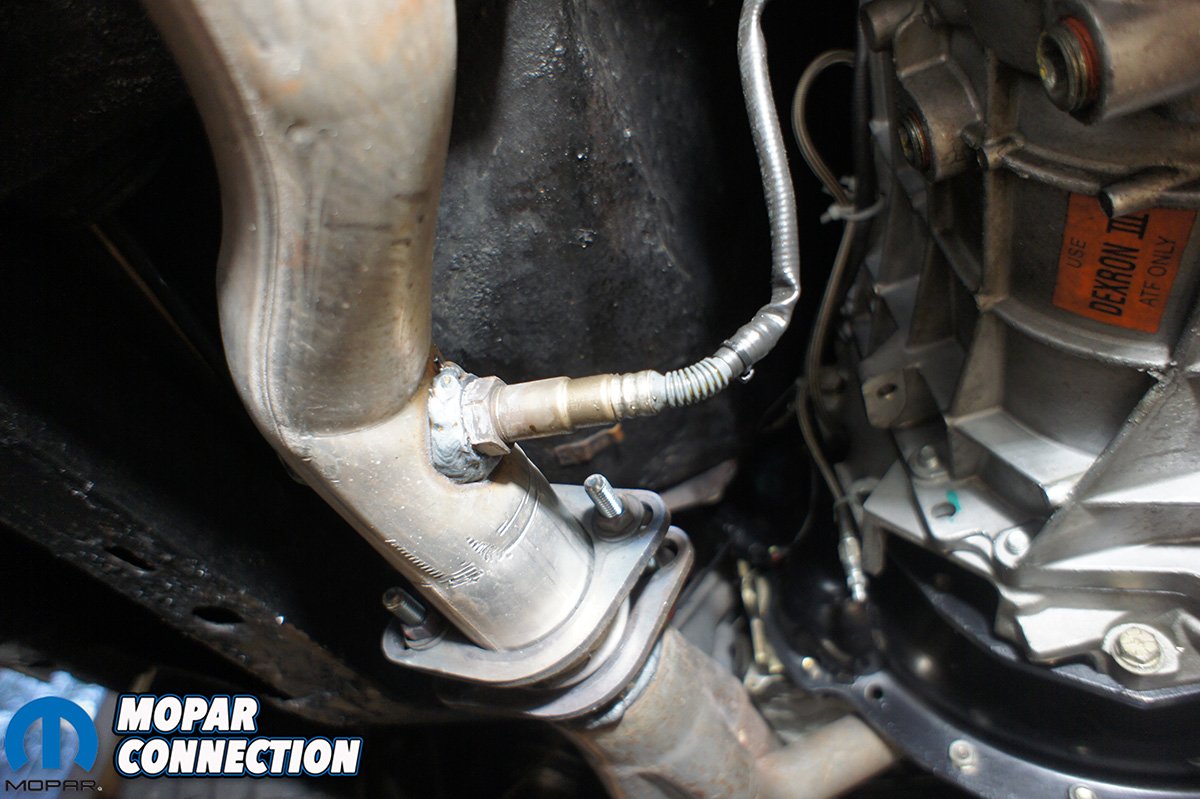
Above left: Is the O2 sensor installed in the drivers side exhaust pipe. Above right: You can see our second O2 bung in the passenger side in case we want to switch sides or move the ECU to a different spot.
Pre-installation
There wasn’t a lot of work that needed done prior to installation but one of the necessities is having an O2 bung installed. We didn’t have a welder laying around and opted to take the car to our local exhaust shop to have a bung installed. The kit came with an O2 bung and plug that we used on the driver’s side. We also had a second bung installed in the passenger’s side. We didn’t know where the ECU would be mounted and wanted to make sure the O2 harness would reach either side of the vehicle. Note that when the O2 sensor is installed it needs to be angled 10-degrees above horizontal.
Since this was hopefully going to be a dramatic increase in performance, we dropped by the dyno shop for a quick pull. Normally an EFI swap doesn’t gain you much HP but Orange Crush was running so poorly we thought there might be a significant gain. We assume many enthusiasts are currently or have been in our situation with a motor that you just can’t get tuned properly. The Pro-Flo 3 EFI will maximize our HP and torque numbers while also increasing MPG, throttle response and drivability.
Above: You can see the last part of our dyno run in Orange Crush. If you listen closely you can hear it stumble as its going through the last gear.
It’s embarrassing to admit but because Orange Crush’s ignition was in such disrepair the first try on the dyno we had to leave and come back. Their computer system wouldn’t pick up a signal from our engine. They mentioned it could be a grounding problem or possibly in the ignition switch. We replaced the ignition switch with one from Classic Industries (#MD2185). We also ran a ground wire from the battery to a terminal block to run all the grounds to. Both of these items needed replacing anyhow or they could cause other issues with the Pro-Flo 3 EFI.
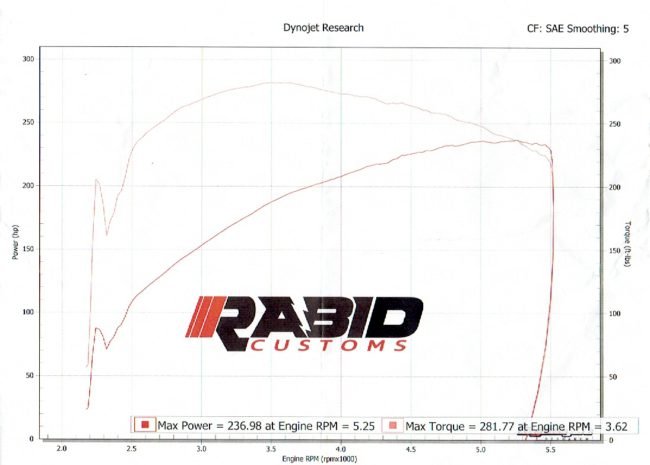
With the new ignition switch and grounds ran, we tried our luck once again at the dyno shop. Luckily this time it picked up signal and were able to produce a mere 236 HP and 282 ft-lbs of torque at the rear wheels. We knew it was going to be low but not quite that low. The current specs of our engine is a mid 1970s 360 RV bottom end with about 70k miles, stock oil pump, Edelbrock RPM heads, Edelbrock RPM Air Gap intake, a Lunati Voodoo cam (PT# 10200703), stock rockers and factory electronic ignition. With dyno sheet in hand it was time to head home and start the installation.
Above: You can see our pitiful attempt at a dyno run but hopefully we make a little more next time.
Fuel system
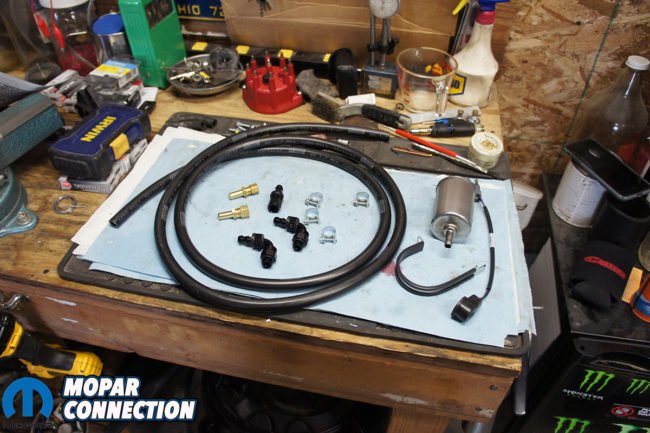
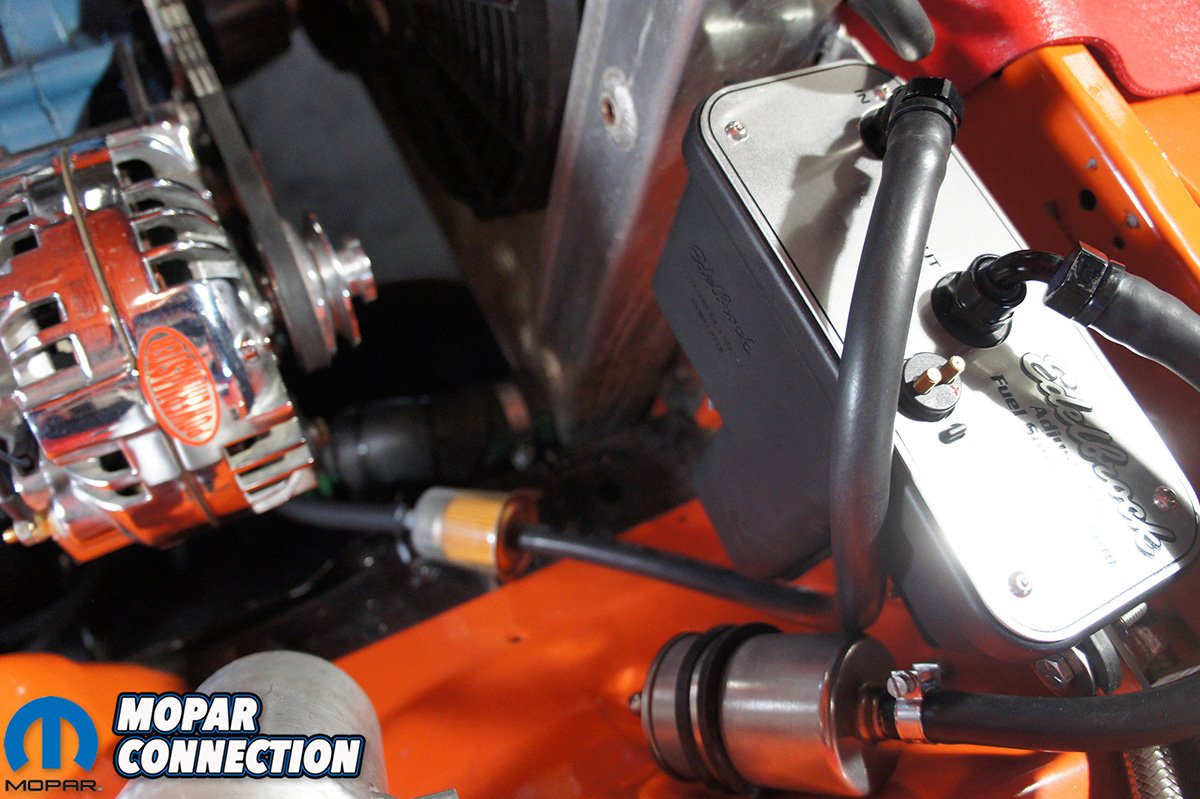
Before we started to remove the intake and install the Pro-Flo 3 EFI, we decided to mount Edelbrock’s Universal EFI Sump first. We used Universal EFI Fuel Sump (PT# 36031) and it came with everything that we needed to run the Pro-Flo 3 EFI. The kit includes the sump, a high pressure fuel filter, fittings, clamps, harness, and 8’ of -6 Twist-Lok fuel hose. Although the EFI sump can be used in conjunction with other EFI systems, out of the box it’s setup to work directly with the Pro-Flo 3 and E-Street systems.
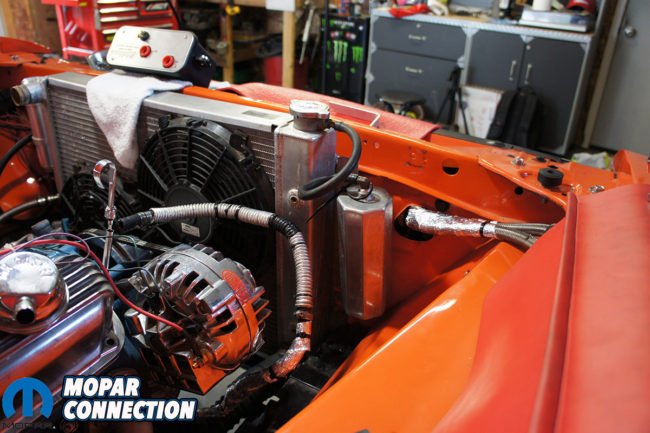
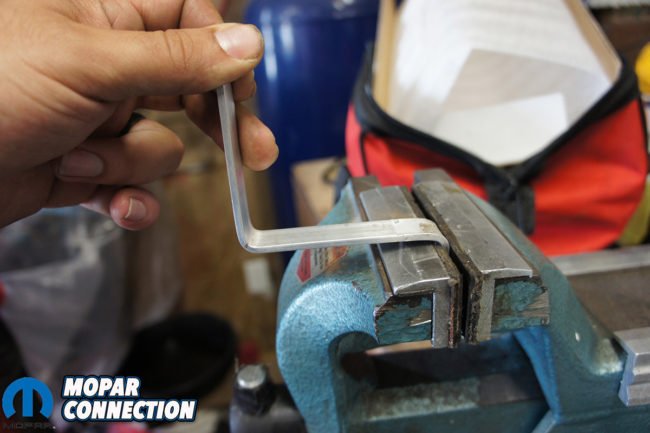
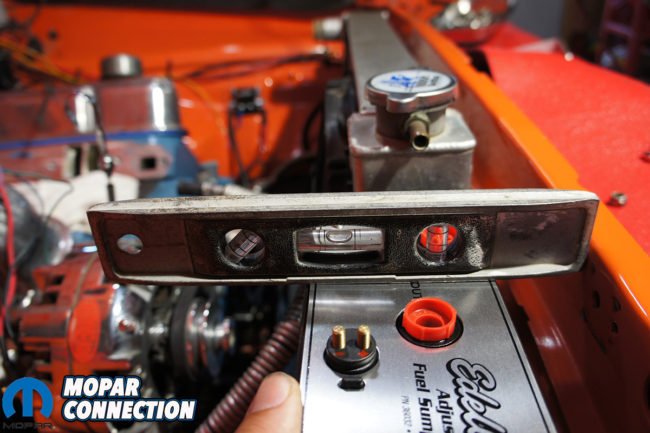
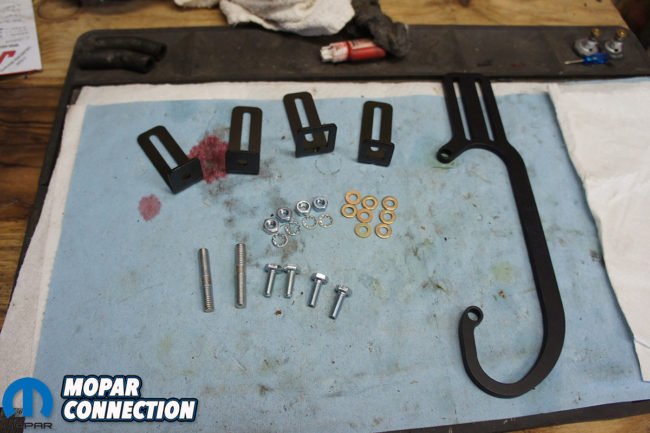
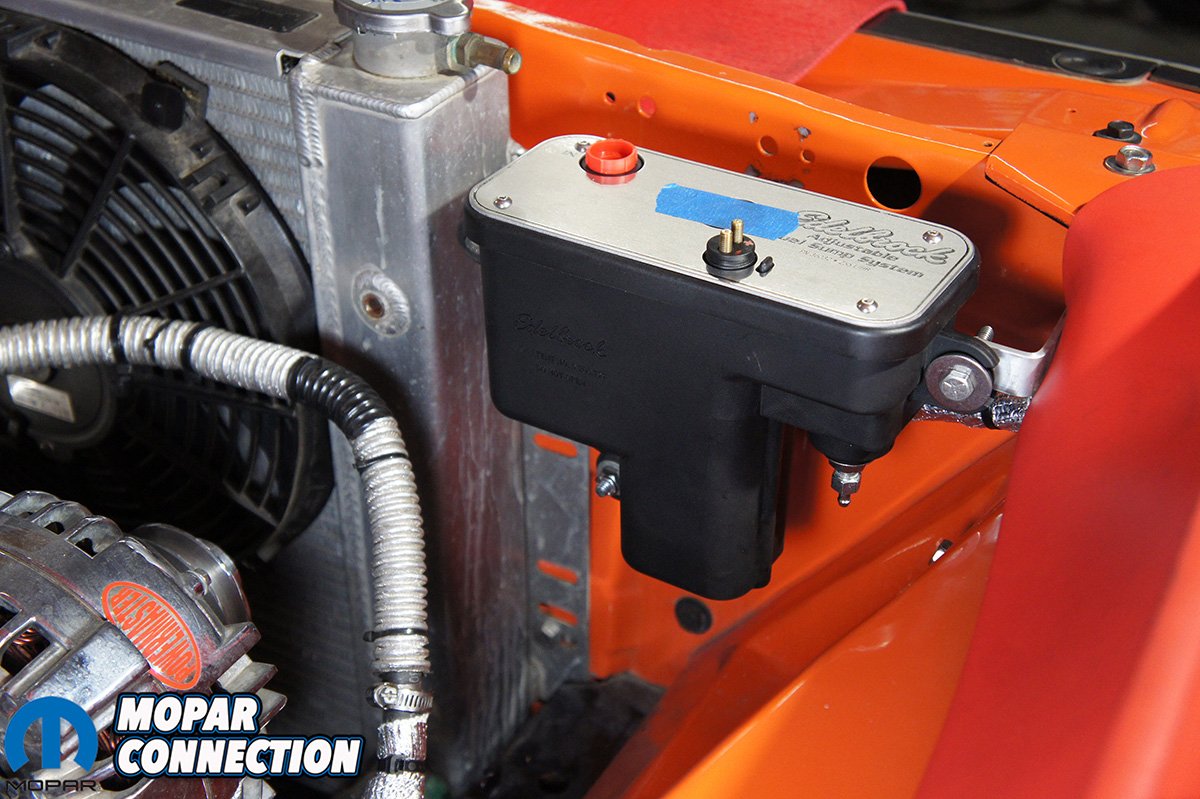
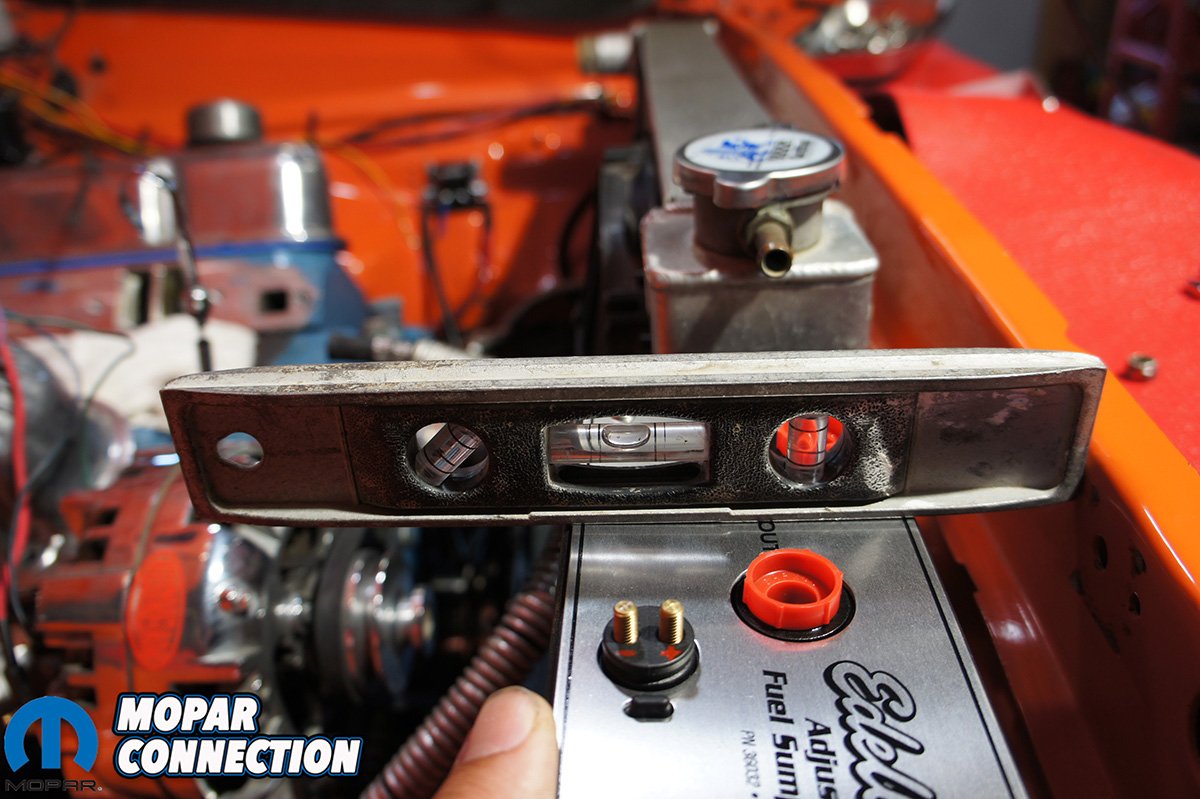
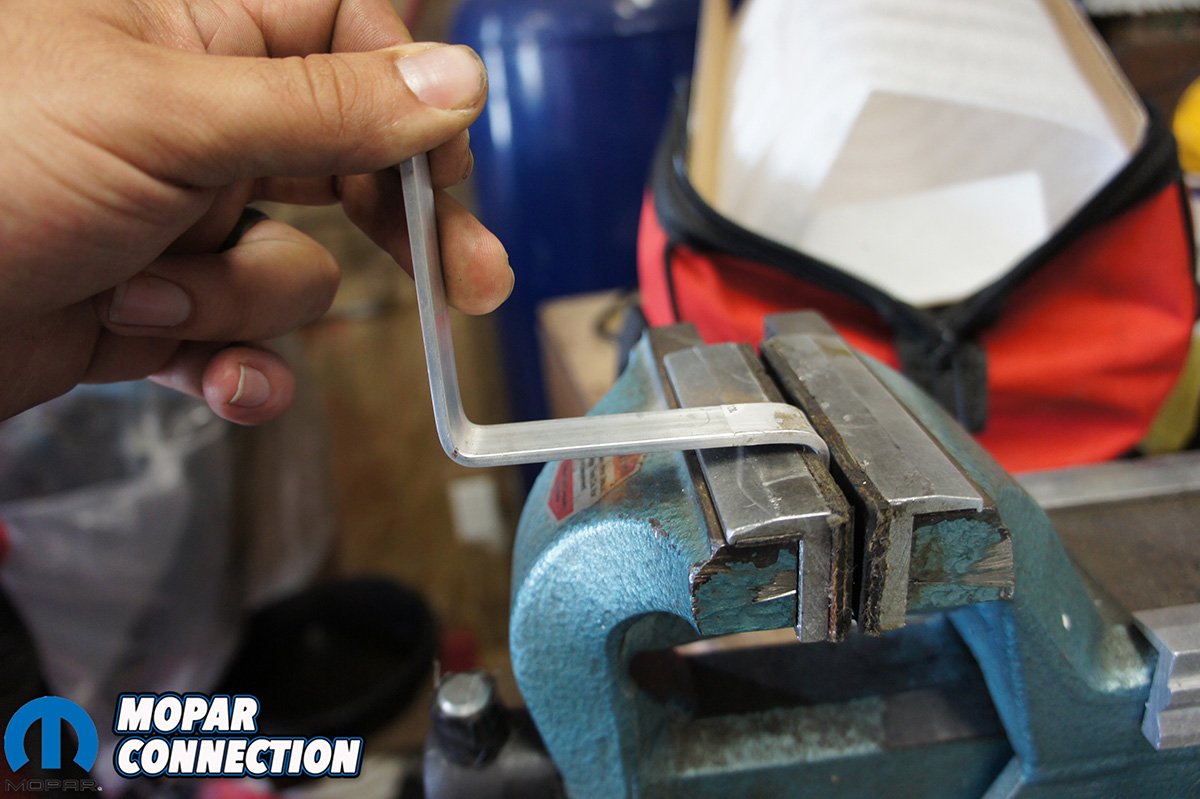
The difficult part was finding a place to mount the unit. The main issue was mounting it somewhere that would keep it level. Luckily the redesigned sump is more compact and easier to place in the engine bay. It measures roughly 9.5”L x 3.7”W x 6.3”T. The unit has 3 grommets with aluminum inserts to mount it easily and help with vibrations. We had to relocate our radiator overflow tank but beside the radiator on the core support was a perfect spot for the sump. We had some 3/4”x 1/8” aluminum laying around that we cut into 3 pieces and used our vice to bend into some brackets.
Above: We had to relocate our radiator overflow tank and make some brackets to mount the Sump. Be sure during installation the top of the sump is level.
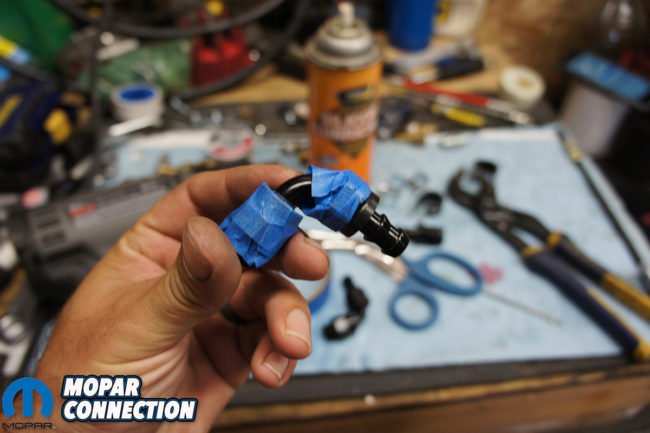
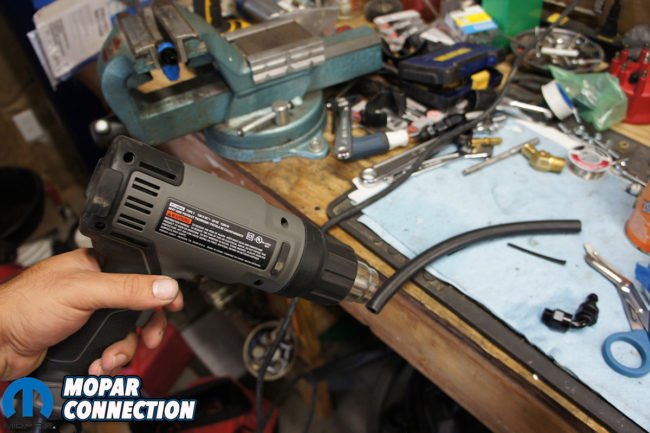
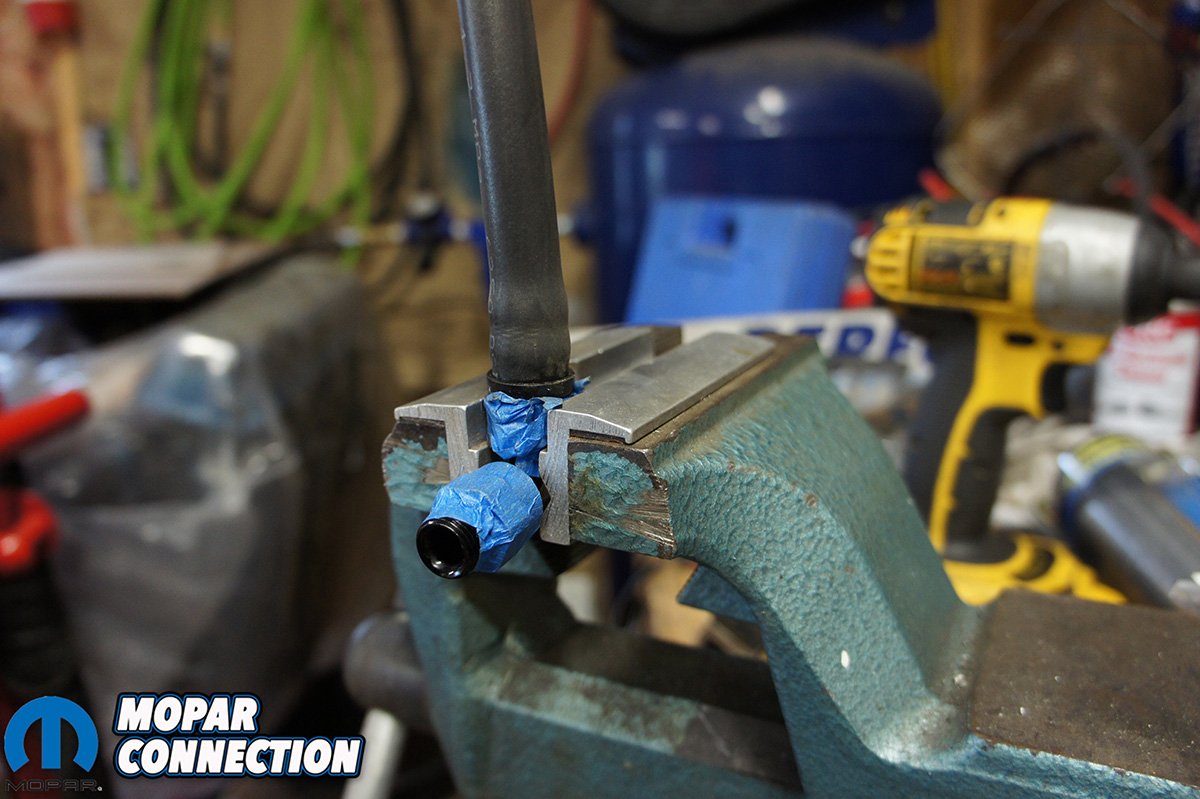
Being unfamiliar with the Twist-Lok hose and fittings we were a little worried about installing them but in the end it was simple and provided a very clean look. We started by using some masking tape to wrap the fittings to prevent damage to the anodized finish. We secured the Twist-Lok fitting into our vice. Using aluminum jaw plates we clamped the fitting in place. Using our heat gun we started to heat the end of the rubber Twist-Lok hose. Be sure not to heat the hose in one spot but apply heat evenly to the whole end. If smoke is visible, stop heating the hose. Once it’s hot, shove the hose onto the barb end of the fitting and you are done.
The included fuel filter is to be used between the high pressure out port of the sump and the fuel rail connection on the Pro Flo 3 manifold. Be sure place the filter the correct way and follow the flow arrows on the side. It’s suggested to also install another fuel filter between the fuel tank and the fuel pump, along with one between the fuel pump and fuel sump. It may seem like a lot of filters but EFI is unlike a carburetor that you tear apart and clean. If debris gets to the sump or worse, to the injectors, it can cause a lot of problems and it’s not easy to clean.
Above: Shoving the hose on the fitting can be tough, we used some silicone spray on the fitting and inside of the hose to help aid us in the process. Be sure to heat all the way around the end of the hose before you shove it on.
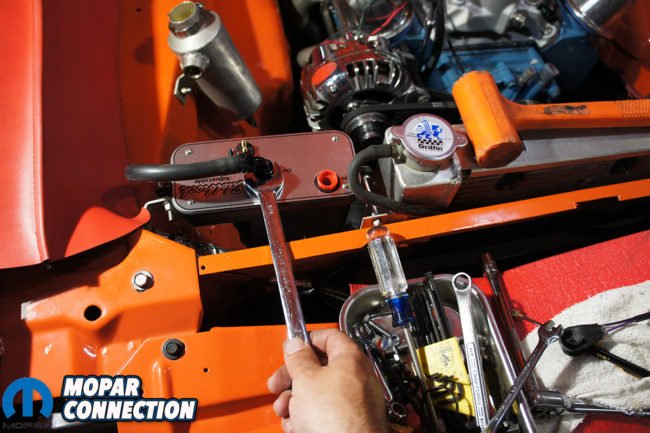
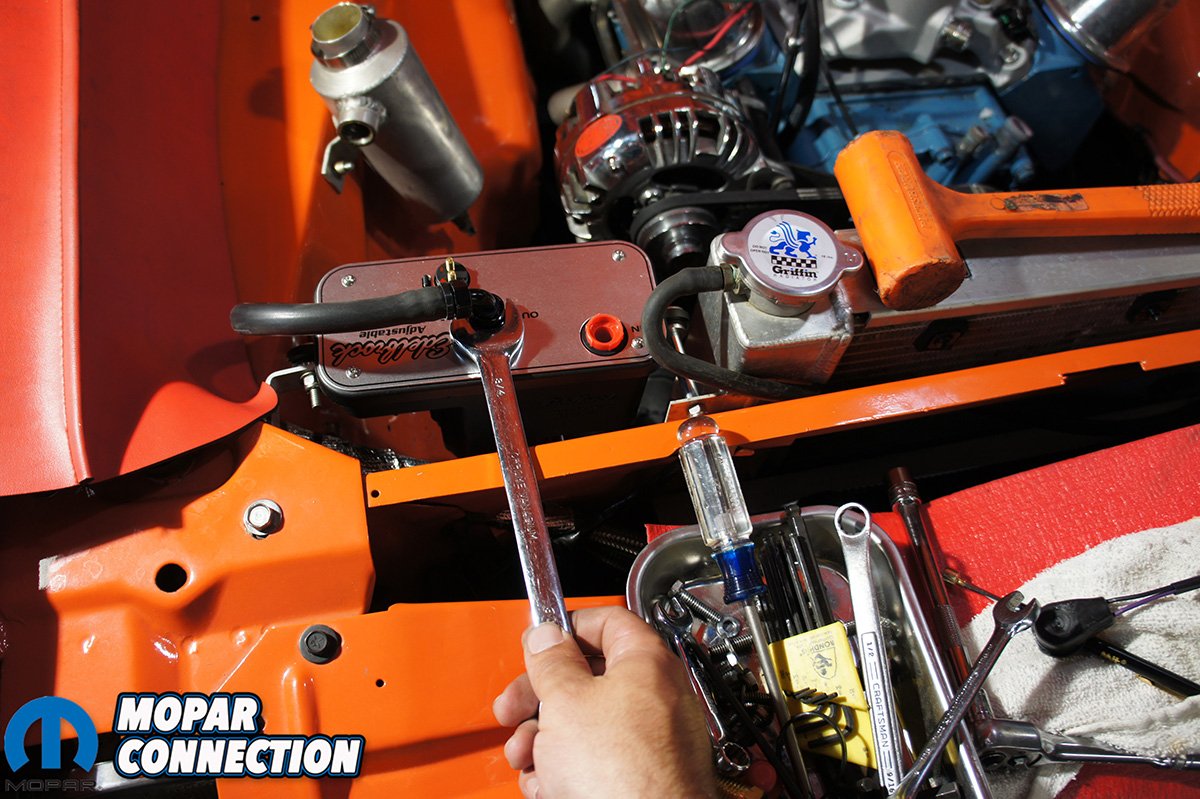
When installing the fittings into the fuel sump be sure not to over tighten them. Over tightening can strip the threads out of the sump. With a little penetrating oil on the threads, they should screw all the way in by hand. Once the hex of the fitting just touches the sump lid, use a wrench to turn the fitting 1/6 of a turn or from 12 o’clock to 2 o’clock.
If you refer to Edelbrock’s sump diagram on the front page of the directions, it will show you how the fuel hoses and filters need routed. We suggest mounting your fuel filter(s) first and then cut your hoses to the correct lengths. Since our manifold wasn’t on yet we installed the fuel line from the mechanical pump and left the line off from the high pressure fuel filter to the manifold.
Above left: Start by screwing the fittings into the sump by hand until the hex just touches the sump. Above right: Use a wrench to tighten it from the 12 o’clock position to 2 o’clock.
Above left: You can see roughly where your wrench should stop when tightening the fitting to 2 o’clock. Above right: Both fuel filters are installed plus we have one on the frame rail between the tank and the mechanical pump.
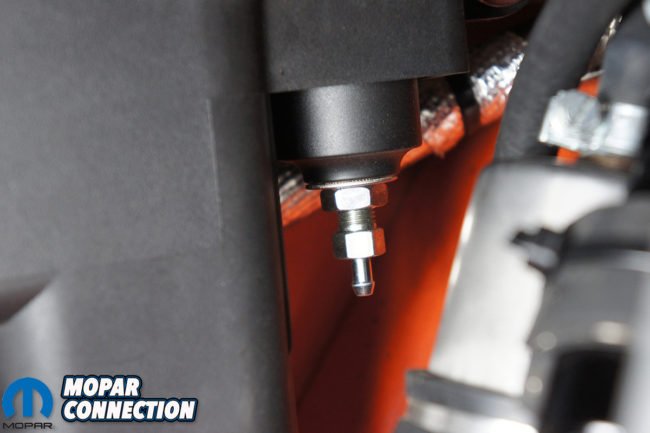
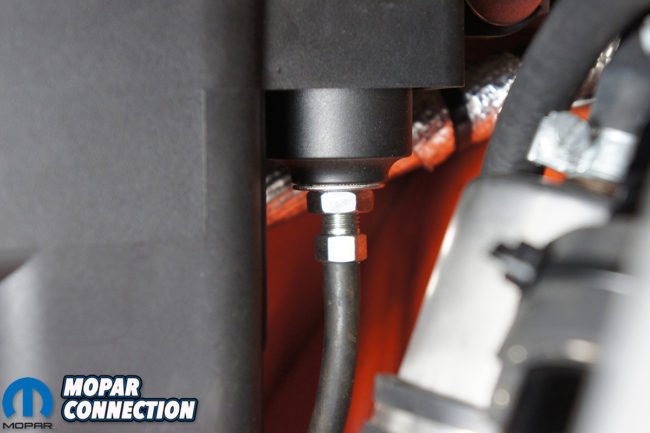
After installing the fittings into the fuel sump you might notice a couple other fittings on the sump. The silver barb fitting on the bottom of the sump is the vacuum compensation port. Its also the regulator for the sump and can adjust the amount of pressure by loosing and tightening the fitting as per the instructions. It is preset to the 58 psi needed for the Pro-Flo 3 EFI. We ran a 7/32″ vacuum line from the port to the the front of the throttle body once the intake was on.
The plastic 5/16” fuel vent tube will need rerouted to the fuel tank. Its located directly behind the vacuum fitting. We temporarily ran a fuel grade hose to our catch can for temporary use. When properly routed to the fuel tank make sure the tank itself is still vented. If not the unit can over pressurize cause many different issues.
Above: You can see the vacuum port fitting. Losening and retightening the fitting can change the fuel pressure but out of the box is set to 58 for easy installation with the Pro-Flo 3 EFI.
Pro Flo 3 EFI Installation
The Pro-Flo 3 EFI system we used for our small block Mopar LA 360 was part #3253. All the wiring, tablet, assembled manifold, O2 sensor, distributor, etc. came in one giant box. The only parts we bought were a new set of MSD spark plug wires, new NGK plugs and MSD coil. After opening the box the seeing all the pieces, we did have some worry that it would be harder than it sounded, but it went very smooth.
Edelbrock includes very detailed instructions walking you through each step when installing the Pro-Flo 3 EFI. Instead of us reiterating every single step, we will take you through the condensed version, touching on small bumps we encountered along they way to help save you some time.
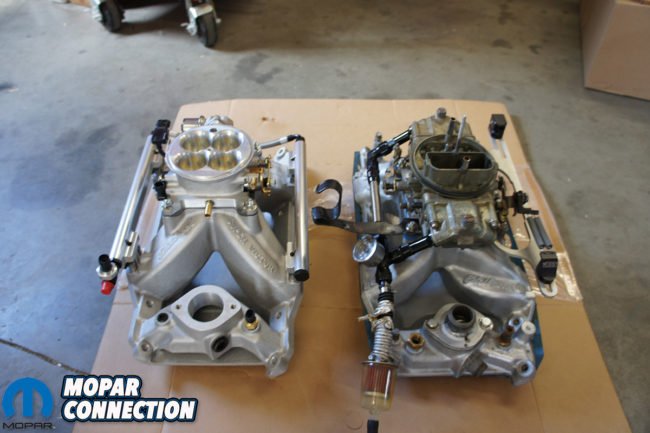
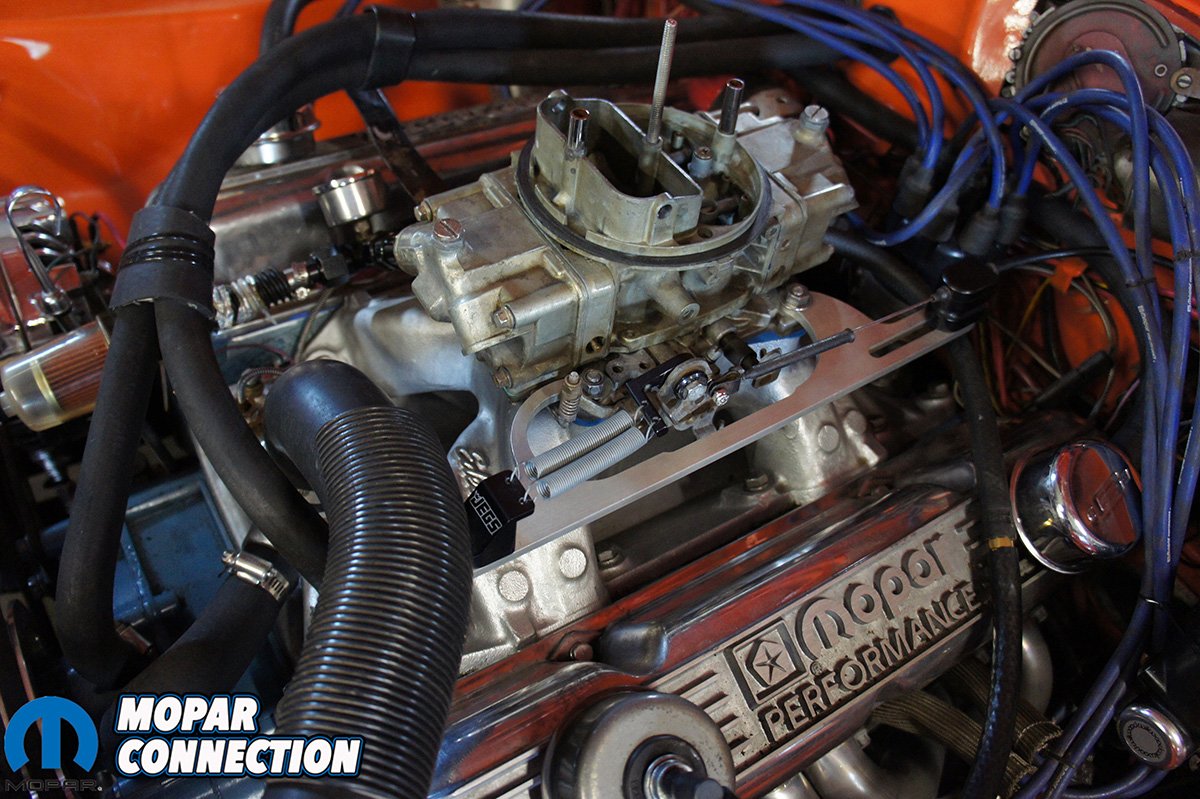
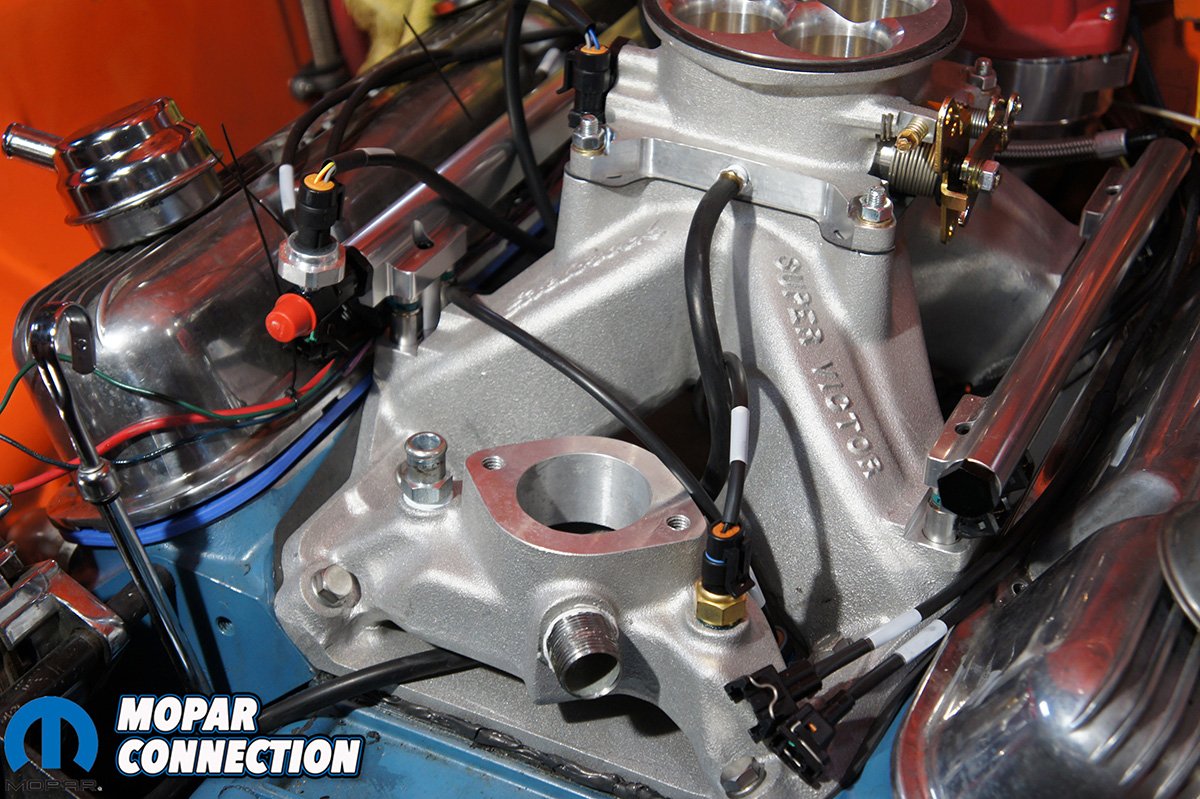
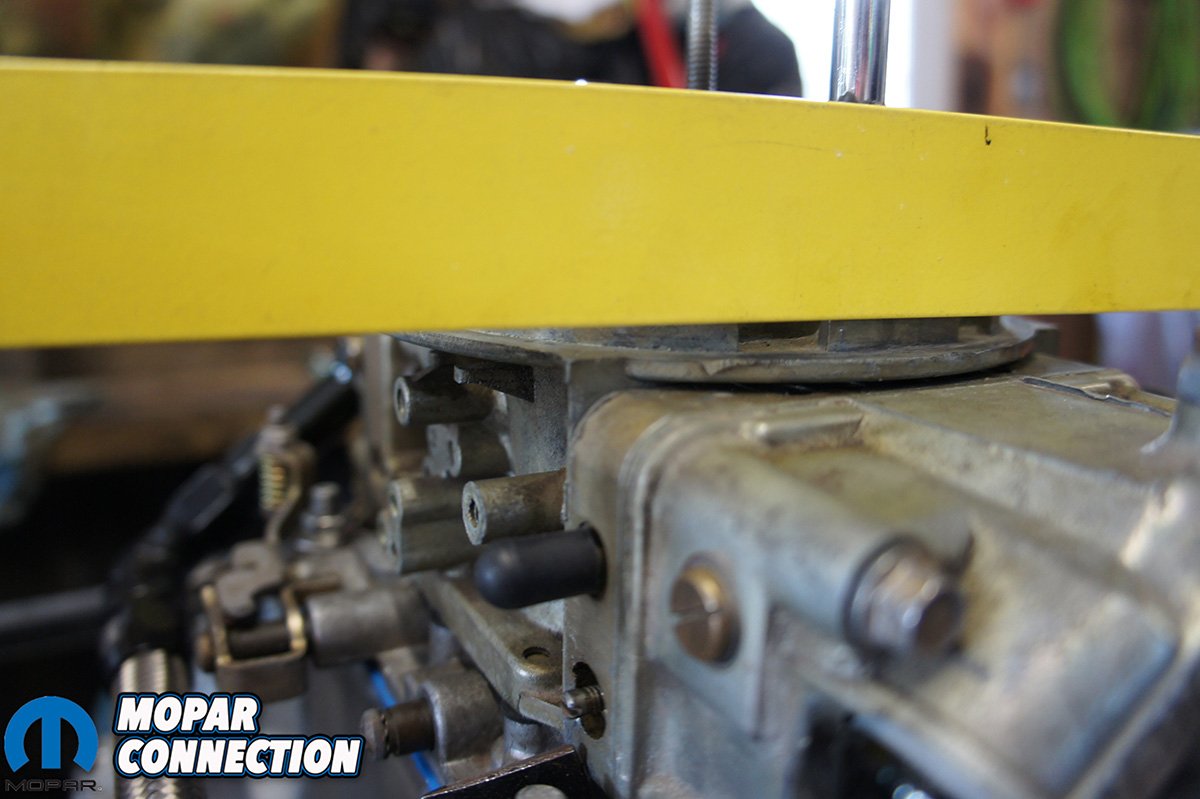
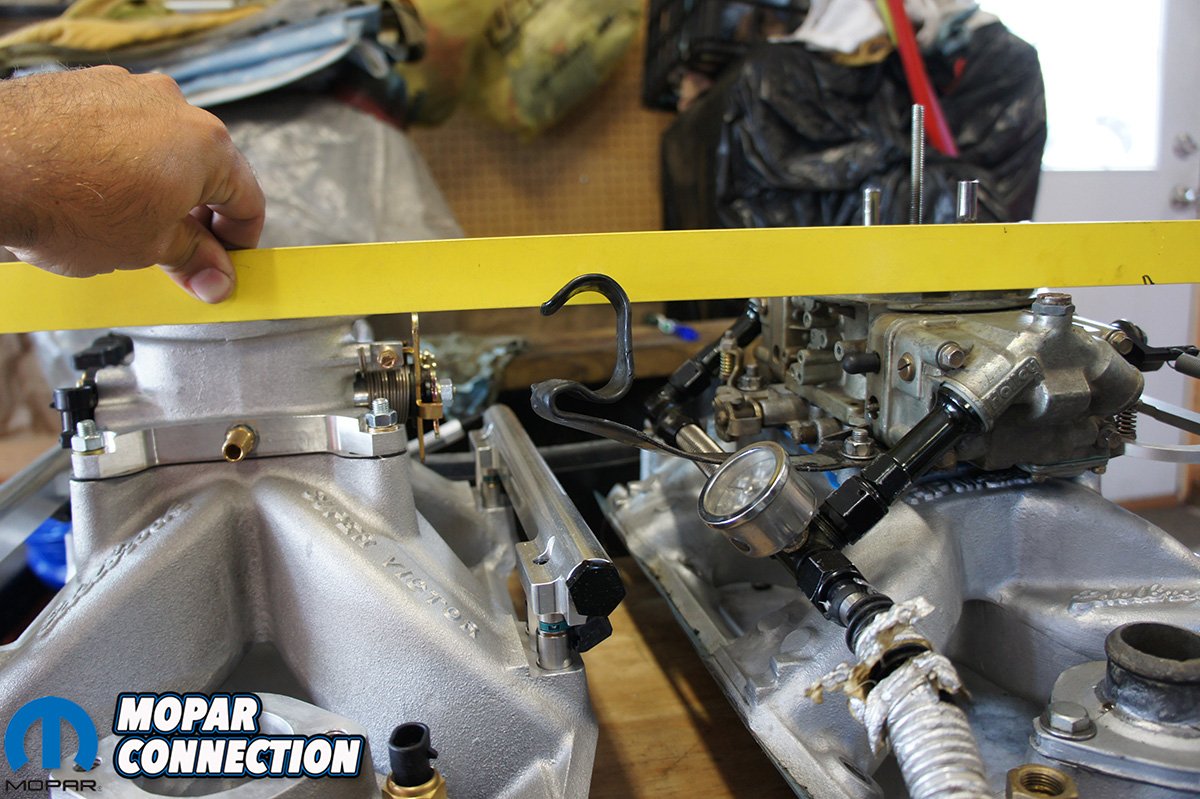
Above: You can see the manifolds are similar but the Pro-Flo 3 EFI manifold is taller but luckily the throttle body is shorter than a regular carburetor. Overall the Pro-Flo 3 EFI was only 1/8″ taller than our carburetor and RPM Air-Gap intake.
Since there is a fair amount of electrical connections and a new ECU, we started by disconnecting the battery. Remove the intake early on help provide additional room to work around the engine. Be sure to keep the motor covered so no foreign objects fall in. We left the carburetor on the old manifold to compare height against the new Pro-Flo 3 EFI. If you have a stock or low profile manifold, refer to the instructions for checking hood clearance. We were already using an Edelbrock RPM Air-Gap intake and measured only 1/8” higher of the new manifold.
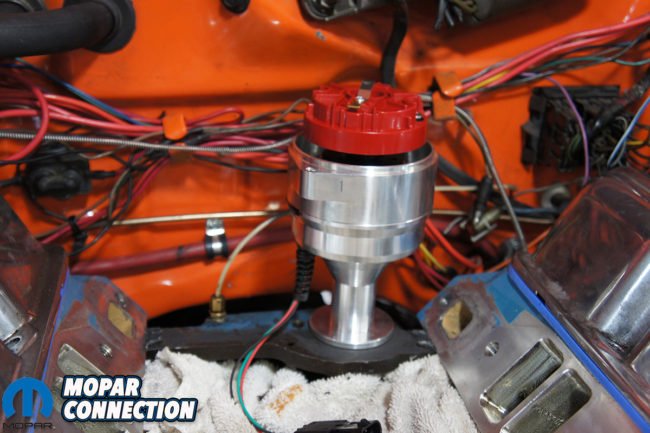
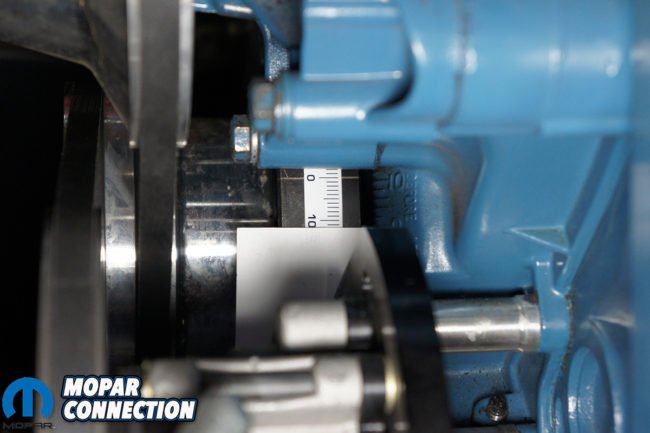
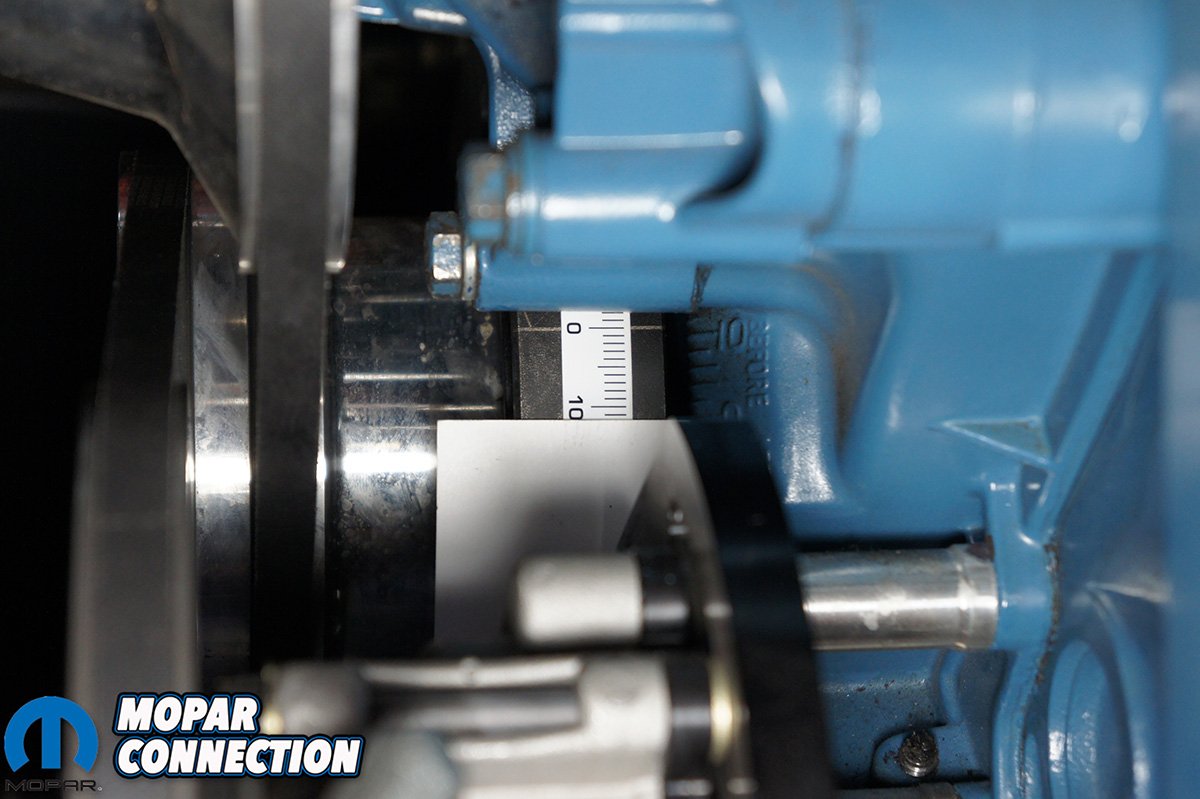
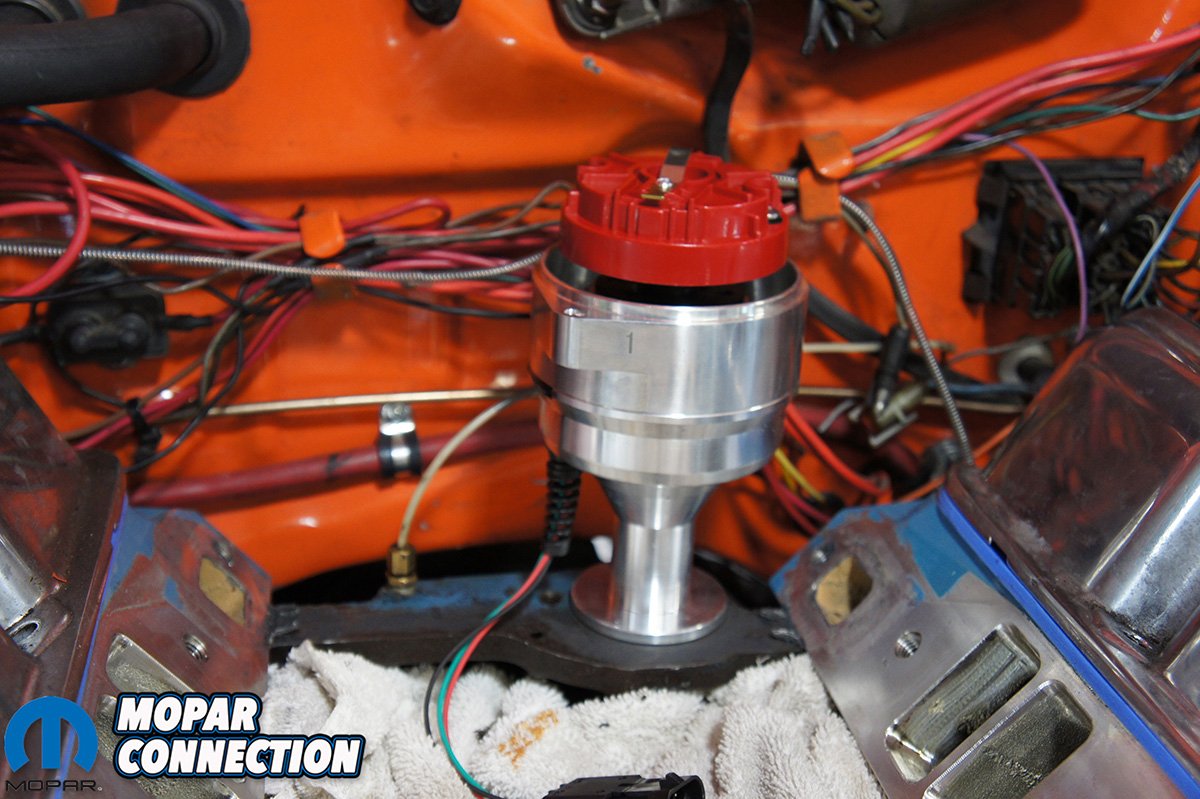
Knowing our hood clearance was going to be OK, we had to make sure the motor was timed at 12 degrees Before Top Dead Center (BTDC) before removing the distributor. We rotated our crank to 12 degrees BTDC on the compression stroke and removed the old distributor. We installed the new distributor and rotated the base until the rotor lined up with the stamped “1” on the side.

Above: Edelbrock includes their own billet distributor that plugs directly into the Pro-Flo 3 EFI harness.
Above left: The new distributor has a number 1 stamped on the side, this is where the number 1 cylinder starts. Above right: We used timing tape on our balancer and rotated it to 12 degrees advanced. We then made sure our rotor was pointing at the stamped number 1, this will get us close and dial in exactly later on.
While we were removing stuff, we went ahead and removed the electronic ignition box, ballast resistor and all of the electronic ignition wiring. None of this will be needed for future use and would just be in our way. Be sure that any wires you cut are not hot or are taped up to prevent arching.
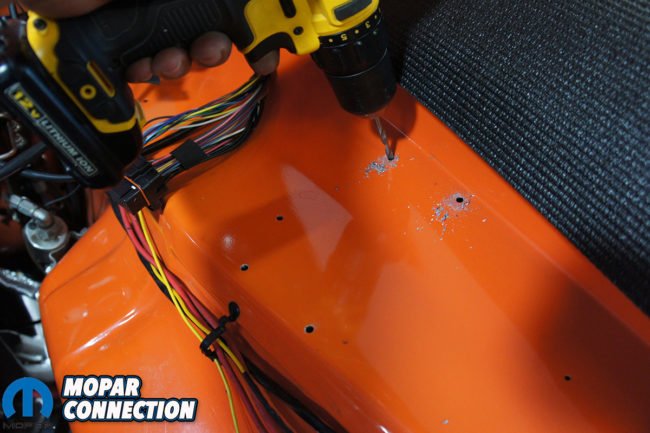
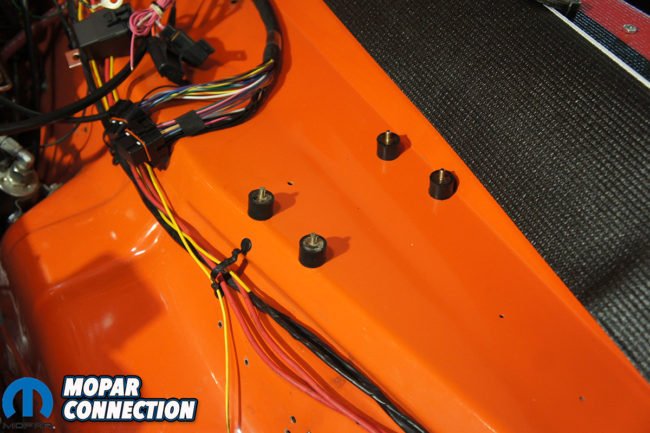
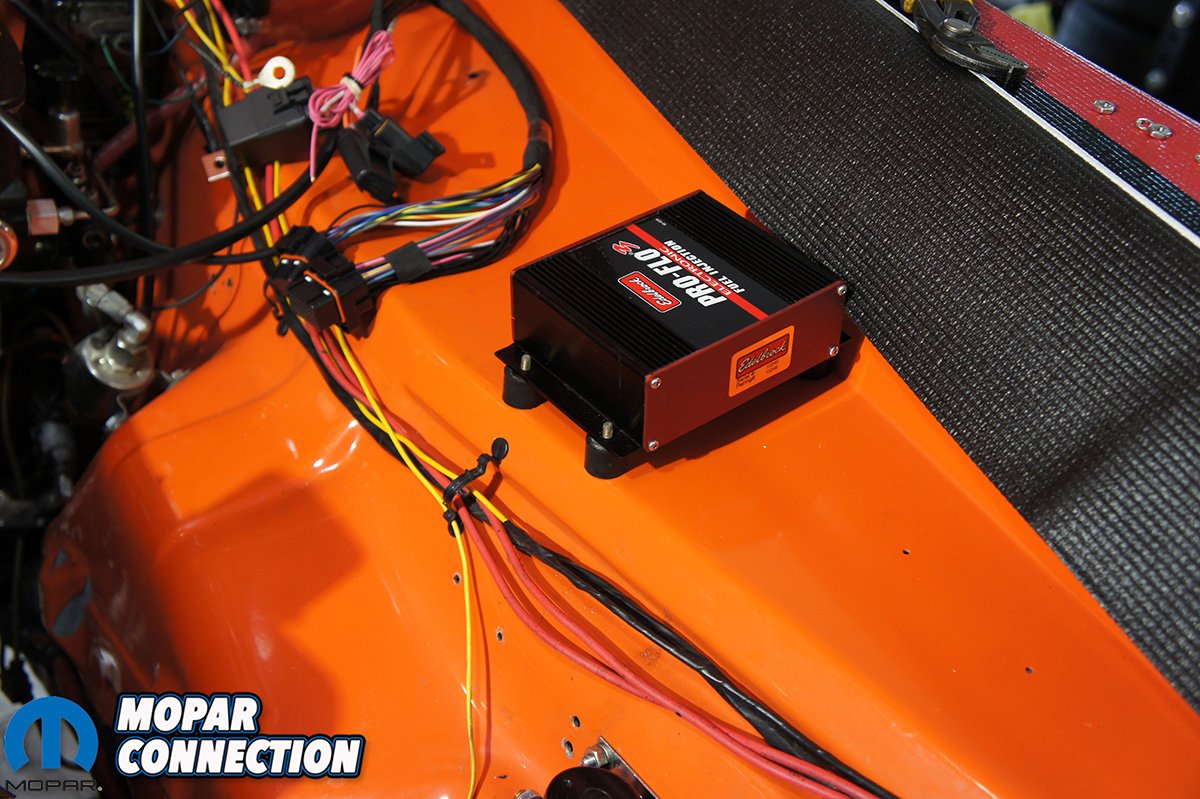
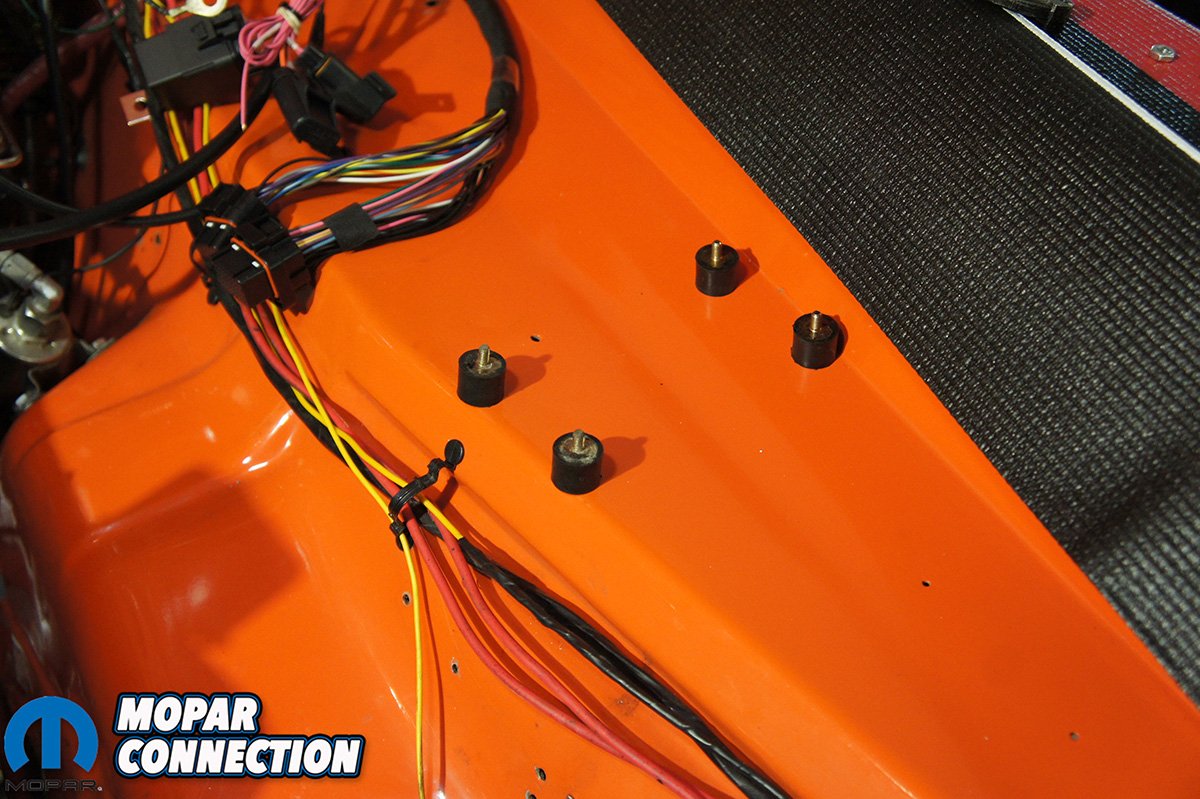
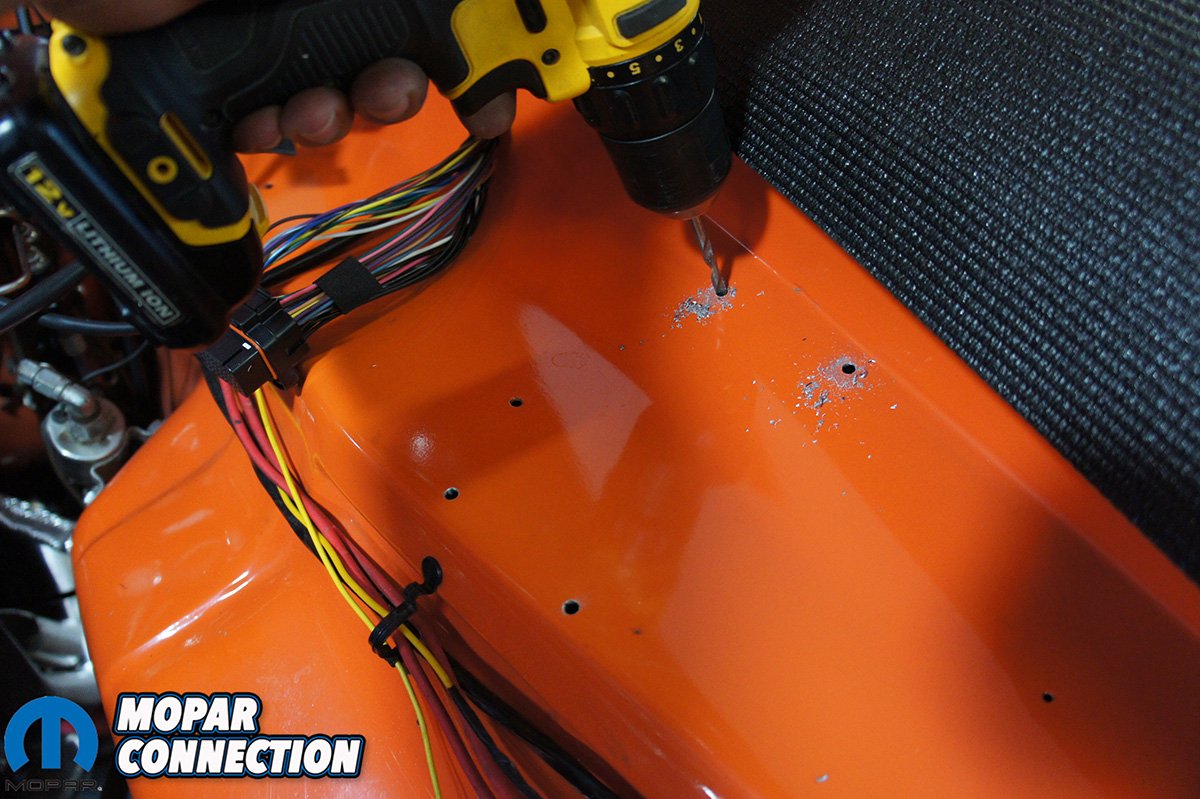
After some time laying the EFI harness out, we decided that the ECU would fit best on the driver’s side fender. We mounted it on MSD rubber mounts that we ordered from Classic Industries (PT #8823) to help absorb vibrations and allow air flow underneath of the unit. Heavy vibrations or a lot of heat is not ideal for electronics. This should help prevent both during casual driving and racing.
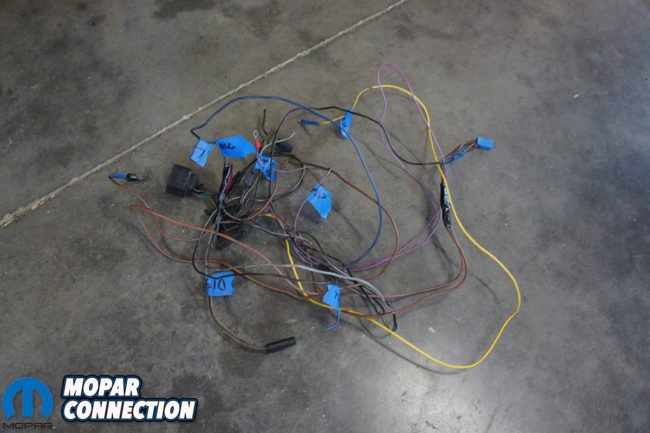
Above left: Here is all the old wiring we cut out of our original harness. Above right: To better visualize the new EFI harness we laid it out on the floor before we laid it in the engine bay.
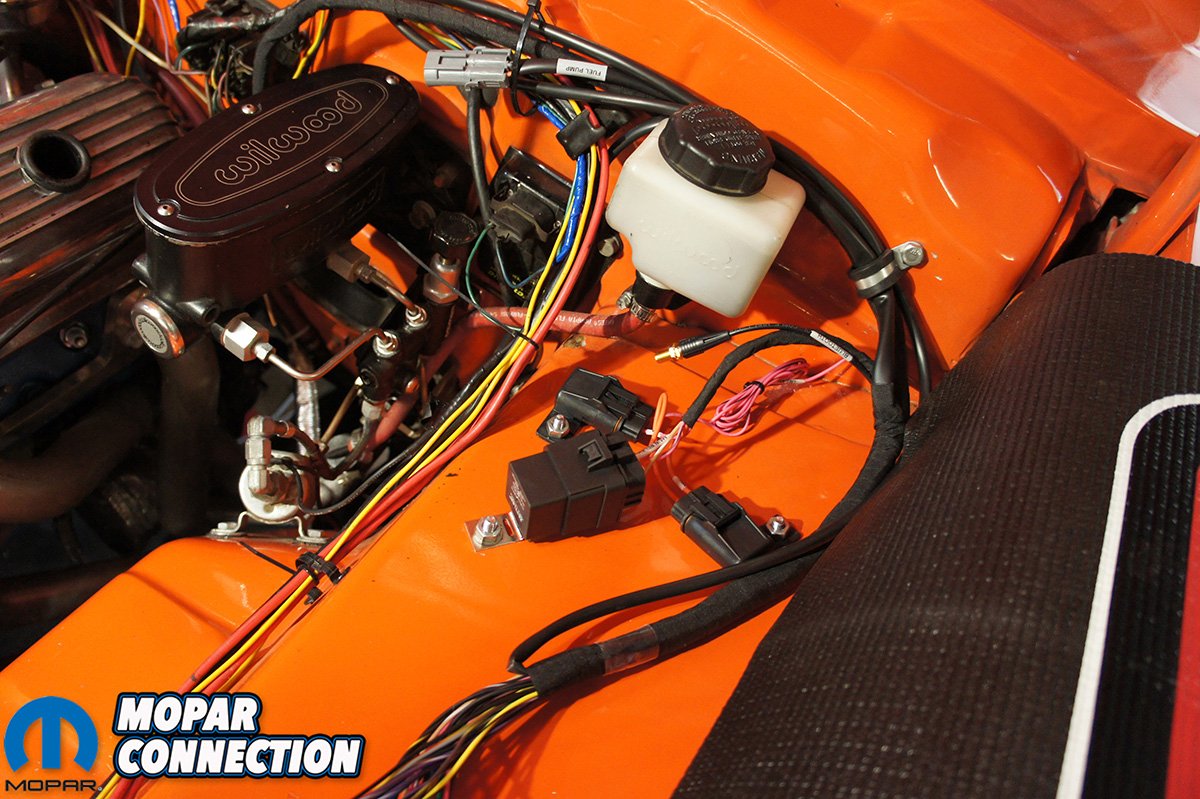
We went ahead and wired in the harness while the intake was off. There are only a few wires that will require connecting to make the fuel injection run. You will need to run an all-time power, ground, key-on power wire and the fuel sump or fuel pump wire. We had to extend the wire to the fuel sump. Be sure to run the all time power and ground wires directly to the battery to avoid any interference. We also suggest soldering and heat shrinking all the connections to ensure a solid connection.
While wiring the key-on power wire we ran into an issue. When we first tried to start the motor it wouldn’t start, we found out the key-on power wire we tied into wasn’t hot while cranking. After testing the fuse panel, nothing stayed hot while cranking. The quick answer to this problem is to run a toggle switch for the key-on wire.
Above: We marked where to drill the holes for the MSD rubber mounts. Since the ECU was on the fender we decided to mount the relays there too.
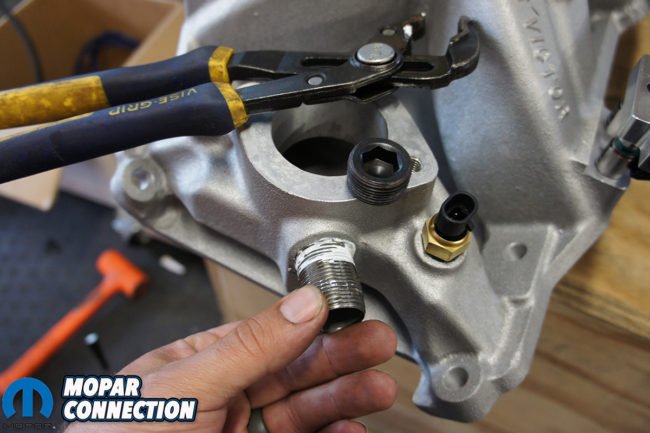
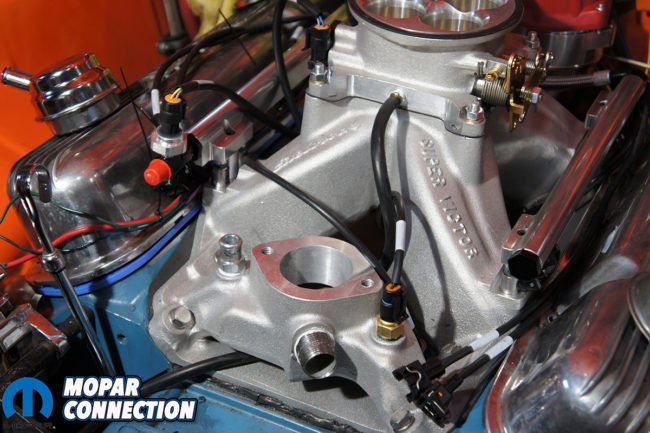
Above left: The Edelbrock manifold comes with plugs where the heater bypass hose and heater core hoses go. Normally we would reuse our old fittings but we decided to purchase new fittings and then used ARP thread sealant to prevent any leaks. Above right: You can see the new fittings, also notice the vacuum line on the front of the throttle body. It runs to the vacuum port on the fuel sump.
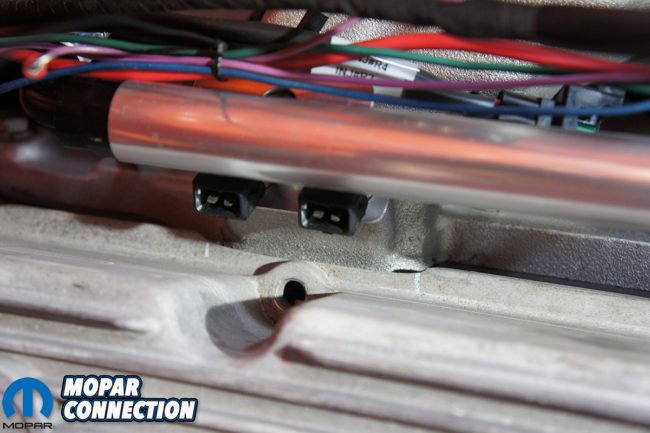
The intake was like any other intake install. We did coat the ports on the gasket with Ultra Black RTV to ensure there would be no leaks. The only issue we found after we installed the intake was that our standard valve covers do not fit the Super Victor intake. Yeah, this was a little disappointing but when we talked to August about the issue he explained why, “The Super Victor intake has extra tall ports for more porting or use with the taller Victor series heads.” This was understandable, so we had 2 choices: we either had to grind the manifold or grind our valve covers to fit. We never know what future motor builds Orange Crush might have so we opted to grind our valve covers.
After we torqued the manifold bolts down to 30ft-lbs and waited for the RTV to setup, we plugged in all the sensors, installed the water outlets, 190-degree thermostat and ran a PVC line. Be sure to install at least a 180-degree thermostat so the motor will stay above the 170-degrees. The ECU makes different decisions when the motors cold (under 170-degrees) vs warm (above 170-degrees). Due to the many different configurations, the water outlets were not included. We could have used the outlets from our old manifold but decided to get new ones. We stopped at our local automotive store to pick up a 3/4 NPT fitting for the bypass hose and a 1/2” NPT x 5/8” barb fitting for the heater hose.
Above left: We marked the valve cover where the manifold was touching. Above right: You can see where we ground down the valve cover. It might take a couple tries. Always take less than needed and be sure to clean the valve cover of any debris from grinding.
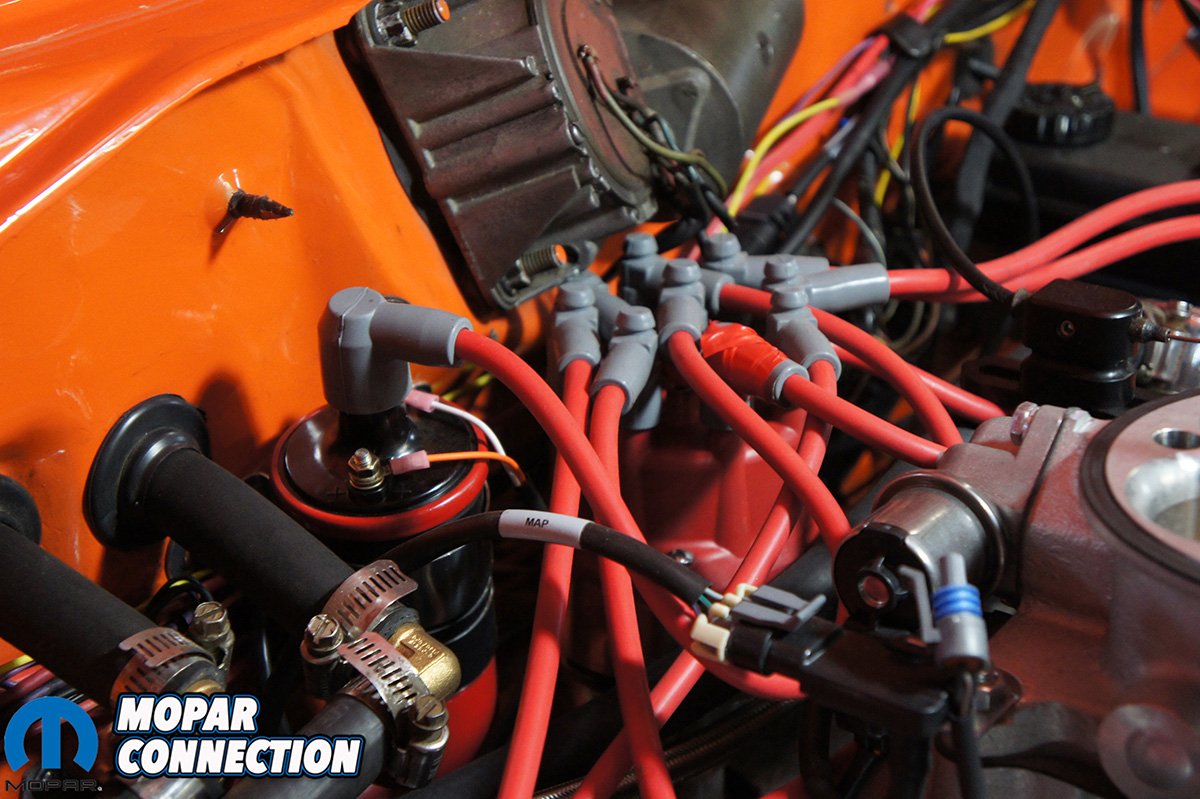
Above left: The Pro Flo 3 EFI manifold also does not have prevision for a coil mount unlike our RPM Air-Gap. It was a tight fit for us, but we mounted it on the firewall. Above right: With our 3 speed wiper motor it was a close fit with our MSD wires. We had to cut the tip of the wire to fit under the motor.
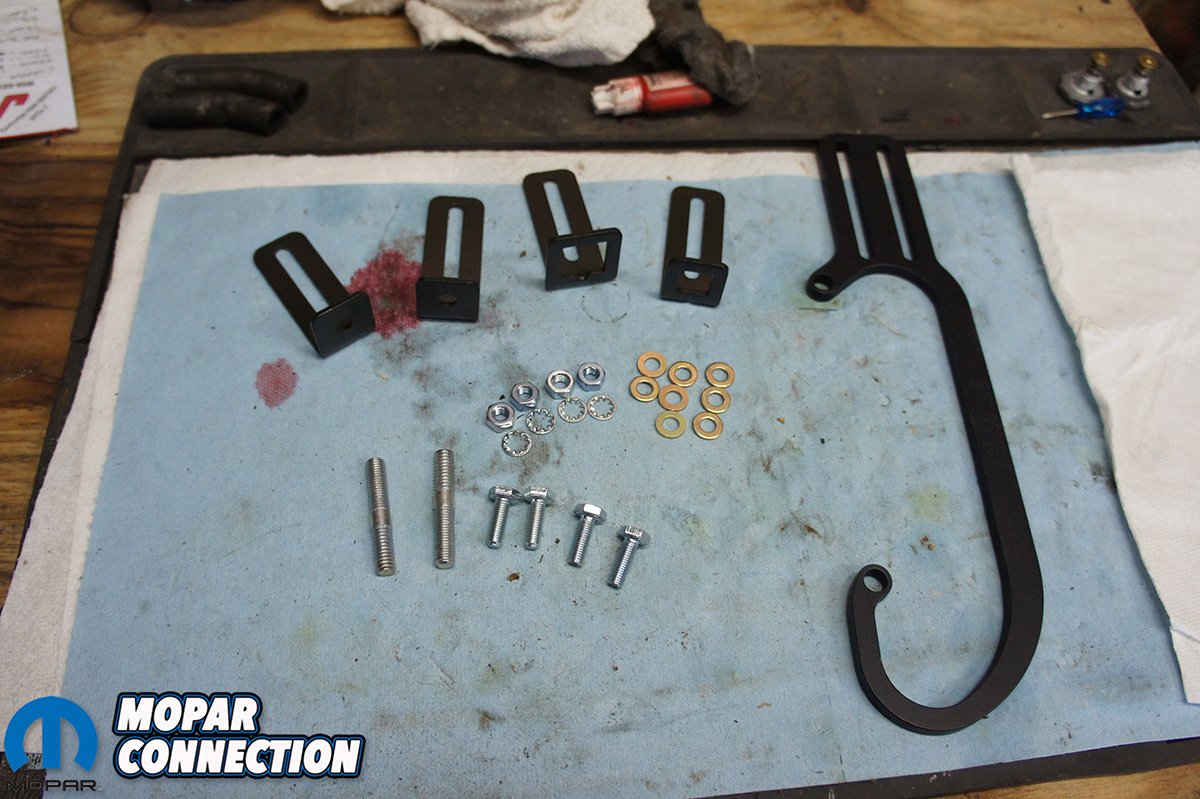
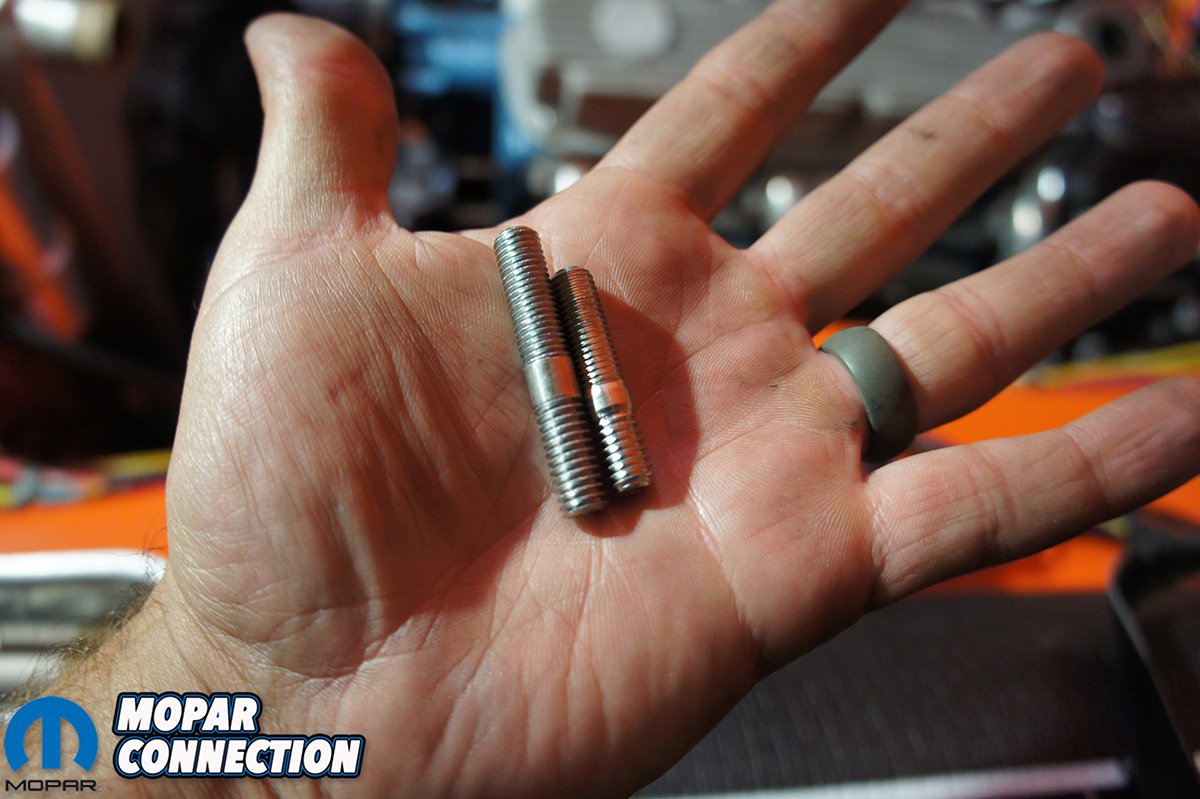
Top left: Comparing the installed stud to the longer one that needs reinstalled. Top right: Our old throttle bracket with the supplied throttle return spring installed. Bottom left: Edelbrock includes their own bracket and throttle cable mounts. It can also be used in conjunction with automatics too. Bottom right: The air inlet temperature sensor installed in our air filter base.
The Pro-Flo 3 EFI system will require you to install the provided air intake temperature sensor. The system comes with the sensor and a rubber grommet for easy installation. We cut a hole in the base of our air filter pan, inserted the grommet and then popped the sensor through. Be sure to disconnect the sensor when you remove the air filter, we have forgotten a couple times already and jerked the sensor out of the filter.
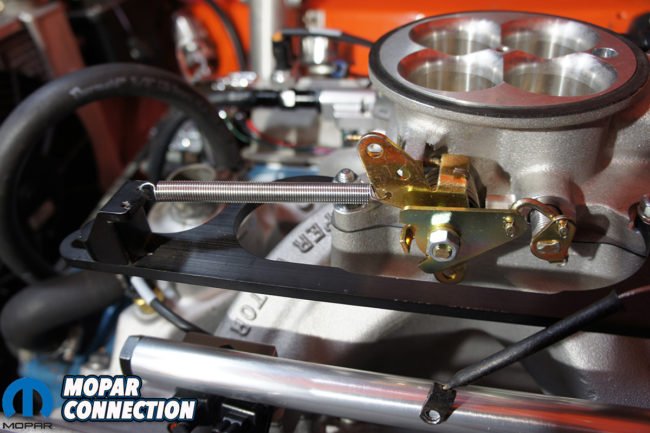
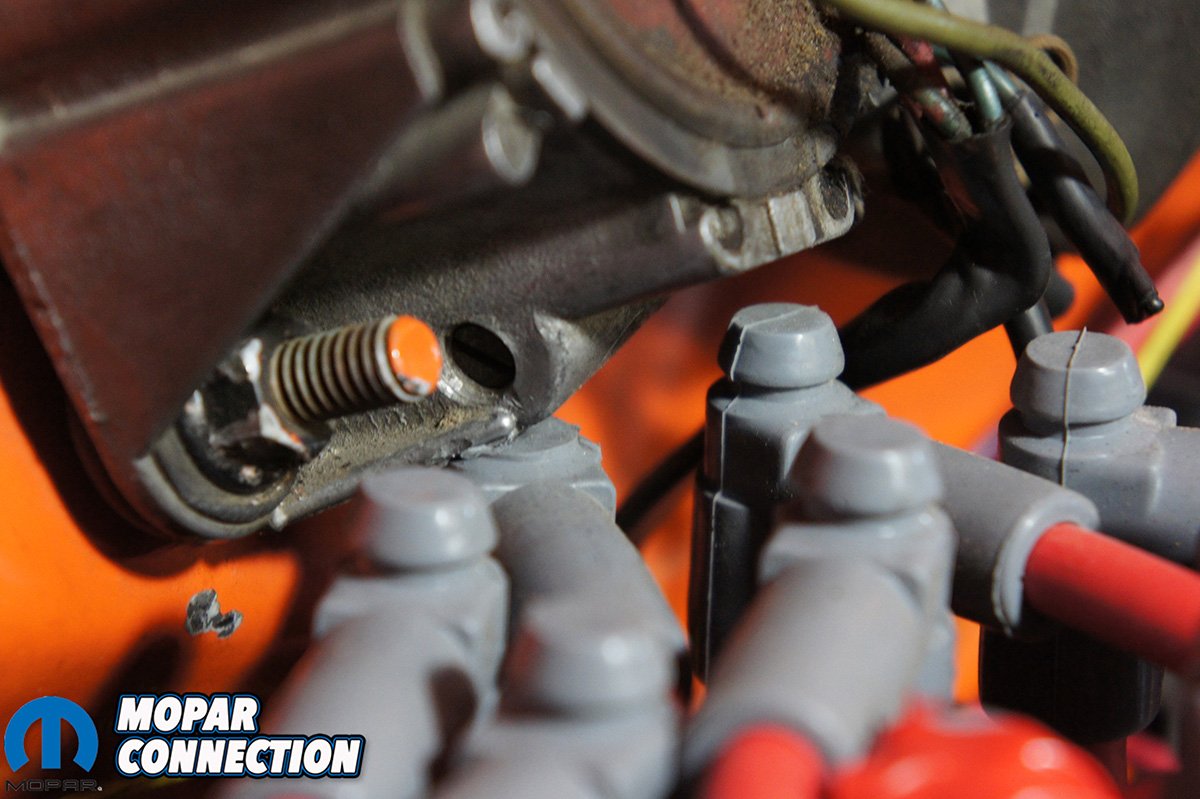
Edelbrock includes an adjustable throttle bracket and return spring. We already we using a similar style bracket and choose to stay with it. Be sure to hook up a throttle return spring what ever way you choose. The throttle body itself has an return spring built in but isn’t that strong and requires a second one. Also you will need to remove 2 throttle body mounting studs and replace them with the longer studs that are included.
Start Your Engines
With the intake installed, all the wiring hooked up and battery reconnected we were ready to fire up the engine. Be sure the tablet or your phone is fully charged before starting the setup. As we mentioned earlier Edelbrock uses the latest Bluetooth technology to allow you to place the tablet or phone anywhere inside the vehicle. We positioned the magnetic antenna under the dash below the radio.
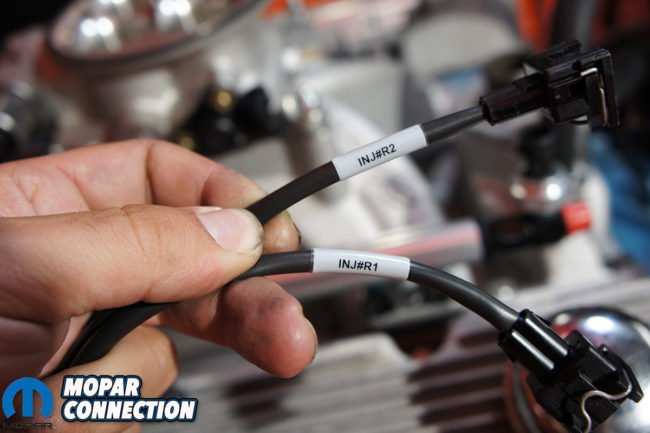
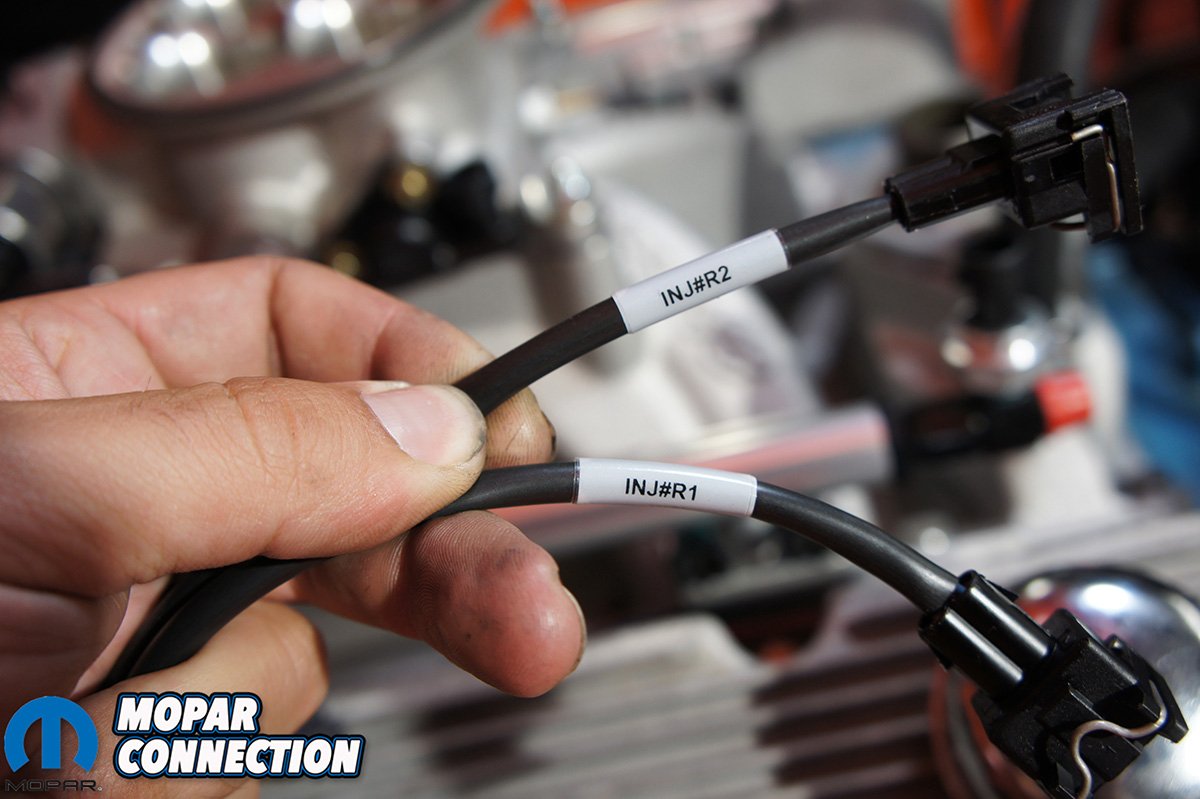
Above left: The antenna magnetic base comes with plenty of cable for multiple mounting locations. Above right: Every plug on Edelbrock’s Pro-Flo 3 EFI wiring harness is labeled for easy installation.
Above left: Have your timing light out and ready when you start the E-Turner setup. You will need to dial in the timing to 12 degrees once the E-Tuner app tells you. Above right: As you go through the setup remember that this Pro-Flo 3 EFI system uses 35lb/hr injectors, 58psi and 4150 style throttle body.
Once your device is charged, refer to the Edelbrock’s Pro-Flo 3 EFI Quick Reference Guide. We can’t say it any better than their guide can. However here is some info on our system to help answer the set up questions: The sump is set at 58 psi, has 35 lb/hr injectors and the manifold is the 4150 style.
Take your time there is no need to rush through it. If you don’t know an answer or are confused you can easily E-Tuner User Manual or click the “?” at the top corner of the app. You can also call Edelbrock’s EFI tech line for help too. Any incorrect information could cause poor performance or a no start condition.

Above: At last the Pro-FLo 3 EFI is running and starting to learn. We like using the digital display for our gauges as it shows us almost everything the motor doing.
Once you complete the setup and have the car running you’re finished. The system needs to start learning and the best thing you can do is drive it around town as much as possible. As first try to avoid jumping on the freeway and going for a long cruise. The system needs to have different loads on the car and variation in RPMs for learning. Remember the more you drive the more it will learn and the better it will run.
We cant say enough of how impress we are with Edelbrock’s Pro-Flo 3 EFI system and Universal EFI Sump. They were both easy to install, didn’t require a new fuel system and took us just a couple of days to complete. You might be wondering what the dyno results were after the install and that will have to wait until next time. In a future article we will go into further detail of the adjustments we made, how much power we netted and few other tips. We are sorry but there is too much awesomeness to fit into one article.












































Great article. I’m looking into the Pro-Flo 4, but still find this article to still be very relevant. Soooo…any updates on the performance improvement? …add’l horsepower, torque, etc?
Thanks.
The Pro-Flo 4 is installed and set up the same way as the 3. The Pro Flo 4 is more refined than the 3. Unfortunately we have not had the time to dyno Orange Crush after the install. Since the system is self-learning and did not require us to have it professionally tuned on a dyno. What we can say is that from the seat-dyno the performance has increased across the whole spectrum. No issues on hard acceleration, braking, turning, and no matter the temperature it fires right up. We wish we would of installed the Pro-Flo 3 sooner.