


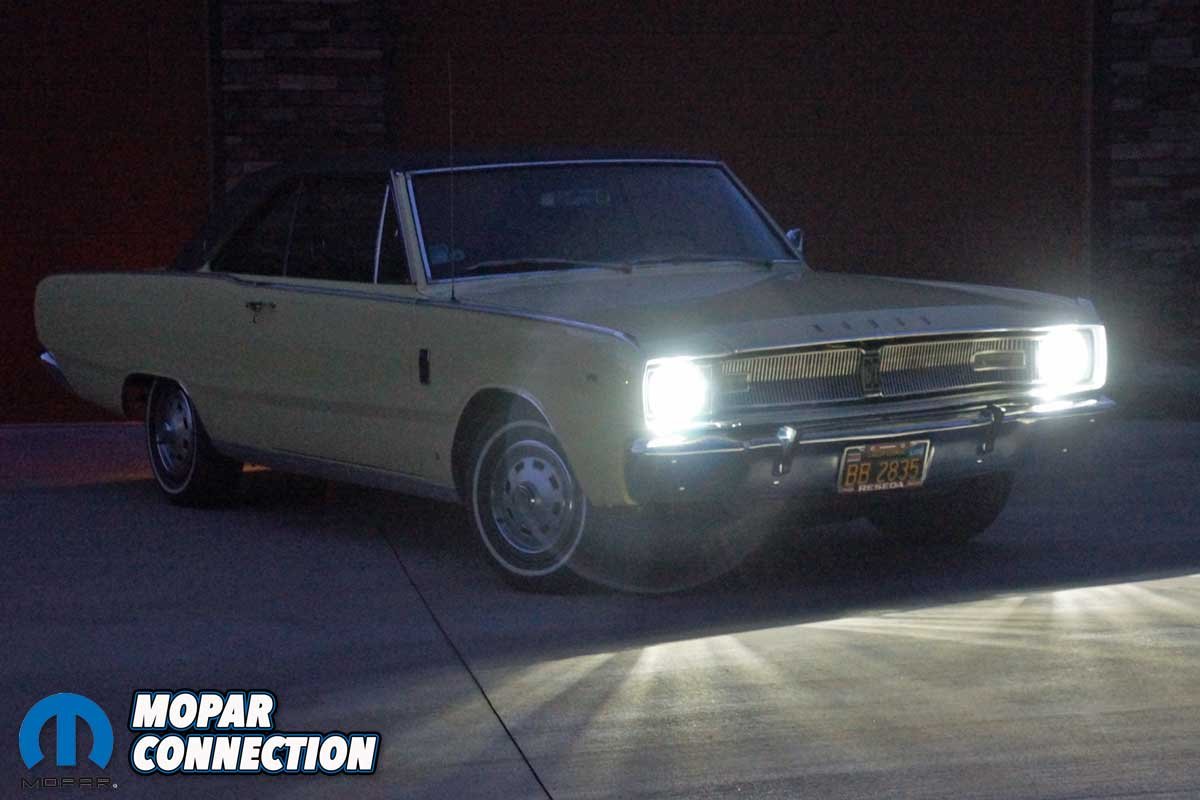
Last year, Mopar Connection Magazine published “Light up the Night”, an improvement of the headlight circuit for vintage Mopars that did not require any cutting of factory wires. It included a dual-relay control update, and we modernized the headlight connectors to H4-style, 3-pin type female terminals.
Finally, to top off the conversion, we installed a pair of Hella Vision Plus 12 volt low/high beam 55-watt halogen conversion bulbs, which were the best and most affordable headlamps for our test vehicle, a ’67 Dart. However, it seems every time we reach what we consider is the pinnacle of nighttime driving illumination in our Dart, a better aftermarket part hits the market.


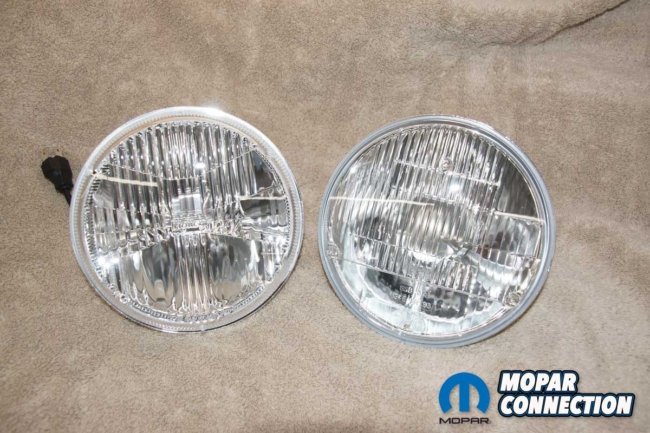
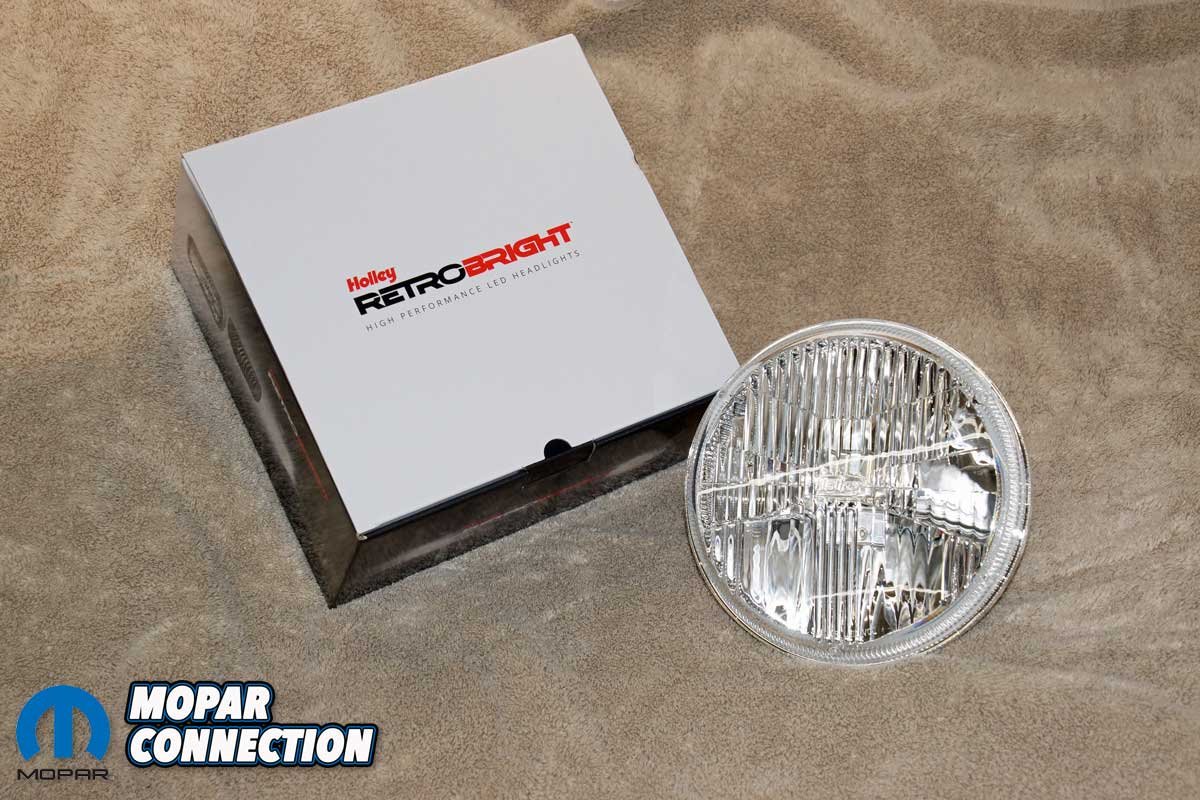
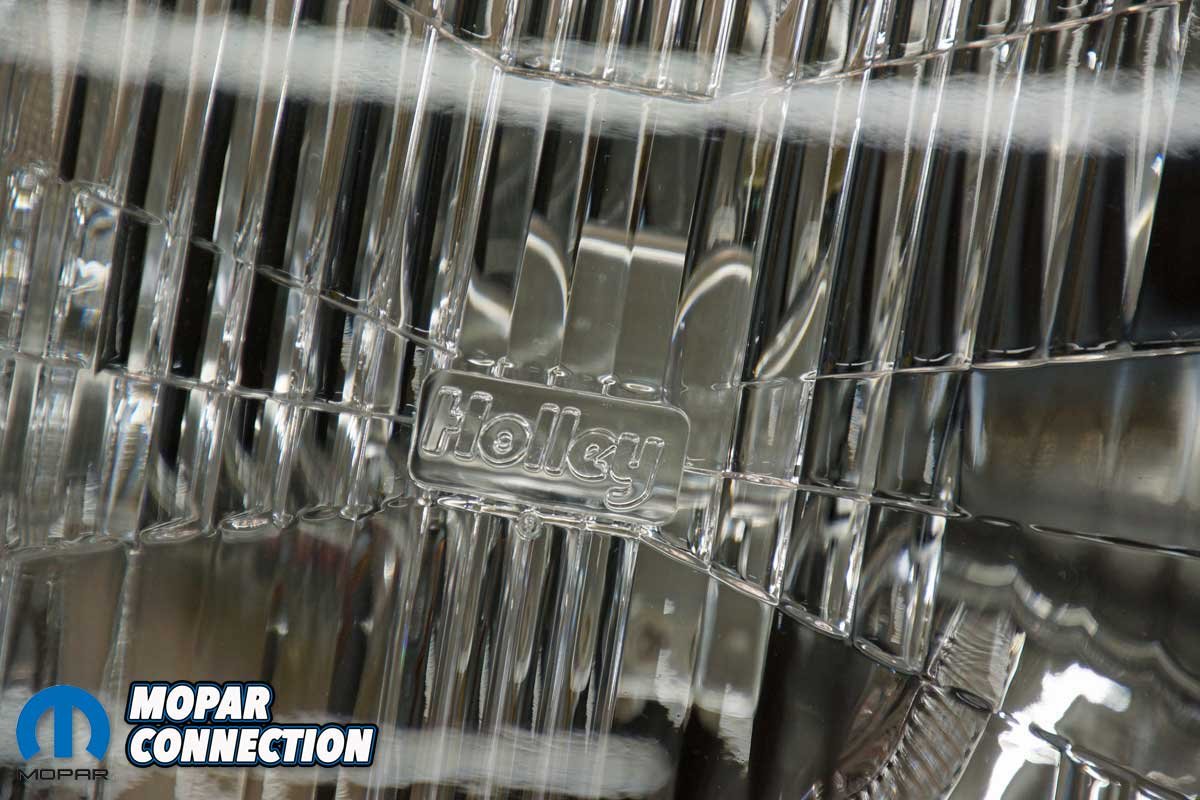
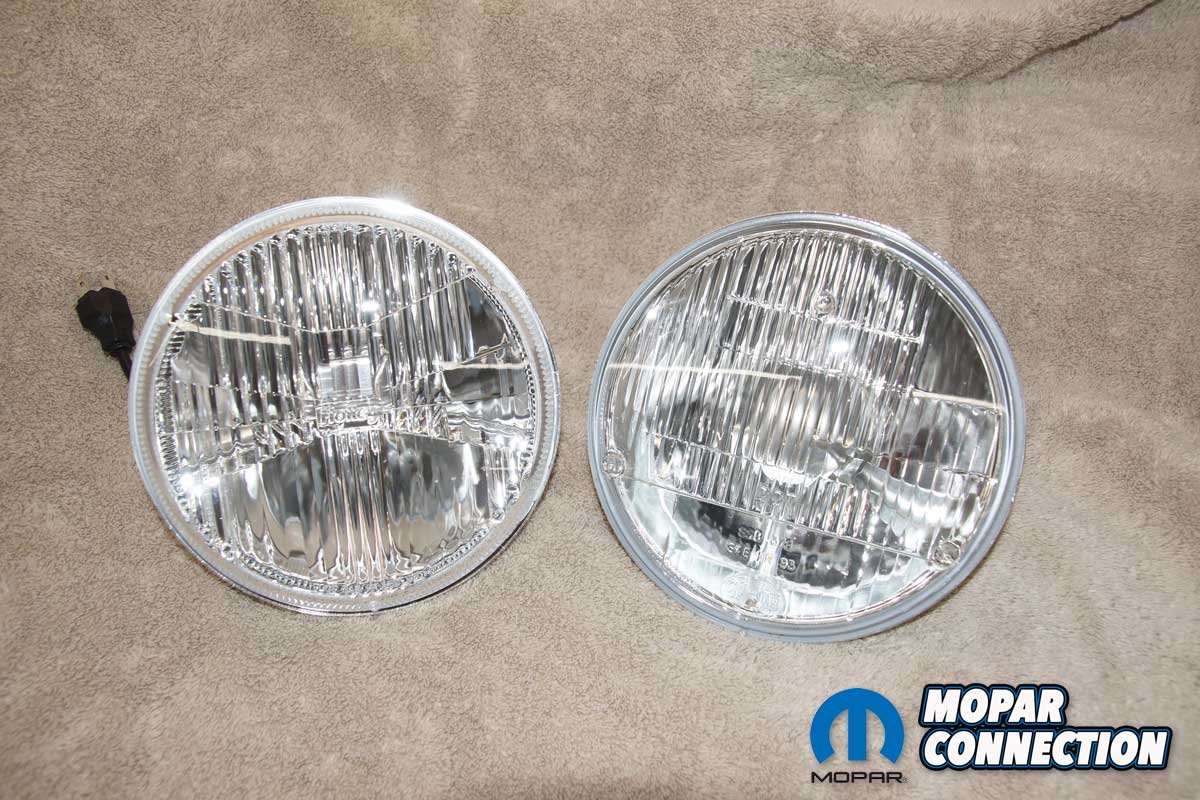
Above Left: Holley has recently introduced the RetroBright LED headlights that fit most vintage Mopars (round and rectangle shapes). Above Right: The headlamps are designed with a vintage sealed beam appearance like the originals. In addition, the RetroBright lights come with the Holley insignia on the composite lens.
Holley has expanded its business into the lighting arena with the all-new RetroBright LED Sealed Beam headlight. With the participation of Morimoto, a worldwide leader in automotive lighting, the RetroBright lights add modern brightness and performance without losing the classic sealed-beam appearance.
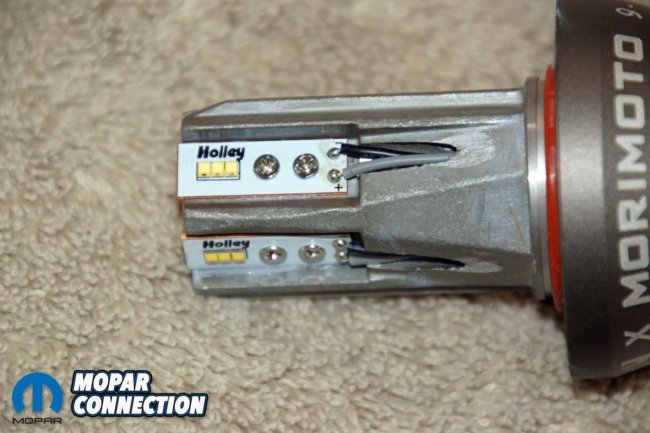


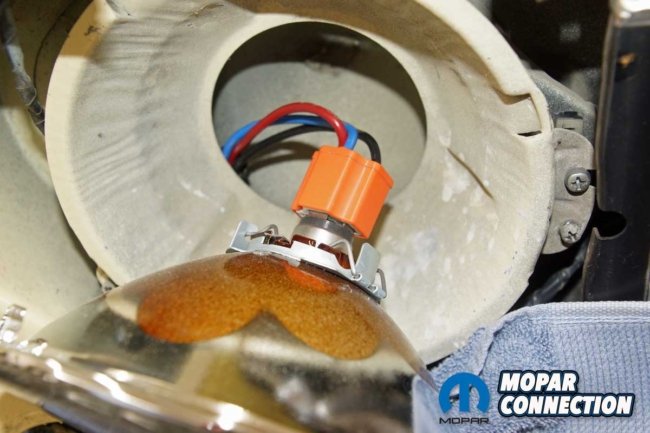
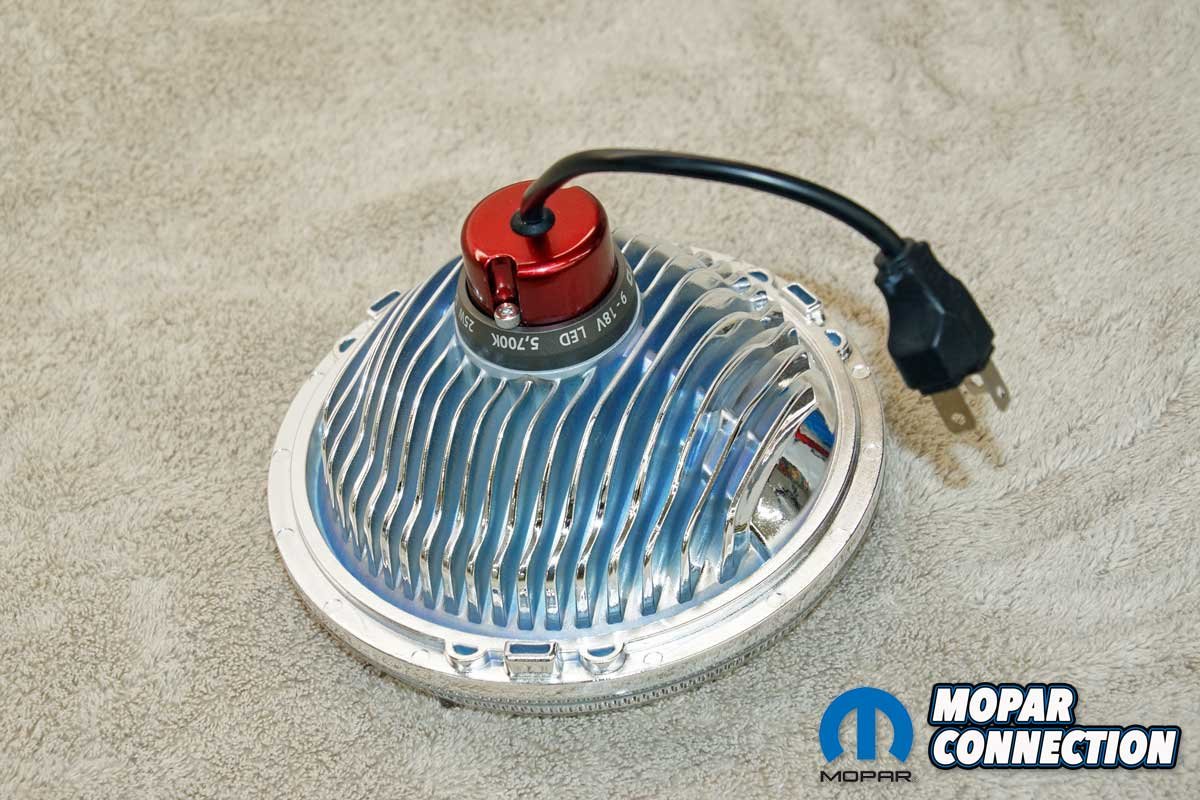
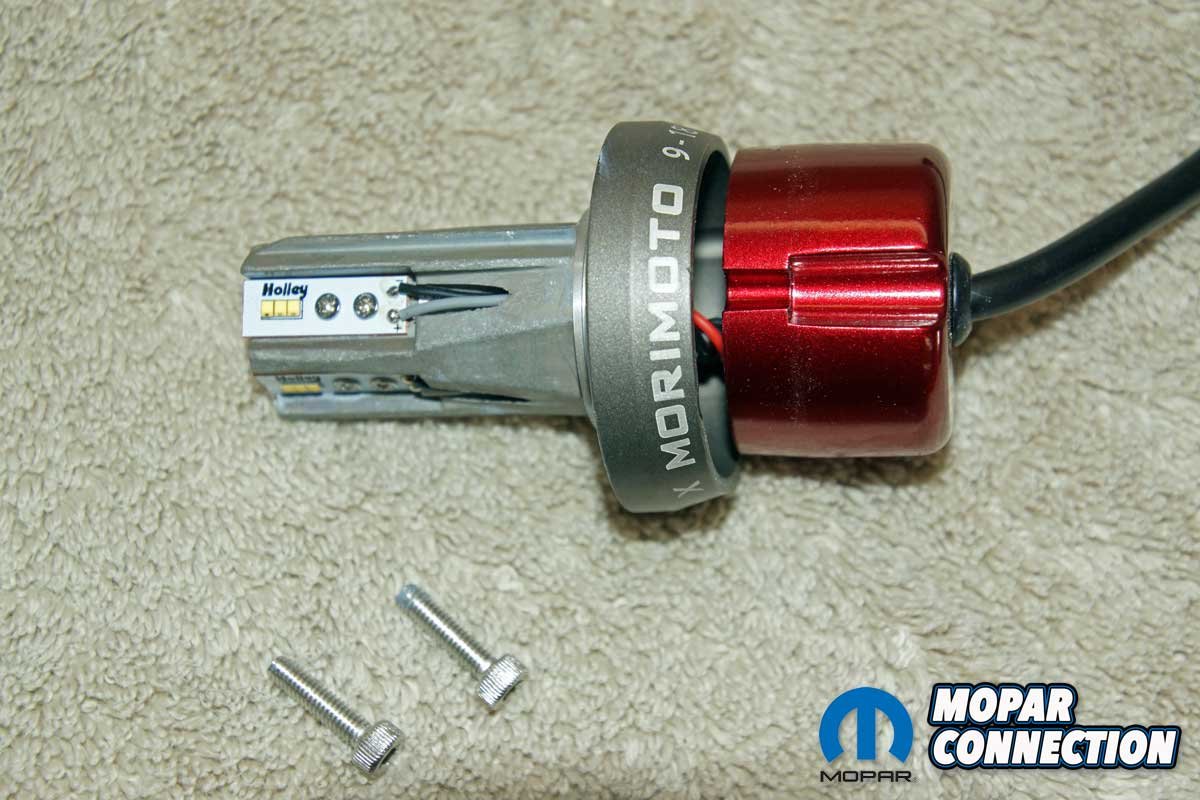
Above Left: The LED bulb consists of several LED elements placed around the circumference of the housing. Above Center: The LED bulb is replaceable. Two screws hold the LED and sealed connector in the housing. Above Right: A whip extension from the assembly attaches to the vehicle’s headlight connector.
The Holley RetroBright sealed beams are available in round or rectangle configurations, and each shape comes in two different sizes (round – 5.75- or 7-inch, rectangle – 4×6- or 5×7-inch). In addition, the color of the light comes in a modern bright white (5700 Kelvin color temperature), a classic white (3000K), or a euro-style yellow (5700K). We selected a pair of 7-inch round, modern, bright white sealed beam headlights (part no. LFRB155). Holley sells each RetroBright light separately.

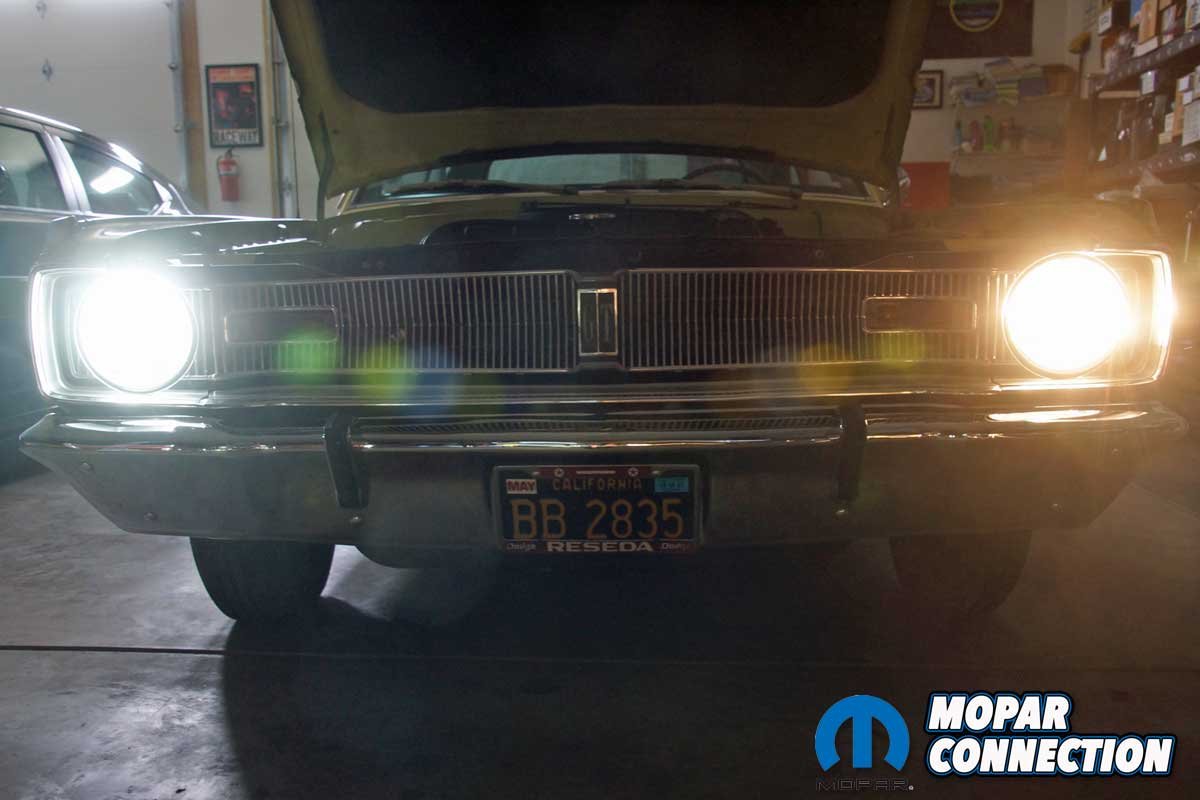
Above Left: The Hella Vision Plus headlights provided decent nighttime driving lighting with low beams. Above Right: Equally, the lights provided good lighting in high beams. In both cases, the light color was slightly yellow, which is similar to the OEM appearance of the 1960s.
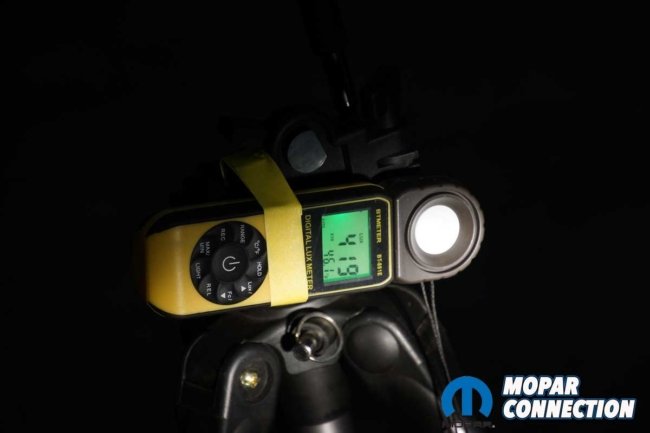
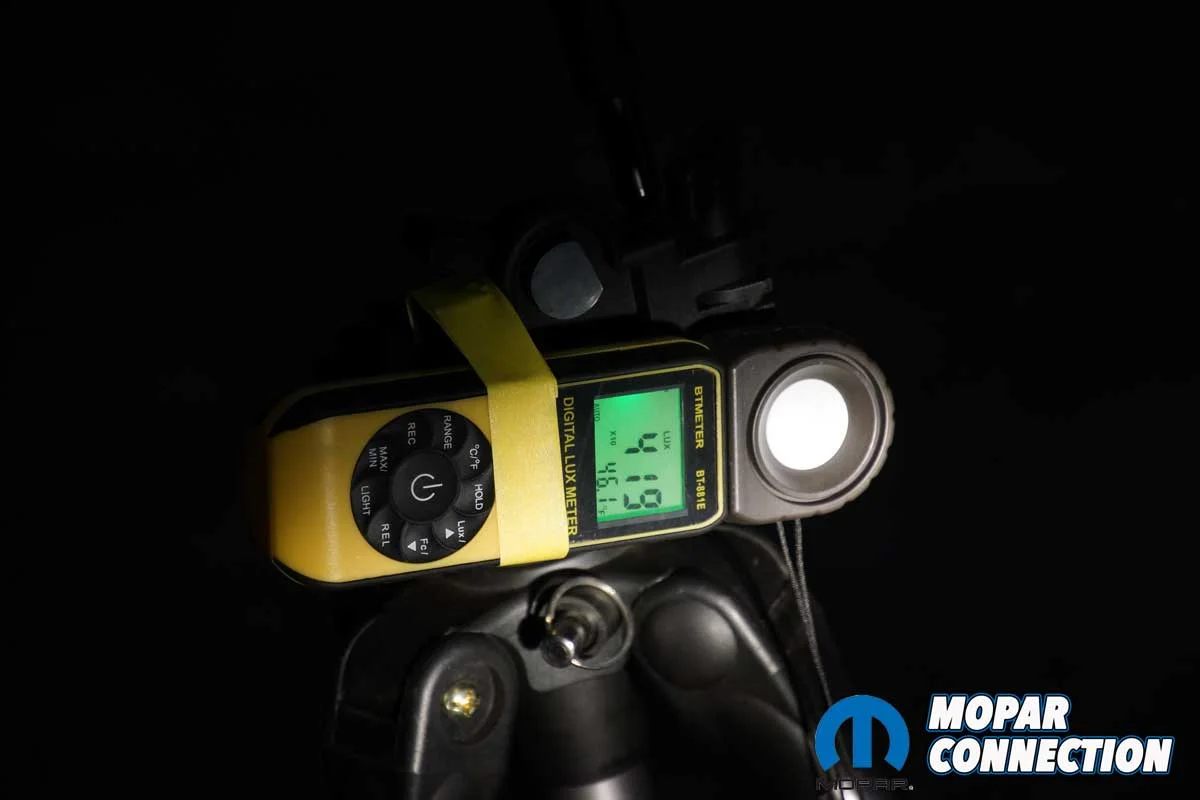
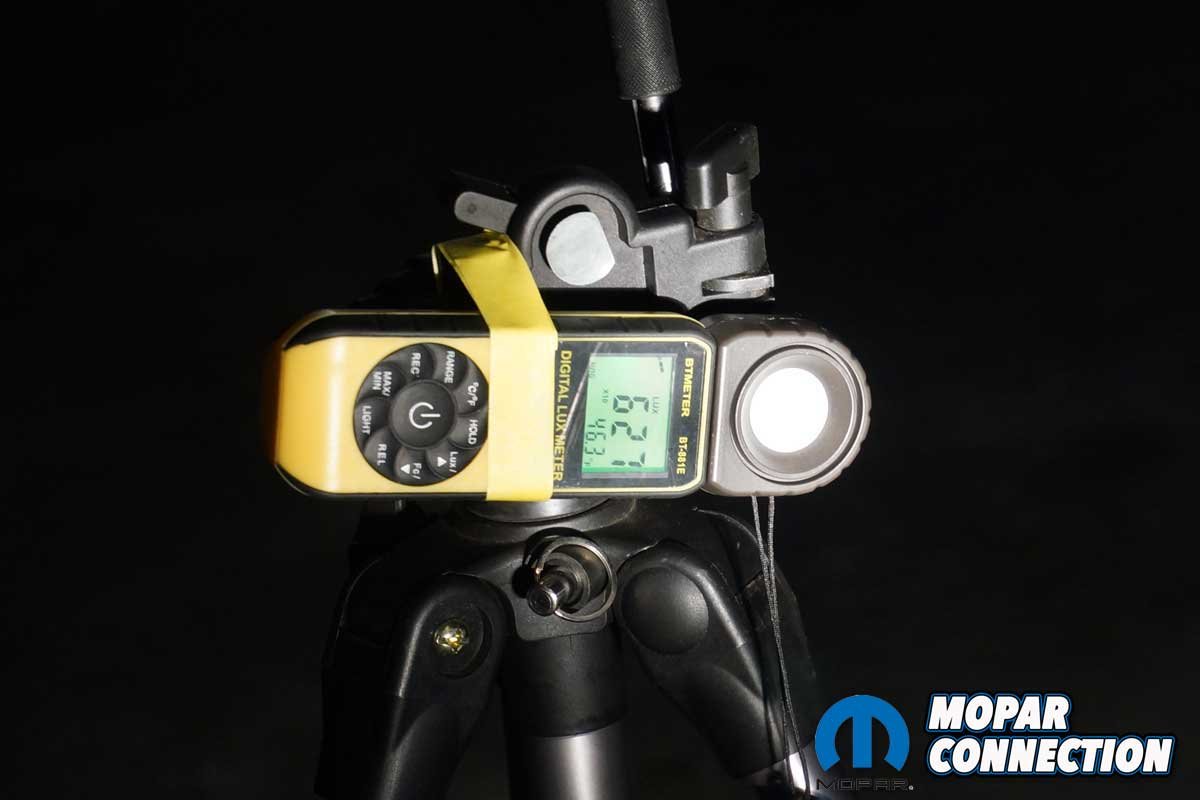
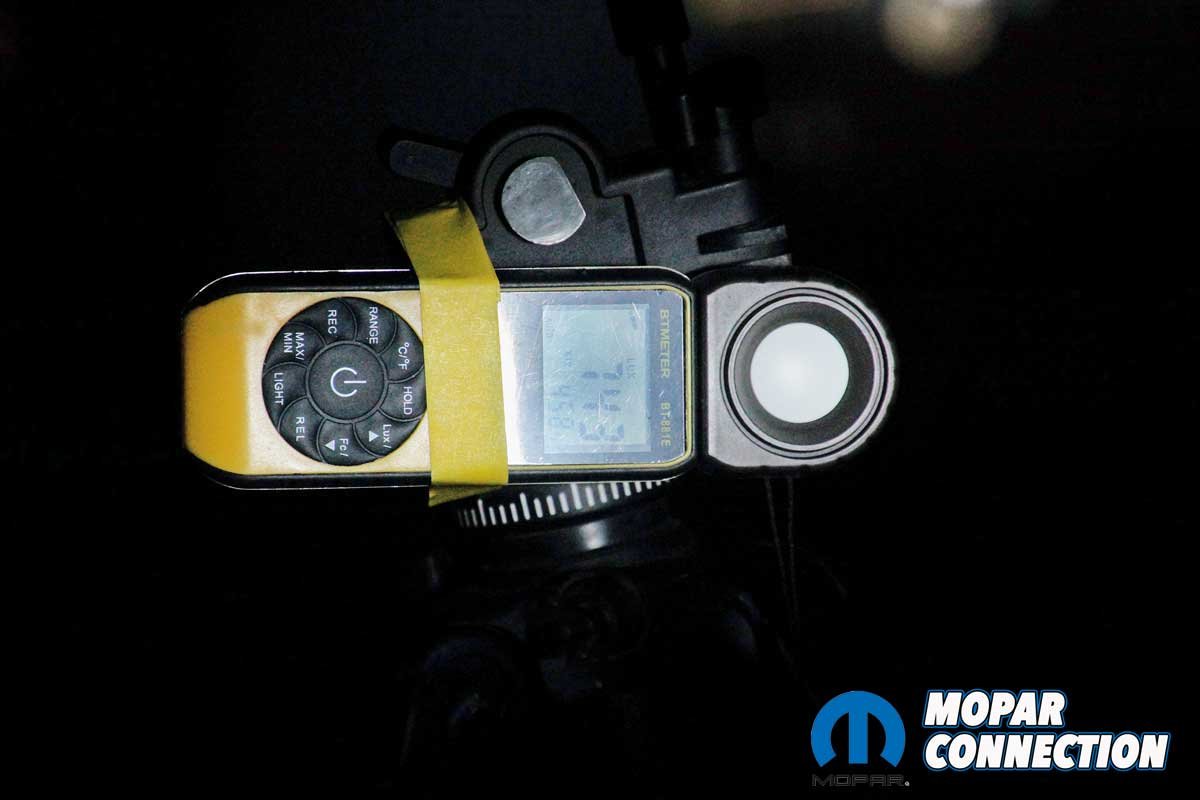
Before we started the installation, we mounted our lux meter, which measures light intensity in lumens per square meter, to measure the illumination strength of the Hella halogen bulbs. With the engine running and the headlight selector in low beams, each headlamp provided 41,900 lux. Switching to the high beams resulted in each headlamp increasing to 62,700 lux.
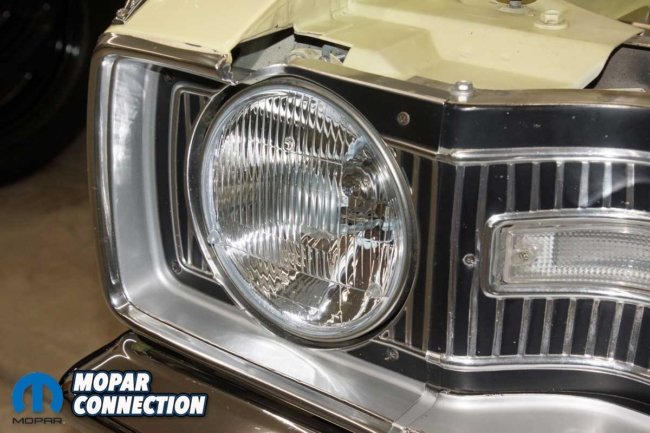

Above Left: The Hella sealed beam fits well and looks original. Above Center: In low beams, each Hella light provided 41,900 lux. Above Right: Flipping to high beams, the lux meter read 62,700 lux.
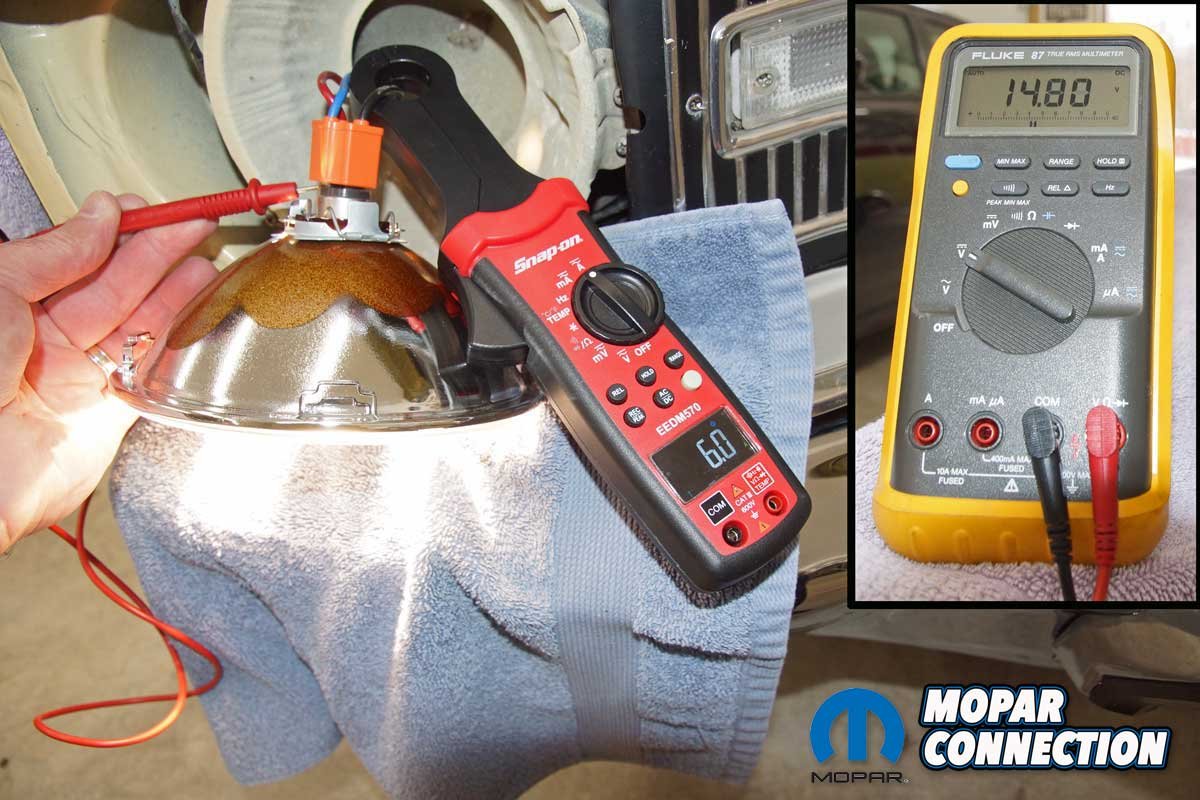
The testing continued with measurements of the amperage output and voltage drop across the headlamps. Each low-beam headlamp dropped 14.79 volts and drew 5.5 amps (11 amps for both headlamps). When the high beams were selected, the voltage drop was 14.80 volts, and the amperage draw increased to 6 amps (12 amps for both headlamps). Satisfied with the voltage drop, amperage draw, and lux measurements, we proceeded to install the RetroBright headlamps.


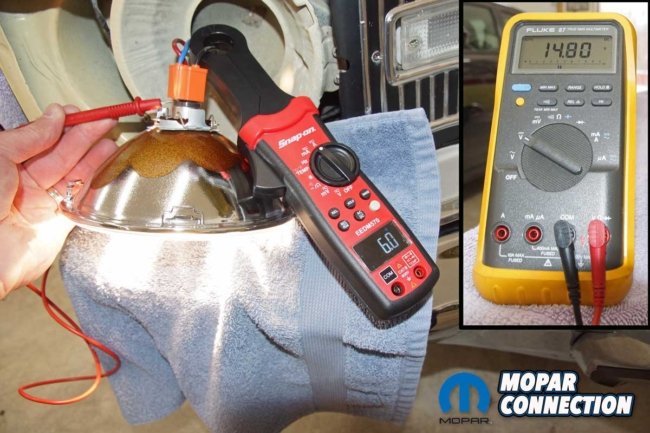
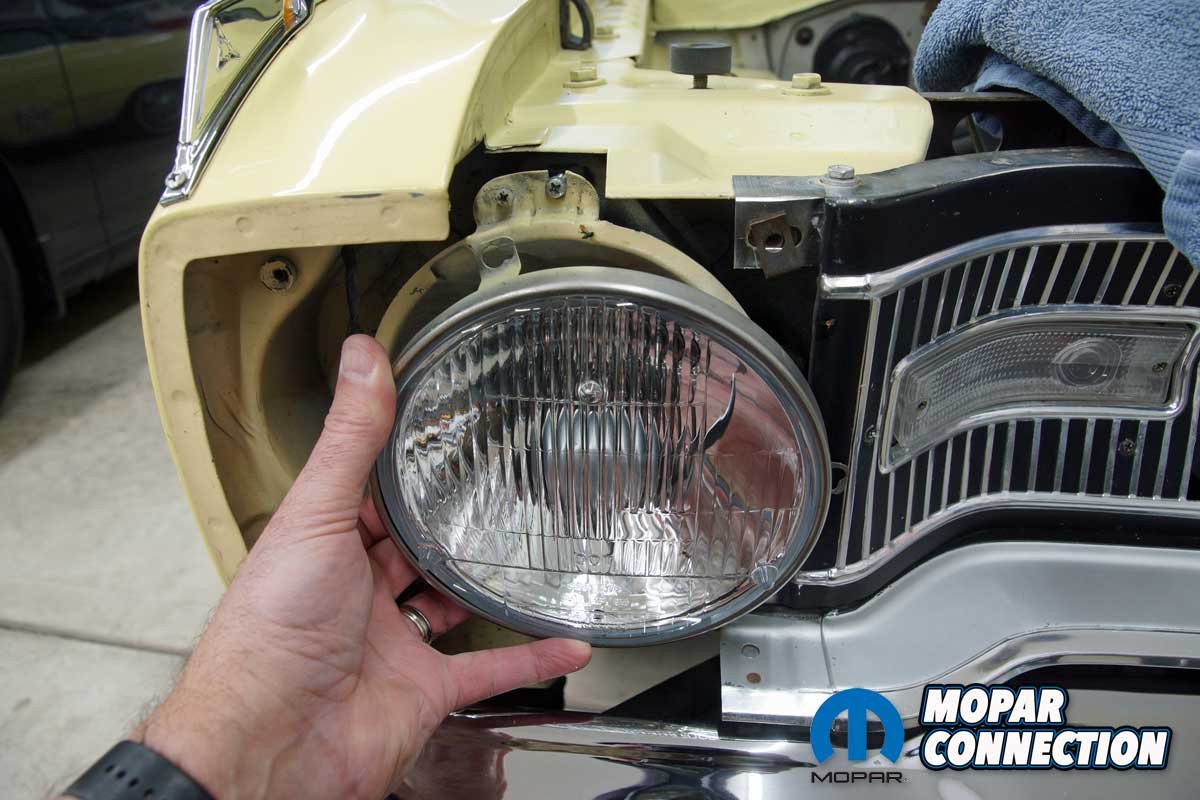
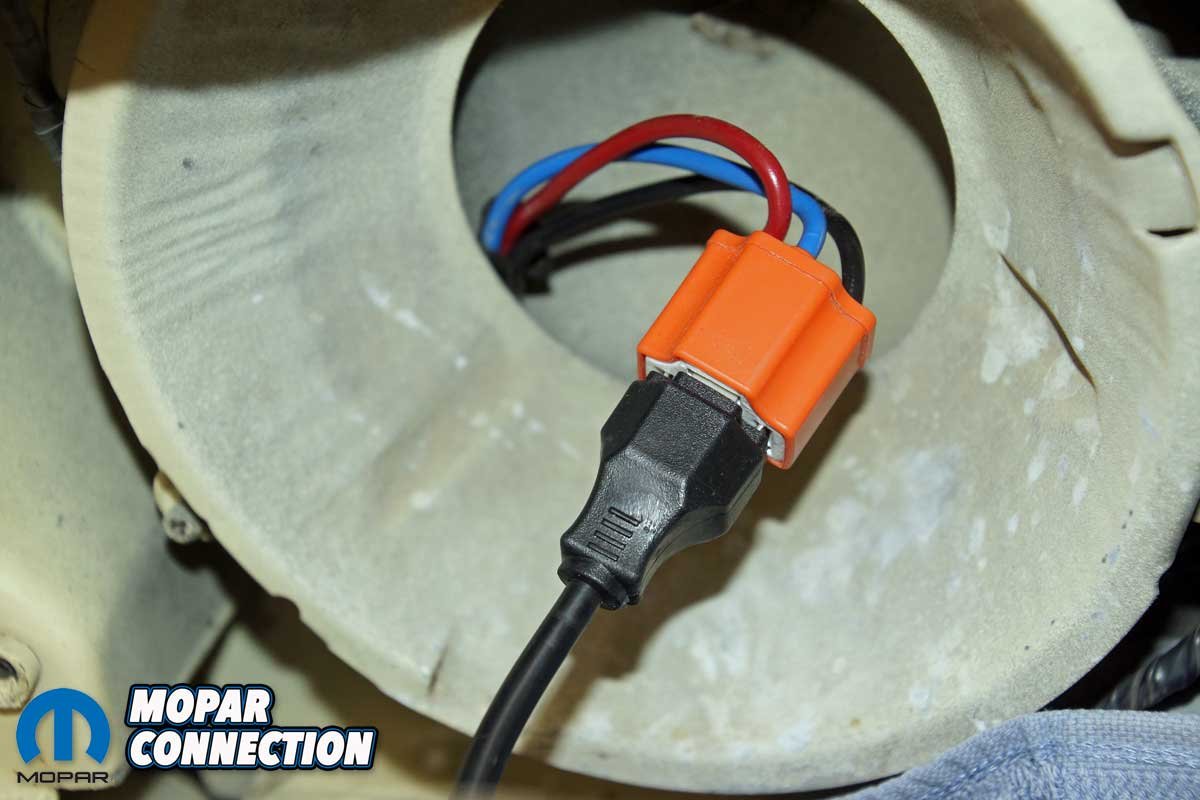
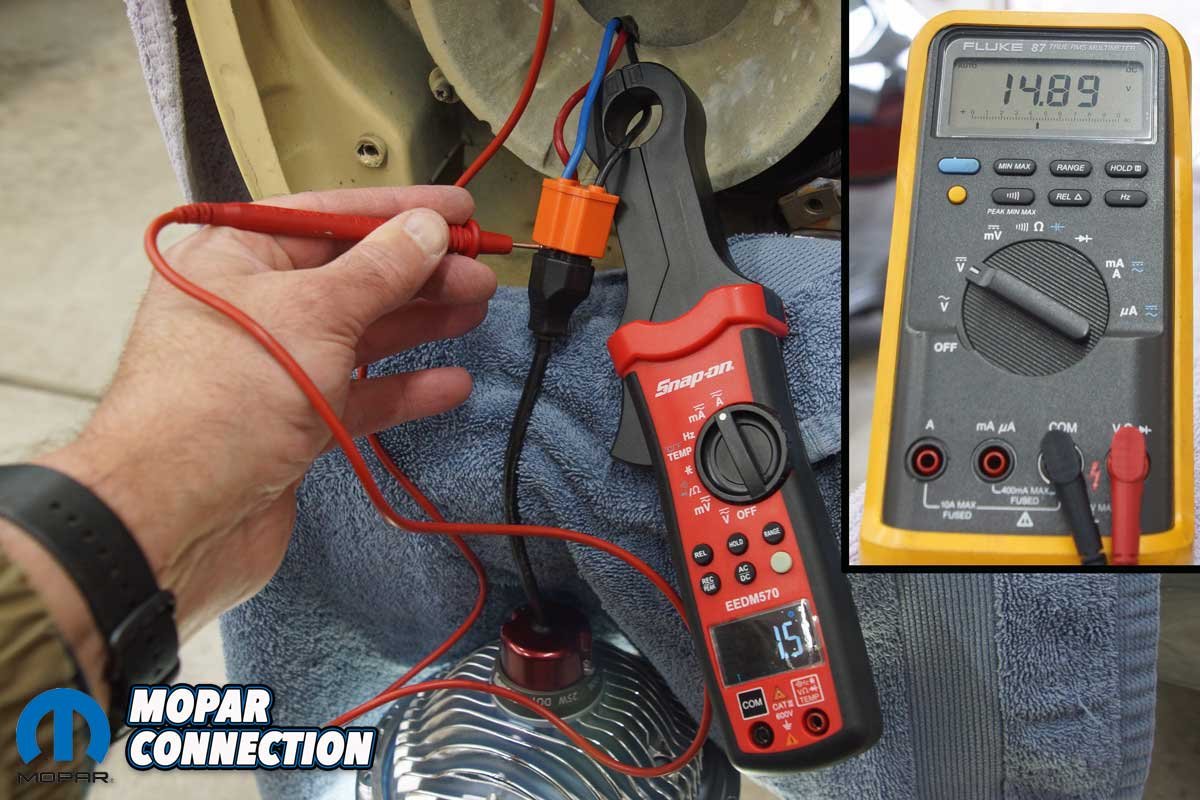
Top Left: With the bezel removed, we loosened three screws to release the headlight retainer ring. Top Right: The Hella light was connected to an H4 connector we added during an earlier article. Bottom Left: At 14.79 volts (inset photo), each headlamp had an amperage draw of 5.5 amps (11 amps total) in low beams. Bottom Right: In high beams, the amperage increased to 6 amps at each bulb (12 amps total) with 14.80 volts applied to each bulb.
Because we had updated the lighting circuitry of the Dart, the removal and installation of the headlights were straightforward. A factory service manual provided detailed steps for removing and installing each headlamp. At the front passenger side, we removed the four screws that secured the bezel to the grille and fender. The headlamp retainer ring had three screws that were loosened to allow the ring to be rotated and removed. The headlamp slipped from the bucket. Lastly, we disconnected the H4 connector and pulled the headlamp.


Top Left: The appearance of RetroBright housing (left) is nearly identical to the OEM light (right). Top Right: We installed the lead from the RetroBright light into the H4 connector. Bottom Left: We retested the amperage and voltage with the Holley light, and in low beams, the amperage at one bulb dropped to 1.5 amps (3 amps total) at 14.89 volts. Bottom Right: In high beams, the amperage was 2.2 amps (4.4 amps for both bulbs) at 14.89 volts. The amperage drop difference between the Hella and RetroBright lights in low and high beams was significant.
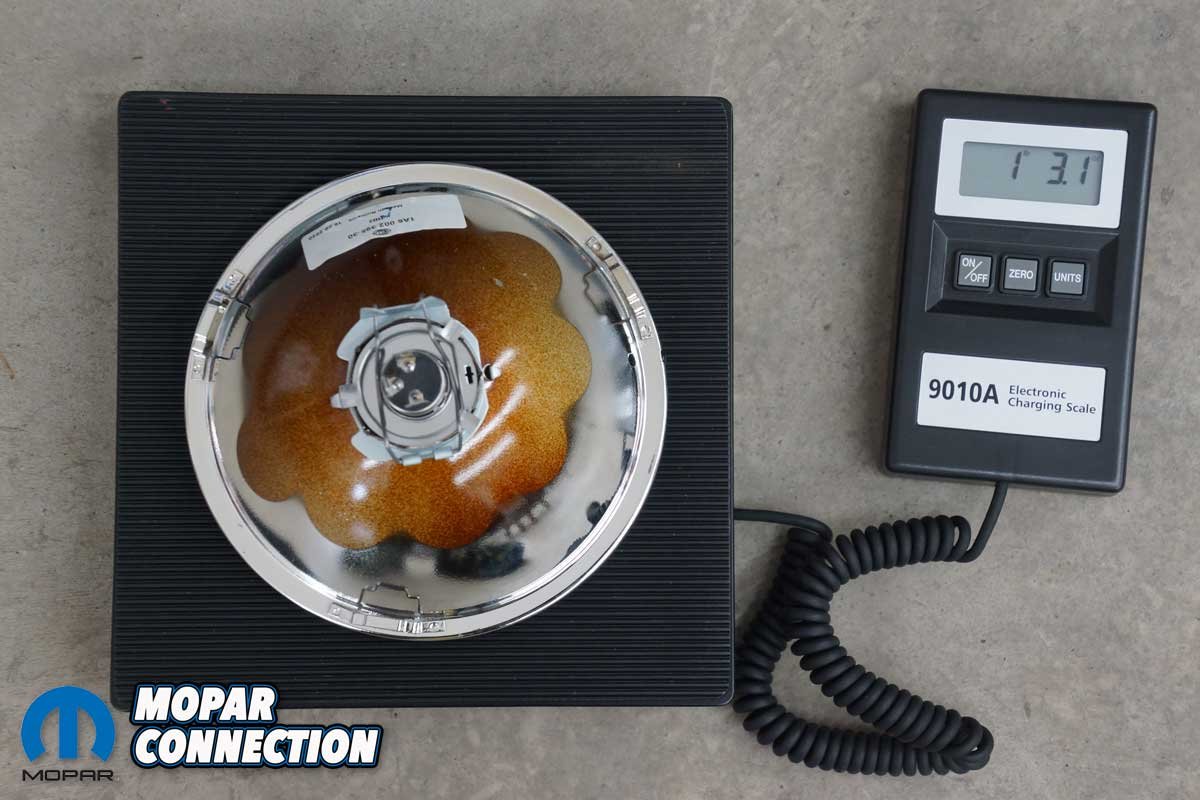
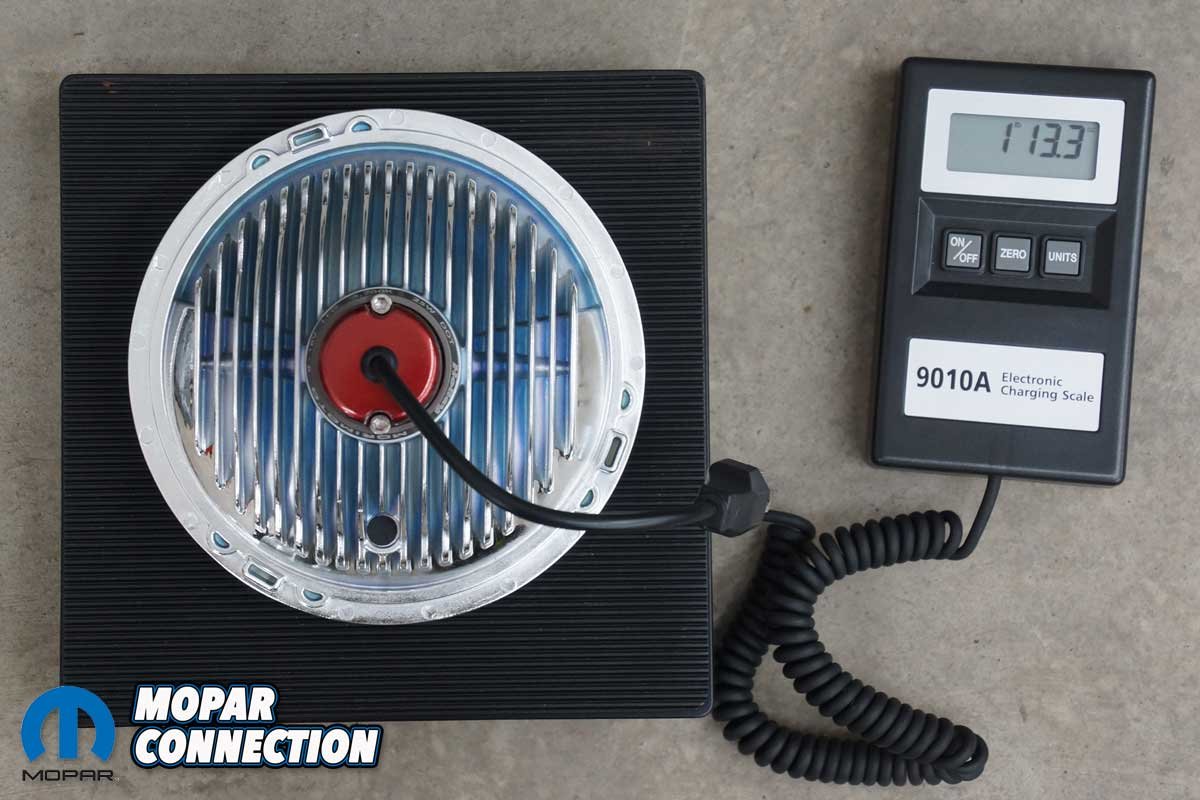
The Hella bulb and a RetroBright bulb were placed lens side down on a table. The depth of each bulb was very similar. The RetroBright light did have an extended whip wire for the H4 connector rather than having the H4 connector attach directly to the bulb, like the Hella light. For fun, we weighed the RetroBright and the Hella light. The RetroBright weighed in at 1 lb. 13 oz., which was 10 ounces heavier than the halogen.


Above Left: For fun, we weighed the lights. The Hella light was 1 lb. 3 oz. Above Right: The RetroBright light weighed in at 1 lb. 13 oz., which was a difference of 10 oz.
We plugged the RetroBright connector terminals into the H4 connector and tested the LED bulb’s voltage drop and amperage draw. With the engine operating, the voltage drop was 14.89 volts, and the amperage draw had dropped to 1.5 amps (3 amps total for both bulbs) in low beams. In high beams, the amperage rose to 2.2 amps (4.4 amps total for both bulbs), while the voltage drop remained 14.89 volts. The amperage draw in low- and high-beams was significantly lower with the LEDs compared to the halogen lights.

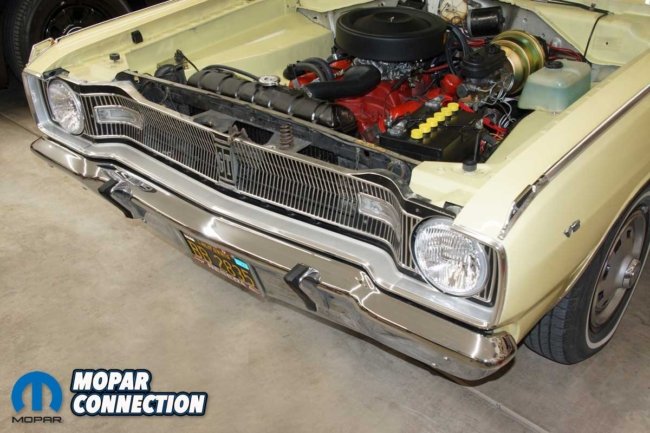
Above Left: The difference between the Retrobright light (left) and the Hella light (right) is noticeable in low beams. Above Right: With both LEDs installed, the headlights look OEM.
The most challenging part of the RetroBright housing installation was wrapping the LED extension connector behind the headlamp bucket. After the H4 connector was tucked out of the way, the headlamp ring was applied to the housing. We engaged the ring to the headlamp bucket and tightened the three screws to secure the housing to the bucket. Next, the bezel was reattached with the four factory fasteners. After completing the passenger side installation, we followed the same steps to install the LED on the driver side.
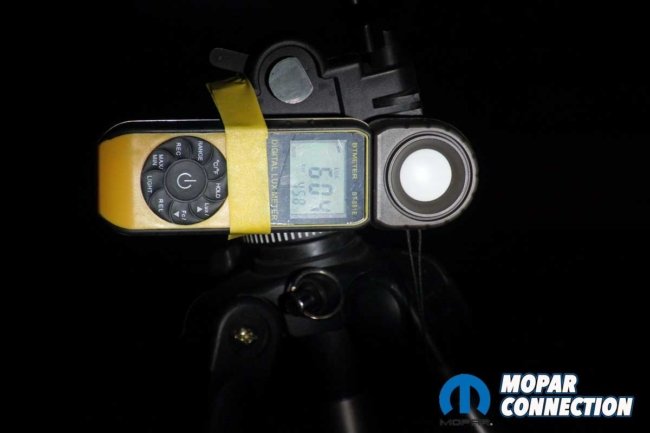

Above Left: The RetroBright LEDs provided a low beam light intensity of 60,400 lux per bulb. Above Right: The LEDs put out 74,300 lux per light in high beams. The lux meter showed a tremendous increase in lighting intensity over the Hella bulbs in low and high beams.
Our final test of the RetroBright LEDs was to measure the changes in lux compared to stock. The low-beam intensity rose to 60,400 lux, which was close to the intensity of the high beam halogen lights. The high-beam intensity increased to 74,300 lux. In both cases, the light intensity substantially increased over the halogen lights.


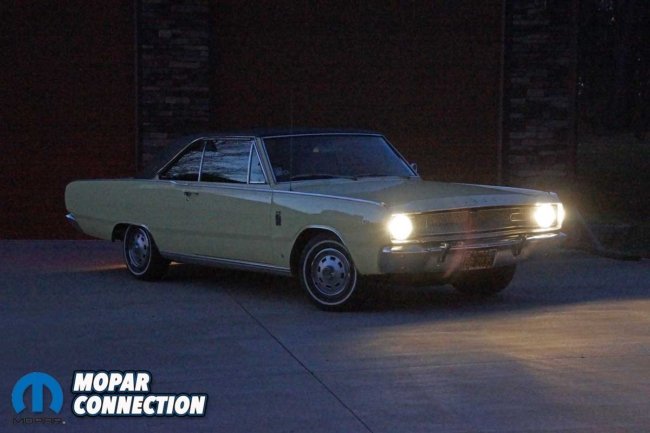
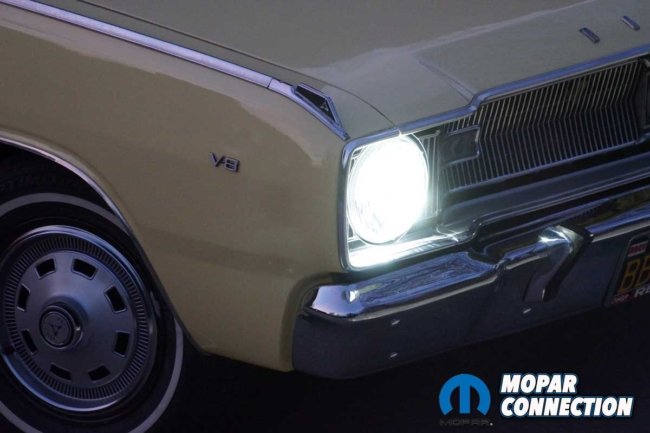
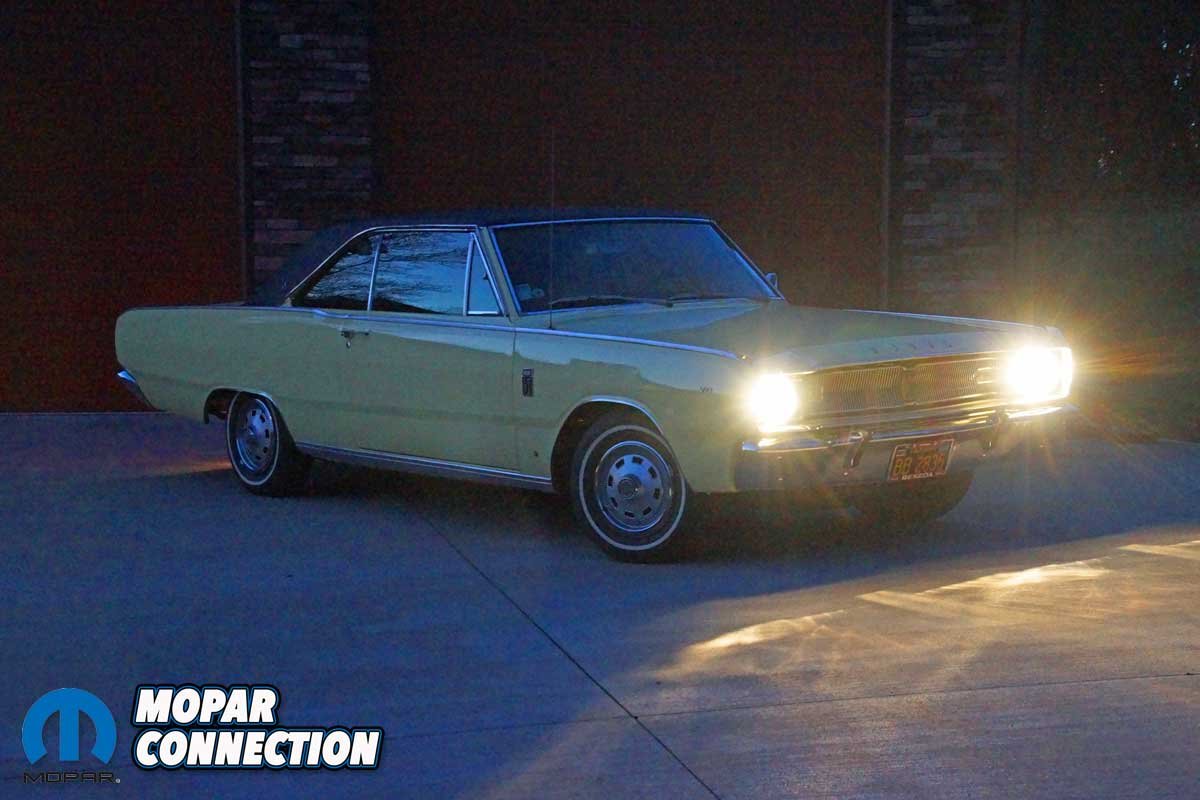
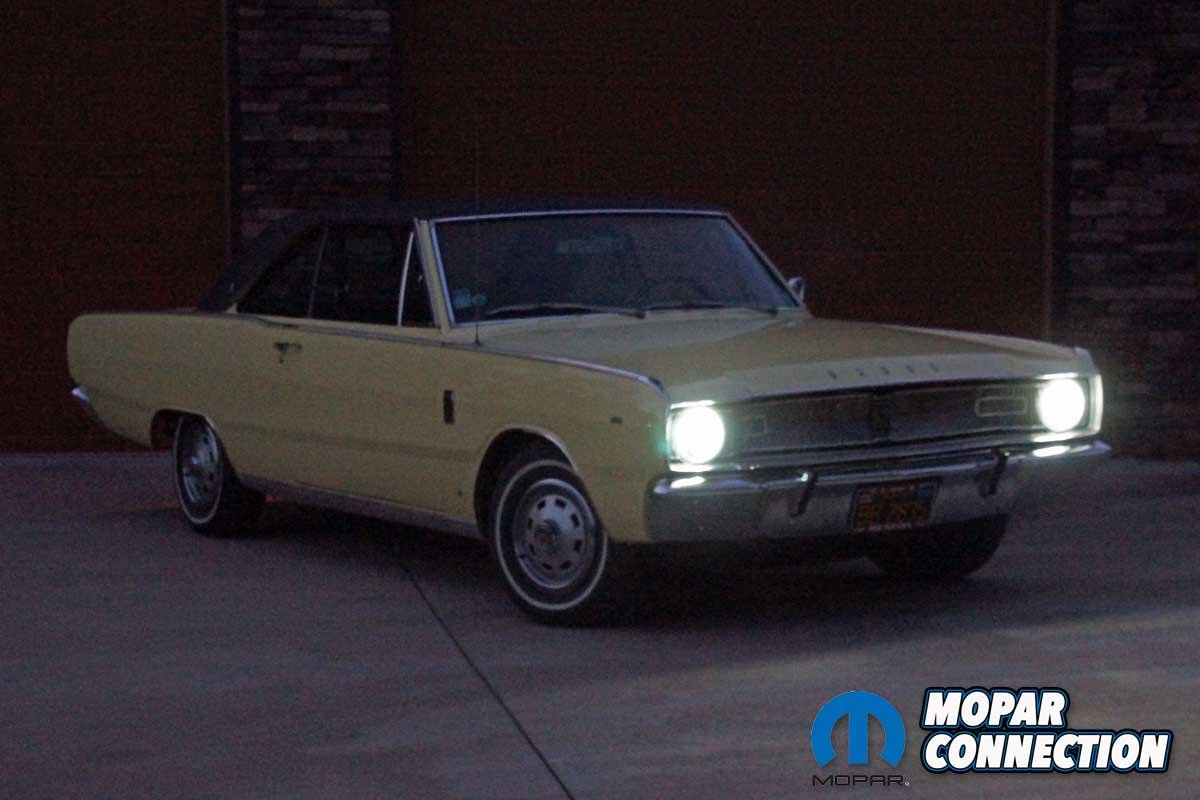
Above Left: The LED lights provide a more modern bright white color than the halogen lights. Above Right: When the high beam selector was depressed, high beams were extremely bright. The RetroBright lights mimic the lighting quality of any late-model vehicle.
We took the Dart for a night drive, and we were impressed with the illumination. The light was a much cleaner white color instead of a yellowish-white color. Because we had properly aimed the headlamps as part of the “Light Up the Night” story, we did not experience any problems with the brighter lights troubling oncoming traffic. Nobody flashed their high beams at us because of the lighting brilliance.
Above: The RetroBright LED headlamps provided great light with a low amperage draw at a constant 14.80+ volts. The night driving with the LEDs was an experience similar to driving a new Mopar.
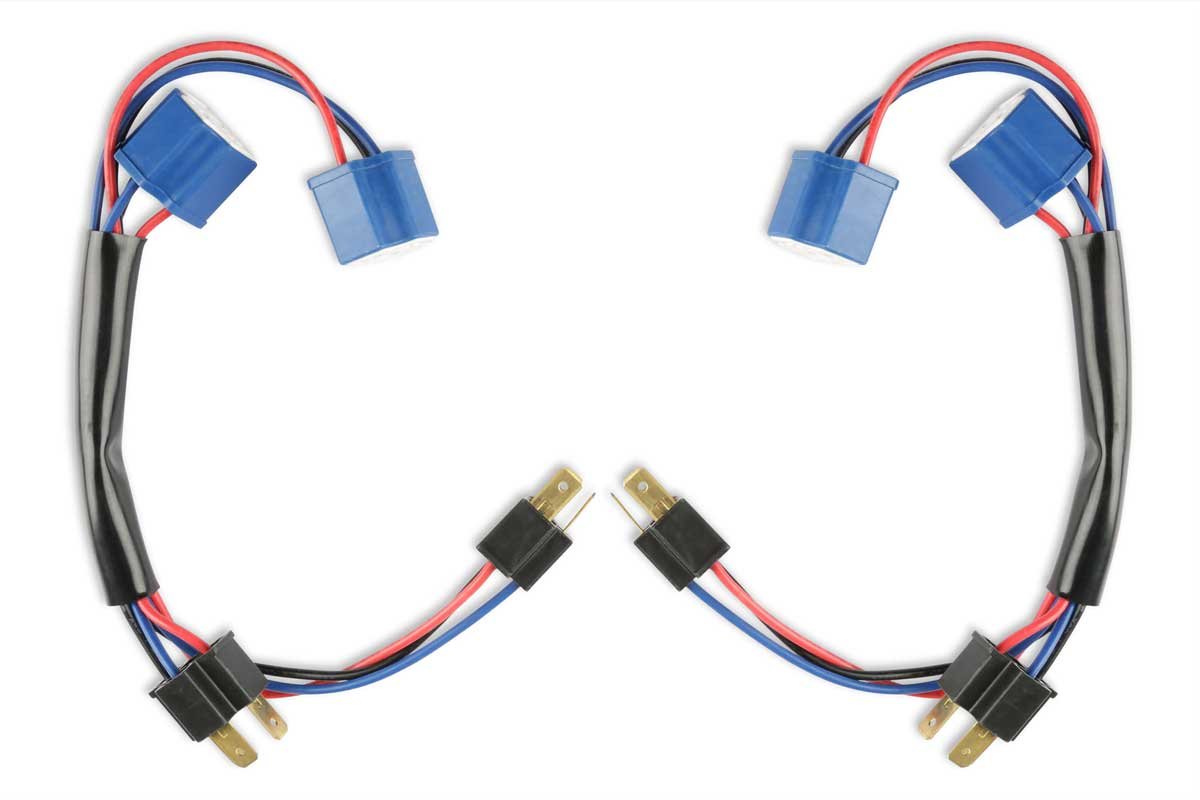
The RetroBright LED headlamps look great. The shape of the sealed beam is similar to the OEM-type housings, but the LED headlamps are a substantial upgrade to the halogen lights currently available on the market. We recommend upgrading the lighting circuit with relays to ensure a constant system voltage to the lights for the best results. If the wiring is not updated and the factory connector is non-standard, Holley has an H4 non-standard adapter plug. Additionally, if quad headlamps are equipped on your Mopar, Holley has an H4 quad low/high splitter for all four lights.
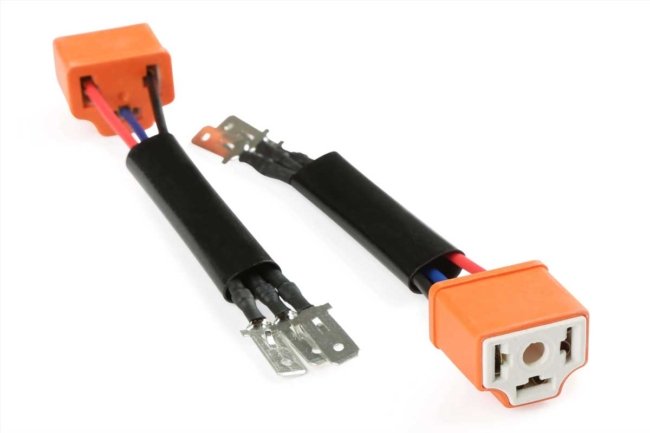

Above Left: Holley has an H4 adapter for any non-standard headlight harness connector. If needed, the adapters allow the factory connector to be used with the RetroBright (or any) H4 headlight terminals. Above Right: If your Mopar has dual headlamps, Holley designed an H4 quad adapter harness, so all four RetroBright lights will work correctly.
The Holley RetroBright LED lights are in stock, so contact Holley for a pair (or four) headlamps for your application. Picking up the new LED lights will undoubtedly improve your nighttime vision, and that seems like a bright idea.


Retro Look, but with soon to fade and yellow…composite??? Why not glass?
$200 per light is ridiculous.