


More times than not, a restored car will have been painted, the engine rebuilt, new tires, nice interior, but the vent wing assembly will be left alone. You’ll see pitted chrome, cloudy glass, dry hard rubber seals, and scratched stainless. I am sure that the fear and lack of knowledge of how the assemblies can be restored causes many to just leave them in place and mask and paint around them. Too many times it is a tell tale sign that shortcuts were taken here, as well as many other places on the car’s restoration. Remember there is a big difference in a restored car and a “perfumed pig.”
The factory service manual is a must for your car. If you do not have one, buy one immediately. Not only does the manual have detailed instructions and diagrams about this area but in most aspects of your car. With that being said, we will present the steps and add in the helpful instructions of how to actually remove disassemble, reassemble, and restore this assembly.

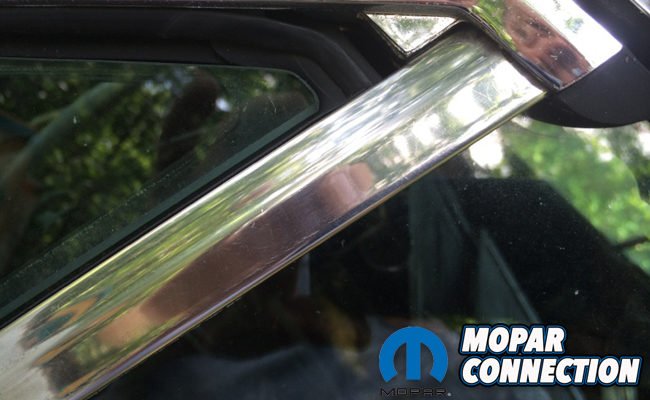
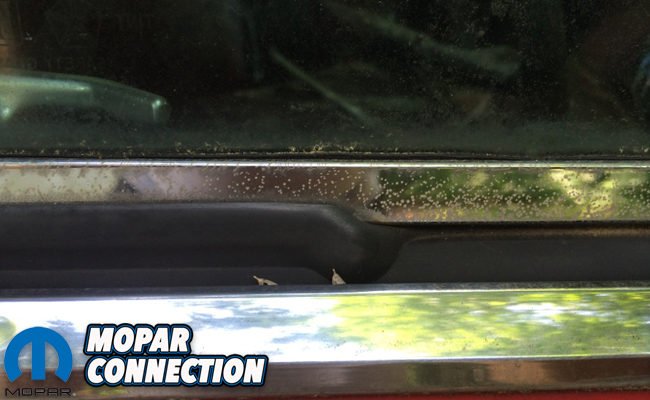
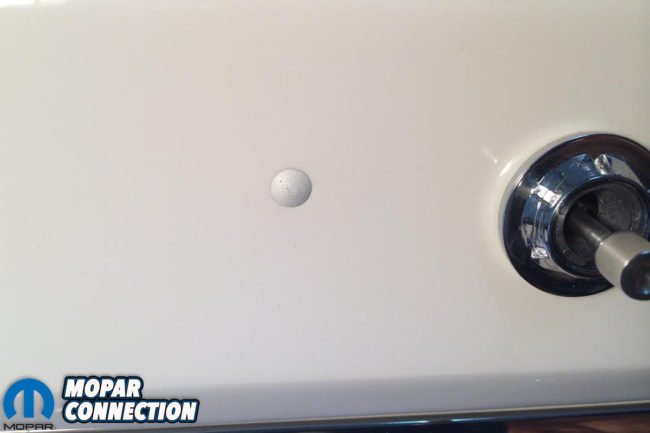
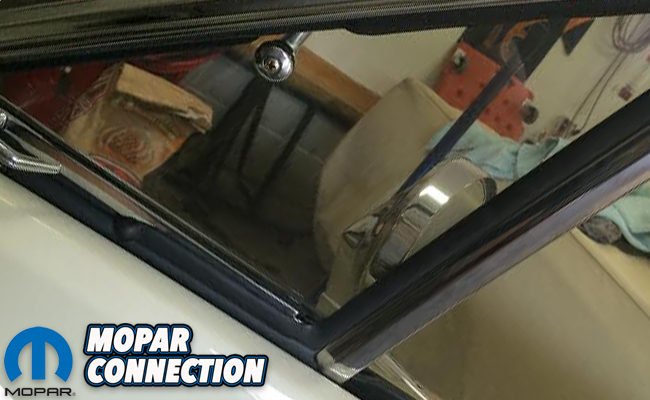
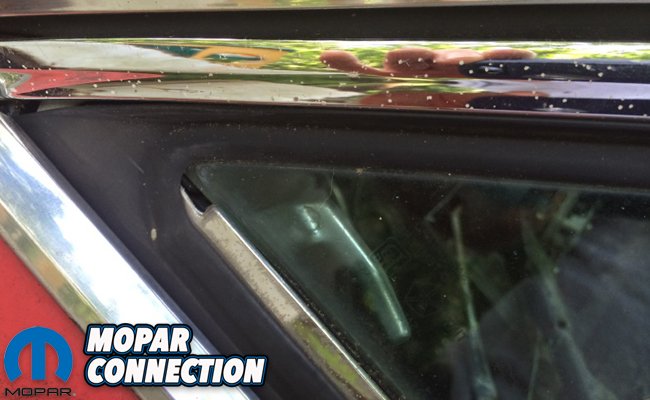
Above: Nothing is quite as bad as walking up to a car that has been “restored” and seeing the vent wing assembly pitted and in bad need of attention.


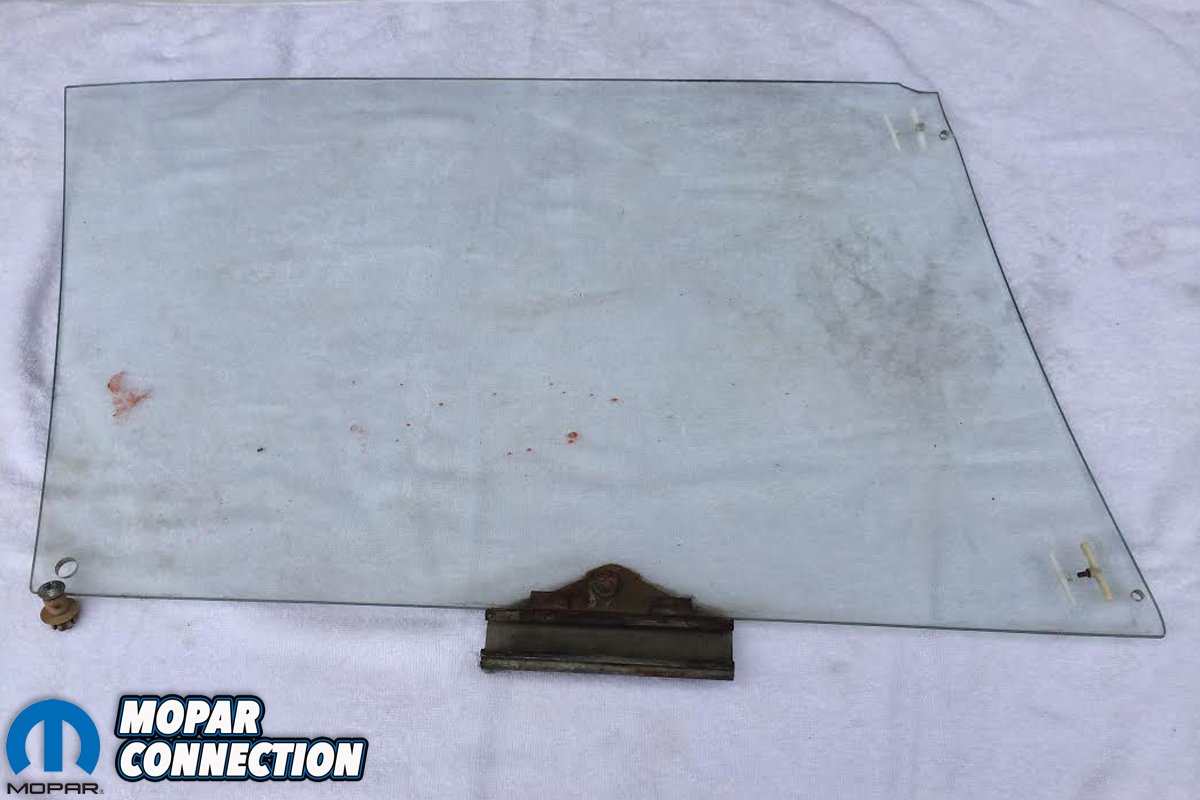
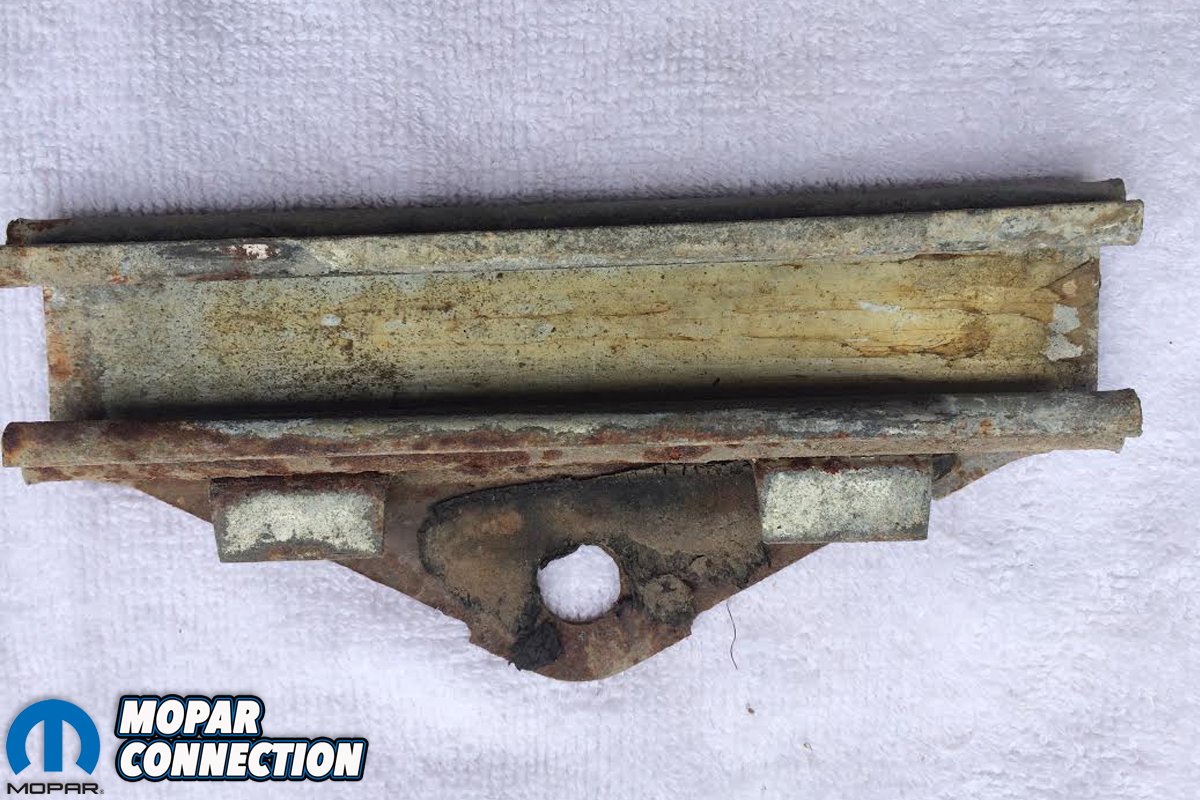
Above left: The window glass has to come out before the vent wing assembly can be removed. Here is the door glass with the lift bracket, bump stop and window sliders clips that all are attached to the door glass. Above right: After tapping out the plastic lift bracket plug you can remove it from the glass. It will need to be blasted and the padding replaced where the metal meets the glass.

Above left: There are three basic areas included in the vent wing assembly that need to be re plated or polished. The first is the main leg of the assembly and it must be removed and chrome plated. The pivot seen here also needs to be placed or re-chromed. Above center: The stainless steel part of the vent assembly must be polished and not chrome plated. The stainless part of the vent assembly is attached to the frame that attaches to the chrome main leg. Above right: Then you have the base of the vent glass that needs to be re chromed. It must be removed from the vent assembly and then the glass must be removed from the base. It is held in place through the use of glass setting tap.
How does this thing come out? Before removing the vent wing assembly, remove the window lift mechanism, door handles, latches and seals. Remove the bump stop on the door glass and roll the window completely down. This will expose the window wipes and fuzzies for removal. Loosen the rear window channel nuts but do not remove the assembly. Label, bag and tag all the hardware and store them for now. All is pretty self-evident except the plastic plug that holds the bottom of the window to the bracket that engages with the roller lift mechanism. After disengaging the lift mechanism from the window bracket, remove the bracket by tapping the center plastic plug out of the bracket mount. You can remove the window with the bracket attached and then remove the mount if you want. Inspect the lift mechanism now since many of these are worn out or non-functional and will need to be replaced.
Taking the assembly out of the door frame really involves some hide-and-seek to find all the attaching points and adjustments. On the front of the door frame there are two nuts holding a triangular mounting bracket inside the door. There are two large plastic flat plugs, and one small plug that looks like the seal in the end of a Bic pen. All are located on the inside of the door frame towards the top. In addition to these, there is another flat plug underneath the door towards the front, to access the lower adjustment bracket.

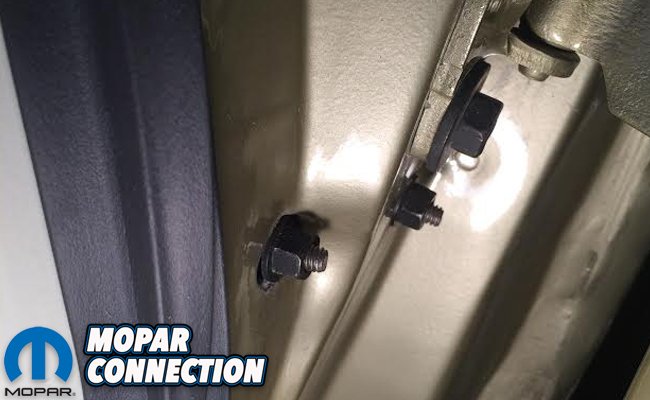
Above left: Here are the two front attaching nuts that hold a triangular brace inside the door. These are in the door jamb. Above right: Here are two plastic door plugs that need to be removed. They snap into the door and when they are removed you can access the two inside bolts that secure the main chrome leg of the assembly.
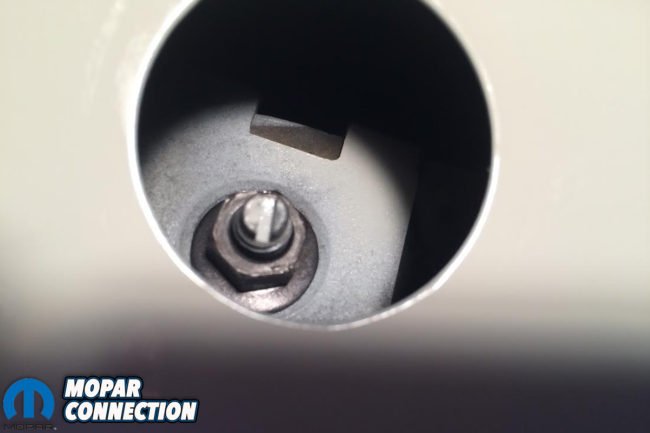
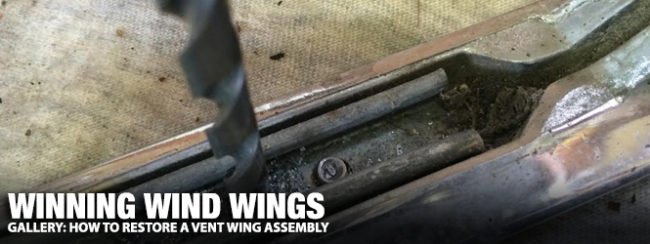
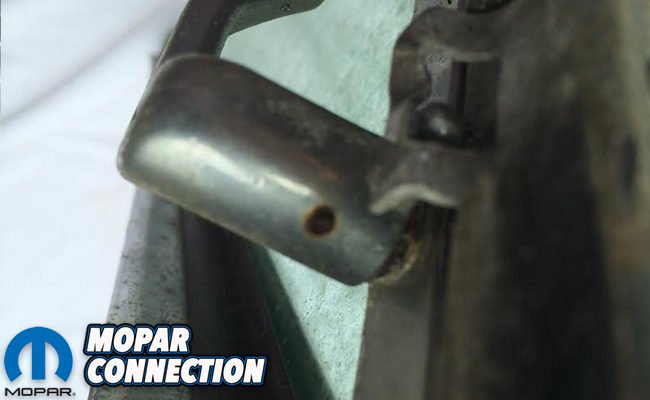
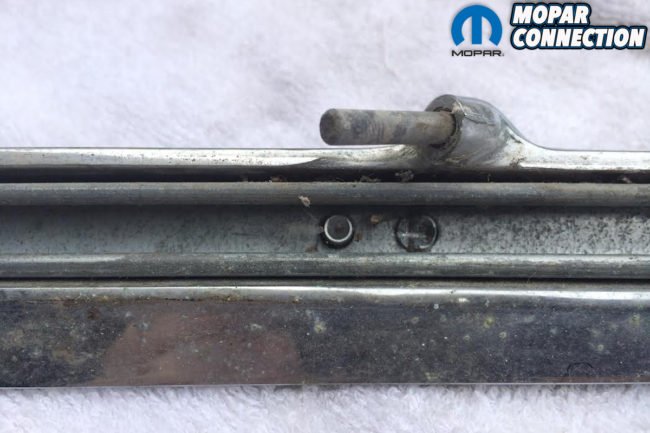
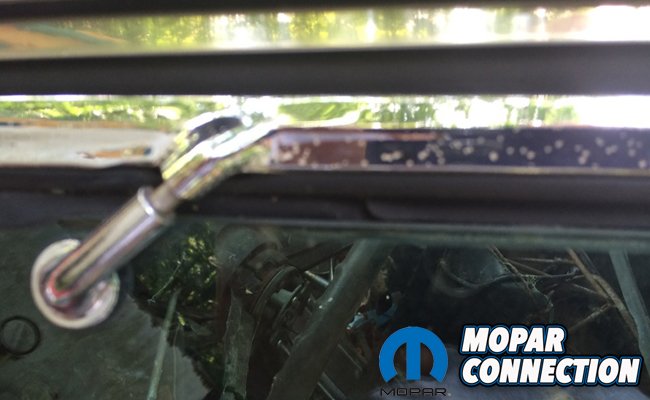
Above left: Here is the small plug that provides access to the Allen head bolt that secures the back of the vent assembly frame. People who have never removed the vent wing assembly usually overlook this bolt. Above right: The bottom the vent wing assembly looks like a “hook” and is mounted on a rod that slides up and down for adjustment. This nut is accessed through the bottom of the door. Most cars will have this “hook” broken off of the vent assembly frame.

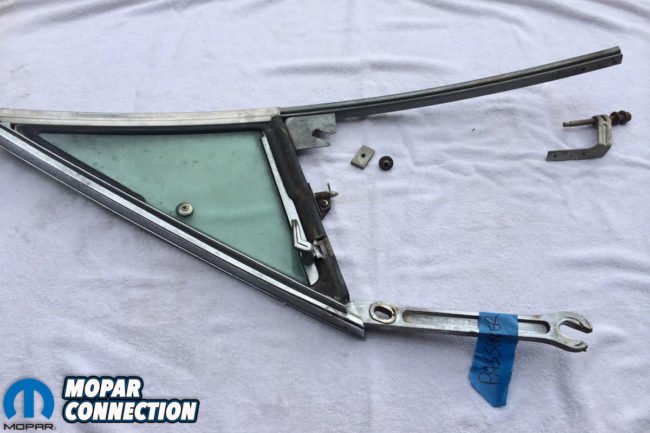
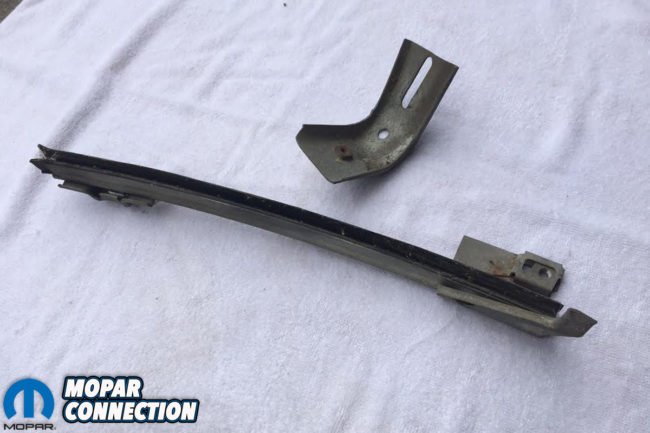
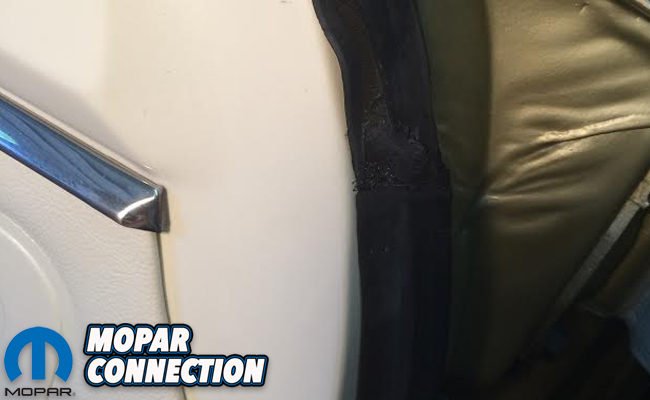
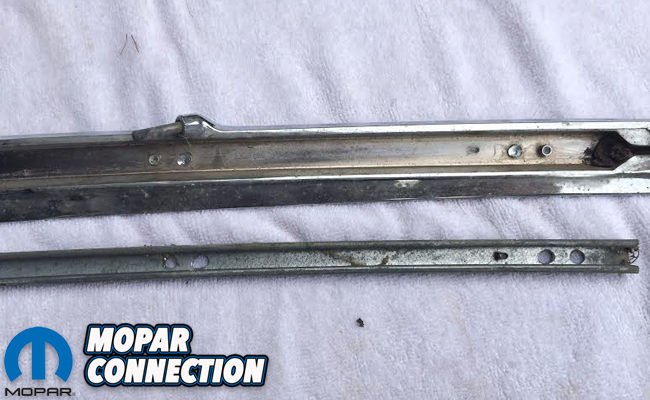
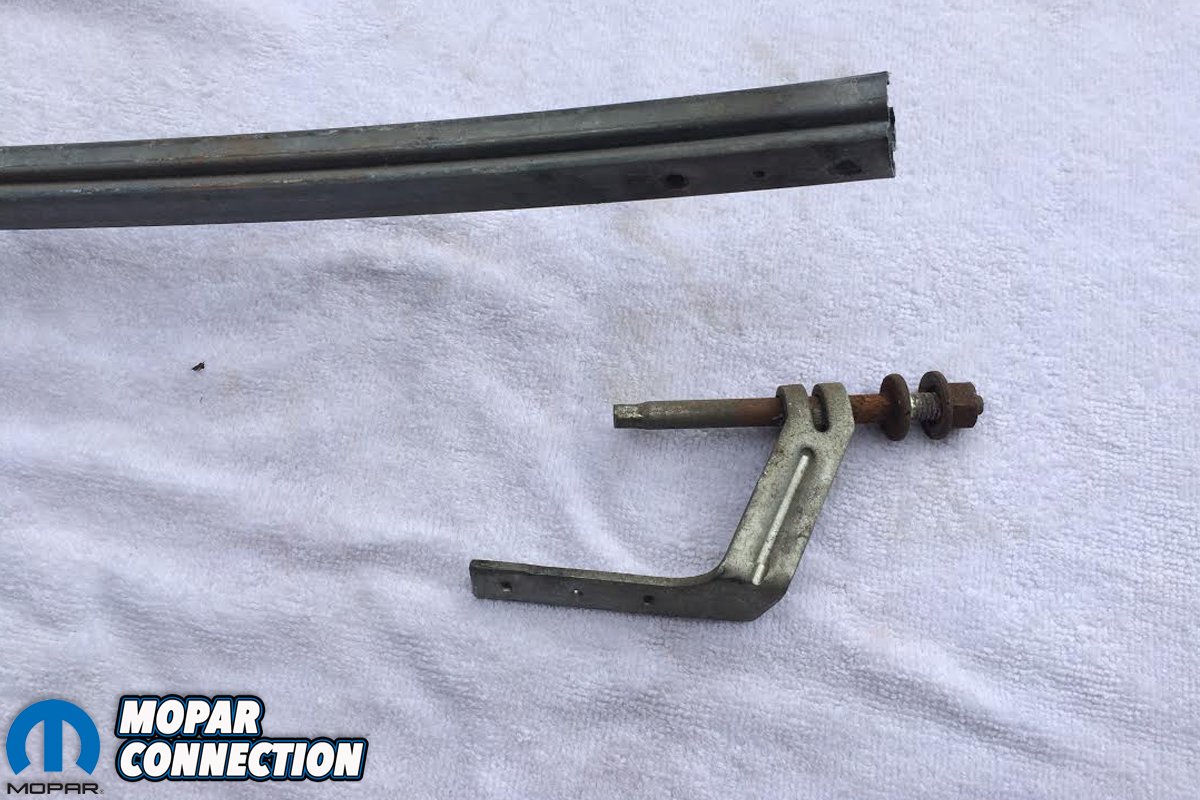
Above left: After the assembly is removed you can see where the lower “hook” bracket attaches to the frame of the assembly. There should be an anti- rattle piece of foam inserted where the rod and the “hook” bracket meet. Above center: The complete assembly is now out of the car. Pay special attention to the parts that attach the assembly and to how they function. This way when you re-install the unit it will go much smoother. Above right: While you have the door glass and vent assembly out of the door go ahead and restore the rear glass channel. It has a “U” shaped seal that is made of rubber with a soft material that meets the glass so it can be raised and lowered.
The two nuts are 7/16-inch, the hidden two bolts are ½-inch, the small plug hides the Allen head bolt. The Allen head bolt goes through the door’s inner frame into a small threaded rectangular keeper, and is not attached. Then, under the door, the nut is ½-inch. Be sure and spray penetrating lubricant on the bottom nut and threads, and take your time removing this stud. It turns loosely inside an angular bracket attached to the bottom of the vent assembly by two small welds. Many times these welds are already broken and the bottom of the assembly is loose. After removing all the attaching hardware, the entire assembly comes out. Remove the rear window channel, then inspect, blast, and paint it. You may need to replace the felt inside this bracket.
When you slide the door glass out of the vent wing assembly you will see there is a plastic and felt slider seal on the front of the door glass. You will find that most of the time this slider has deteriorated and needs to be replaced. They are available through Chrysler and are reproduced. They are difficult to get installed correctly. Take your time and upon reassembly make sure you get the seal to slide freely in the vent wing channel. You will have to drill or punch out the holes for the pins to attach the slider. Using pliers, squeeze the new plastic clips and pins through the hole in the glass and the slider. You will have to trim the slider to length.

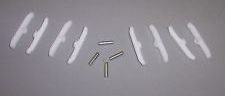
Above left: The slider that attaches to the front of the door glass allows the glass to slide inside the vent wing assembly channel. It used to only be available through Chrysler but it is now reproduced. Above right: New attaching clips are provided. They come in three pieces and have to be pressed into place at the exact point where the hole in the glass is and where the slider fits at the correct depth.
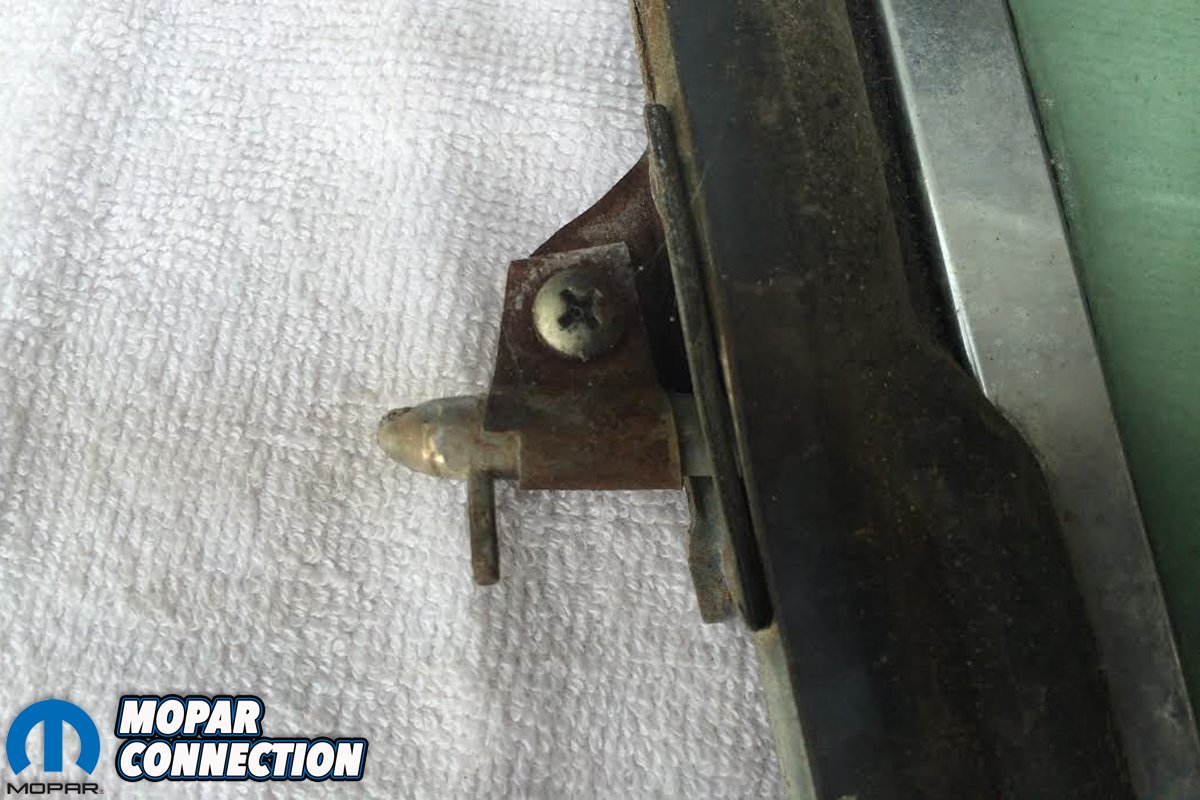
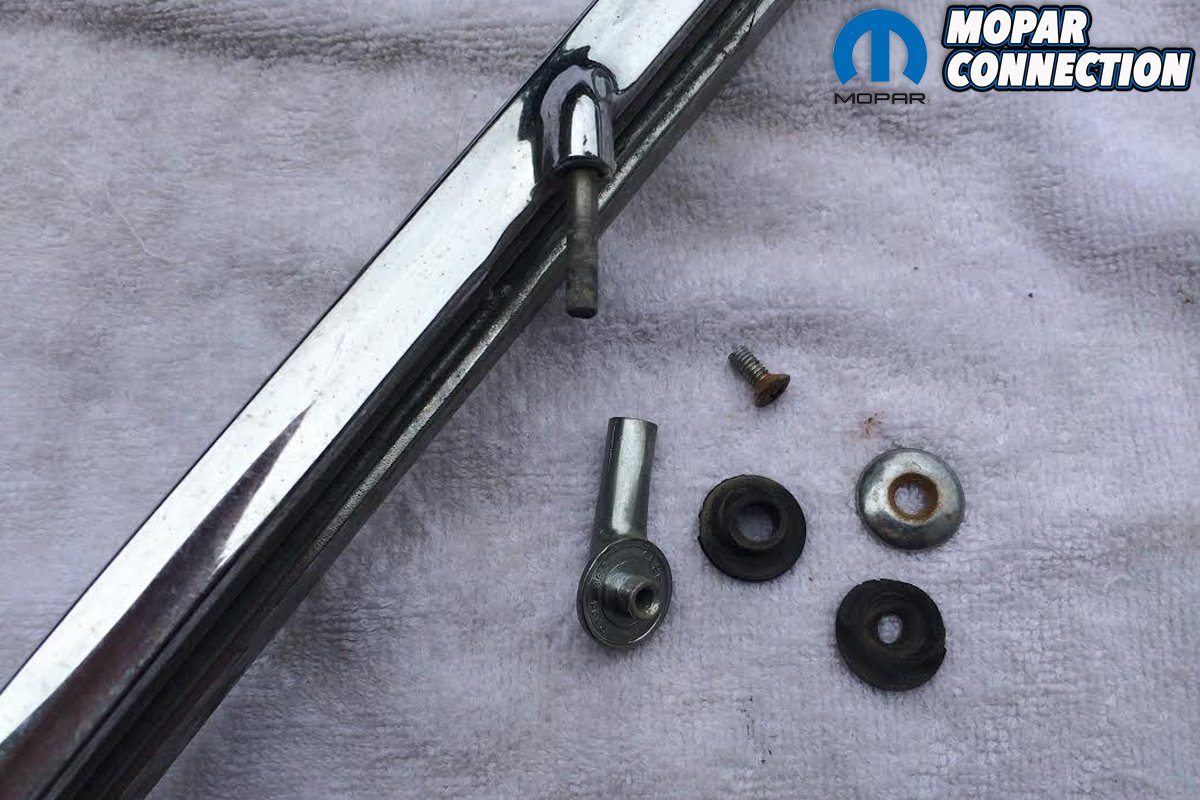
Above: The vent wing latch has to also be removed so you can re-plate the glass base. There is another small pin that has to be driven out. It goes all the way through the latch and is accessible from both sides. Save this pin! Behind the latch is a flat spring washer that also must be saved.


Above left: The first step to remove the vent glass from the frame is featured here. The retainer pin must be pulled out and then the screw can be removed. Save this pin! Above right: The last thing that must be removed to access the vent wing glass is the pivot. There are plastic washers on both sides where the pivot mounts to the glass. The pivot pin must be removed before you can re chrome the main leg of the assembly. This pin is splined and does not twist. Spray it with penetrating oil and clamp on it with some channel locks. Secure the main leg and tap the channel locks with a hammer to remove the pin.
The vent wing assembly needs to have the vent wing glass and chrome channel removed. Drive the pin out of the shaft and loosen the screw. Disassemble the pivot and the glass and base will come out. You must cut out the old glass mounting tape that holds the glass in the base. Liberal use of penetrating spray is needed. Remove the catch lever by driving out the small pin. There is a special washer so take care not to lose it. Take the base to get it re-chromed. Replace or clean the glass as needed. Either use glass setting (butyl) tape from your local glass shop or you can use black silicone to secure the glass into the base and trim when dry. Buff and polish the pivot or replace as needed. Be sure and use the round gaskets between the pivot and the glass or breakage may occur.
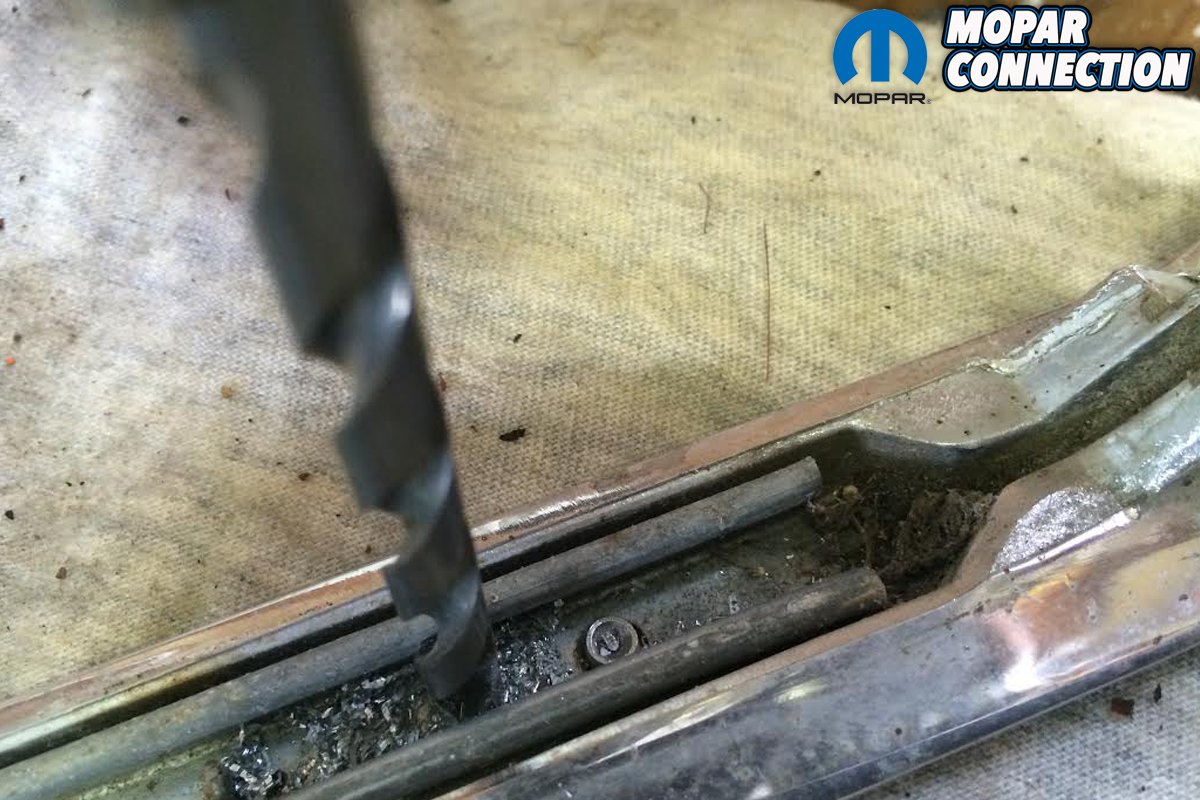
The frame of the vent wing assembly is made up of two distinct units, the front chrome frame and the angled metal and stainless frame. The rubber gasket can be reused or replaced depending on its condition. The two frames are joined by three small posts that have been bent and spread to secure the two together. Thankfully there is a pair at each point and the factory only used one of them leaving the other for you to use in reattaching the frames together. With a dremel or drill, carefully grind the edges of the posts until the frames can be separated. The chrome frame must be re-chromed and the stainless on the other frame buffed. Take care buffing the stainless since it is part of frame and can be caught by the fast moving buffing wheel. At the bottom of the frame is the lower adjusting/attaching mount. In most cases this bracket is busted or missing. Re-welding the bracket to the frame is tricky. If you re-weld it inside the channel it will interfere with the sliding glass. Spot weld it on the outside edges and dress with a grinder.

Above left: After you remove the vent wing rubber seal you will be able to see where the part of the frame that has the stainless is attached to the chrome main leg. There are three pairs of the pegs and the factory only used on each of the pair. The unused peg will be used to re attach the frame. Above right: Drill out the used peg that holds the frame in place. You will do this to all three used pegs.
Above: Once the pegs are drilled you can rock the frame back and forth and you may even have to gently pry the frame with a blade screw driver to separate the two parts of the assembly.

Above: You can see where lower “hook” bracket was spot welded at the factory. Since you do not want to interfere with the slider it is better and more secure if you weld the outside of the bracket to the frame.
Above: After following the step by step detailed instructions you will have a perfect vent wing assembly that is as beautiful as the paint on your car. Once you restore the assembly correctly it will be a point of pride and it will set your car far above the one next to you that failed to restore their assembly.
When you get the frames back from the chrome shop the process gets somewhat difficult. Protect the chrome at all costs. Position the two frames back in the original location. With a sharp, small chisel and hammer make an “X” on the unused post. Then with a punch, spread each quarter of the post outward. Reinstall all screws and hardware. Install rubber gasket, and vent glass assembly. Be sure and blast and paint the triangular mounting bracket on the front of the door.
Attach loosely and put the Allen head and retainer in place. Be sure and have the rear glass channel in place and attached loosely with the bolts. Slide the door glass in the vent window frame and install in door as one unit. Reassemble and adjust according to the factory service manual instructions. The difference a brand new vent wing assembly, door, hard and software in a newly painted car is amazing! Remember “Do it once. Do It Right.”


