


At one point or another, every one of us has considered taking our prized Mopar for a run down the 1320 tarmac, and to get the maximum performance from our ride, we may even consider bolting on some drag radials or slicks. The extra tacky tires stick to the track surface with greater adhesion than street tires, and that extra grip puts a greater load on the drive-line. Most of the time nothing will happen, but as they say, anything can happen.
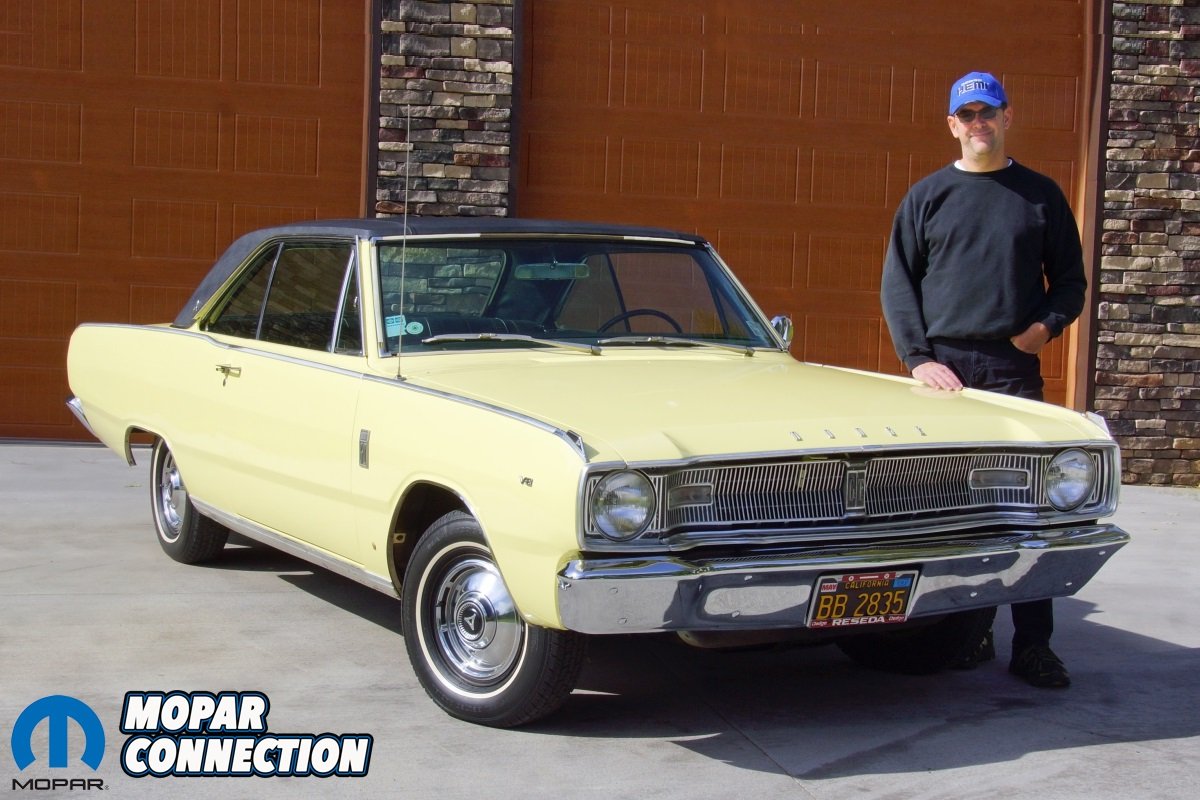
We recently purchased a 1967 Dart, and while the Dart will not see the drag strip for some time (or ever), we run it on a chassis dyno often, which places a similar type of load on the drive-line. The last thing we want is a U-joint failure followed by a high-speed exodus of the driveshaft, which could lead to vehicle or chassis dyno damage, or worse, personal injury. With these concerns in mind, we found that Mancini Racing offers a bolt-in driveshaft loop that retains the driveshaft in the event of a front U-joint failure.
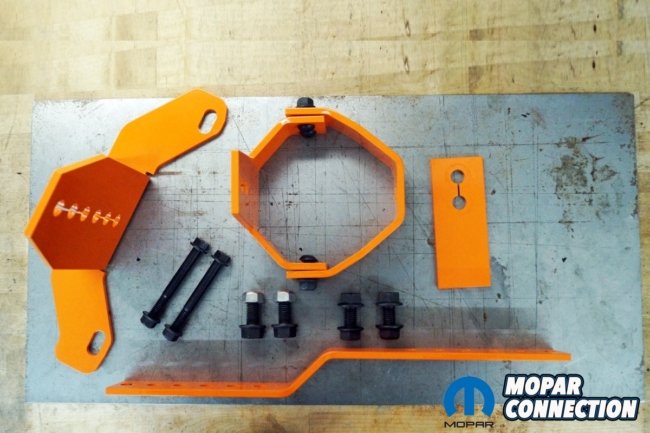


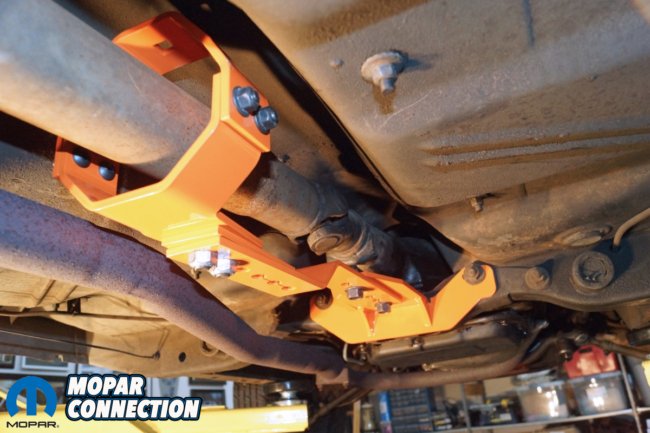
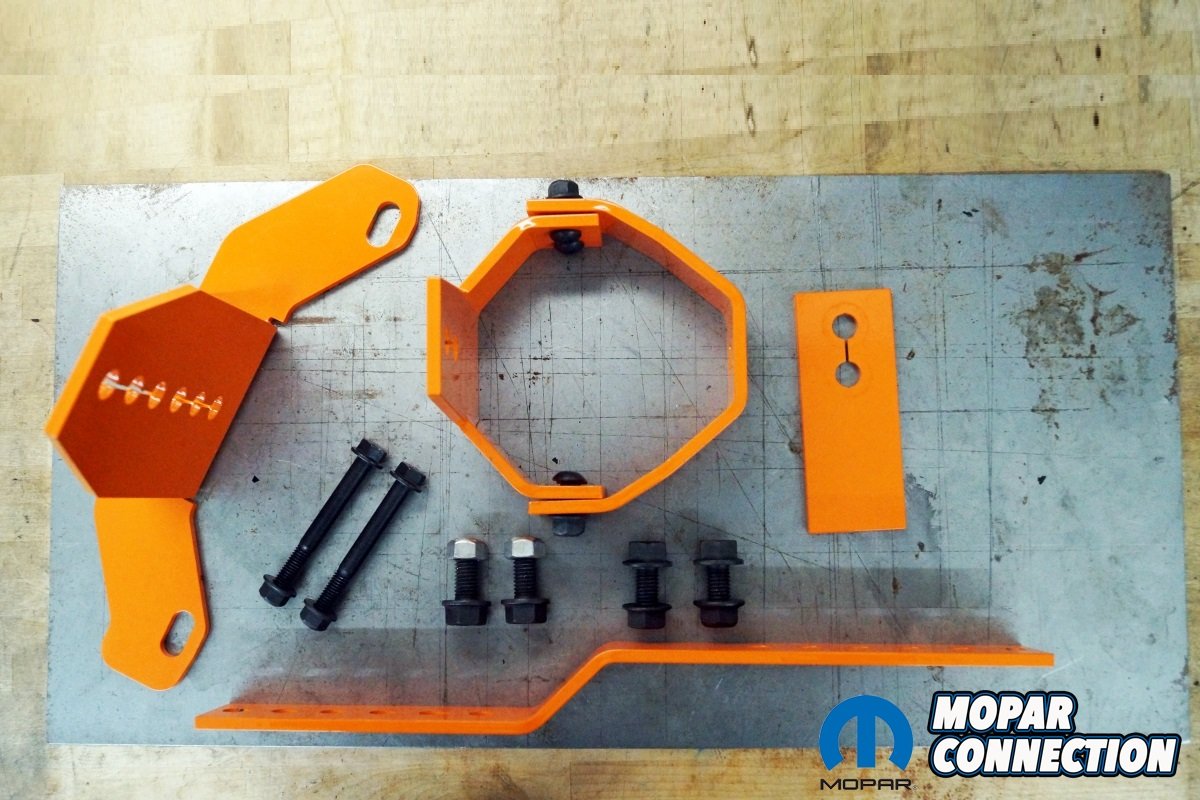
The hardware of the driveshaft loop is ¼-inch thick steel, which is bent into the proper shapes to encompass the driveshaft, bolt to the transmission cross member, and extend from the cross member to the loop. The Mancini Racing driveshaft loop meets the National Hot Rod Association (NHRA) and the International Hot Rod Association (IHRA) requirements for minimum steel thickness and width to ensure that if a front U-joint should fail, the driveshaft will be properly retained. The driveshaft loop is fully adjustable, so driveshaft clearance can be easily achieved. The adjustability of the loop also allows it to be installed around the exhaust, including an X-pipe or H-pipe, and the park brake cable(s).
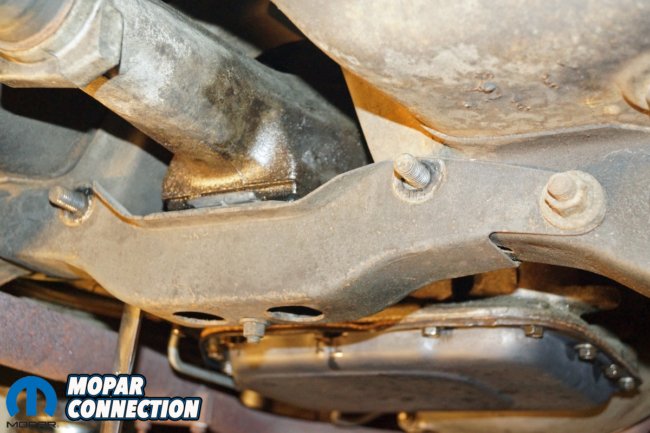
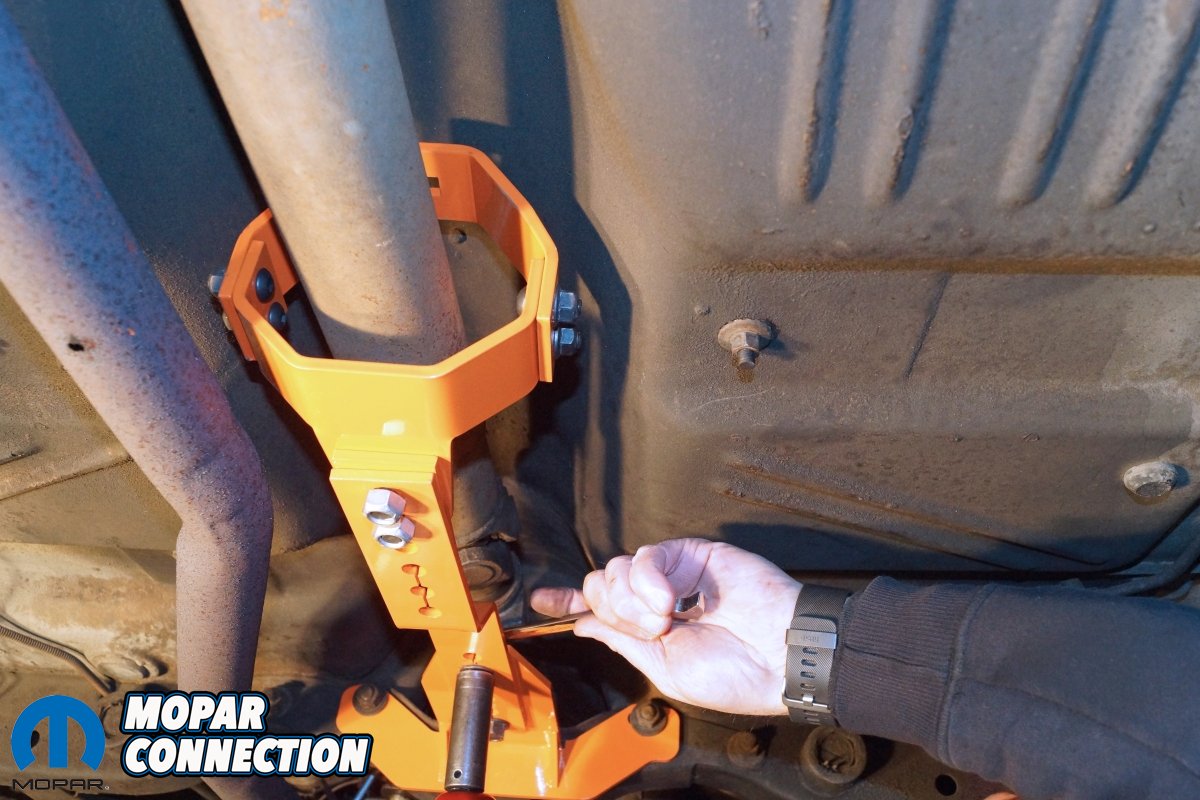
The installation of the driveshaft loop was a simple task completed in just over an hour. Our Dart was positioned on a two-post lift, but it could have been easily placed on a pair of jack stands to complete the installation. Once the Dart was in the air, we removed the ¾-inch fasteners from the inboard bolts of the transmission cross member. The driveshaft loop bracket was slipped over the inboard bolts, and the fasteners were reinstalled and torqued to factory specifications.


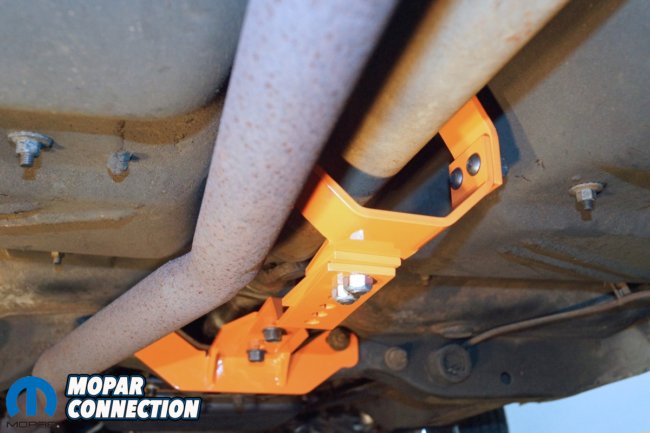
The Z-bar was loosely installed on the cross member bracket, and it was adjusted to a position that would allow the loop to be placed approximately 6-inches down the driveshaft from the U-joint. The Z-bar could be moved slightly to the left or right as needed to line up with the driveshaft and clear the exhaust. Before we tightened the Z-bar to the cross member bracket, the loop had to be installed over the driveshaft.
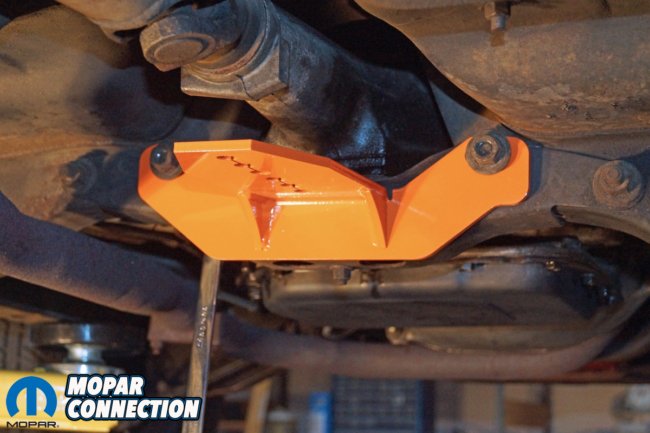
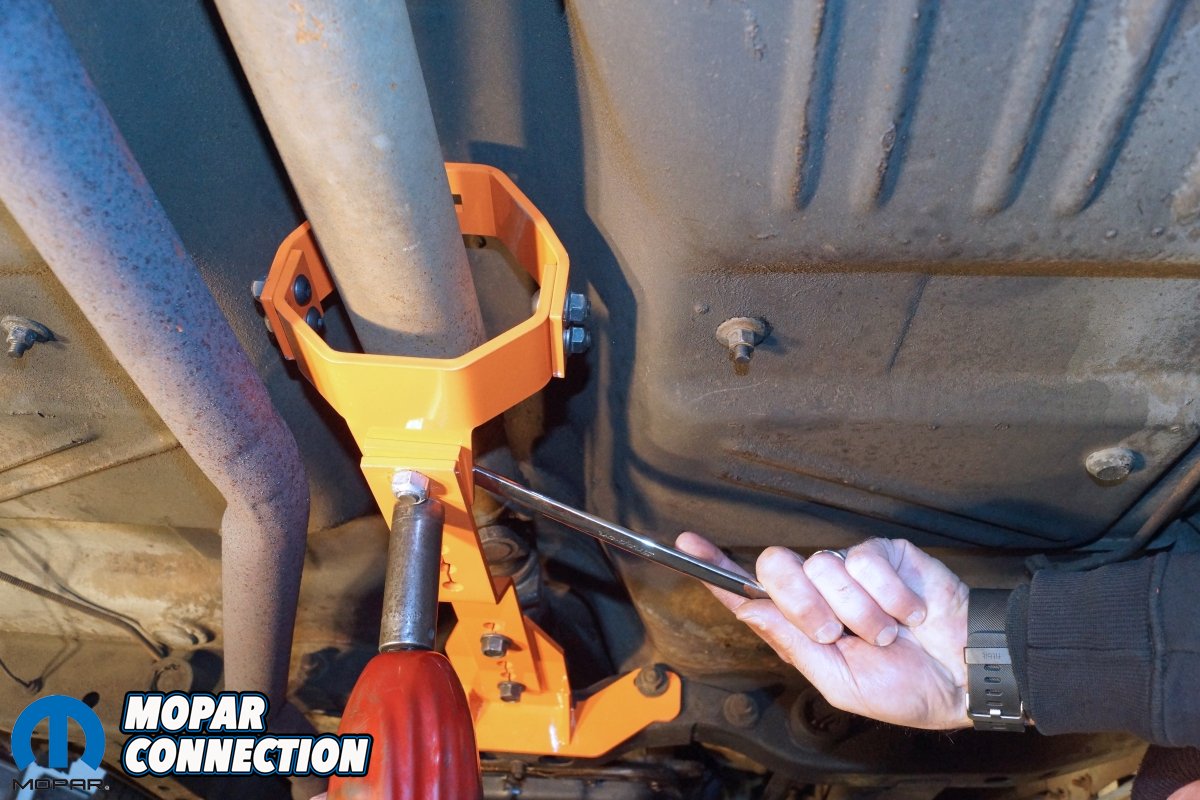
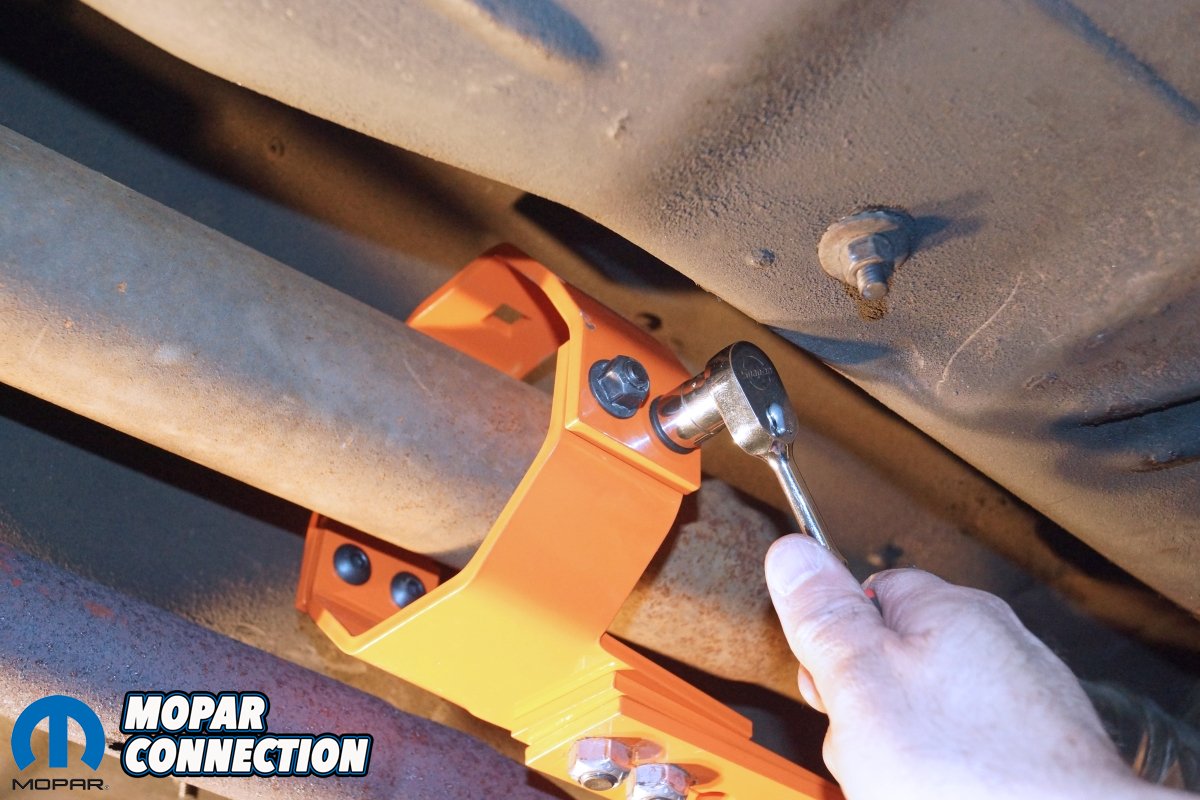
The two-piece loop was disassembled, and the top section of the loop was placed over the driveshaft. The bottom section of the loop was slipped into the upper loop. The use of a 7/32-inch Allen wrench and a 9/16-inch socket and ratchet torqued the four loop fasteners. The loop encased the driveshaft, and it was lined up with the end of the Z-bar opposite to the cross member bracket. With the rear of the Dart supported with a jack stand to compress the rear suspension, we adjusted the position of the loop on the Z-bar to provide the proper clearance around the driveshaft and the exhaust.
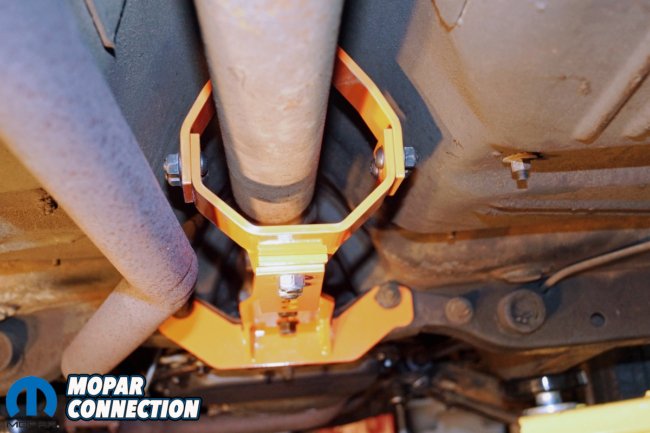

We installed the included spacer between the Z-bar and the loop, and the fasteners were tightened. After every fastener was re-torqued, we removed the jack stand and lowered the Dart to the shop floor. The suspension was jounced, and the driveshaft to loop clearance was checked. There was more than 1-inch clearance in all areas around the driveshaft and the exhaust. After a successful test drive, the installation was considered a success.
The Mancini Racing driveshaft loop fit perfectly, and there was no need to drill or cut up our factory original floor pans. The installation of the driveshaft loop was performed with a combination of air and hand tools, and it provided us with peace of mind four our future performance events. If a visit to the drag strip or a chassis dyno is in your future, check out Mancini Racing for their worry-free bolt-in driveshaft loop.


