


Feeling a little daring with our on-going “Brazen” ’69 Dodge Charger project, we recently decided to make the hour’s journey from our Nashville, Tennessee offices to the Holley Performance Products headquarters in Bowling Green, Kentucky. Besides our ridiculous 4.56 gears on a Detroit Locker winding up the engine to 4,000rpm just to get into low 70s, we came home thinking our excursion was a success. Well, except one major factor: our ears continued ringing days after our trip and still felt like we had stood too close to the speakers at an AC/DC concert.
I’m sure you’re a little like us in thinking, “Awesome!” But such a physical toll for driving a car any sort of distance tends to limit one’s willingness to journey too far from home (and if we’re to ever join a long cruise like the Power Tour, that is simply not an option). Of course, the smartest step to take in alleviating this would be to swap out the 4.56s for some 3.91s or higher, but we’re still pursuing our 10-second quarter-mile timeslip goal, so that’ll have to come a while later. Rather, we sought to dampen much of our Charger’s “rough around the edges” road manners.
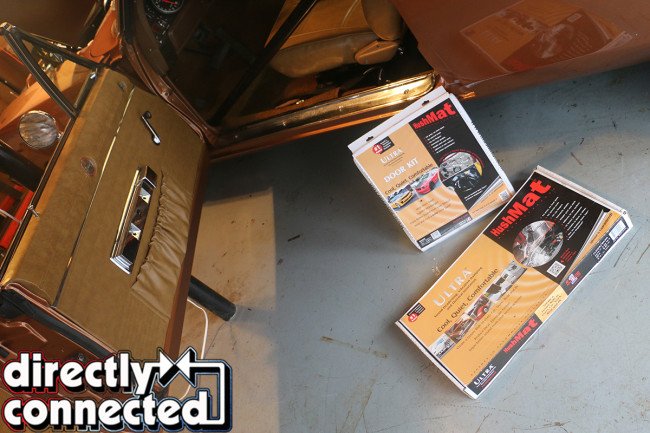

Above: We reached out to Classic Industries for suggestions to solve our harsh road noise and vibration issues. They suggested their new HushMat sets, which we chose their Floor/Firewall, Door and Trunk sets (shown). We also opted for a retro fleece-lined trunk mat to cover up our HushMat sound deadening.
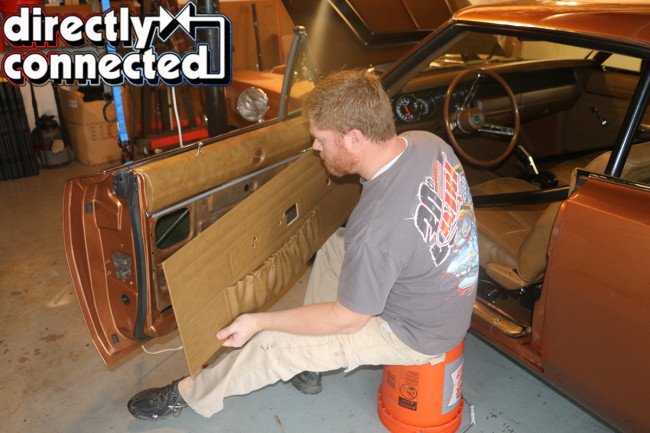

Above left: Because the Door Set doesn’t provide enough material to do both the inside of the outer skin and the outside of the door frame, we opted for the latter. Above right: Because we’re not running a radio, we covered up the factory door speaker holes and made sure to trim around the window regulator and door handle hinge.
We shimmied beneath and softened the settings on our two-ways adjustable QA1 shocks, as we weren’t doing in hot laps at the track any time soon. Next, we reached out to our friends at Classic Industries for suggestions. In less than a decade, Classic Industries has become an industry leader in providing a comprehensive catalog of authentic restoration and better-than-stock replacement parts for A, B and E-Body Mopars (in addition to a quarter-century’s-plus reputation for the same for GM A and F-Bodies, trucks and much more).
Years earlier, we worked together with Classic when it came time to restore our Charger’s interior. Besides picking up one of their OE-quality molded carpet kits (with pre-attached jute padding), we also opted for one of their EVA sound deadener kits. The die-cut EVA mats didn’t directly adhere to the floorboards, but sat in place under the passenger’s feet and over the transmission tunnel. While effective, the rowdiness of our Charger and the degree of vibration that 700 ft. lbs. of torque that gets sent through the entire car required a little more.

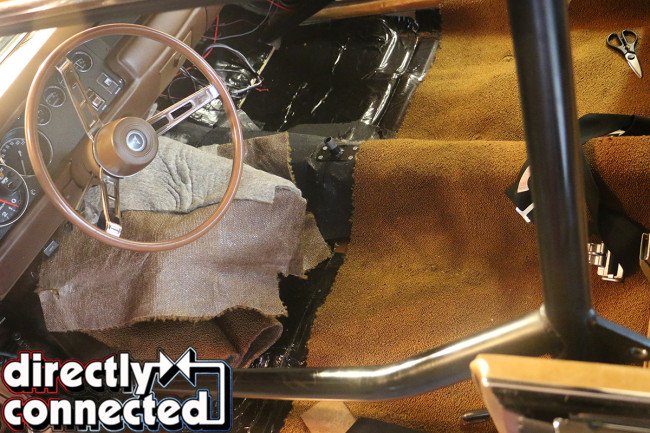
Above left: We began our interior installation by removing our bucket seats, shifter, door sills and kick panels. The two-piece loop carpet was easily removed from the rear, but because of our TCI Outlaw shifter’s cable, it was easier to just fold the front carpet over to one side. You’ll also note our EVA sound deadener that we installed years earlier. Above right: Prior to applying, we laid out one side first, marking where to cut around the pedals, highbeam switch and steering column.

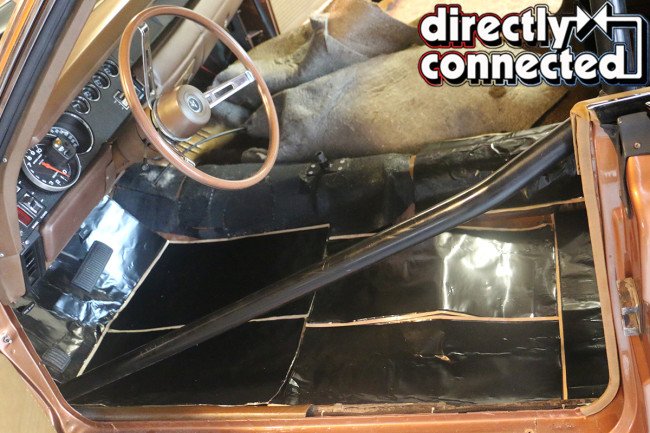
Above left: As per HushMat’s instructions, no special tools were required to lay down the adhesive-backed sound deadener. As shown, the material aptly bonds to every contour and crease in the sheetmetal, so measure accordingly. Although the HushMat does have some elasticity, it can tear if stretched too far. Above right: We ran the HushMat all the way beneath the backseat, as so much vibration and resonance from our 3-inch exhaust carried up through the floorboards.
Familiar with our build, Classic Industries’ President Jeff Leonard suggested we “bring out the big guns” and try out their new HushMat Ultra kits. The 1.5mm-thick, pressure-sensitive dampening material is made from a layered foiled aluminum and specially-formulated visco-elastic polymer that not only instantly adheres to any surface (metal, plastic, fiberglass, or wood with zero surface prep), but has been proven to significantly reduce road noise, vibration and provide noticeable thermal insulation. The material comes in either two sizes, square or rectangle, is easily cut with a pair of household scissors or a box knife, and is available in silver or black.
In addition to the complete Floor/Firewall set, we also picked up their Door and Trunk sets. This provided us with a massive 68.2 square feet of material. Of course, HushMat’s 18 years of OEM experience has also rendered several other products including HushMat “Megabond” Sound Absorbing Foam to take the place of much of your OEM insulation, and HushMat Quiet Tape to secure wires and cables to the surfaces, but we didn’t need to go all out, particularly as our Charger has no radio or sound system. All we wanted was to not be shaken to death anymore.

Above left: Running the HushMat all the way forward of the pedals and up the inner firewall above where the carpet ends was to dampen a lot of the engine noise we get. We also reinstalled the EVA sound deadener mats as an added measure (sure, it might be a tad overkill). Above right: While the underside of most car’s dashboards aren’t too sexy, we wanted to show how far up we ran our HushMat padding. We tried to work around all of the pedals, steering column plate and other sensitive spots.
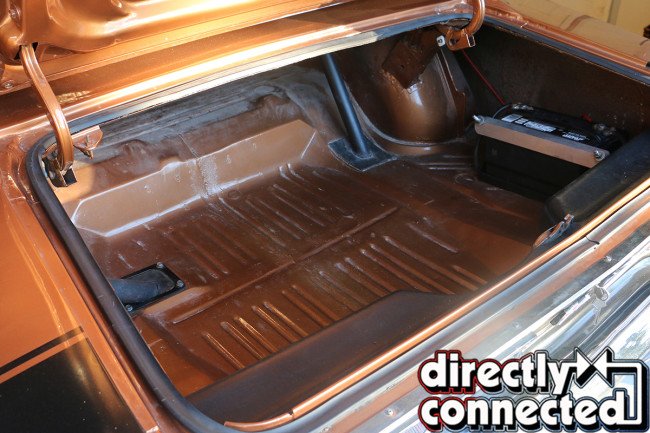


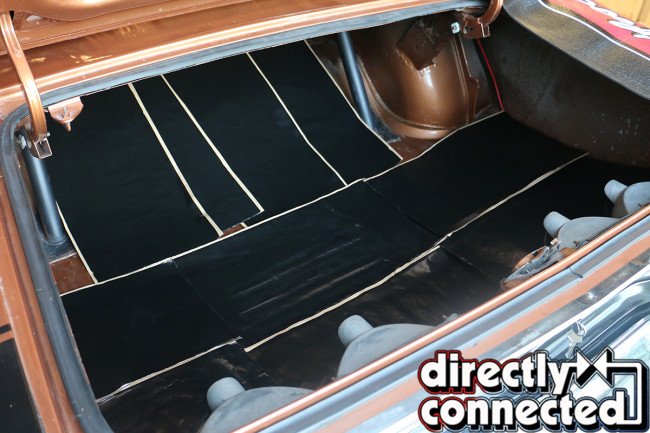
Above left: Although a far more open area, covering our trunk also proved one of the more time-consuming portions of the project. Above center: First went out battery tray. Above right: And then our plastic OE brake light cover.
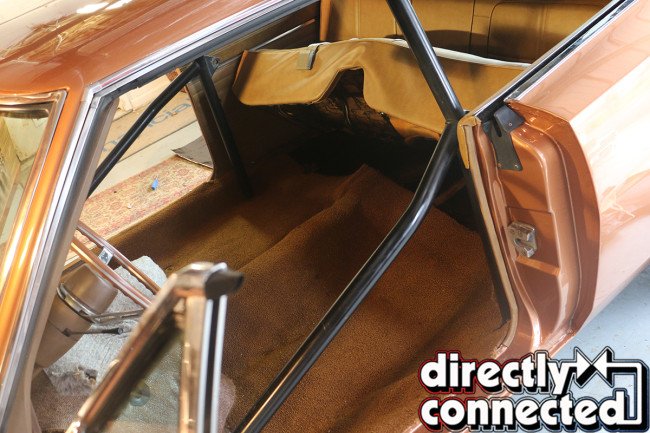
Since we were going to be coating the surface of our trunk, we also put in for one of Classic’s Fleece-backed vinyl trunk mats. Available in either herringbone, houndstooth or plaid, the mat is precision die-cut to the original specifications, which of course, given our roll cage and trunk mounted battery, would require some custom trimming to boot. Not only would it toss in a dash of showroom originality in an otherwise not-stock street machine, but also cover up the sound deadening material.
Preparing our Charger for the installation was little more than some minor disassembly. And although HushMat promises that we wouldn’t need to, we did clean much of our contact surfaces prior to installation, if not just for aesthetics if nothing else. We did our best to measure and mock up our layout prior to peeling the adhesive-backed sheets, but note that there are a sea of compound curves, angles and contours to your Mopar’s surfaces and you’ll find that most of your measurements will end up being short, as the sheet bends to fill dips and cover ridges that you otherwise didn’t count on.
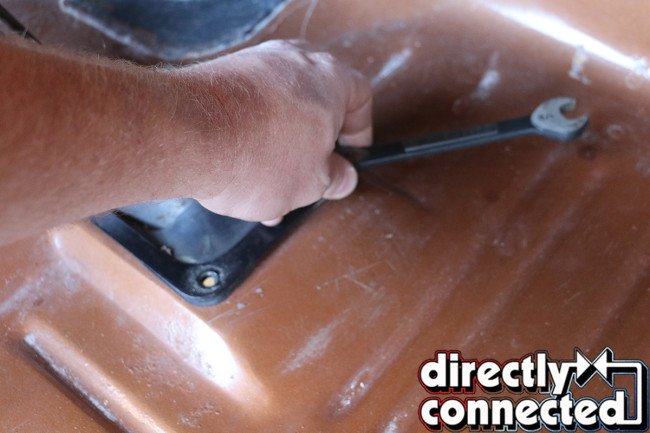
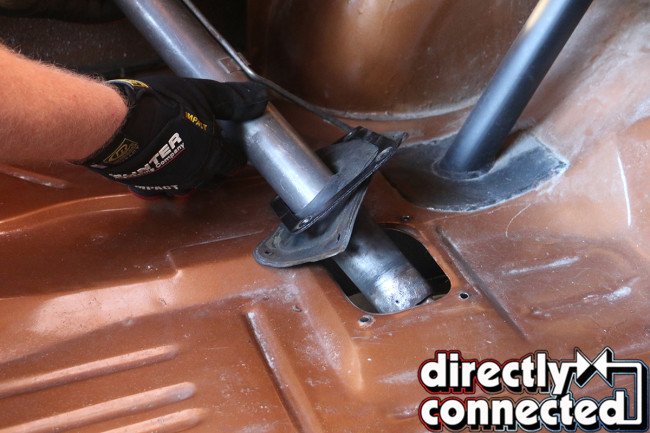

Above left: Although theoretically one could install the HushMat in the trunk without removing the filler neck, we thought it best to be thorough. Above center: The filler neck twists out (once the breather tube is removed). Remember to stuff a clean rag into your gas tank to keep any debris out (and from fumes escaping). Above right: Although HushMat swears its unnecessary, we gave our trunk a quick wide down before applying the sound deadener.

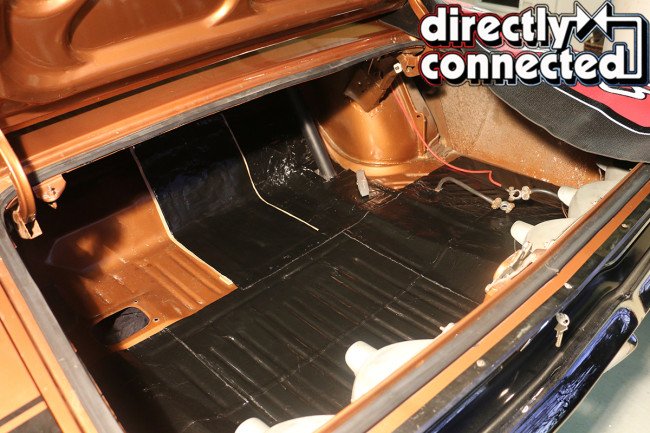
Above left: Thankfully, the pre-layout of the trunk was far less complicated than the floorboards. Besides our trunk and filler neck, not much trimming was required. Above center: Long rectangle sheets cover up the trunk quickly and easily. Be mindful of the many contours of the trunk floor. Above right: Nearly done.
The end result though was impressive. While our exhaust note that previously was almost deafening was only slightly muted, the reverberation that came up through the floorboards is undetectable. Likewise, gone were the pings and ticks of road debris, or the harmonics that chattered us so bad beforehand. Thankfully, we’re still able to retain a good “feel” of our car, always on notice for any changes in engine behavior, tracking or otherwise. You don’t want to be too insulated from your car that you don’t notice when something is running right.
All in all, the installation took no less than 9 hours, so be prepared to spend the whole day. While we’ve made a concerted effort to extract any civility from our ’69 Dodge Charger, we do enjoy being able to backtrack a little and polish off some of its rougher edges where necessary. We’re already so happy with the results that we’re planning a day-long road trip in the next week or two. Unfortunately, HushMat can’t do too much about our steep rear gear and comically bad fuel mileage but that’s a project for another day.

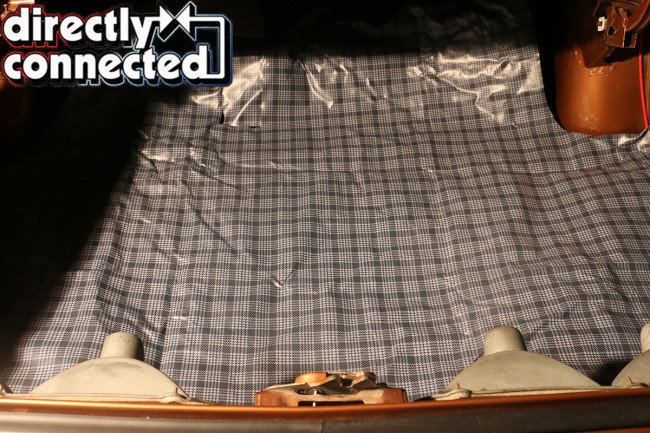

Above left: We went over our installation with a box cutter and cleaned up any edges and overlap that didn’t look too clean. Above center: Our fleece-backed vinyl trunk mat needs some trimming to fit our roll cage down bars and filler neck. Above right: The trunk mat comes perforated for the filler neck, but needed lots of readjustment to accommodate our modified trunk set up.


Above left: Thankfully, the trunk mat is die-cut to fit the stock trunk perfectly, making our small modifications very easy. Above right: With our battery tray, taillight cover and filler neck reinstalled, our trunk mat is now a permanent fixture in our trunk and covers up our HushMat perfectly.


