


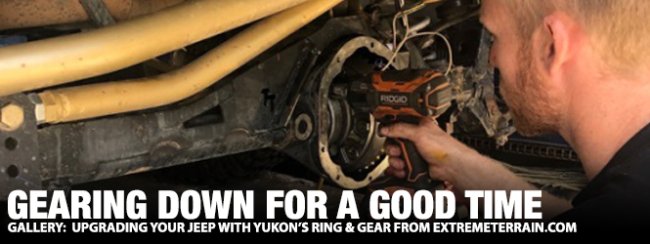
Would a climber embarking to summit Yosemite’s Half Dome Peak leave home without their chalk bag? Would a competitive cyclist hit the road without their cleats? Would a beekeeper show up to work without their nets?
Having the right gear for the task is a must, and off-roading is no exception. High performance lighting, over-sized knobby tires, and aggressive bumpers are a big part of what takes a simple Jeep or truck from street cruiser to trail hero, but those modifications alone are not enough. Failure to upgrade your vehicles differentials can make for a miserable drive on the road and a poor performance off the beaten path.


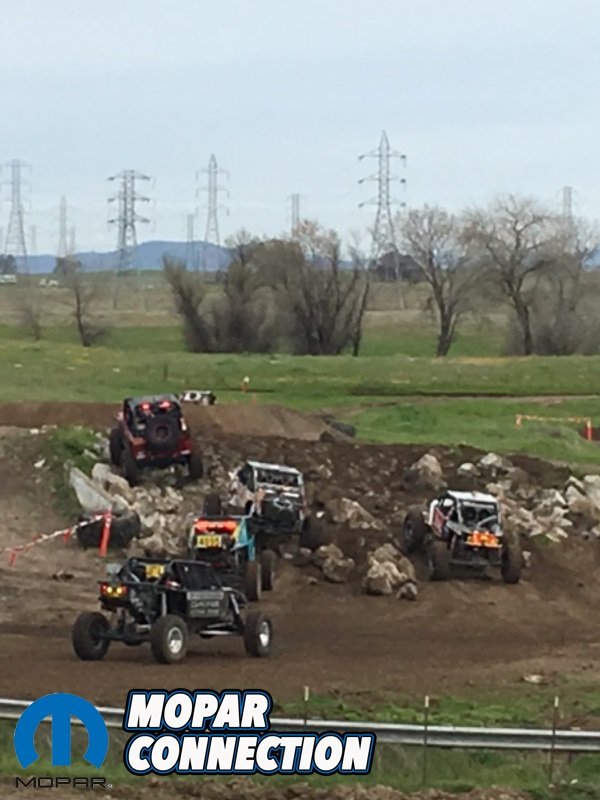
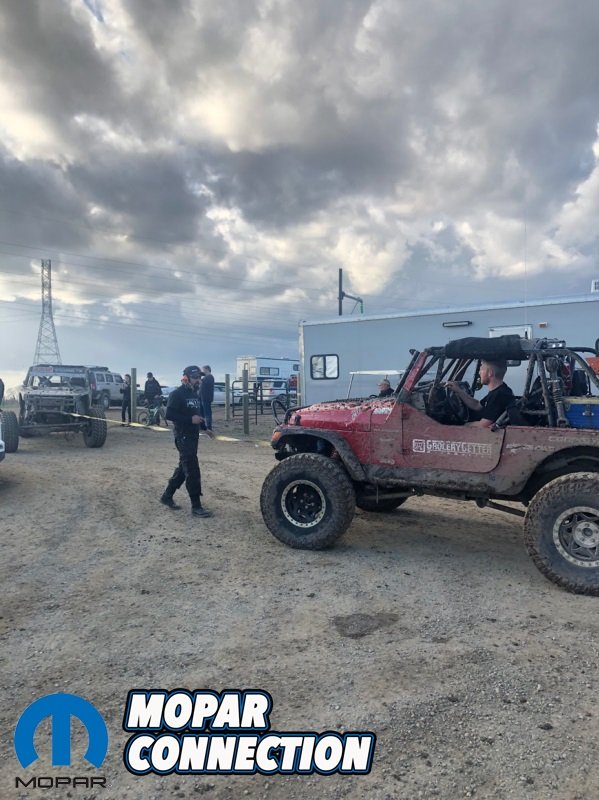
The Grocery Getter Rock Racing team knows all about pushing the limits of 4×4 gear. This 2002 Jeep Wrangler TJ has been outfitted with a later style Jeep JK Rubicon Dana 44 axle. After years of abuse from daily driving, trail crawling, and Ultra 4 racing this front end is in need of some serious upgrades.
We reached out to our friends at ExtremeTerrain.com to order up a fresh Yukon Gear and Axle ring and pinion as well as upgraded Mammoth chromoly axle shafts.
Before tearing into any axle it is important to identify exactly what you are working with (Below left). Check out ExtremeTerrain’s axle identification article if you want more insight on common Jeep.


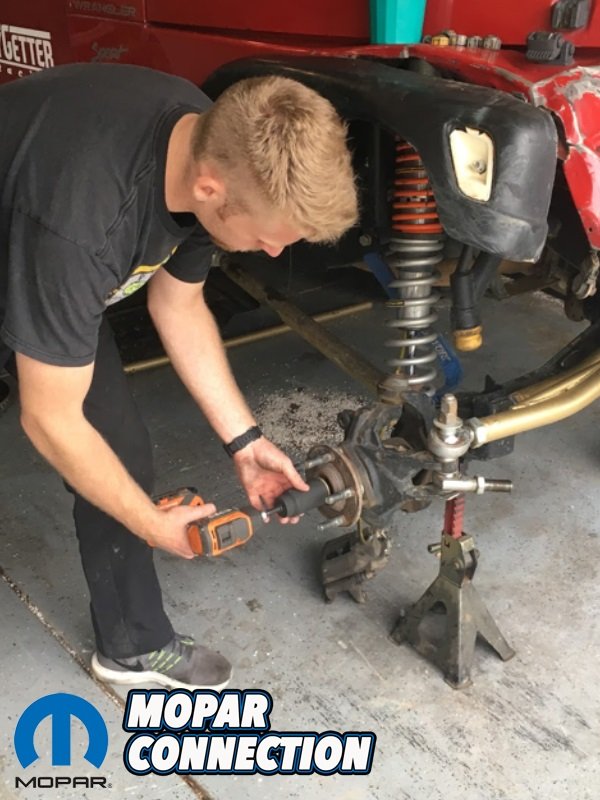
When tearing down an axle it is a good idea to work from the outside in. We removed the wheels, brakes, axle nut (which is a 35 millimeter on this axle), and unit bearing to expose the axle shaft. (Above right)
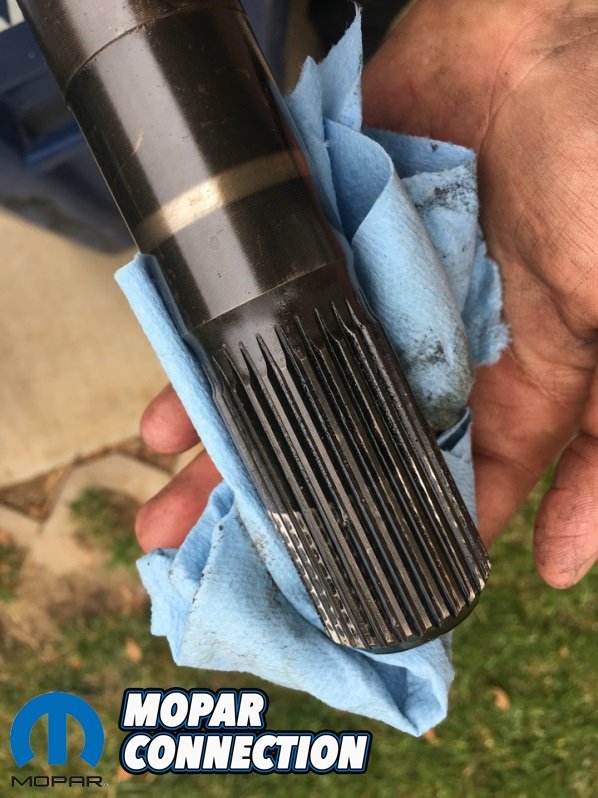
A step that is often overlooked is inspecting the axle shaft splines on both ends. It is not uncommon to see the splines twisted where they enter the differential carrier. Look at where the axle splines become shiny from engagement in the differential, if the splines are twisted they will do so right at that edge.
Twisted splines are a sure sign that the axle shaft was a ticking time bomb waiting to break the next time any major load is applied. (Below left)


After the axle shafts are removed the work inside the differential can begin. This is the part of the program that gets really messy as gear oil is thick, smelly, and hard to clean. A cordless impact makes quick work of tear down, but be careful to use a torque wrench when putting the differential back together. (Above right)
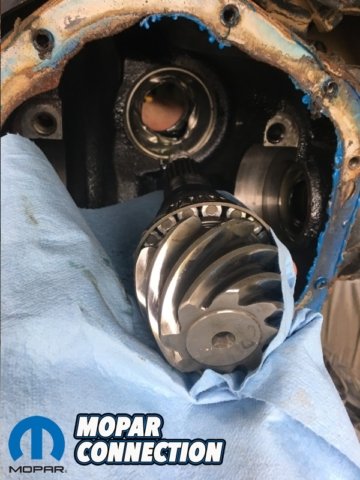
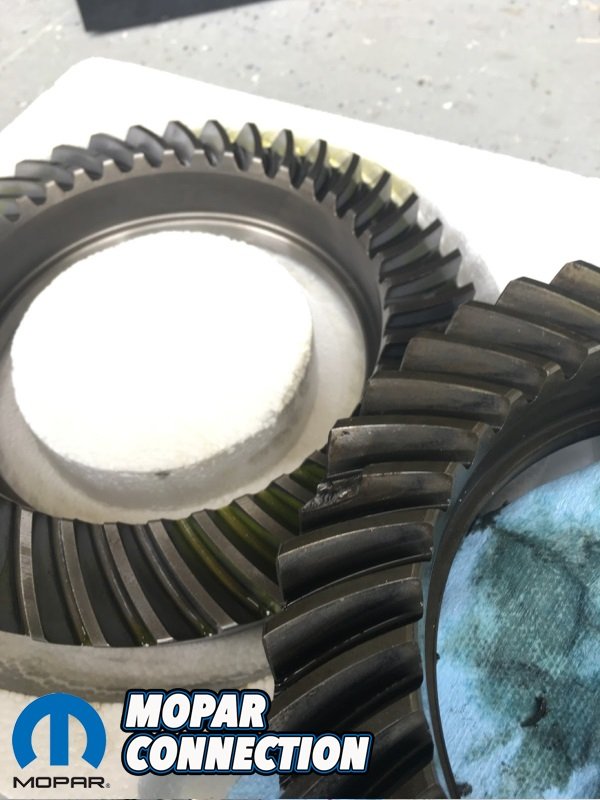
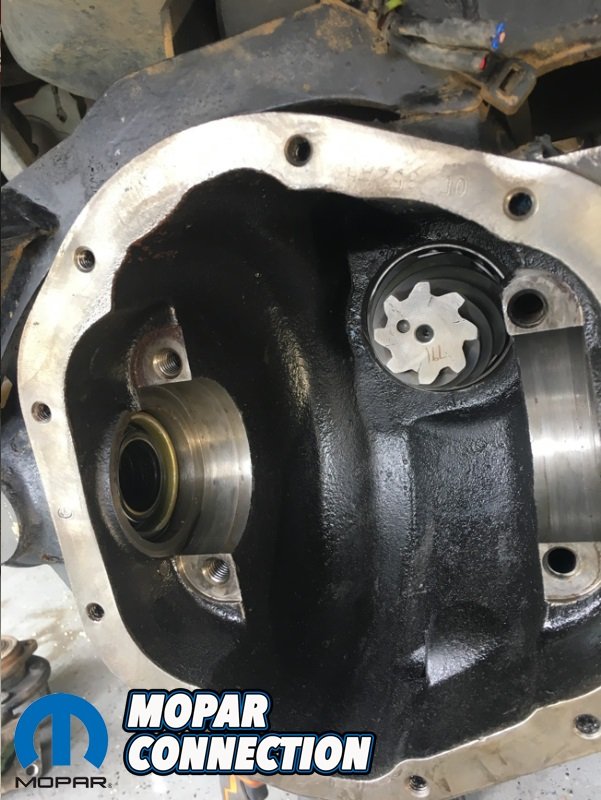
Seen here is our used, and chipping right gear. A chipped ring gear is a sign that this differential has seen some major abuse. Failure to replace the harmed ring gear would very likely have lead to catastrophic failure before long. The ring and pinion in the Grocery Getter Rock Racing Jeep had not yet made any noise or outside indication that it was hurt, which reinforces the need for regular maintenance and inspection of a vehicles drive-train components. (Below left)


The Jeep was equipped with 5.13 to 1 differential gears to maximize the Jeep’s small motor to push large 37” tall tires. More can be learned about gear selection here.
After the differential carrier and ring gear are removed, cleaning of the differential is an important step. When a differential is worn or broken it is not uncommon to have metal shavings in the oil. Cleaning the housing ensure no metal remnants get into the new bearings or gears. (Above right)

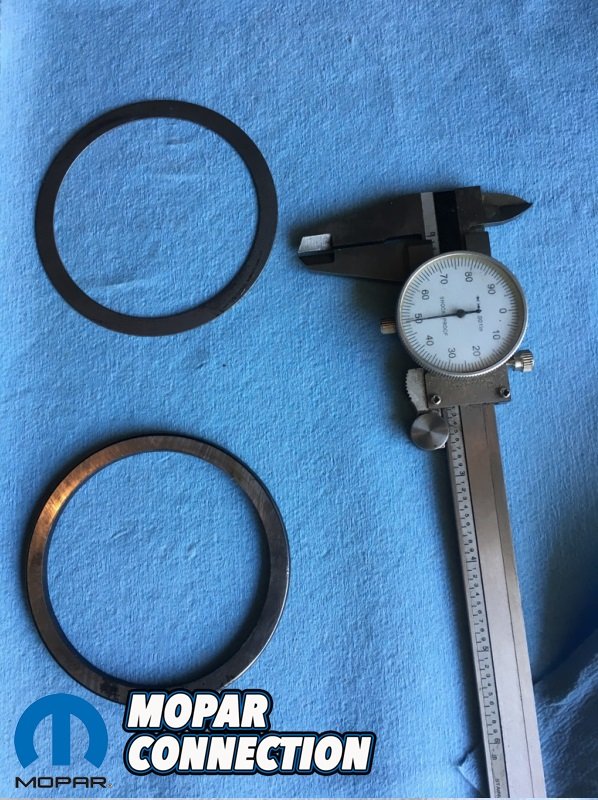
The used Pinion gear was removed, races pushed out, and bearings cut off to retrieve the pinion shims. (Above left)
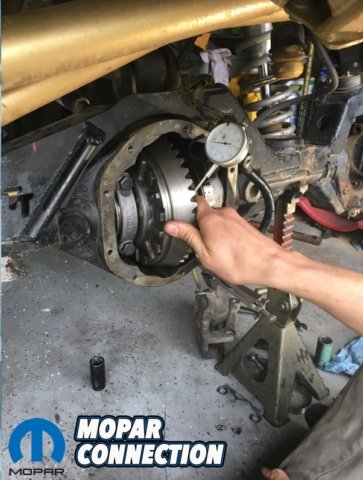
Shims are the component that make all the difference in ensuring the ring and pinion have the proper meshing engagement. A digital dial caliper is the preferred tool for the job, but we made due with an analog gauge. (Above right)

Here the factory Jeep JK Rubicon Electronically Locking differential can be seen. The old bearings were cut off, ring gear removed, and new bearings pressed on. (Above left)
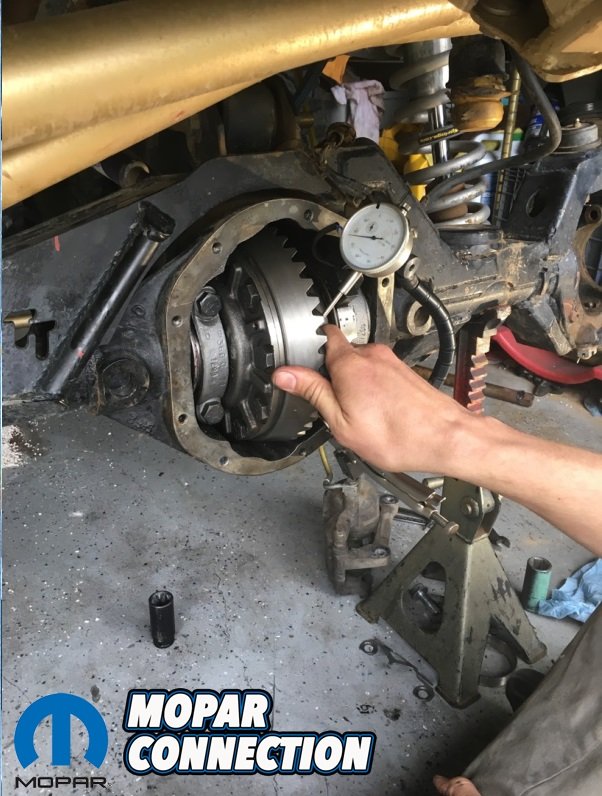
With new bearings installed the pinion gear can be reinstalled, we started by using the same pinion depth shims that came out of the old gear set. The locking differential was then installed with new bearings and ring gear. At this stage backlash can be checked using a backlash gauge like the one shown here from Harbor Freight tools. Specifications vary between every axle so be sure to check a manual to know what range you need. (Above right)

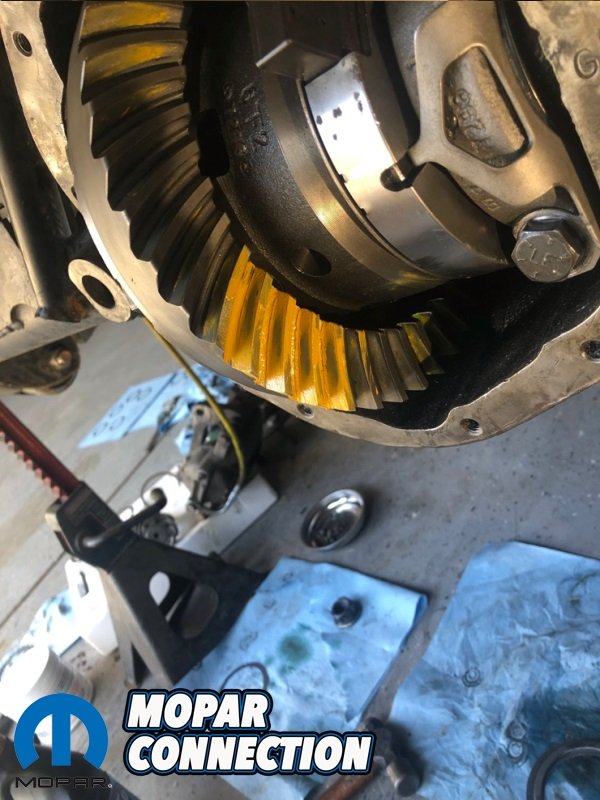
With our backlash adjusted within specifications marking paint is used and the ring and pinion are rotated to create a wear pattern. This pattern is used to show if the pinion is too shallow or deep. Adjusting pinion depth is handled by changing the pinion shims. Backlash is adjusted using shims on the differential carrier.
Making all the shims play together to make a good pattern is somewhat of an art form, patience is key. Once the right pattern is achieved be sure to torque everything to specifications, including the pinion nut to set pinion rotational pre-load. ExtremeTerrain has a great guide for Jeep torque specifications here. (Above left)
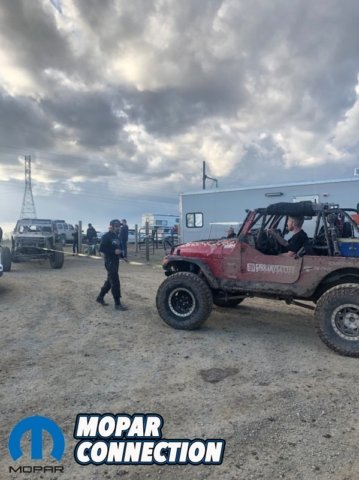
With fresh Mammoth Axle shafts, Yukon Ring and pinion, and Nitro Gear and Axle bearings the Grocery Getter Rock Racing Jeep will be ready to put all 190 horsepower to the ground at the next race. (Above right)


