


Returning our 2006 Charger Pursuit to civilian duty continues. However, setbacks can happen; recently, we have experienced our share. If you have missed part of the series, review the following:
Retired Cruiser Returned to Action – Part I
Beginning Collision Repair on a 2006 Dodge Charger Pursuit – Part II
The Body Work on this ’06 Dodge Charger Police Pursuit Continues – Part III
The Collision Repair & Paintwork Concludes on Pursuit Charger – Part IV
Refurbishing the Interior of a Police Pursuit Charger – Part V

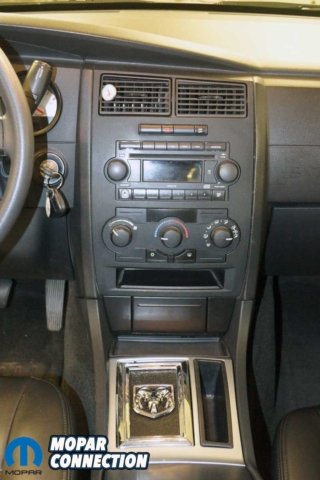
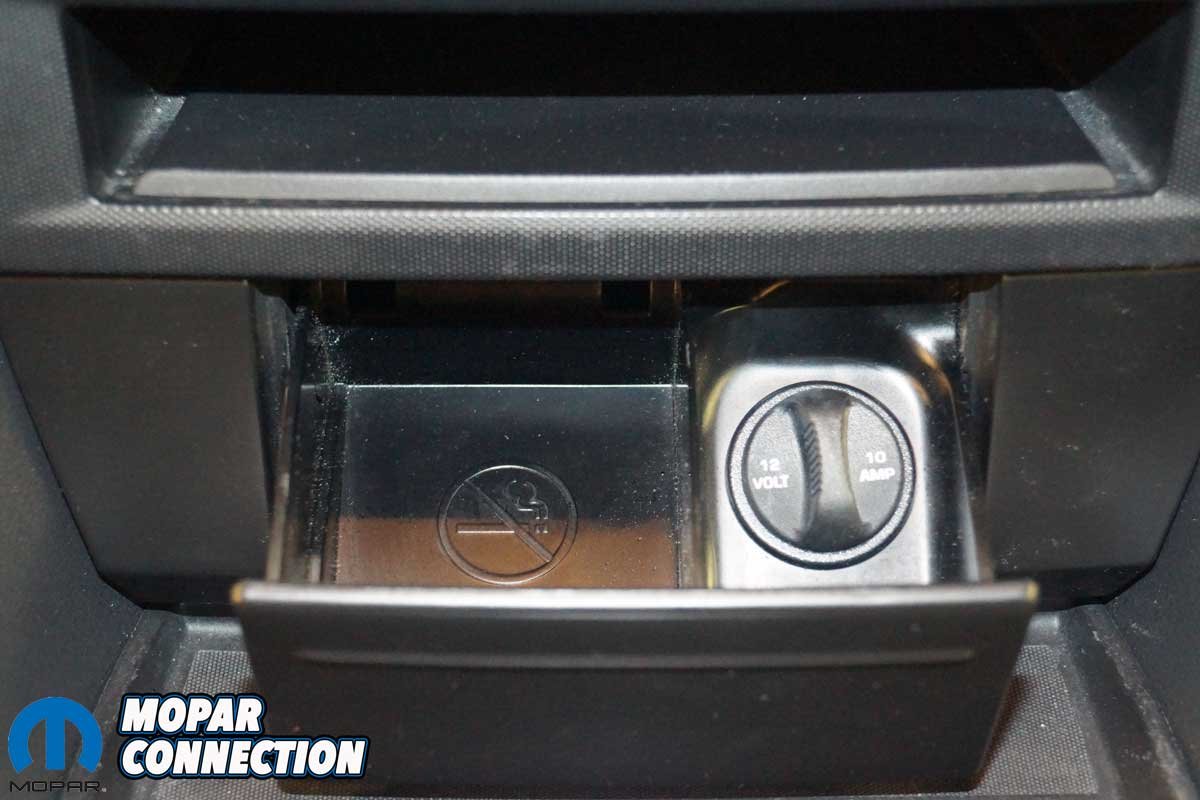
Above: The first ashtray (power port) purchased was permanently lost in transit, but another undamaged unit was located a month later. The 12-volt power port was plugged into the factory connector, and the assembly easily clipped into the console area.
The instrument cluster has posed a persistent problem. As detailed in the first part of this series, the cluster’s backlight illumination was non-functional when the headlamp switch was set to the park lights or headlights detent.
To acquire a new cluster, I completed all the paperwork required by the dealer, but the cluster was not available at the time of this article. The Charger could still be driven, but the cluster gauges are not backlit at night. The cluster replacement was the only option, but I have begun researching other possibilities because of the difficulty in finding an operable unit.

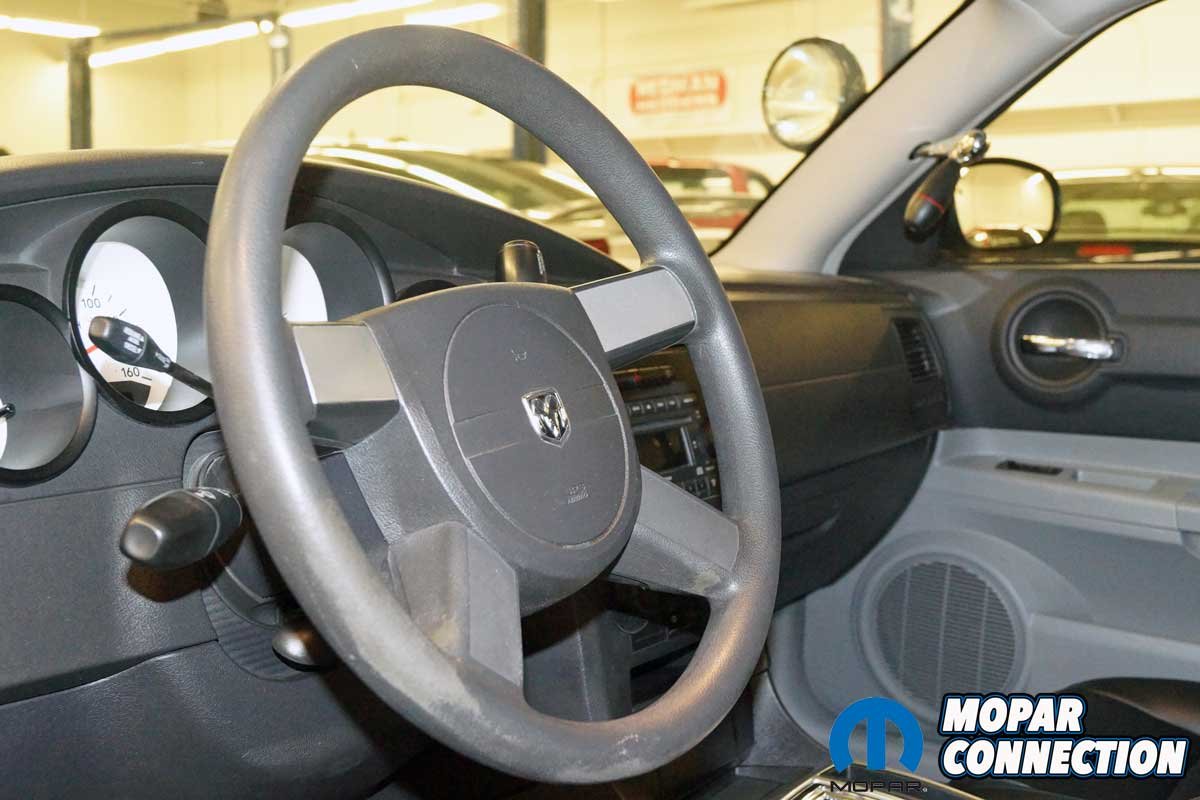
Above: The next problem I incurred was a factory replacement for the original well-worn steering wheel. I won a Chrysler 300 steering wheel on eBay, but when it arrived, it was severely damaged and could not be used. I returned the damaged wheel and got my money returned, but I was forced to live with the old steering wheel for a while longer.
For the only time I remember, a purchased component was lost in transit. For several weeks, an unused ashtray assembly to complete the Charger’s center console was listed as “in transit.” The ashtray was a crucial part of the interior restoration, and its loss was a setback.
I contacted the seller to see if he knew anything about the ashtray’s location. After another month, the seller refunded my money, and the part was still lost but “in transit.” Undeterred, I found a suitable replacement, which showed up within days. The new ashtray and power port slipped into the console and connected to the Charger’s electrical harness.

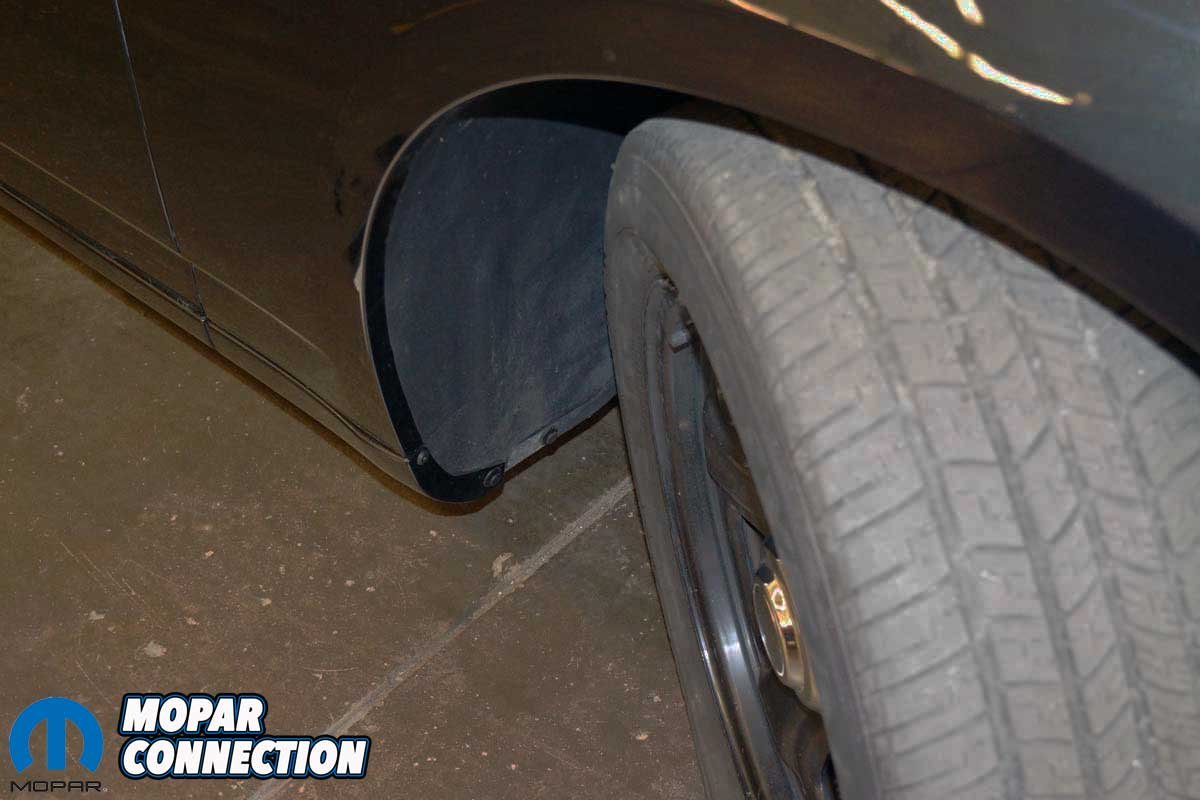
Above: The Goodyear Eagle RS tires were evenly worn but worn out. I searched for tires with similar Treadwear, Traction, Temperature, and speed ratings to the Goodyear and found a Dunlop Signature HP. The Dunlop tire equaled or exceeded Goodyear’s rating except for the speed rating—the Dunlop is “V” rated (149 mph), while the Goodyear was “W” rated (168 mph). I do not have to worry about the 19-mph reduction in speed rating.
Another part I needed to finish the interior was the steering wheel. I have always liked the Chrysler 300-style steering wheel with the leather wrap and wood grain area at the top of the wheel. After an extensive search for a steering wheel in decent shape, I found one in an eBay search. I placed a bid of just under $100, and it was mine at the end of the auction.
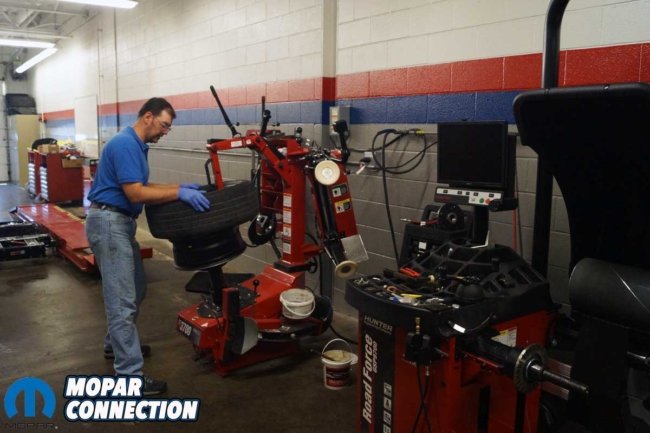
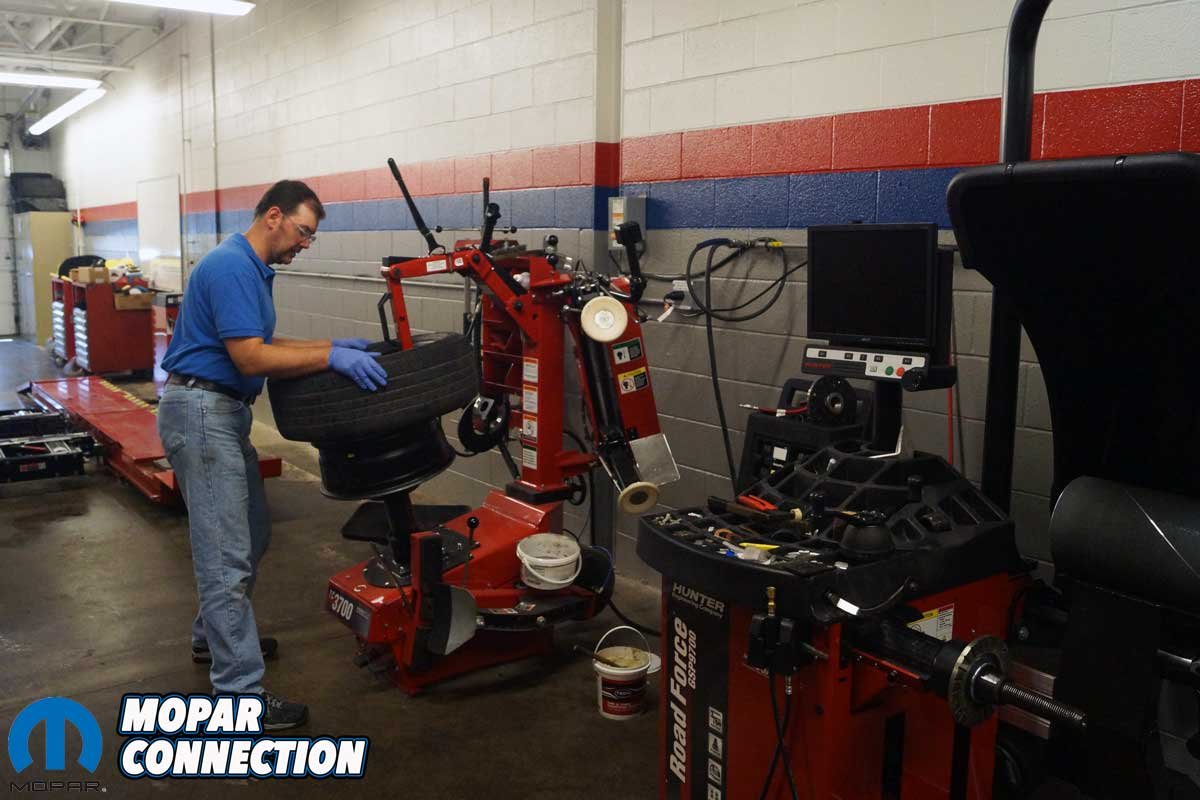
Above: I removed and discarded each Goodyear tire. Although the wheels are steel, and I could have used an old-school tire machine, I took advantage of a newer-style tire removal machine designed for low-profile tires on alloy wheels. The design provides minimal contact between a softer (aluminum) wheel and the machine’s contact points on the wheel, thus reducing wheel damage.
Upon arrival of the steering wheel, I noticed it was severely bent (like it was run over by the delivery truck). I contacted the seller, who stated, “It must have been bent during shipping.” The steering wheel could have been packaged better, but he was probably correct about the damage during shipping. The seller refunded my money, but I was without a necessary component and missed my deadline to complete the interior. The search for an acceptable steering wheel continues.
Moving to where the rubber meets the road, it was time to select some new tires for the Charger. The Goodyear Eagle RS-A tires were evenly worn across the entire tread surface but worn beyond the point that I wanted to use them. I needed a tire that would run quietly yet be inexpensive while maintaining the traction and speed ratings like the Goodyear tires.
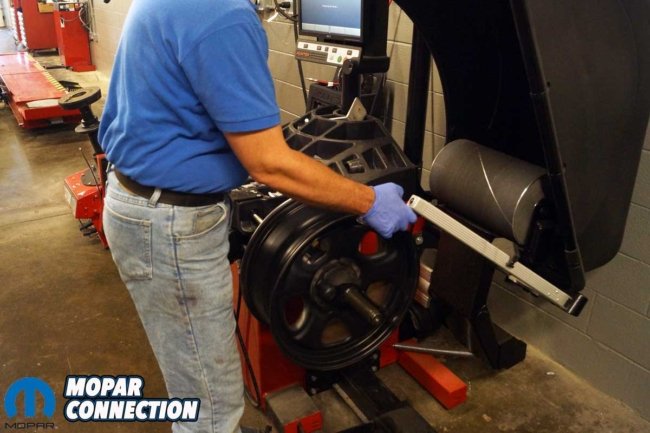
Above: After breaking down each tire/wheel assembly, I used a Hunter Road Force wheel balancer to measure each wheel’s runout. One of the four wheels was bent and had to be replaced. I called Detroit Wheel, and within a week, I had a new Police Pursuit steel wheel. While I waited for the wheel to arrive, I cleaned the three remaining wheels and applied several coats of rattle can black paint.
A search led me to the Dunlop Signature HP series tire, which appeared to be a suitable replacement. The Dunlop tires are manufactured in the USA, another vital consideration. The Goodyear tire was a 225/60R18 tire with a “W” speed rating (168 mph). The UTQG (Uniform Tire Quality Grading) Standards for this tire were a Treadwear rating of 260, a Traction rating of A, and an A Temperature rating.
The Signature HP tire selected was an Ultra High-Performance All-Season radial tire measuring 225/60R18 with a “V” speed rating (149 mph). The UTQG Standards for this tire were a Treadwear rating of 500, a Traction rating of AA, and an A Temperature rating, which were all similar or better than the Goodyear tires.

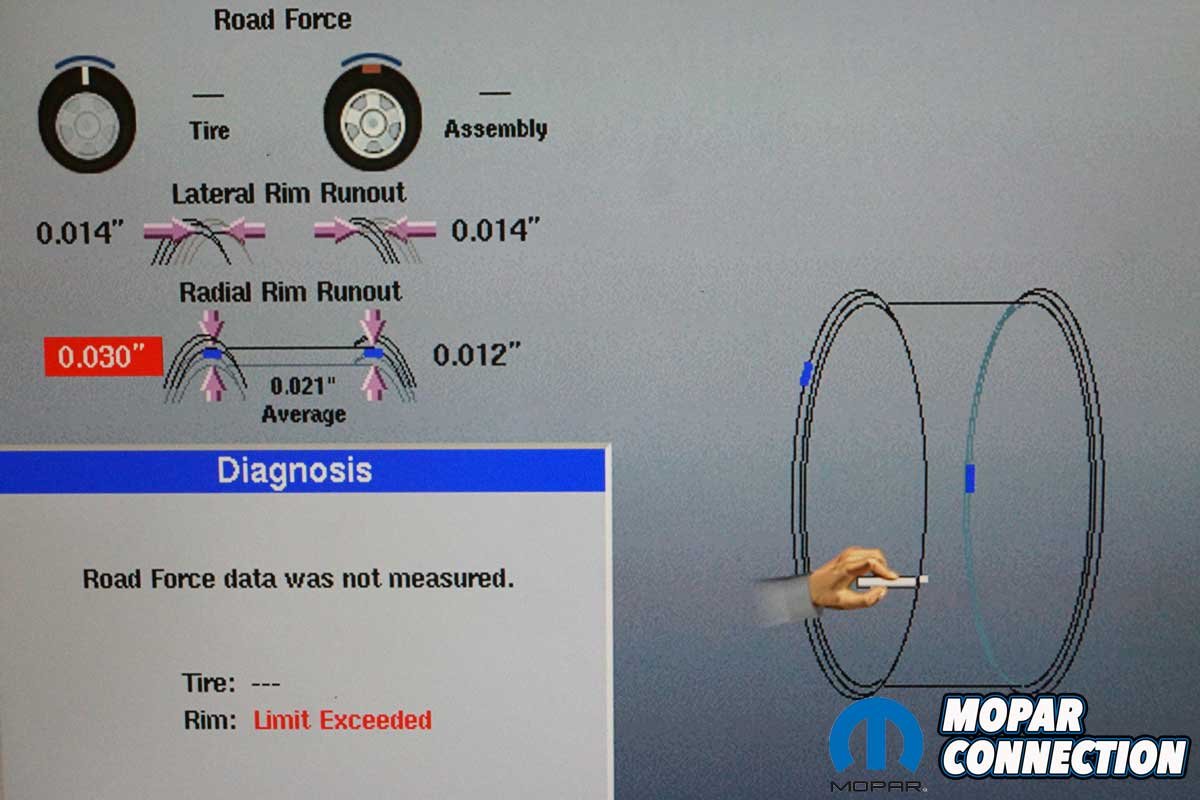
Above: The damaged wheel had a radial runout (up and down movement) that exceeded the specifications. Although the lateral runout (in and out movement) was in specification, it also appeared to be rather significant. Although the wheel did not have visual damage and probably could have been used, the new Detroit Wheel steel wheel ensured I would not have a tire/wheel vibration concern to deal with in the future.
In preparation for installing the new tires, I removed the aged Goodyear tires and pulled the old valve stems from the wheels. I mounted each wheel (one at a time) on the Hunter Road Force wheel balancer to evaluate its concentricity. The balancer revealed that one wheel had excessive radial runout, and it had to be replaced due to a slight bend that resulted in a noticeable wobble while spinning on the wheel balancer.

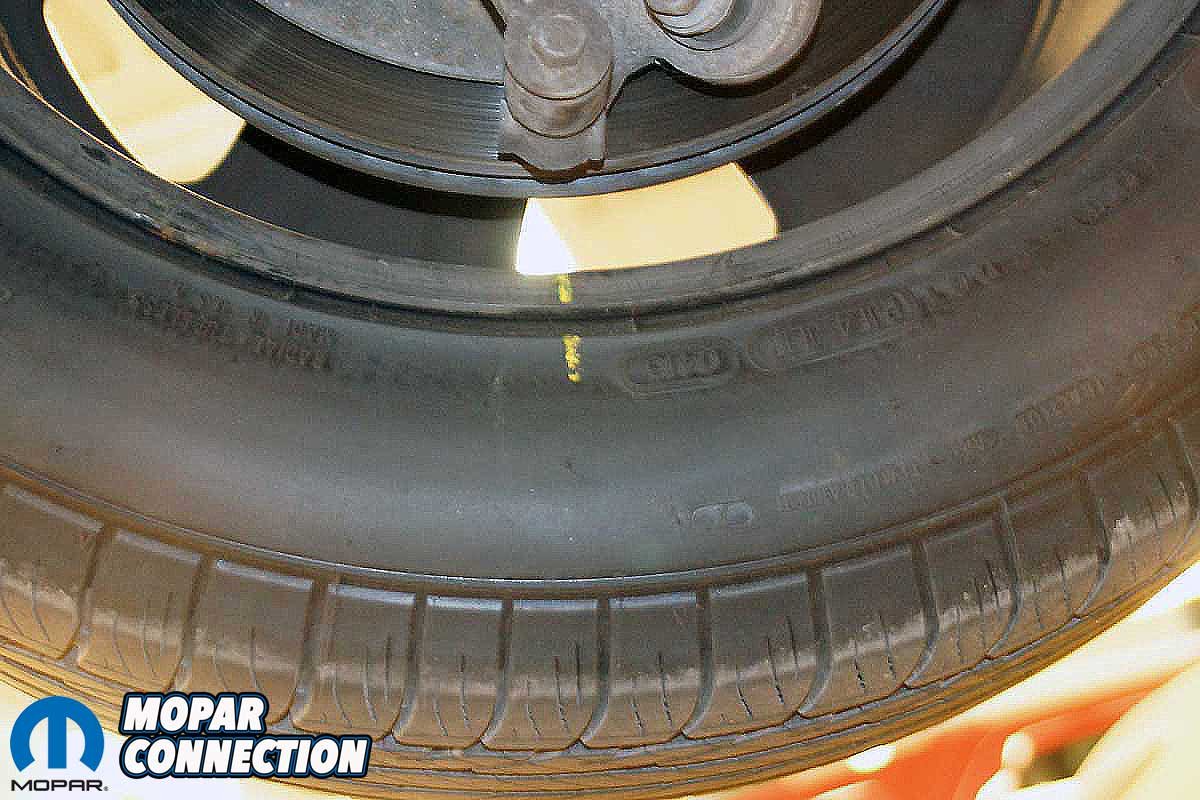
Above: When the Dunlop tires were installed, I used the Hunter Road Force wheel balancer to determine the runout of the four-wheel and tire assemblies. One of the four had excessive radial runout. The Hunter machine provided information on how to align the wheel’s low point and the tire’s high point. I marked the wheel and the tire (with a crayon) and broke down the assembly. I aligned the two marks, reinflated the tire, and re-ran the road force procedure. The assembly passed and did not require any lead wheel weights to achieve perfect balance.
Excessive run out of a wheel/tire combination can be felt throughout the chassis, which is never desirable for a smooth ride. I purchased a new wheel from Detroit Wheel to replace the damaged wheel. With four decent wheels, I cleaned the wheels with soap and water. Once dried, I used a Scotch Brite pad on the wheels to rough up the surface of each wheel to prepare for paint. I used compressed air to blow off each wheel and then applied a few coats of rattle can Krylon black paint.

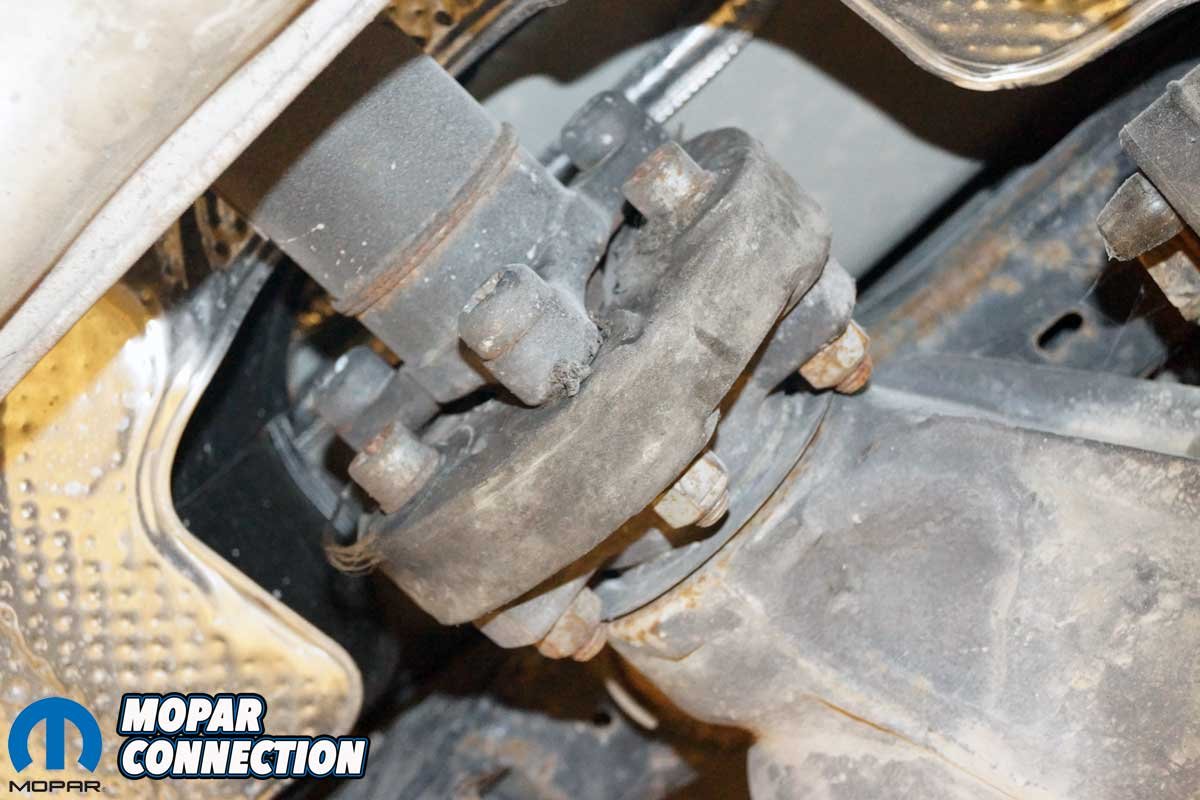
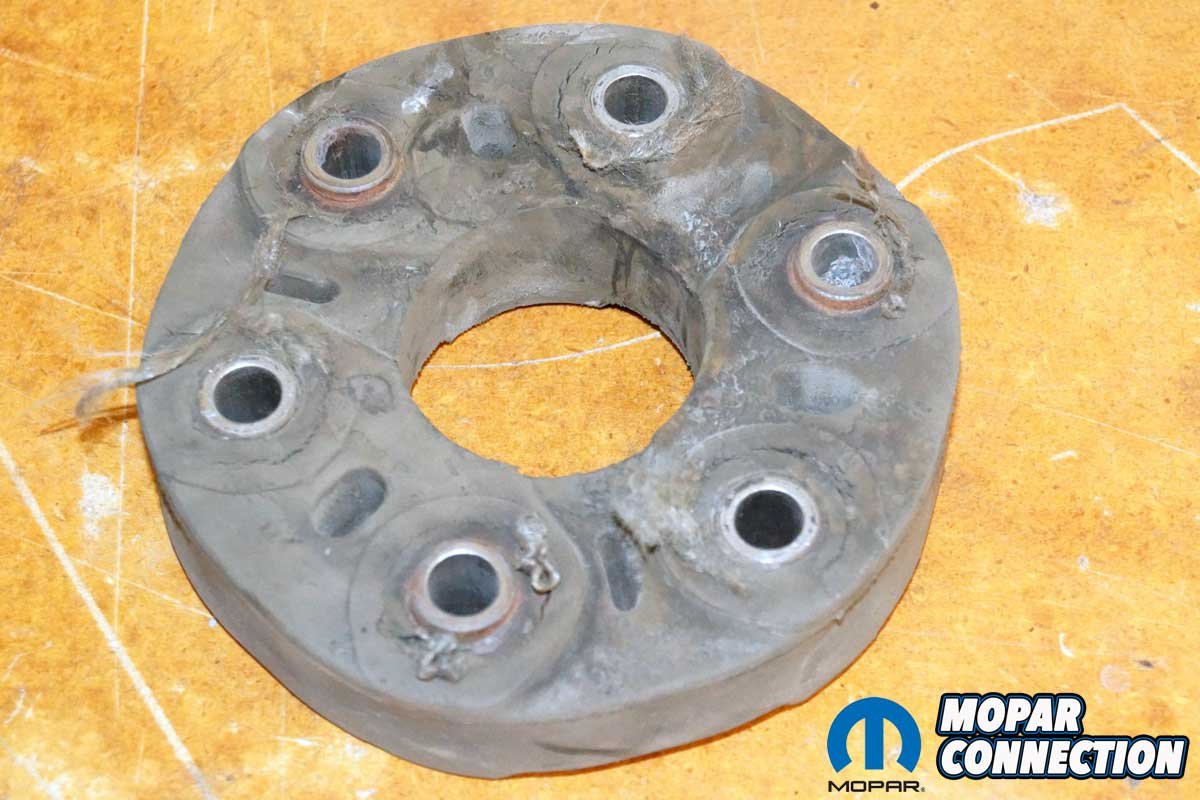
Above: The initial test drive of the new Dunlop tires revealed a vibration at 55-65 under throttle, not as noticeable when coasting. The tire/wheel assemblies had minimal runout and were correctly balanced, so I eliminated them. I searched for other areas that could result in a vibration. My first check was the couplers on the driveshaft; sure enough, the couplers (especially the rear unit) had begun to break down.
With the wheels’ paint dried, I pulled through new valve stems and mounted the Dunlop tires. The tires have a “mount this side out” notation on the sidewall; it is essential to be sure the tire is mounted correctly. With the tires on the wheels, the assemblies were balanced on the same Hunter Road Force wheel balancer. Three of the four wheels and tires passed the runout tests and required little lead weight to bring them into balance.
The last tire did not pass radial runout, and the Hunter wheel balancer provided a match mounting suggestion to improve the concentricity of the wheel/tire. The wheel balancer established the low point of the wheel and the high point of the tire, and I marked the points with a crayon on the wheel and the tire. I then deflated the tire and lined up the two marks. Once the marks were aligned the tire was reinflated and rebalanced. This time the wheel and tire passed the runout tests and required zero lead weight to achieve perfect balance.


Above Left: The coupler (rear in this case) was pulled after six fasteners were removed. There were several cracks and areas where the inner wound fabric broke through the rubber insulator. Above Right: The new coupler purchased from RockAuto matched the factory unit perfectly. The front and rear couplers on the Charger are the same part number, so I ordered two. After installing the couplers, the Charger rode quietly and smoothly without any hint of vibration.
With the wheels mounted and torqued onto the Charger and the hubcaps tapped into place, I took the Charger for a spin around the Penn College campus. Then, I rolled down to the local Pennsylvania vehicle state inspection and emission station. The visual and gas cap emissions test passed, and all the safety inspection components passed as well.
With the inspection behind me, I was off to test-drive the Charger in the local area surrounding the college, including the interstate. The Charger ran great on the surface roads and the interstate; the ride was ultra-smooth, and the tire road noise was minimal. The tires felt responsive when cornering, gripped the road when hard braking was required, and allowed for excellent acceleration without any traction concern.

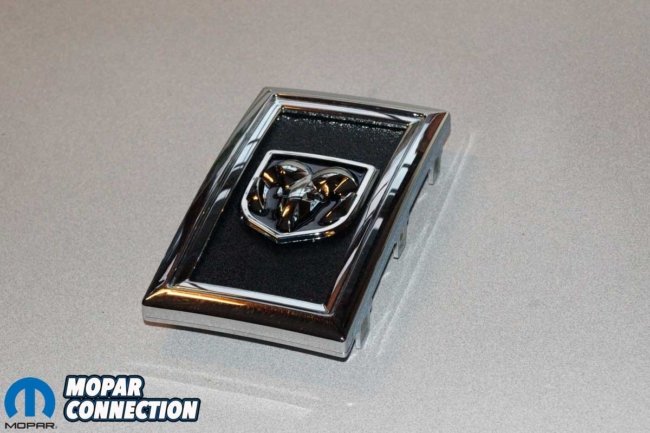
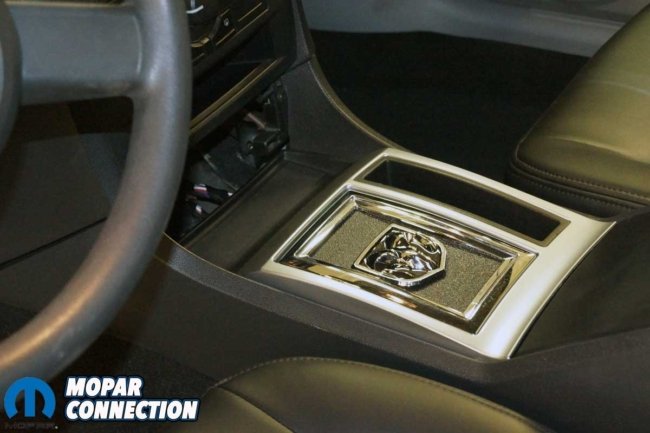
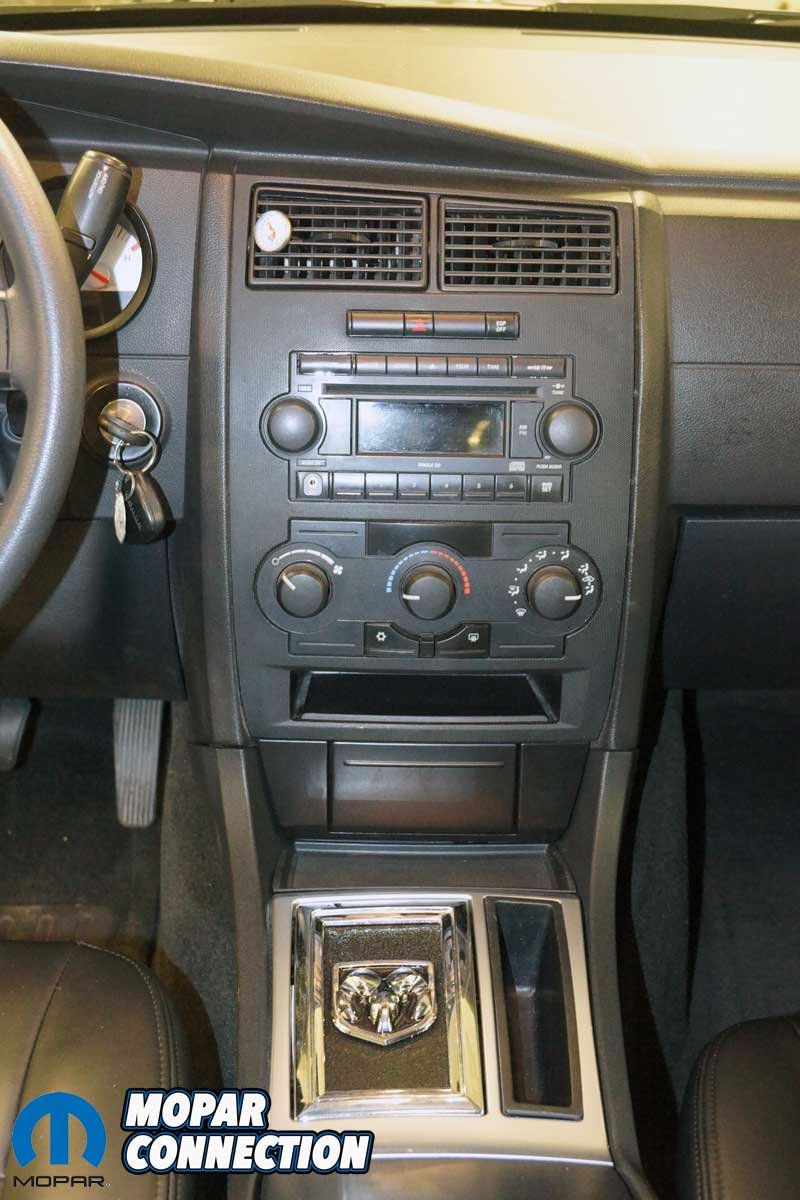
Above Left: To fill the void in the center console where the shifter would be on a civilian Charger, I picked up black textured plastic, a factory bezel, and a Ram Head emblem with a self-adhesive backing. Above Center: I trimmed the plastic to fit in the bezel. After removing the chrome from the back side of the bezel, I glued the plastic to the bezel. I carefully affixed the emblem to the bezel assembly with the self-adhesive backer removed. Above Right: I test fitted the delete plate, and it fit perfectly.
However, I noticed a slight vibration at 55-65 mph that was narrowed down to the drivetrain. I put the Charger’s transmission selector into neutral, changing the load on the drivetrain, and the vibration changed as well. Once back at the college, I put the Charger on the lift and observed the driveline. It turned out the front and rear driveshaft couplers were worn out. Each was cracked and had the inner woven material exposed through each coupler’s surface.
I purchased two new couplers from a local parts outlet. After indexing the driveshaft and the differential yoke, I loosened the six fasteners and removed the rear coupler. I re-installed the six fasteners and torqued the new coupler into place. The same procedure was followed for the front coupler. Both couplers have the same part number, so they are interchangeable. I performed another test drive with the couplers installed, and the vibration was gone.
With the tires done, the driveline vibration corrected, and the state inspection completed, my focus moved to the hole in the center console where the transmission gear selector would have resided on a civilian Charger. To fill in the 68mm X 130mm hole, I found a piece of textured black plastic that I cut to size with a pneumatic cutoff wheel.
The chrome bezel around the selector hole in the console was removed, and the chrome on the backside was sanded off so epoxy would adhere. The epoxy was applied to the bezel, and the textured plastic was pressed to it. To finish the bezel, I affixed a properly sized chromed Ram Head emblem to the textured plastic. The Ram Head on the console matched the emblem on the Charger’s front bumper cover. With the delete plate installed, it looked like a factory installation that was clean and understated.

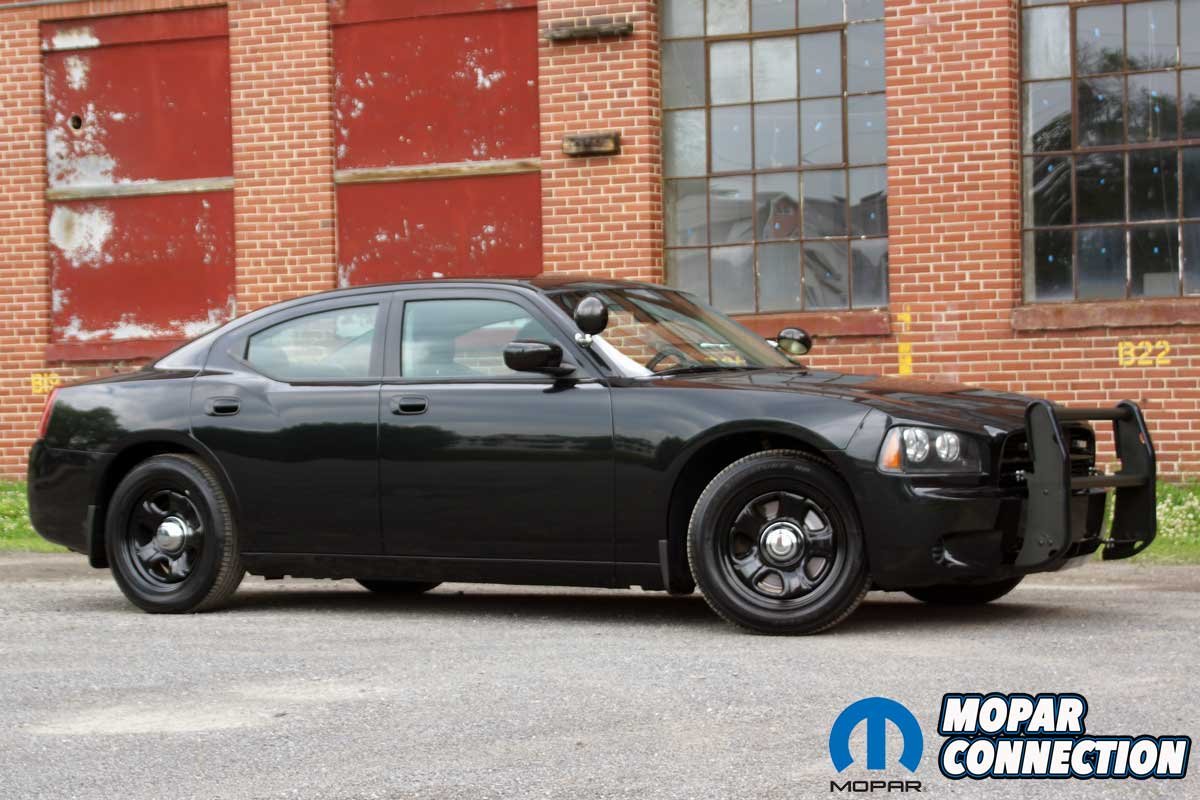
Above: I reinstalled the police lights and push bar (for now). I will likely remove them permanently if the Charger garners too much attention.
Including the purchases made this month and the few yet to come, my budget of $12K for this entire project is getting tight (Table 1). Four things still need to be addressed, including resolving the steering wheel concern, installing a new instrument cluster, adding a body stripe, and gathering a few performance numbers on the chassis dyno and at the drag strip. The end is near, and the fun of driving the Charger will soon begin.


This proves the frustration of trying to restore a vehicle from the 2000’s. Poor quality parts, electronics and supply availability.