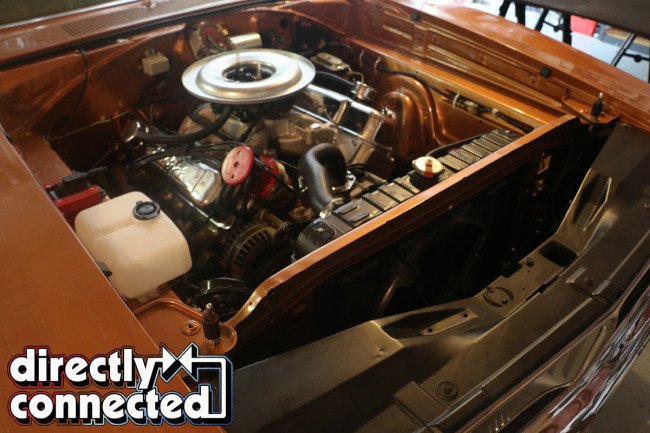
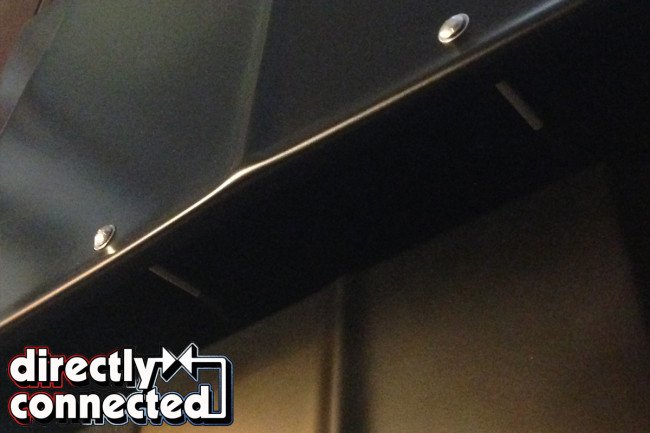
With our ongoing Project Brazen ’69 Dodge Charger, we’ve been encountering “happy problems.” These are often small (but not necessarily inexpensive) issues that rear their ugly little heads only once you get your car finally on the road. Today’s particular issue revealed itself the very minute we bolted the engine and transmission into the car, our big stroker 535ci Wedge was simply too tall (yes, even with the dual plane manifold) for our flat, four-pin hood. Unless we drove around the neighborhood without an air cleaner over our Holley HP Ultra, we couldn’t pin down our hood at all.
We ran to the local speed shop and picked up a variety of air cleaner combinations, from a 2-inch drop pan, to two different low profile air elements. We even considered a ProCharger blow-through-carburetor hat, but that too was too tall. It was time to face the facts, we would need a hood scoop. Yet, this birthed additional issues: first, anyone running a big scoop will attest that our flimsy, lightweight lift-off hood would pull itself apart after grafting on a gnarly bird catcher; and second, what kind of scoop would even look good on a Dodge Charger?
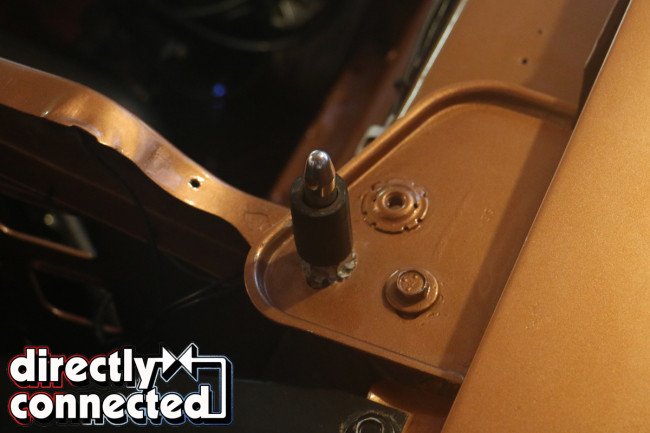
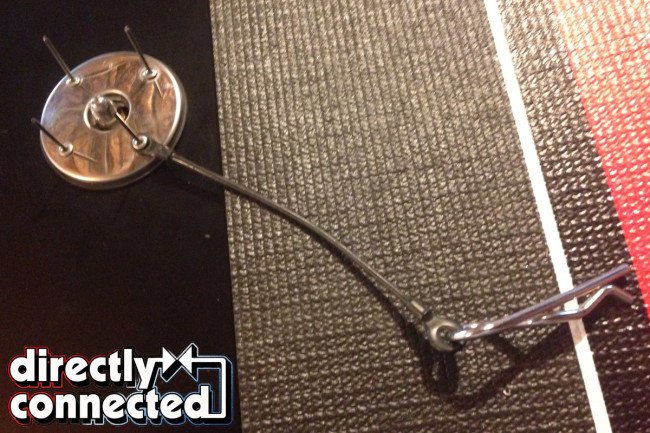
Above left: Despite testing several configurations of air cleaner, we simply ran out of room beneath our flat hood. Above right: Because we wanted more strength from our new fiberglass hood, we opted to ditch the rear hood pins and just run the front two.
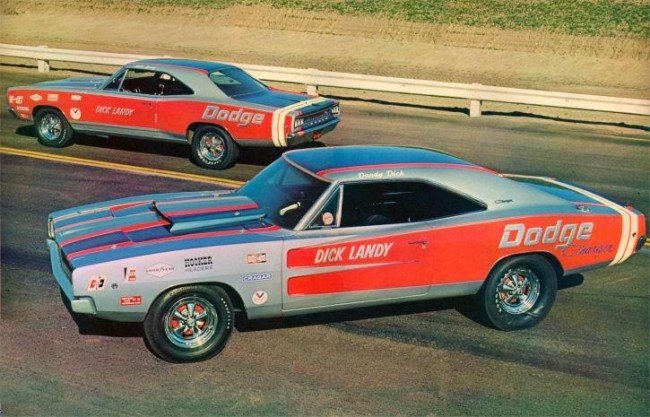
Our first inclination was to return to Brazen’s inspiration, Dick Landy. Again, luck was not in our favor as Landy’s Chargers featured the RO-code scoop made famous on the ’67 Plymouth GTX test mule, aptly named “Silver Bullet,” and positioned the scoop well past the cowl, flush to the windshield. We were going to run wipers, so Landy’s configuration simply wouldn’t work. Others suggested the all-too-common Six-Pack scoop sold by several companies, but we just never liked the way it looked (taste, alas is always subjective). So where did that leave us?
Admittedly, we always imagined challenging Hot Rod‘s own David Freiburger and his Hemi-powered ’70 Super Bee to a 1/4-mile showdown (once we dial-in good ol’ Brazen), and loved the look of the L023 Hemi Dart scoop on the Bee’s blacked-out hood. Then, when we watched Freiburger cobbled together a tin makeshift scoop on a ’68 Charger (“General Mayhem”) for the web series “Roadkill,” we knew what we needed to do.
Above left: VFN Fiberglass sent out a bolt-on hinged hood and authentic ’68 Hemi Dart/Barracuda scoop for Brazen. Above center: We measured up our scoop and marked the cutting points for the air cleaner hole. Above right: Before going off to Arizona Customs, we took a final look at how Brazen would look with its new monster scoop.
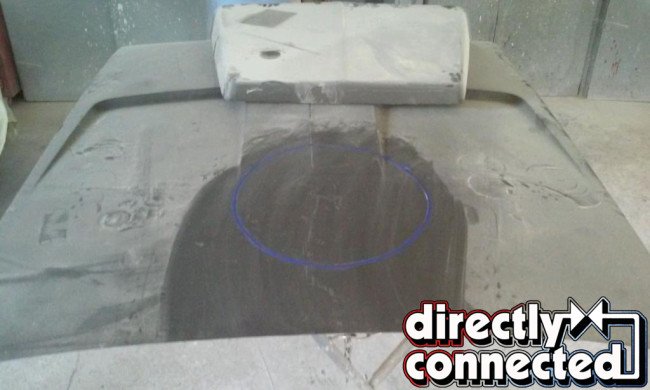
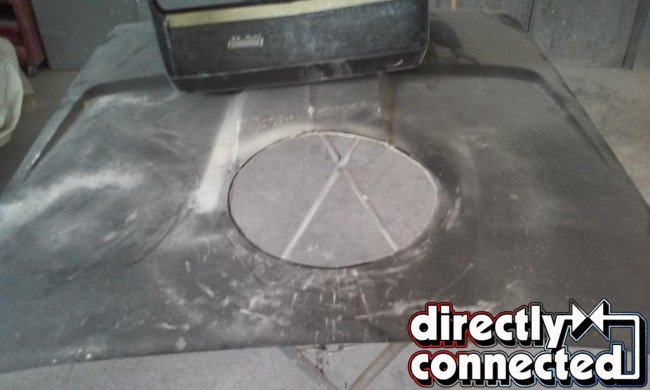
Above left: After sanding down the VFN gel coat, Arizona Classics’ Brent Skydiver marked the air cleaner hold. Above center: With the hole cut an extra 2-inches than our air cleaner, clearance shouldn’t be a problem. Above right: Skydiver began sanding down into the gel coat to expose raw fiberglass for bonding the scoop.
We were very excited (and unexpectedly lucky) to connect with VFN Fiberglass. Many hardcore racers will know VFN Fiberglass as will many owners of street cars, as VFN has rightfully earned a rock solid reputation for building some of the best, most high quality hoods, scoops, fenders (and so much more) available today. VFN has even hand-laminated complete bodies, hand-laid front clips, and improved their processes all along the way. Because we feared the scoop bowing and potentially ripping the hood loose, VFN recommended we went with a hinged, bolt-on hood and Super Stock scoop.
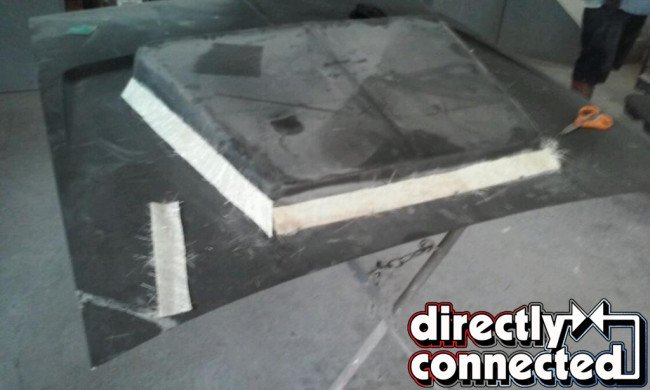
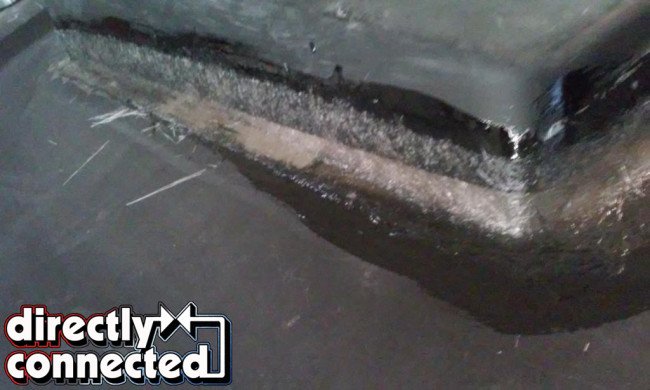
Above left: Several strips of fiberglass were used to “build up” the base around the scoop. Above center: Resin-impregnated fiberglass was used to fill in low spots where the scoop and hood didn’t contact. Above right: A thin film of body filler was used to smooth the transition from hood to scoop.
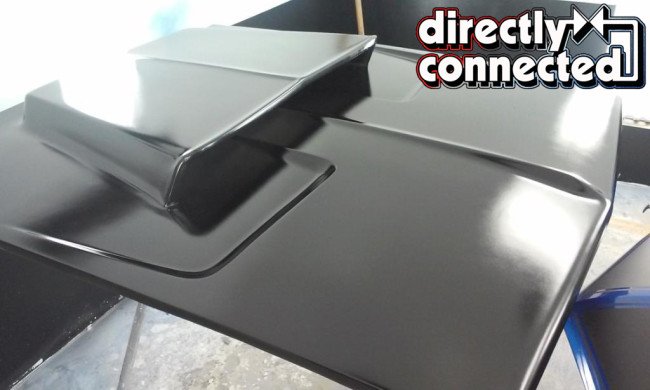
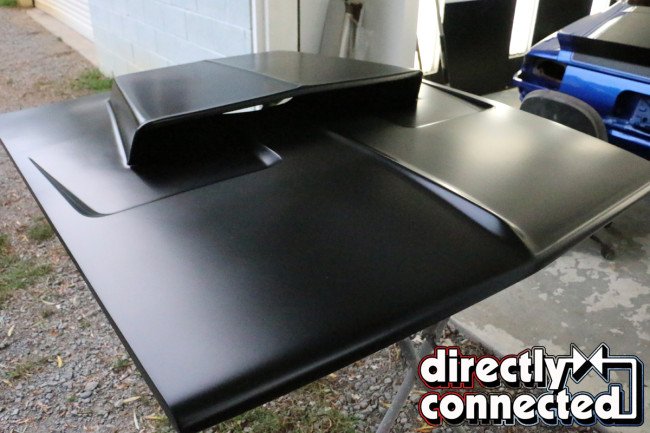
Above left: With a sealant coat of primer, the hood was sanded again for high/low spots. Above right: Our initial pass of semi-gloss black came out far too shiny, so a different satin black was later applied after scuffing the glossy stuff up.
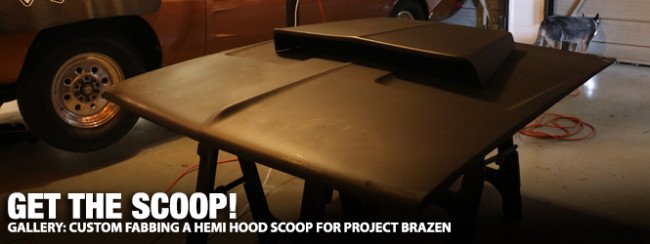
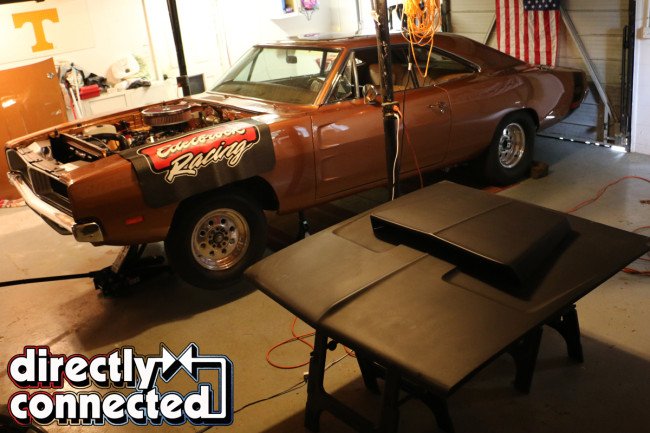
Even with reinforcements for the hood hinges and even the use of a factory hood latch up front, VFN’s complete bolt-on (direct replacement) hood weighed in a paltry 18 pounds. Together with our 3 pound Hemi scoop, we had ourselves an incredibly lightweight package that was guaranteed to withstand what we could throw at it. Arriving sooner than expected, we set up a pair of sawhorses and began measuring where the scoop should reside on the hood.
Because ’68-’70 Dodge Chargers never came with a hood scoop, we were venturing into virgin territory. Our measurements had the rear of our scoop 5-inches forward from the back of the hood. Although our air cleaner has a diameter of 14-inches, we measured the hole for 16-inches in diameter, 14.5-inches forward from the back of the hood, with a center point offset by 2-inches (because the engine is offset). With our measurements in place, we drove our hood and scoop to Arizona Classics in Smyrna, Tennessee.
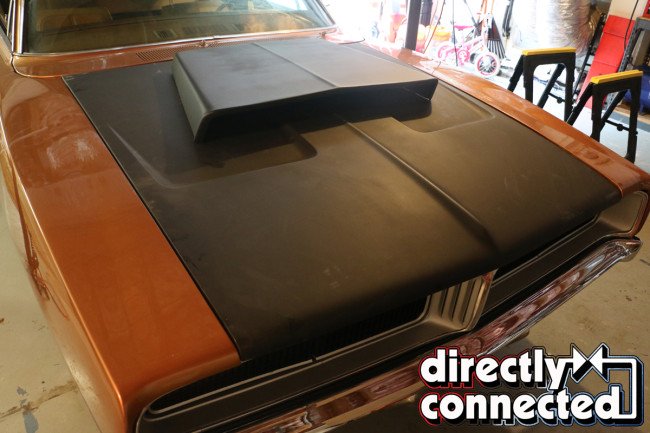
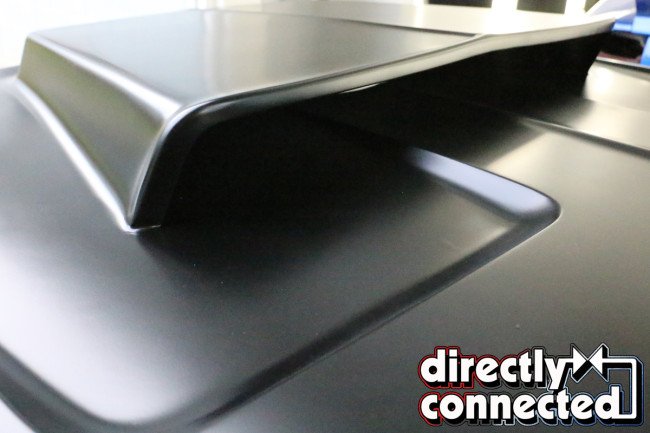
Above left: With the new satin black paint cured, we were ready to take our new hood home. Above right: Our massive Hemi L023 scoop looks particularly intimidating on the Charger’s long, scalloped hood.
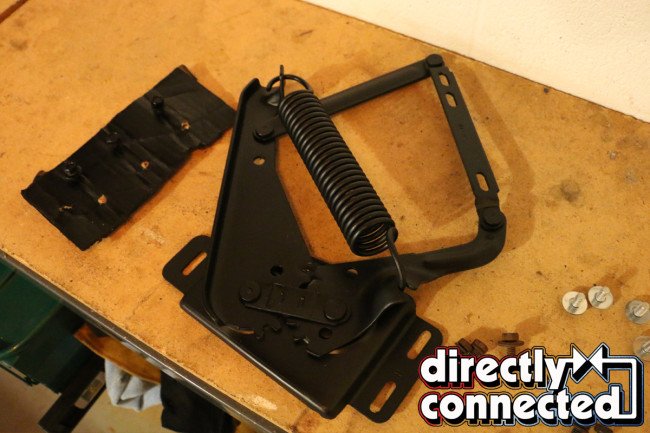
Above left: We scored a pair of original hood hinges and decided to clean them up. Above center: The mounting hardware got a little spray bomb action too. Above right: Although we worried that the factory hood springs might be too stiff to use with our fiberglass hood, some penetrating spray to the joints quickly absolved that fear.
Owned by the exceptionally skilled Brent Skydiver, the projects that Arizona Classics is currently tackling made our goofy Mopar hood seem like a waste of their time. Amid a ’46 Rolls Royce Silver Wraith, a ’66 Austin Healey 3000, and a hilariously awesome ’72 Mercedes-Benz 450 SL with a Vortec small block Chevy, Skydiver took a few days out of his busy schedule to masterfully graft the scoop to our VFN hood.
As both the scoop and hood came coated in a sealing primer from VFN, Skydiver needed to first scuff the surfaces where fiberglass and body filler would adhere before moving forward. Skydiver noted that in order to properly secure the scoop, he’d have to glass-in the scoop on the inside, and build up a perimeter on the outside, giving the scoop a slight convex approach all the way around. He assured that it would be strong enough to lift the hood by the scoop all we wished, but we didn’t feel the need to test the theory more than once.
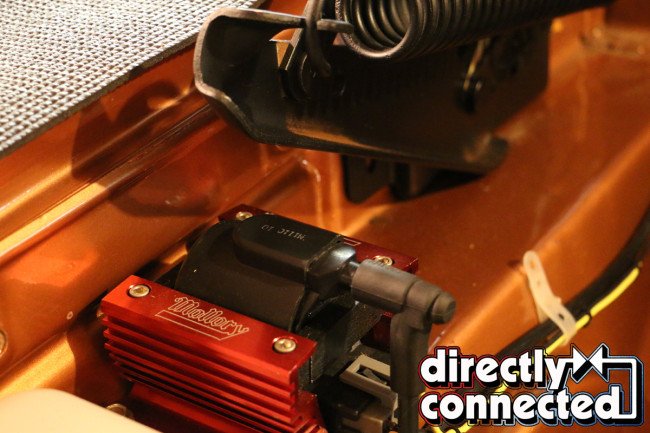
Above left: Another “happy problem” we encountered from going from a four-pin hood to a hinged hood was needing to relocate our ignition coil as the new hinges would bang right into it. Above left: With a little bit of massaging, aligning the new hood took a little bit of tweaking here and there to get “just right.”
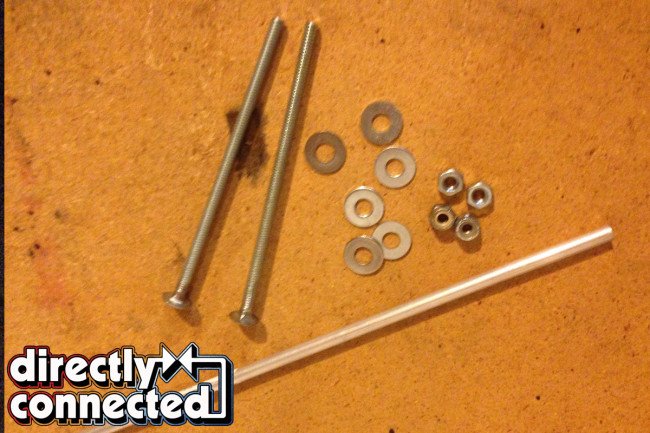
Above left: Because we’re insufferably cheap, we opted to recreate the original OE hood stanchions with some local hardware store bits. We spent about $6. Above left: We measured about two inches in from the scallop and an inch back from the hood’s lip to drill our holes. Above right: They’re not perfectly aligned, but they’re pretty dang close.
True to his word, Skydiver layered several resin-impregnated strips around the scoop, filling in the low spots where the hood and scoop didn’t fully contact. Once cured, Skydiver layered filler over the hardened fiberglass, blending the scoop to the hood. He next hand-sanded the hood and scoop before spraying a sealing primer. After being left to cure overnight, Skydiver shot a couple of passes of semi-gloss satin black to his liking. The next day, it was ready to be carefully wrapped up and taken back home.
With all the hard work done, all we had to do next was bolt it on, align it, cobble together a pair of faux hood scoop stanchions, measure and drill out the hood pins and BAM! we’d have a very cool Hemi-scooped hood on our Charger. Hood scoops stanchions are those little posts that you see hold up (or down, depending on how you see it) Hemi scoops. A kit from a restoration company will run you close to $50, but a trip to ACE hardware for a pair of long carriage bolts, a single tube of aluminum, stainless washers, and some nylon locking nuts, and we were all set.
Above left: There’s a bit of drilling needed to mount these OE-recreations of A12 440 Six-Pack hood pins properly, and it might bother some to drill into a freshly painted hood, but not us. Above right: One down, one more to go.
Above left: Yes, we know there’s no Hemi under this scoop, but we still love seeing VFN’s markings. Above center: With the pins finished and the hood aligned, we’re loving the look of our new hood. Above right: How is this not the single most popular hood scoop for Dodge Chargers? Seriously!
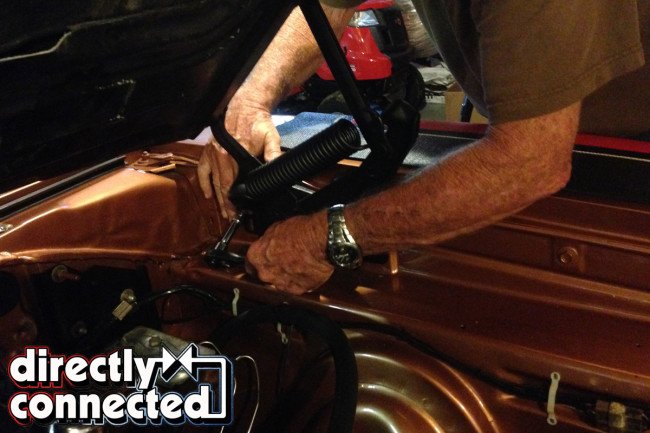
We procured a pair of factory hinges from Directly Connected’s Tech Editor Mike Wilkins, who was “pretty sure” the springs wouldn’t be too tight for our fiberglass hood (they weren’t). With a little sanding and spray bomb action, they went on easy. With our hinges loosened, we bolted our hood on and began the back-and-forth of incrementally adjusting the hood’s position until we got “close enough” to perfect.
Finally, we scavenged a pair of our original OE-style A12-code 440 Six-Pack hood pins from our original flat hood, measured twice and cut once into our new satin-black hood. Note that we opened up the bottom holes a bit wider than the tops, as the angle needed to clear the pins required a larger approach. A handful of long-sleeve rivets and a Harbor Freight rivet gun later and viola! we had ourselves a hood. We are immensely happy with our new hood, and everywhere we’ve driven this Charger gets all sorts of looks. We’re very grateful for VFN Fiberglass and Arizona Classics for their assistance, and hope you like the look of our hood as much as we do.


