


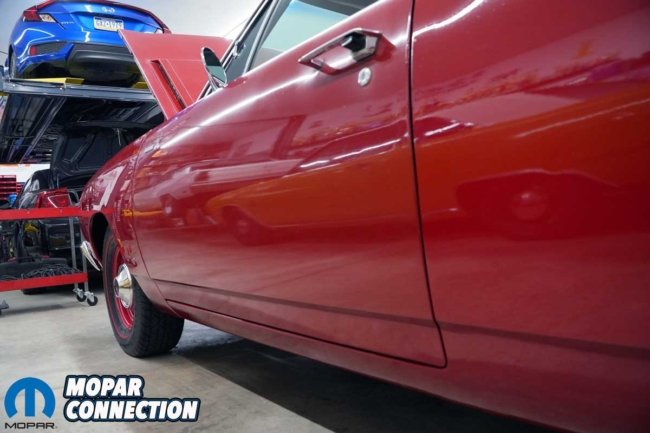
A comforting fact about a rare or valuable car is that its parts fail just like they would on a ‘70s Dart or Valiant. When a repair is made on Project Rara Hemious Birdicus, it is a familiar process, much like any other Mopar. This shared experience in car repairs is a validating reminder that we all face similar challenges, regardless of the car’s value. A common issue on old vehicles, including Mopars, is sagging doors, and our Road Runner is no exception.

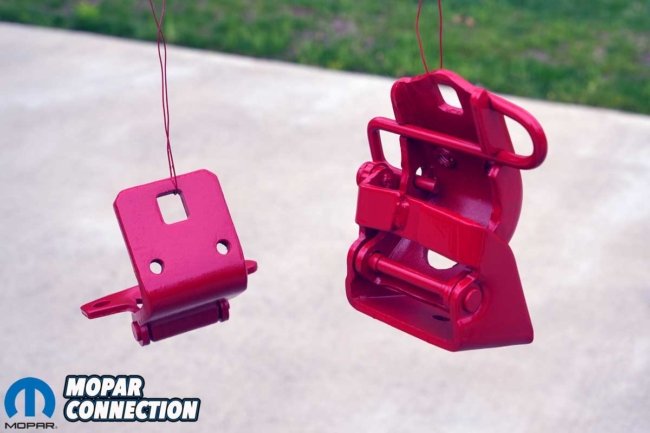
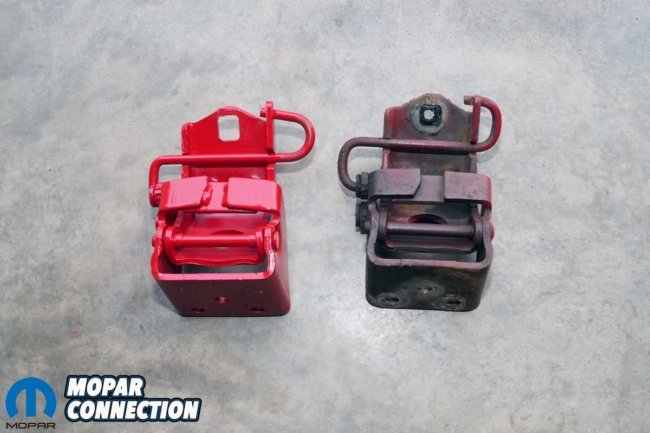
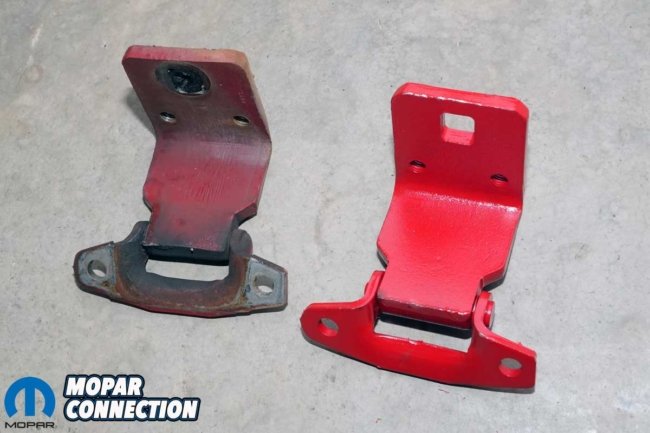
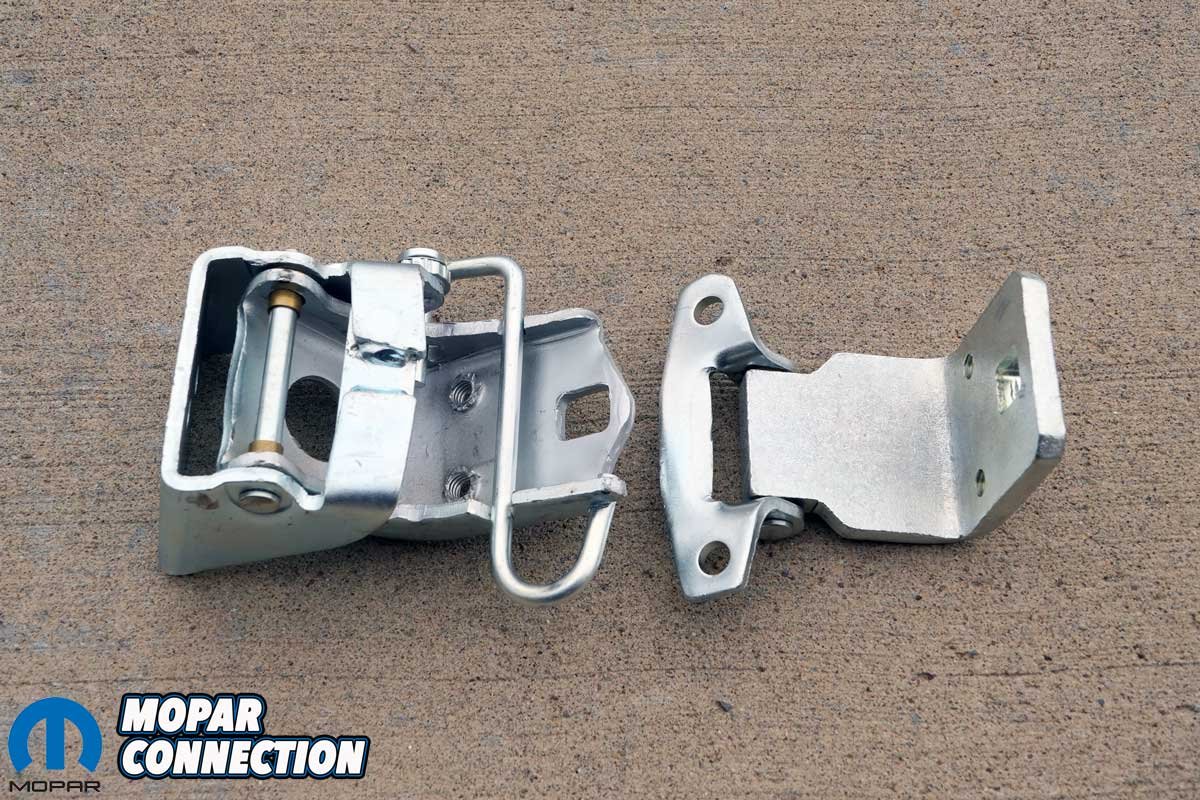
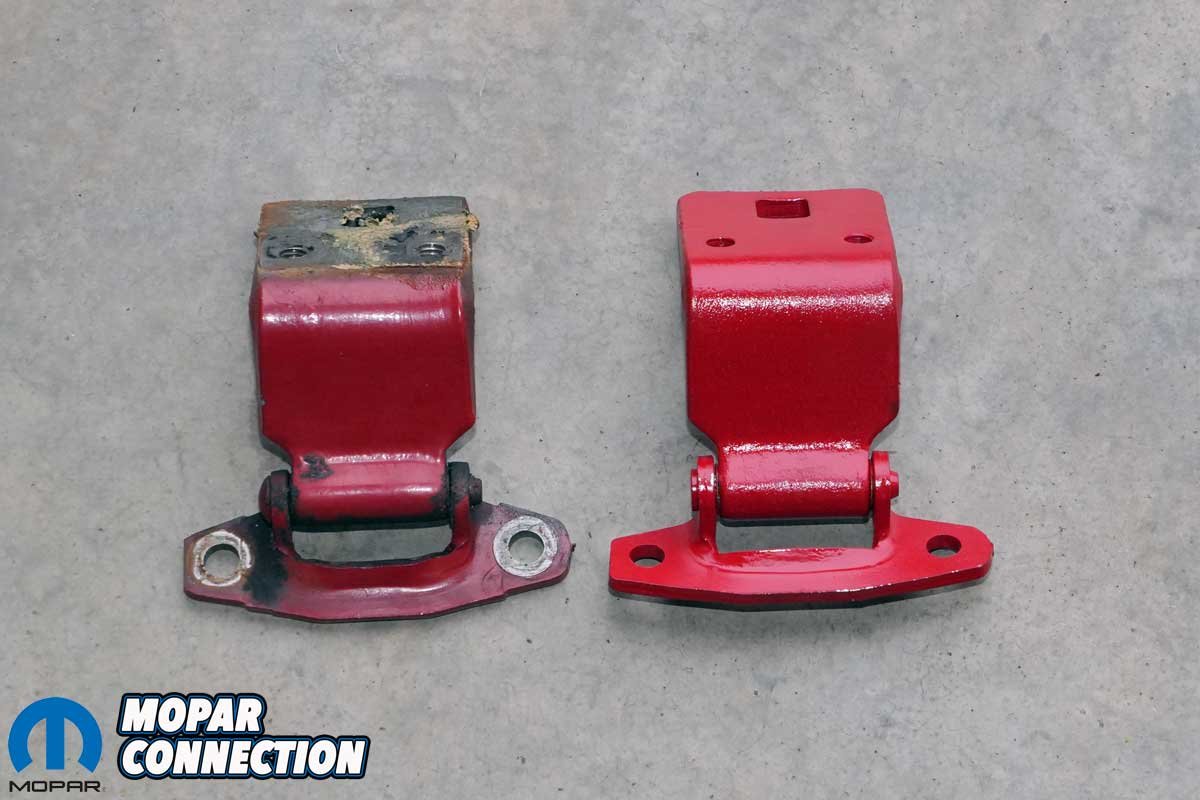
Above Left: Project Rara Hemious Birdicus suffered from driver-side door sag. The door hinges had failed. However, new hinges were available from AMD. Above Right: Before we installed the hinges, we painted them. Our custom Matador Red paint we picked up was not the correct color, but an off-the-shelf can of Krylon Bright Red did the job.
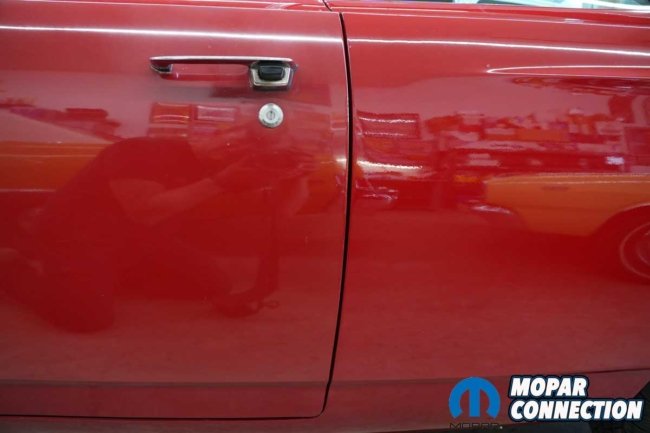
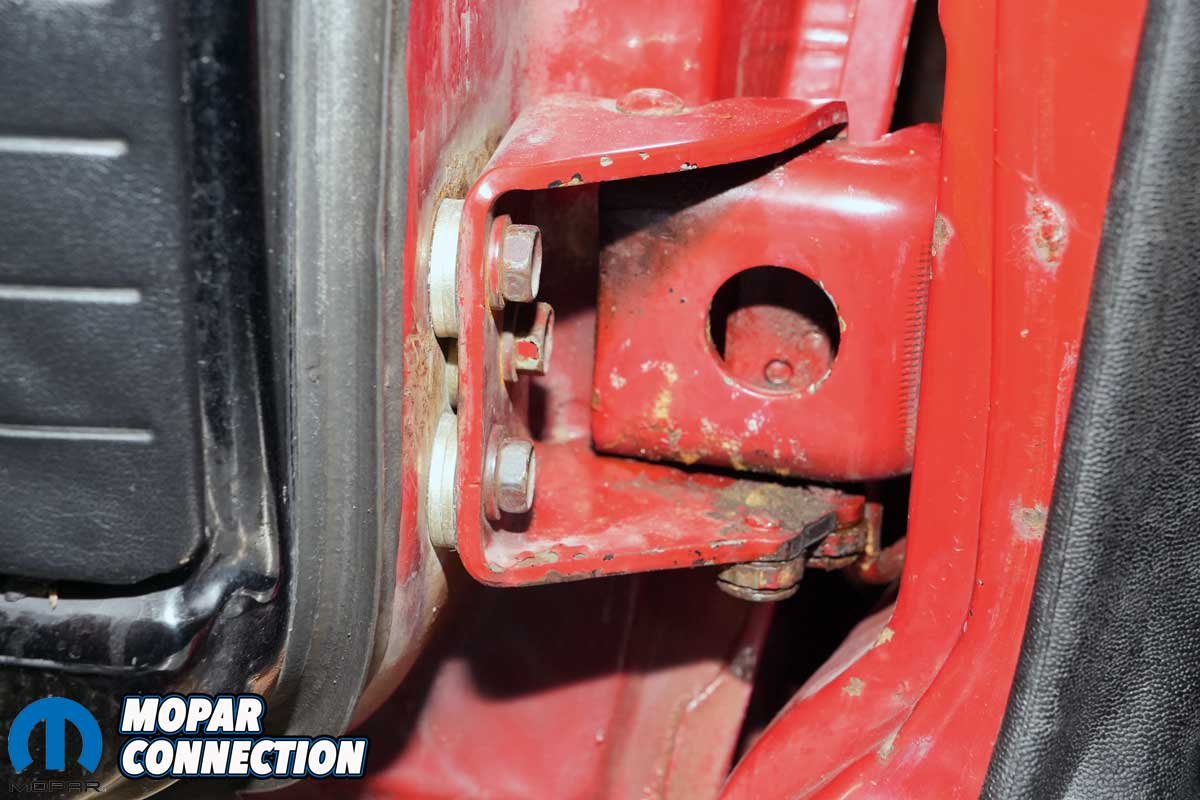
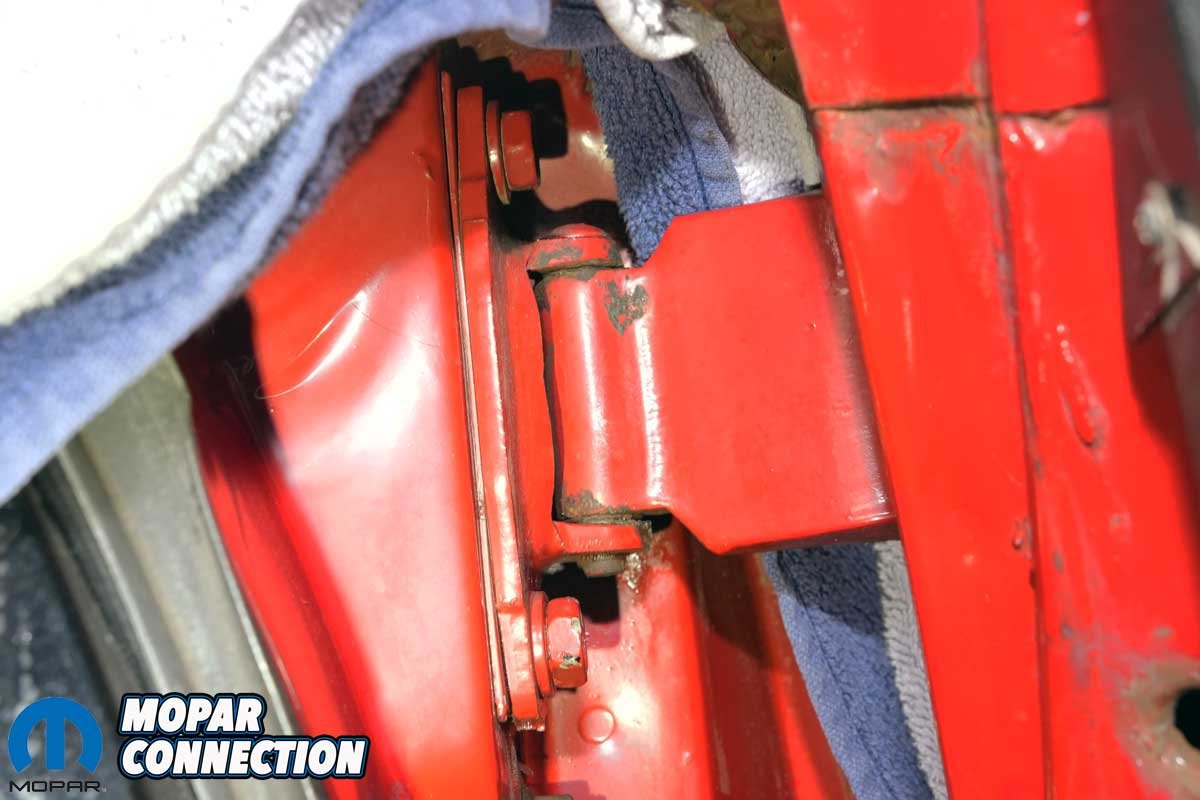
Our Runner has a driver-side door that droops when opened and is low when closed, resulting in the door misalignment to the quarter panel. The lower hinge has been shimmed with several washers to mask the failure of the hinges. The washers led to the bottom of the door being kicked outward.
Fortunately, we had a solution. AMD (Auto Metal Direct) has brand new hinges designed explicitly for our Road Runner (upper door hinge – LH – 66-70 B-body (Part No. 520-1466-L) and lower door hinge – LH – 67-74 A-body, 66-70 B-Body (Part No. 525-1466-L).

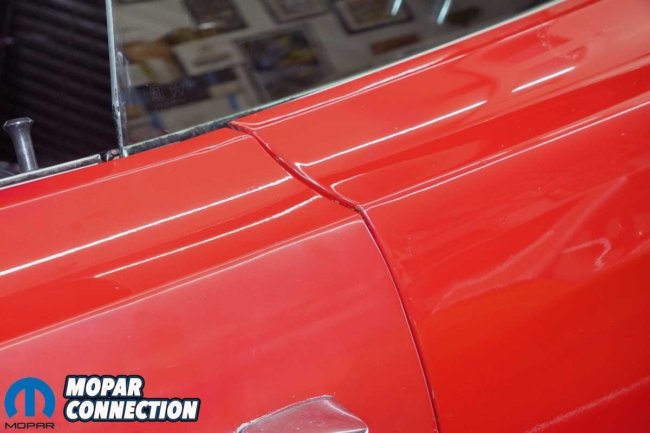
Above Left: The gap at the door to fender was decent, but it was a bit tighter at the top than the bottom. Above Center: The bottom of the door protruded outward and did not align with the rocker panel. Above Right: The door fell short of matching the quarter panel. One or both of the hinges had failed.
Before we started the repair, we cleaned and painted the AMD hinges to match the Runner’s Matador Red paint. Despite the initial setback of the custom paint not quite hitting the mark, our discovery of Krylon’s Bright Red spray paint, which matched perfectly, was a stroke of luck that added a touch of satisfaction to the repair process.
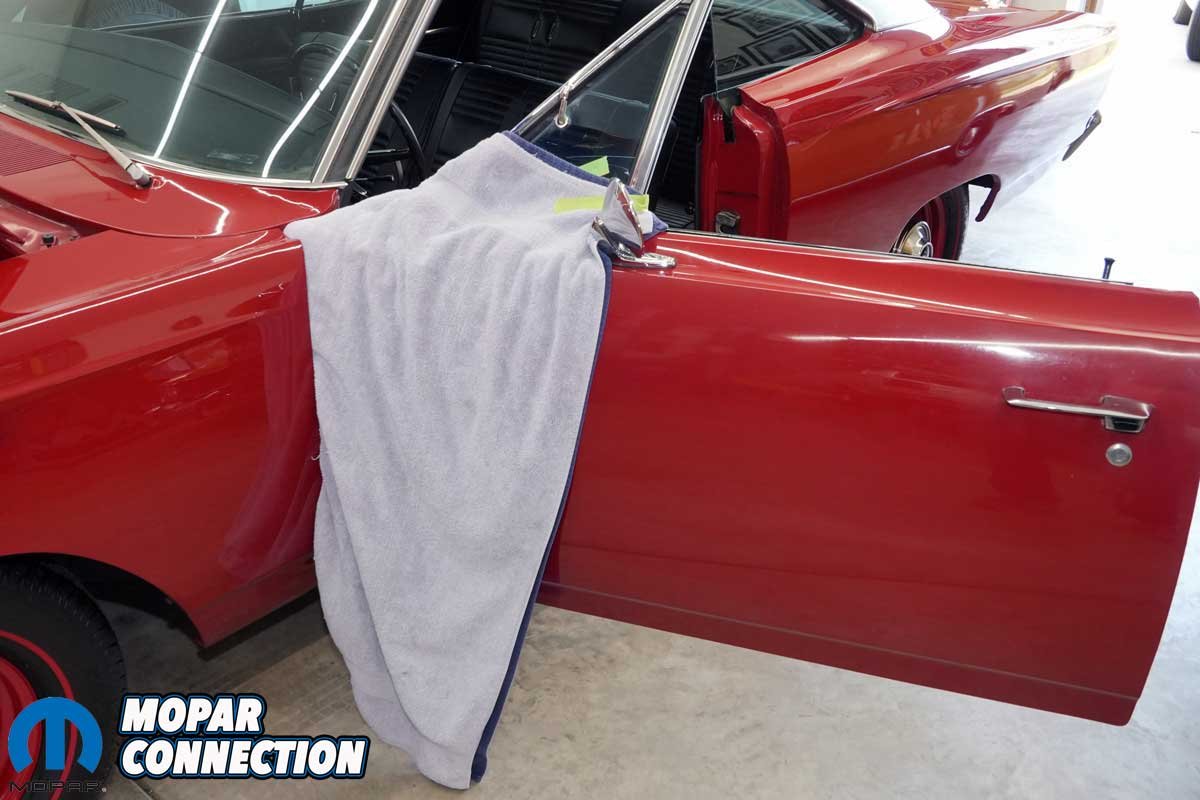
We started the door hinge removal procedure by applying several layers of towels in the gap between the door and the fender. With the gap filled, we taped the towels around the door to ensure they stayed in place. The procedure was merely a precaution in case the door dropped or slipped.

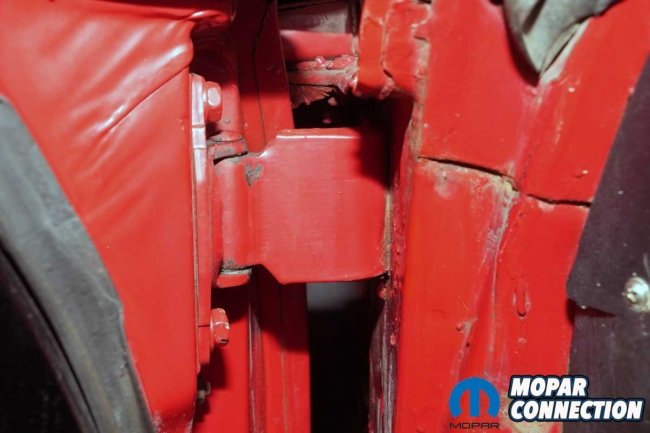
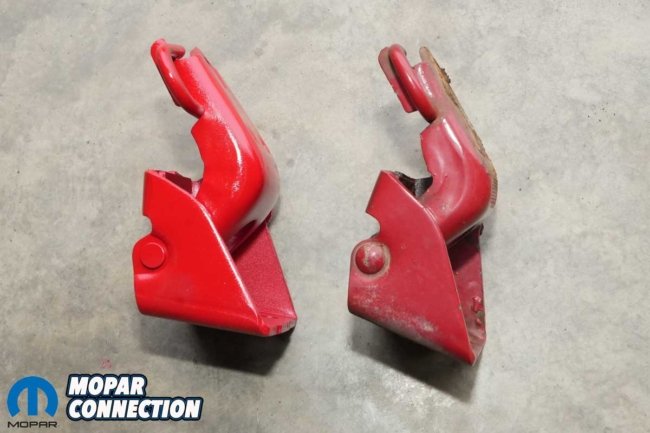
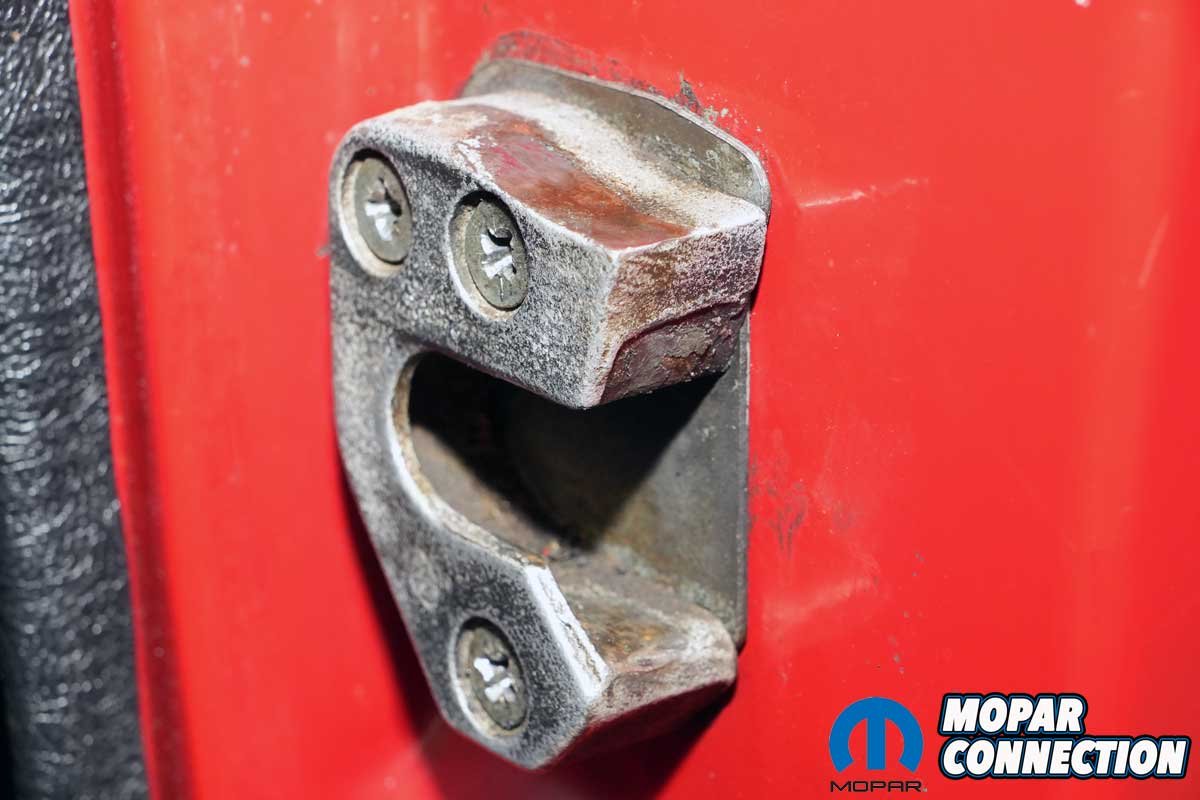
Above Left: The door striker plate has a small wear pattern on its top side because the door latch has guided the door up the housing for an extended period. Above Center: The lower door hinge had been shimmed with fender washer bolts to raise the door. It did not work. Above Right: The upper door hinge looked much better, but both hinges would be replaced.
Hopefully, the layers of towels would protect the door and fender from scratches or dents if metal-to-metal contact occurred. Furthermore, we placed a floor jack under the door on the opposite end of the door hinges. The jack would help support the door and allow us to maneuver it into the correct position when removing and installing the door hinges.

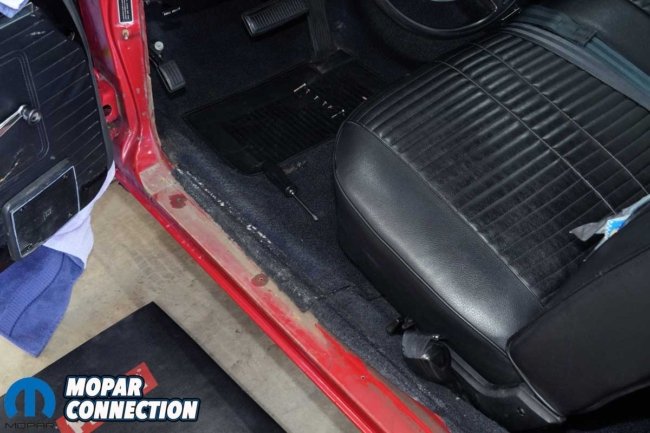
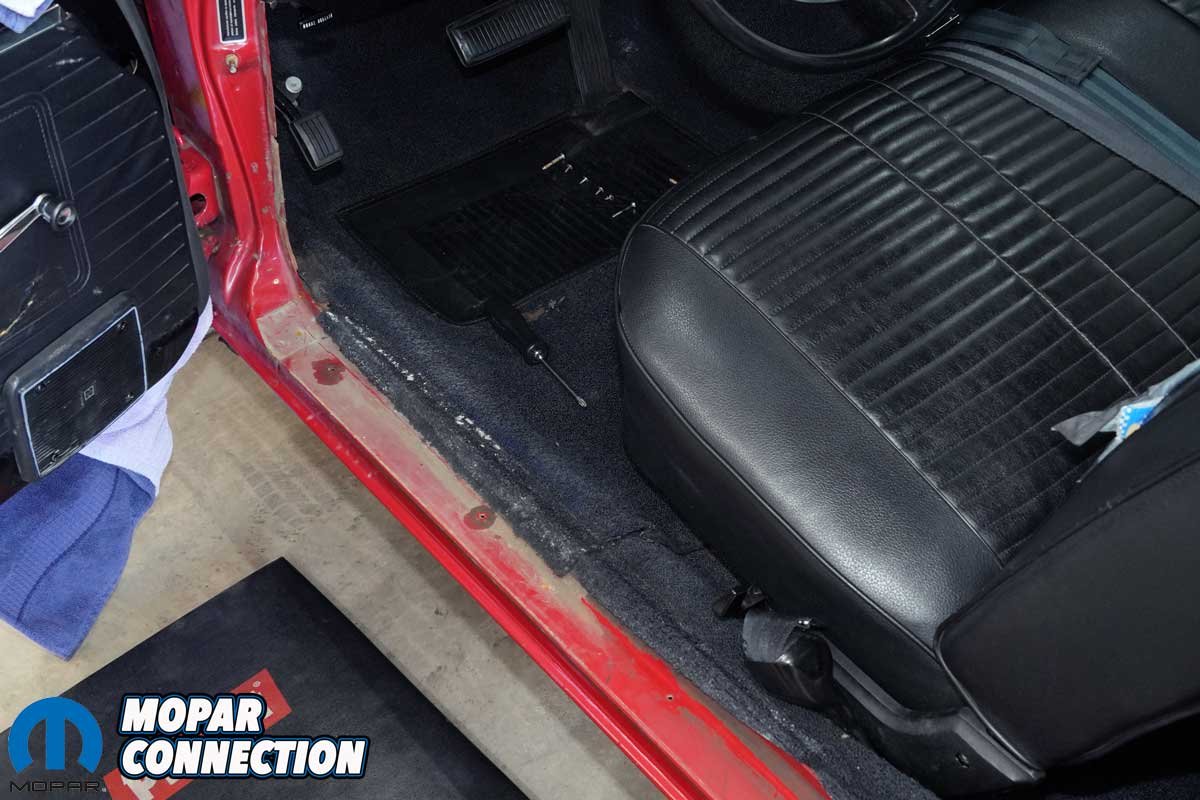
Above Left: To protect the door and fender, we slipped a couple of towels in the gap between the door and the fender and wrapped them around the door for added security. Above Right: The rocker panel trim and kick panel needed to be removed to gain access to several hinge bolts.
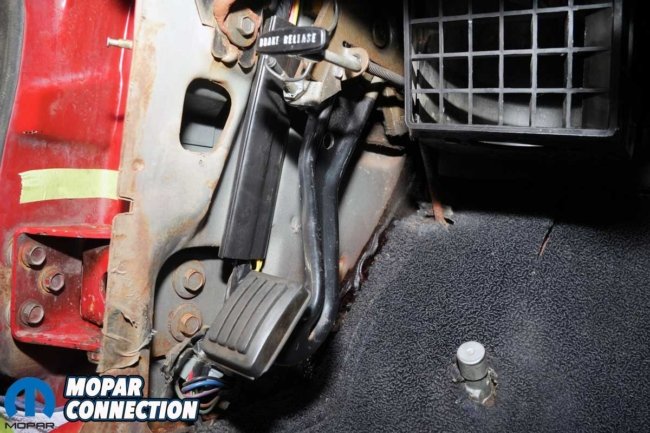

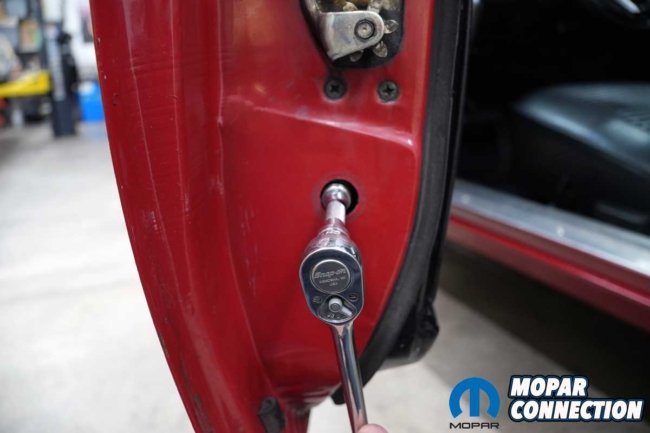
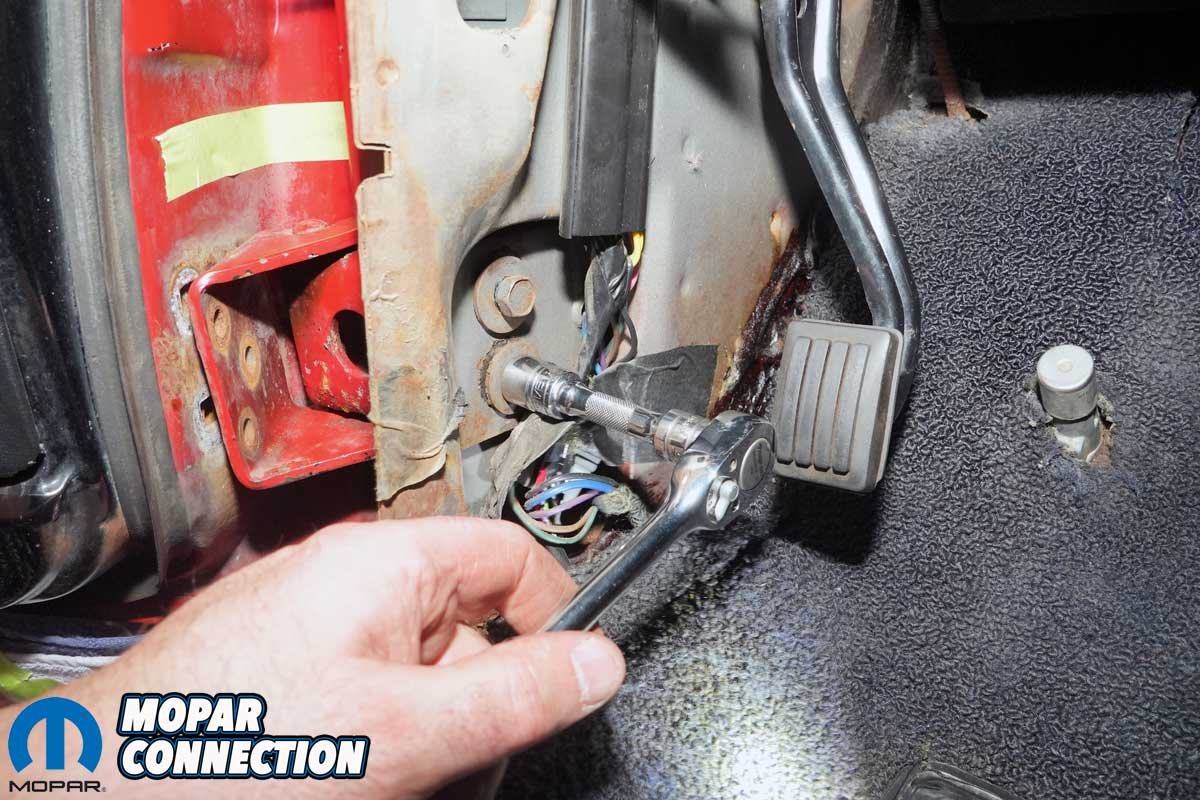
Above Left: Two of the three lower hinge bolts at the chassis were removable from the kick panel area (to the left of the park brake pedal). Above Center: After removing the fender well splash shield, we slipped in a wrench to remove the outer hinge bolt at the chassis. Above Right: Upon removing the hinge bolts from the door and the one from the chassis, the last two bolts were removed, and the hinge was pulled from the door opening. During the removal process, we supported the door with a floor jack.
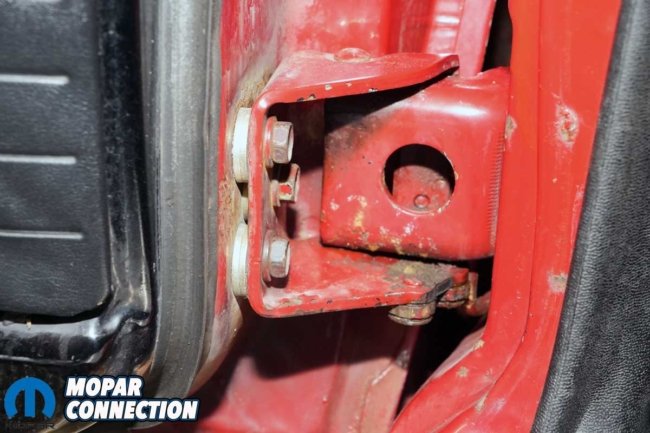
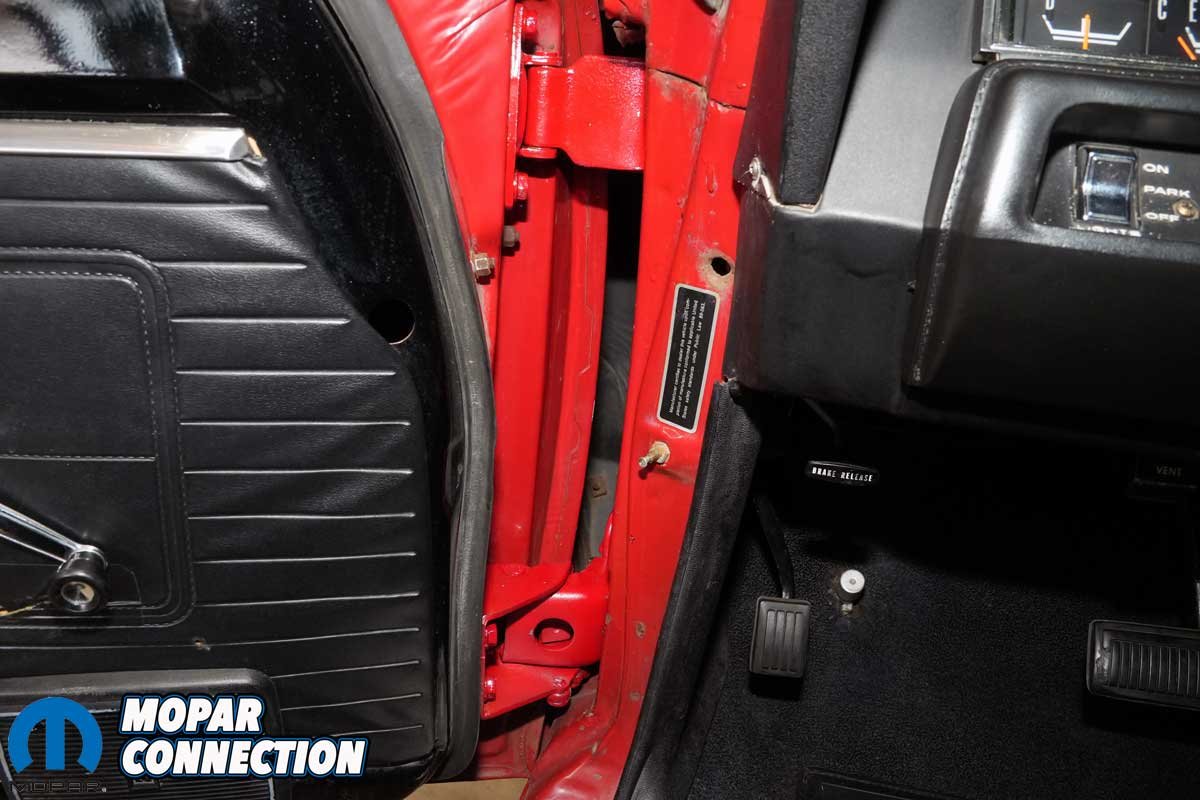
The lower driver’s side door hinge had six bolts (three for the door and three for the chassis), and the upper door hinge had five bolts (two for the door and three for the chassis). The three chassis bolts (on both hinges) at the A-pillar door opening had two bolts that extended from the interior of the Runner to the hinge, and the other bolt went from the car’s exterior to the chassis. That single bolt on each hinge required us to remove the splash shield from the fender well to access both.
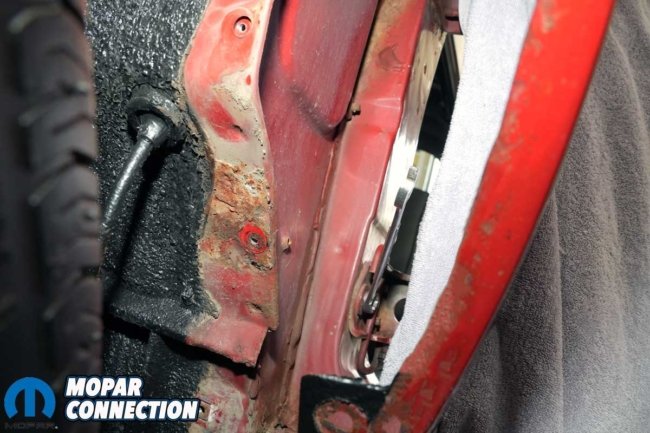
Thankfully, removing the splash shield was not as daunting as we had feared. The biggest challenge was locating a few fasteners hidden under the undercoating. With luck and careful manipulation, we unthreaded the fasteners without any damage.
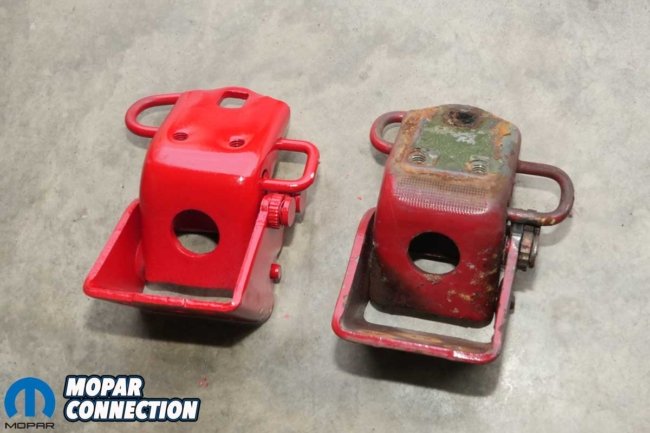
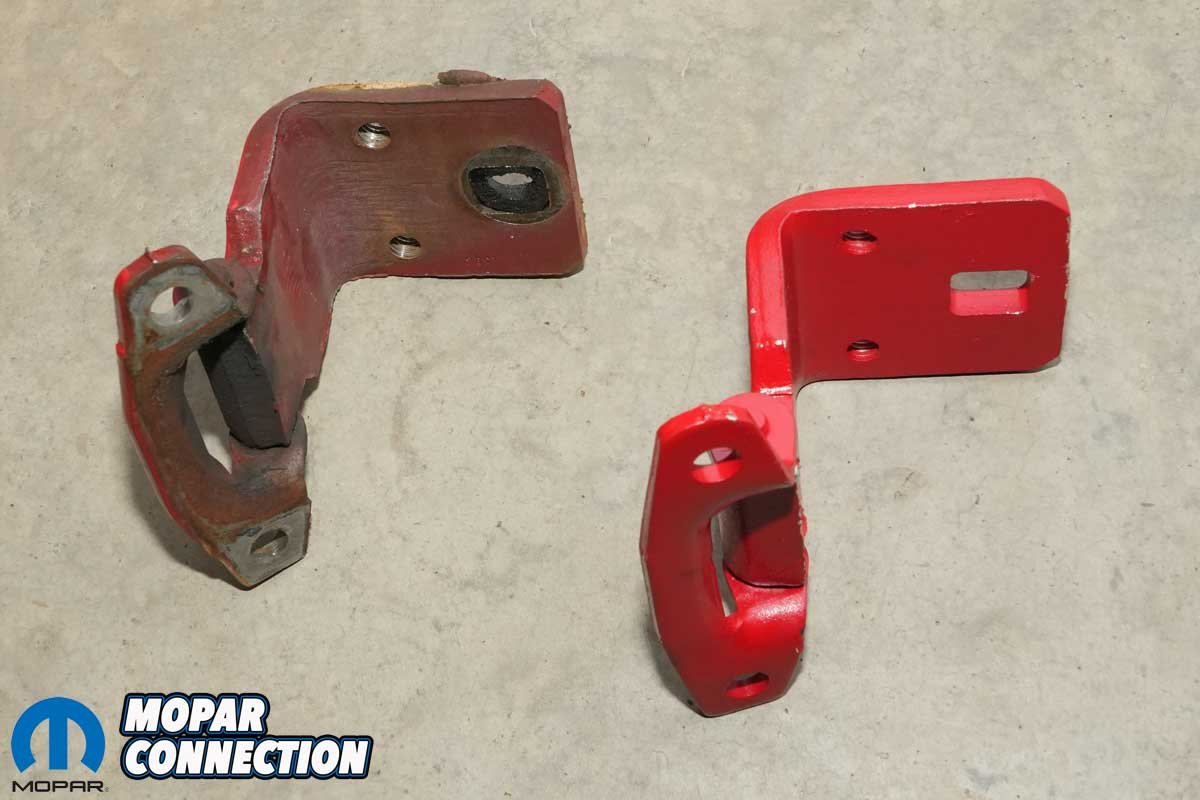
Above: No matter the angle, the AMD lower hinge (brighter red) matched the layout of the factory hinge. The only difference was cosmetic. The door pin end was flat on the AMD part and round on the factory unit (middle photo).

Above Left: The hinge was loosely installed to the door. After starting the bolts into the door, we extended bolts through the chassis side of the hinge. Above Right: Satisfied with the hinge’s location, we snugged down all the bolts. We would have to loosen them again for the final adjustment, but before then, we did not want the door flopping around on the hinge.
Starting with the lower door hinge, we removed the three bolts from the door using a socket and ratchet. We discarded the six washers installed to adjust the door height. The washers did a poor job of altering the door’s location, but it was an attempt. We reached through the wheel well opening to remove the single external bolt with a wrench. Then, we slipped under the dash and removed two additional bolts with our socket and ratchet to free the hinge.


Above Left: The photo provides a better angle of the three-bolt design on the upper door hinge on the outer chassis side of the hinge. One bolt protrudes inward to the A-pillar area of the chassis, while two bolts project outward. Above Right: The door side of the hinge is held in place by two bolts. The removal of the five bolts was the same as the bottom hinge. Again, we employed a floor jack to support the door as we removed the hinge.
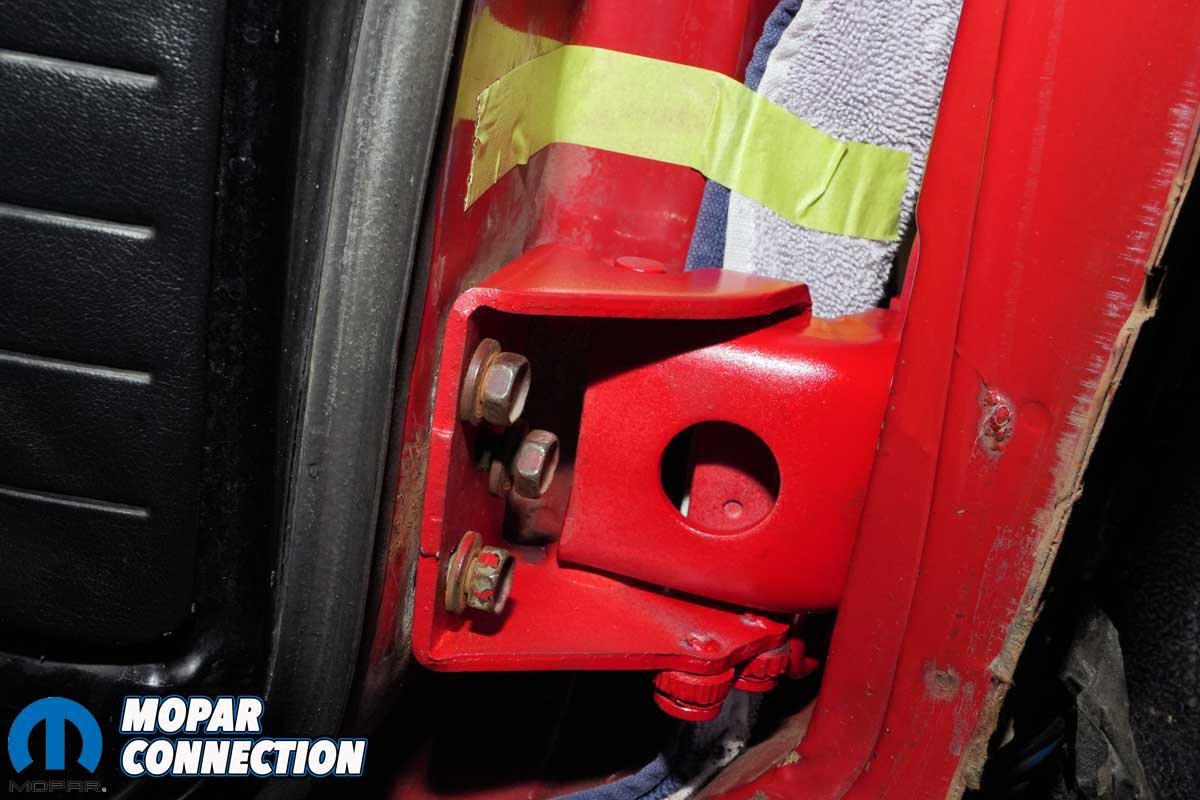
The AMD door hinge was identical to the original. We fitted the new door hinge into its proper location and hand-threaded all six factory bolts (with a built-in washer). The two interior chassis bolts were adjusted to align the washer (witness) marks to put the hinges back in their original location. Aligning the marks gave us a great starting point to adjust the door.


Above: The AMD upper door hinge looks identical to the factory piece. The factory upper door hinge had zero play, so it could have likely been reused without needing a rebuild. However, the new AMD part will ensure years of operation without any worries.
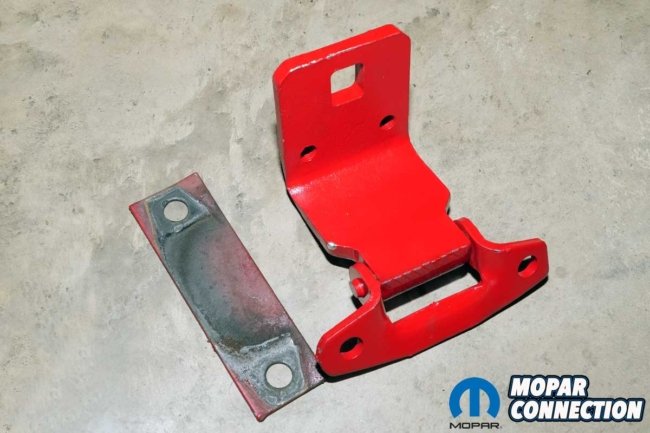
Above Left: The AMD hinge is spot on. It is an exact clone of the original. Above Right: The factory hinge had a shim on it to push the top of the door outward. After several attempts to get the door to align properly with the fender, we eventually removed the shim, which pulled the door into perfect alignment.
We followed the same procedure on the upper door hinge. However, the interior bolts on the chassis were located much higher up in the kick panel area and hidden by sound-deadening insulation. Like the lower door hinge, the AMD hinge fit perfectly, and we aligned the interior bolts’ witness marks to install the door hinge in the exact location as it was previously installed.
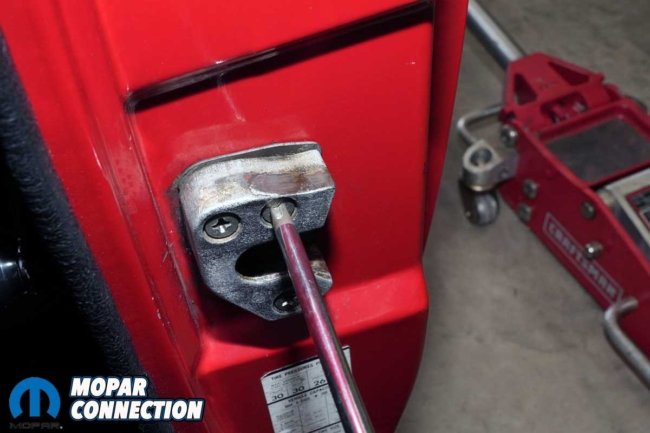
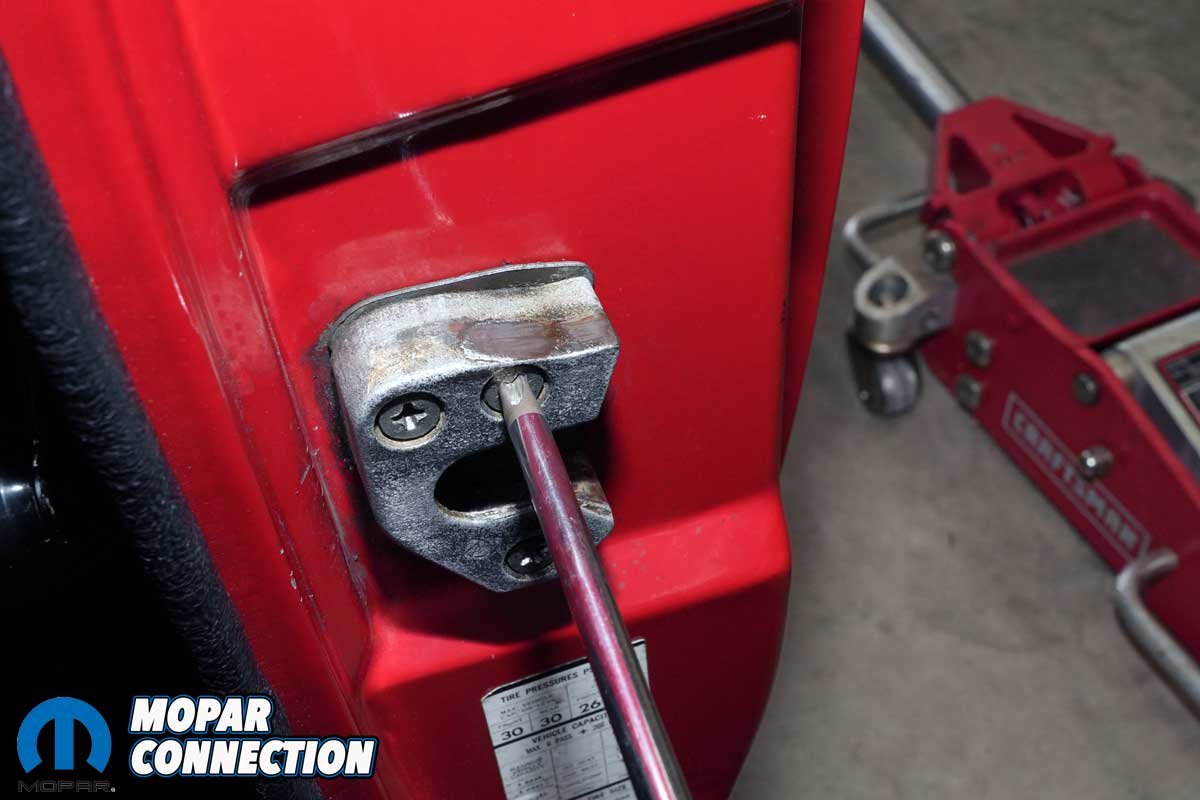
Above: Another area that required some adjustment was the door striker. By loosening three Phillips screws, we could move the striker up or down and inward and outward as needed to get the proper door latch action.
With the hinges snugged in place, we attempted to close the door, and it did, but it did not go smoothly. The door was low at the latch end, and the bottom of the door still stuck out slightly. We had to adjust the three chassis bolts on the lower hinge to raise the door at the latch. After several tweaks, we raised the door to align with the quarter panel, but the door latch still hit the striker due to poor alignment. The misalignment is a common concern that required additional adjustments.
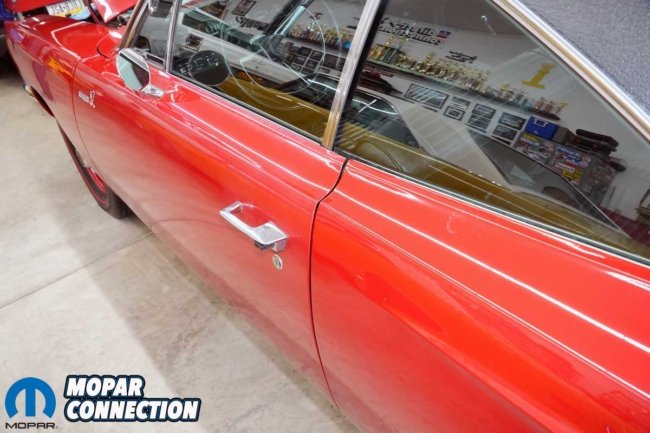
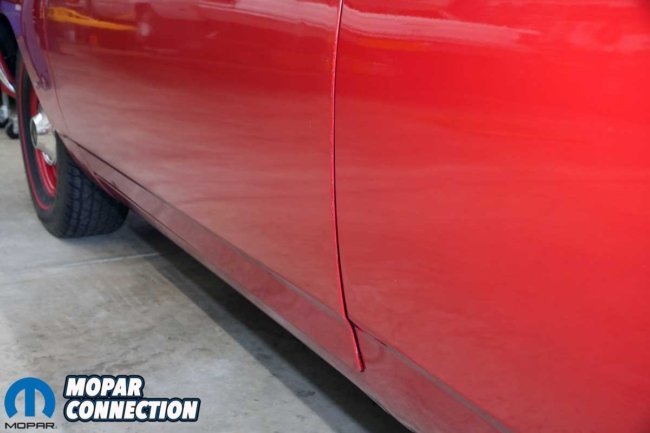
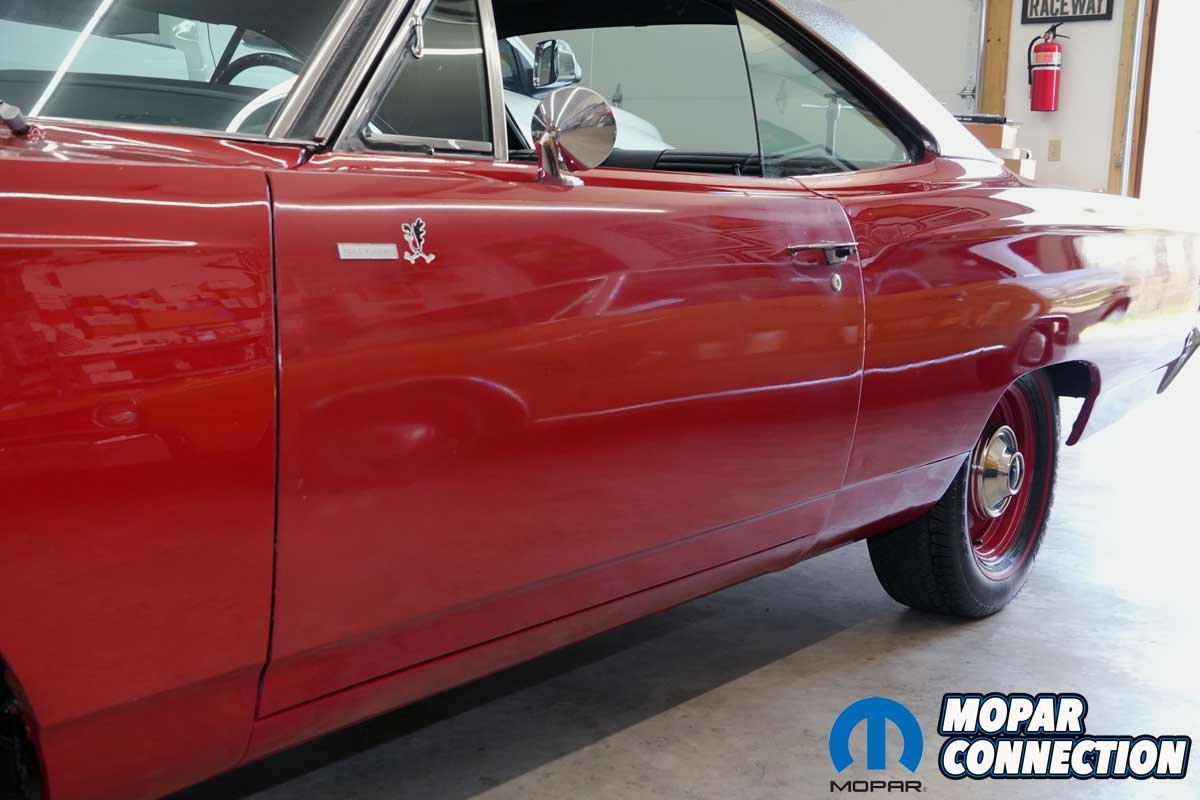
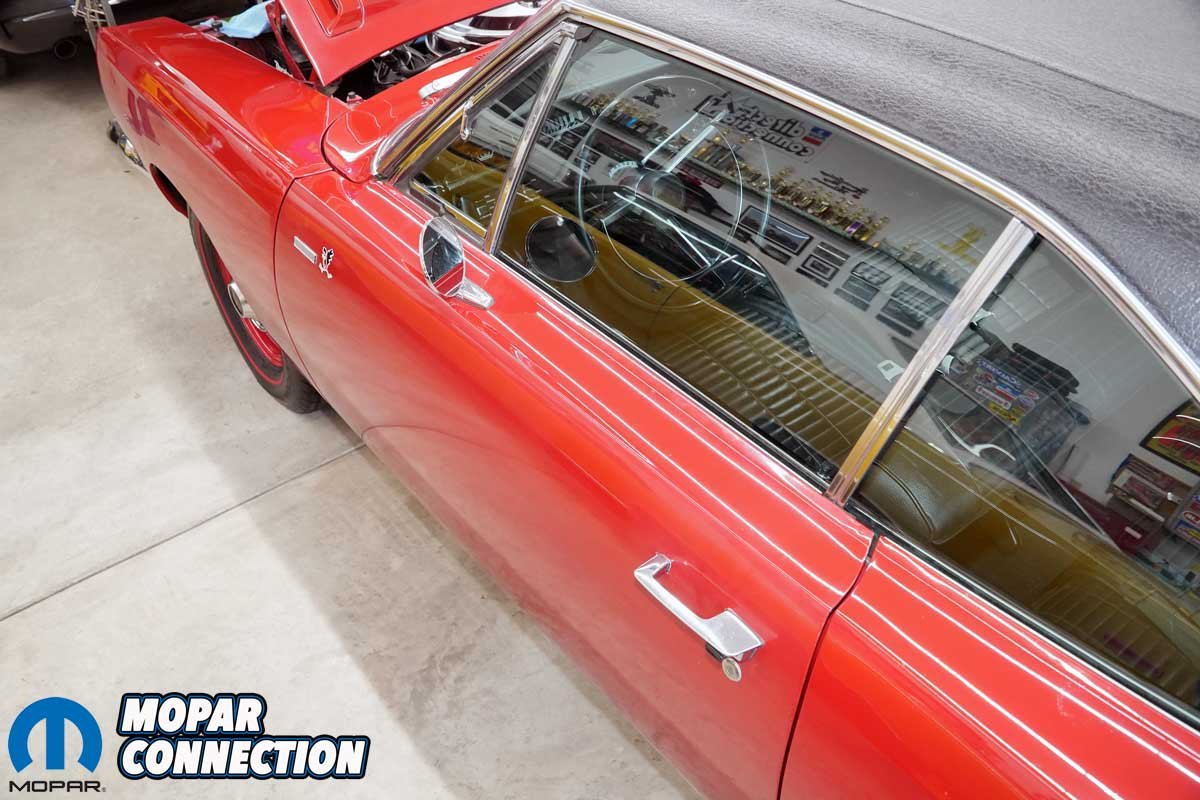
Above Left: The gaps between the door, fender, and cowl remained constant. Above Center: After minor adjustments, the bottom of the door was drawn in to line up the door with the rocker and quarter panels. The gaps looked decent as well. Above Right: The new hinges held the door in a constant plane, which allowed the door to remain perfectly aligned with each body panel. The most pleasing part of the upgrade is the ease of closing the door.
To remedy the striker misalignment, we used a Phillips screwdriver to loosen the three adjusting screws to move the location of the striker. After several minor corrections, we had the door lined up with the quarter panel at the side windows, and the door closed properly. It was a moment of satisfaction when we finally achieved the perfect alignment.

Above: After all the door adjustments were complete, we painted the bolt heads, reattached the kick panel, and reinstalled the rocker panel trim. The off-the-shelf Krylon paint matched well. We added a little lube to the hinges as directed in the factory shop manual.
After completing the door alignment, we focused on adjusting the bottom of the door inward. The three bolts on the lower hinge attached to the door required some manipulation. With the bolts loose, we pushed the lower door inward, and there was plenty of adjustment to move the door to the proper location. We performed several minor adjustments until the door followed the contours of the rocker and quarter panels.

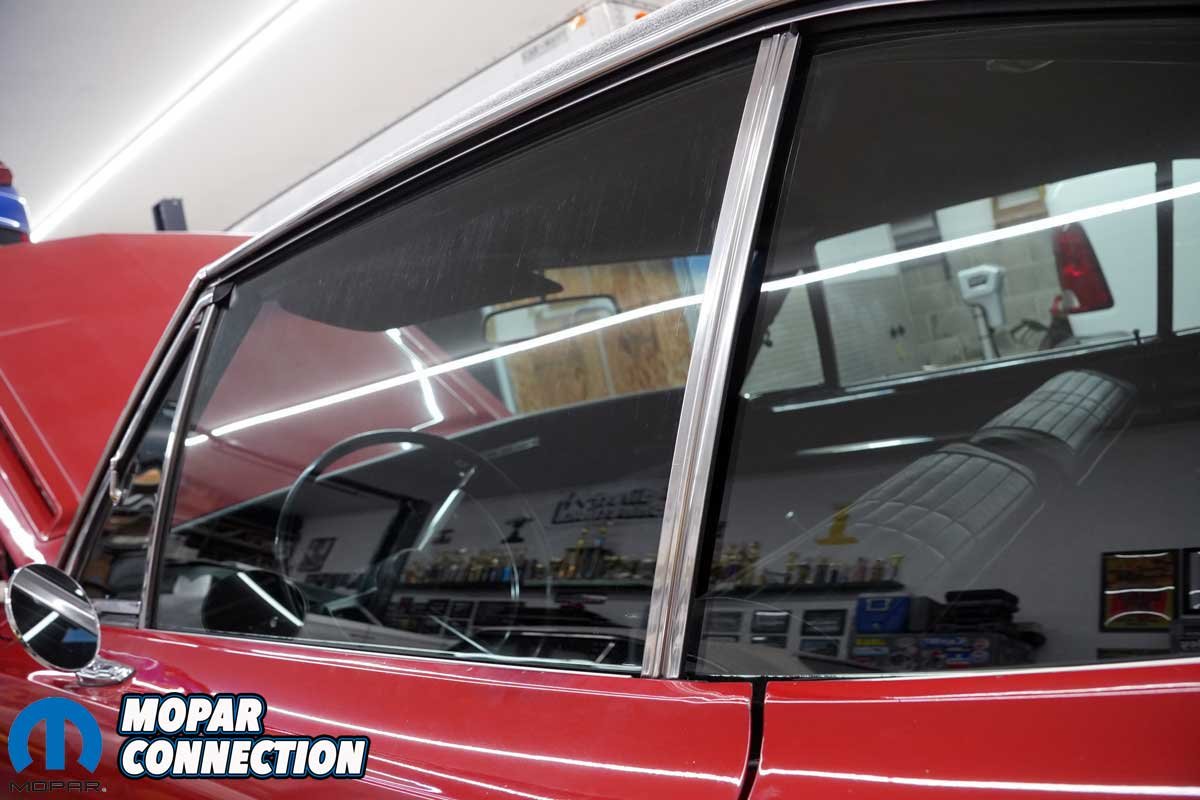
Above: At a higher angle, it is still hard to notice, but the top of the window tilted outward after the adjustment of the lower door. We needed to bring the window back into alignment with the side quarter glass for our last adjustment.
With the door where we wanted it, we torqued all the bolts on each hinge. The door was opened and closed several times to ensure nothing had shifted during the torquing process. The gaps around the door looked decent, and the door no longer dropped when opened. Now that the door was lined up correctly, we had to make one last adjustment.

Above Left: To access the window channel, we had to remove a plastic plug just below the door latch. We extended a socket through the hold to engage with a nut. Once the fastener was loosened, the channel was tilted to move the top of the window inward. After a few attempts, the window lined up nicely with the quarter glass. Above Right: To finish the job, we reinstalled the plastic plug.
When we rotated the bottom of the door inward, the top of the driver window glass moved slightly outward. We had to remove a plastic plug below the door latch to bring the window back into alignment with the rear quarter (side) glass. With the plug removed, we accessed a nut that secured the window track.

Above: We were able to move the window back to its original position to align with the quarter window. Compared to some vintage Mopars, it was a simple process.
After loosening the nut, we moved the track to tilt the window in the required direction. With the nut snugged, we checked for the proper side glass alignment with the quarter glass. Again, after a few adjustments, we had the desired alignment. We tightened the nut and reinstalled the plastic plug.
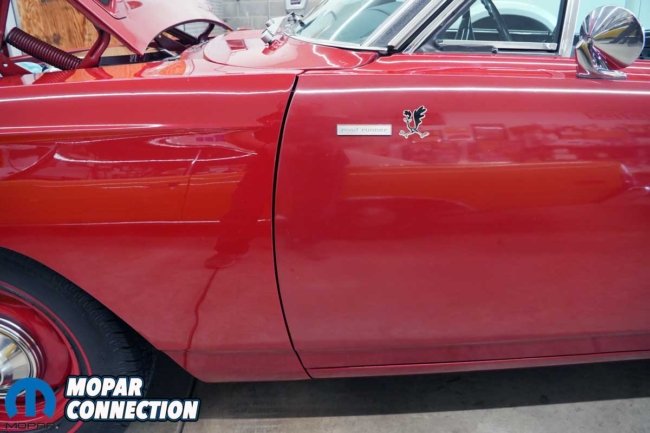
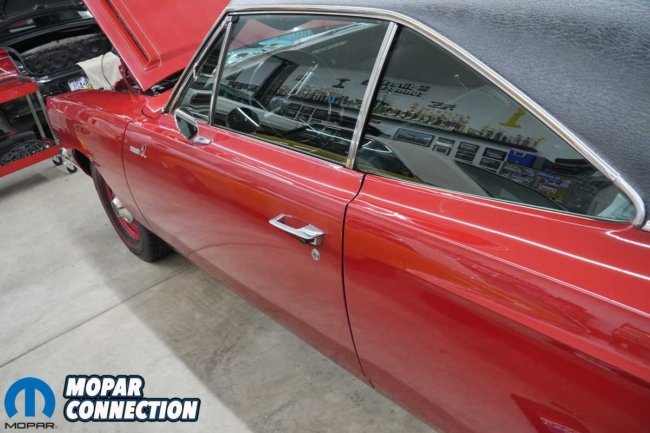
The installation of the AMD door hinges was a great success. Now, the driver’s door opens and closes with minimal effort, and the gaps look better than what the factory did in the 1960s. The AMD hinges mirrored the originals and fit perfectly. We completed the installation in about six hours by taking our time and following the factory service manual.
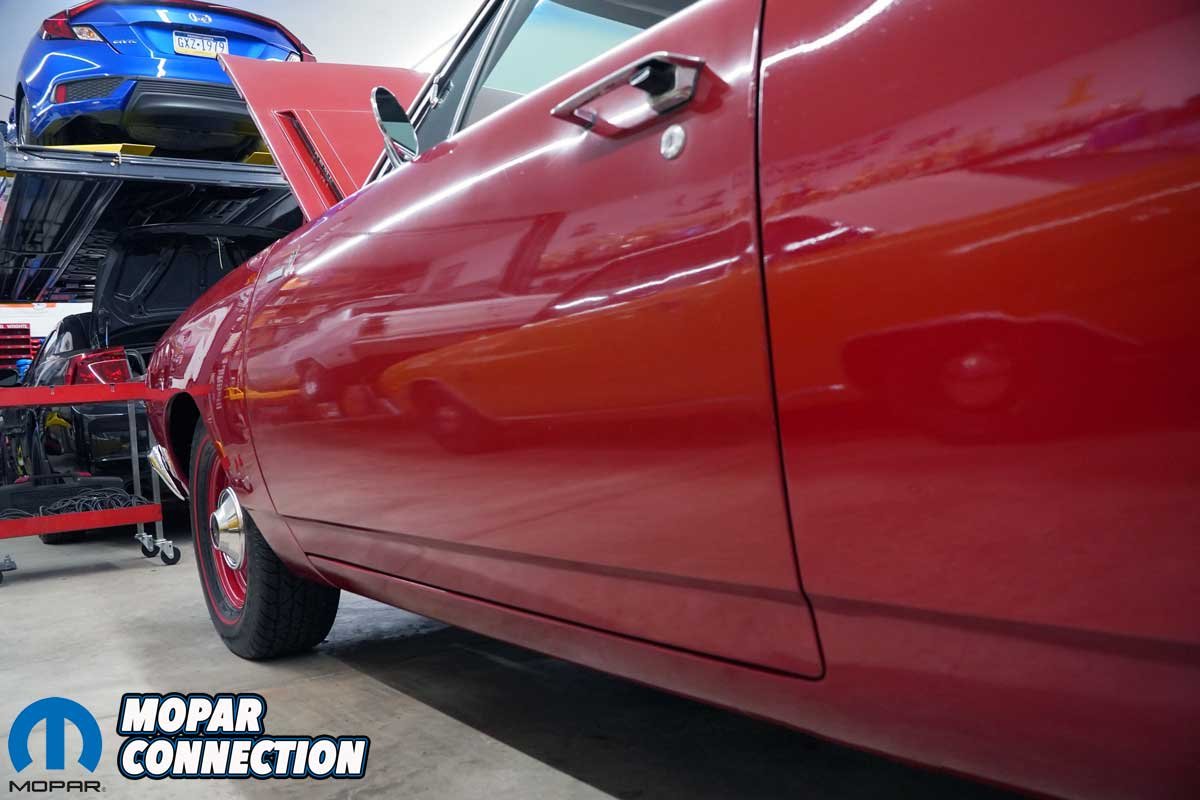
Above: The AMD hinges restored the Road Runner’s body lines. Every panel lines up nicely, and the gaps are highly accurate.
We continue to be impressed with the quality of AMD components. In addition to the door hinges on the Road Runner, on other projects, we have installed quarter panels, outer rear wheel wells, aprons, floor panels, striker post repair kits, and battery trays, all from AMD. Each component fits the Mopar upon which we installed it. If you are in the market for new metal and components for your Mopar, check out AMD.


