


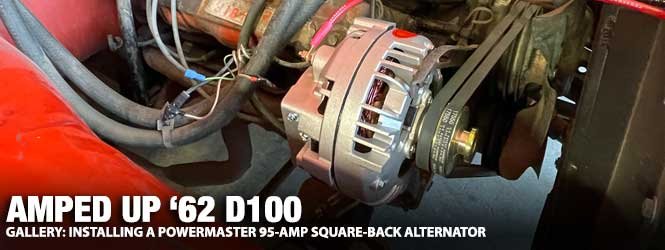
Mopar Connection Magazine has had several opportunities to work with the good people at Powermaster Performance, and each time, we have come away impressed with their products. Recently, Powermaster’s Todd Ryden informed us about Leon E. Dyer’s conversion of his 1962 Dodge D100 truck’s charging system from a remanufactured factory three-wire alternator to a Powermaster one-wire 95-amp unit (part no. 75091).
A Powermaster one-wire alternator is physically the same size and shape as a factory three-wire design; however, the external wiring is reduced and, the voltage regulator is located internally in the alternator. In June of 2020, we extensively covered the one- and three-wire high-amp alternator offerings from Powermaster and reviewed the benefits of each.
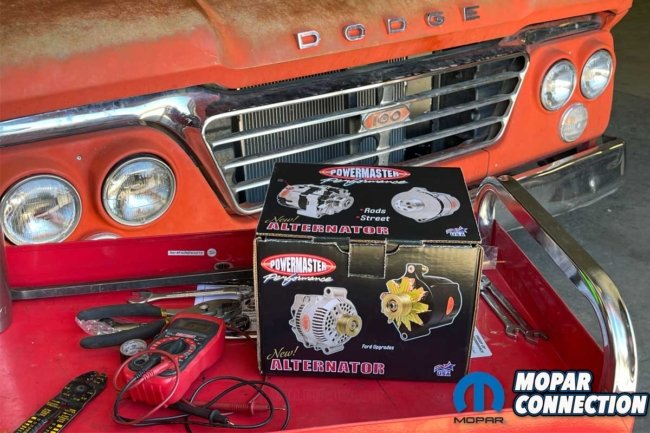


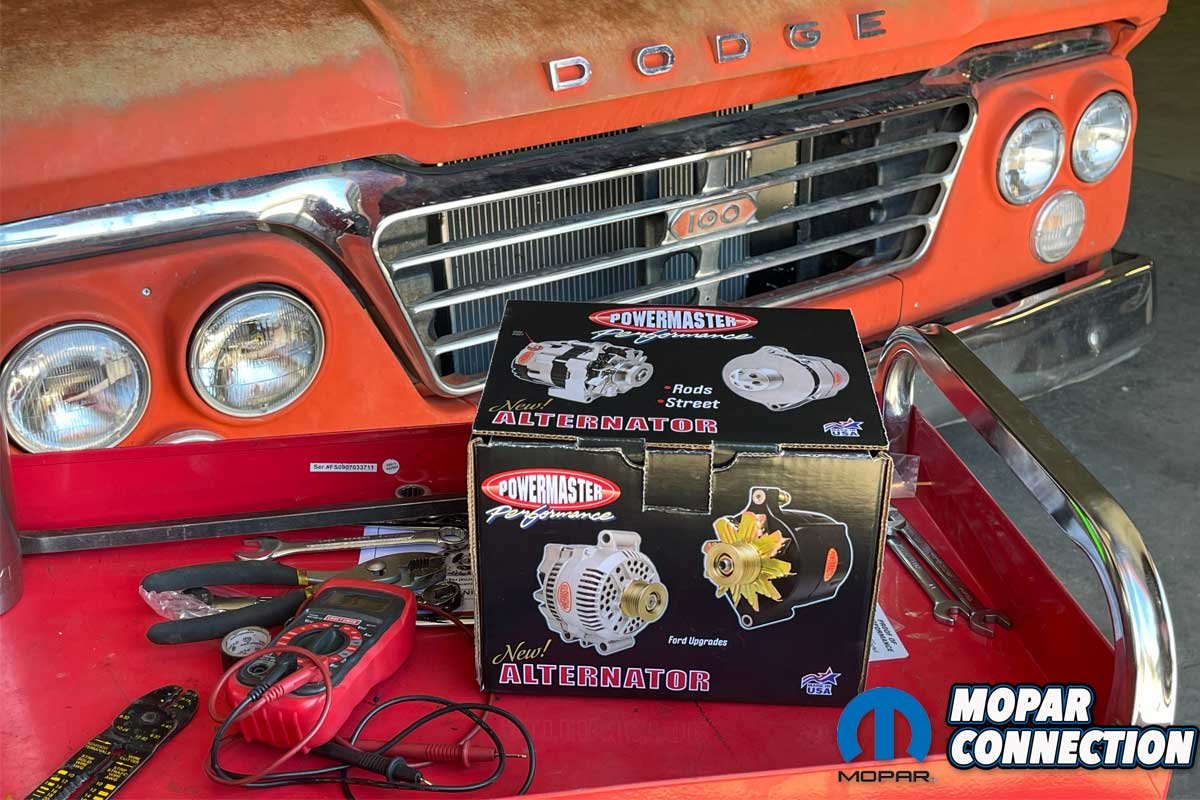
Above left: Leon E. Dyer has a fantastic old Dodge D100 that has developed several charging system problems. To fix the charging system permanently, he got in touch with Powermaster, and the recommendation was a one-wire 95-amp alternator. Above center: The “offshore” remanufactured parts tend to be low-quality components with a limited warranty. Add in the D100’s nearly sixty-year-old wiring, and problems can arise quickly. Dyer has had to replace three external voltage regulators in the last year. Above right: Each Powermaster alternator comes with a Proof of Performance card attached to the alternator. Dyer’s alternator is rated at 77 amps at idle, 85 amps at cruising speed, and 111 amps maximum output. The internal regulator is set to 14.8-volts. (Dyer photos)
The D100 came with a Chrysler A engine, which was equipped with a pair of polyspherical combustion chamber heads (aka a Poly or Semi-Hemi). Under the heads was a 318 cubic inch displacement (CID) internal combustion mill sporting a 3.91-inch bore and a 3.31-inch stroke. In a truck, the two-barrel equipped 318 churned out just over 200 horsepower and nearly 290 lb-ft of torque. The transmission was commanded by a push-button selector rather than a column or floor shifter.

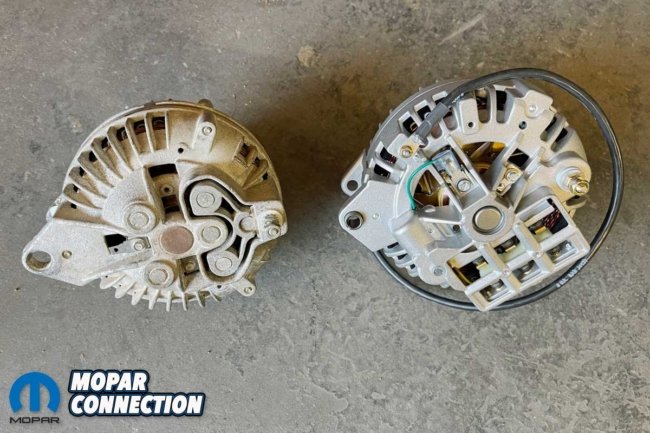
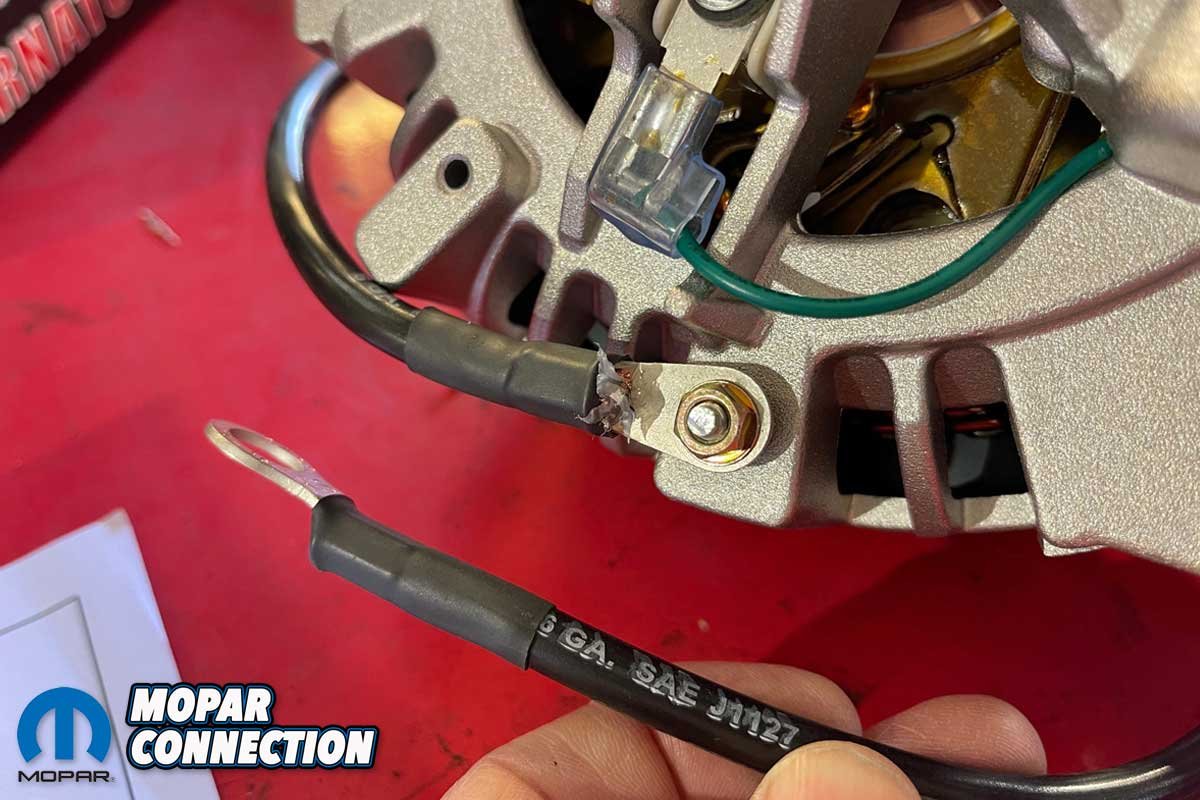
Above Left: Many alternators are not properly grounded, and electrical problems can be traced back to this poor ground situation. Powermaster attaches a 6-gauge ground cable onto the alternator, and after the alternator installation, an appropriate ground point can be found on the engine to eliminate any ground-related electrical concerns. Above Right: The original alternator for the truck should have been a round-back design (left). The alternator was designed to provide approximately 35 amps. The D100 had a square-back unit installed at some point, so a Powermaster square-back (right) was selected as the replacement (Powermaster offers both alternator types). The ground wire and the regulator wire (green) could be seen already in place. The alternator was ready to install right out of the box.
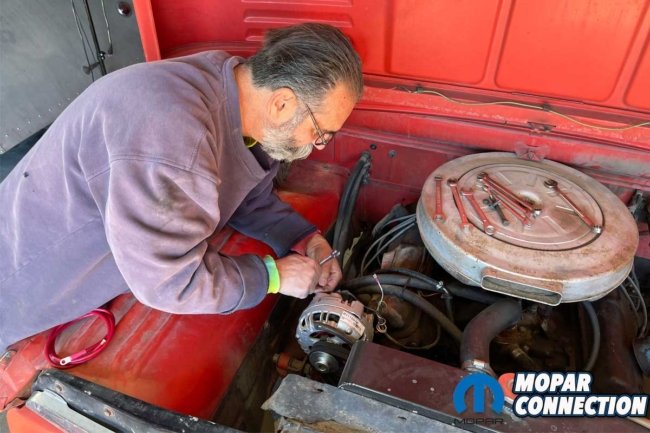

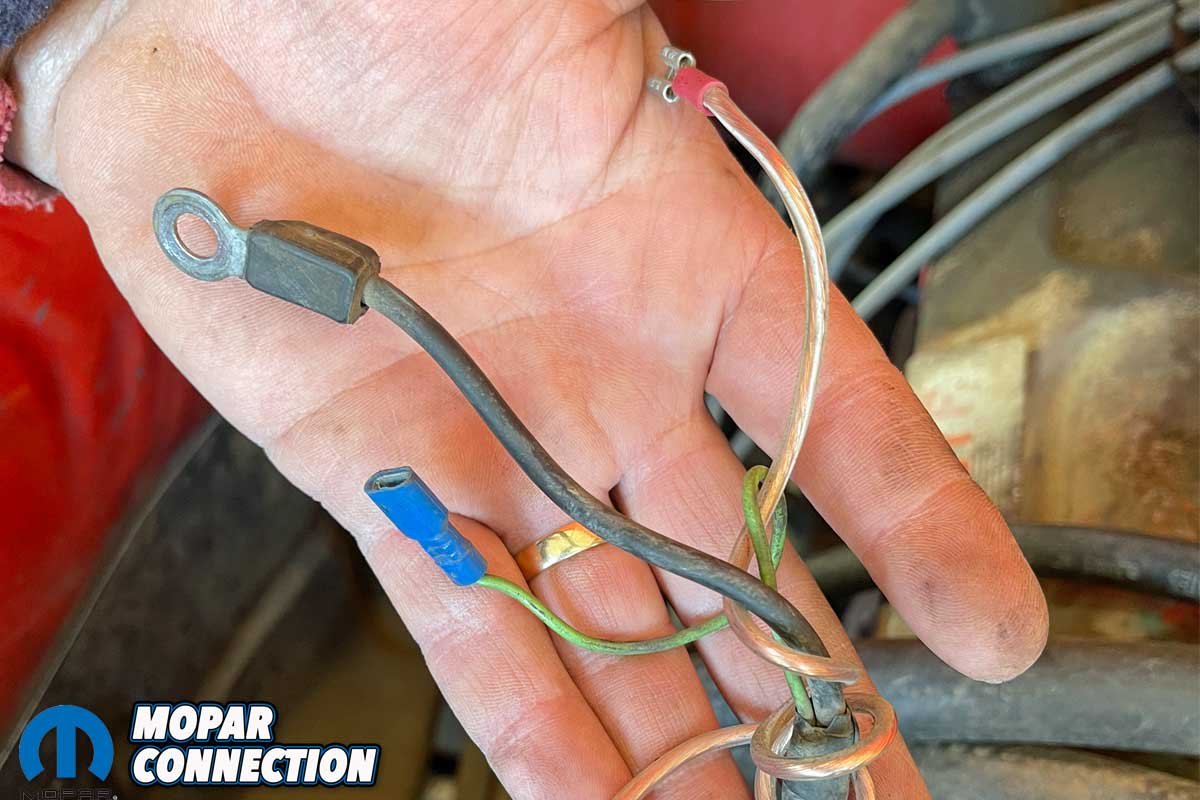
Above Left: Dyer disconnected the negative cable from the battery and proceeded to remove the field wires and B+ cable from the reman alternator. Note the new 6-gauge red B+ wire coiled on the fender apron. Above Right: The field wires and the B+ terminal were no longer necessary with the Powermaster alternator installation. The field wires appeared to have been modified. By removing the wires from the charging system, a lot of concerns could be eliminated. (Dyer photos)
Until recently, the sun-faded, dinged, and dented Texas truck had performed any duties required of it. When something failed, Dyer, owner of Dyer Auto Salvage, quickly addressed the concern, and the truck was back on the road. As is often the case, the broken parts were upgraded to newer units, or remanufactured parts were sourced. All replacement parts are only as good as the internal components the remanufacturer uses for the repair.
In the case of the truck’s charging system, the “offshore” manufacturer’s parts were substandard, which quickly resulted in a charging system failure. In fact, Dyer went through three points-type regulators in less than a year. The last regulator pegged the ammeter, and while overcharging, the high amperage took out all the lights during a nighttime drive.
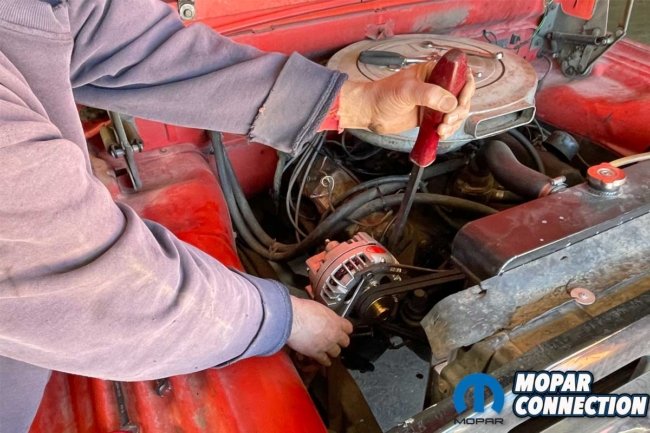
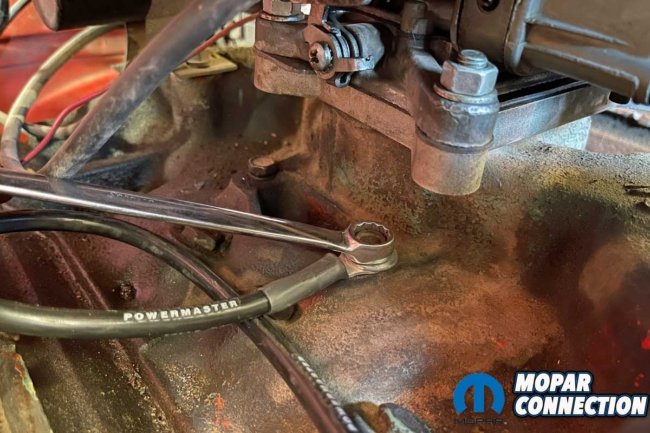
Above Left: The Powermaster alternator dropped into the factory brackets without any modifications to the alternator or the brackets. Dyer used a pry bar to tension the belts. Powermaster recommends extremely tight belt tension. The alternator’s bearings will not fail, and by having the belts tight, there will be zero belt slippage. Above Right: The Powermaster alternator negative cable was run to a bolt located on the intake manifold. Powermaster has many custom-length cables, so contact the Powermaster reps for the size to work with your application.


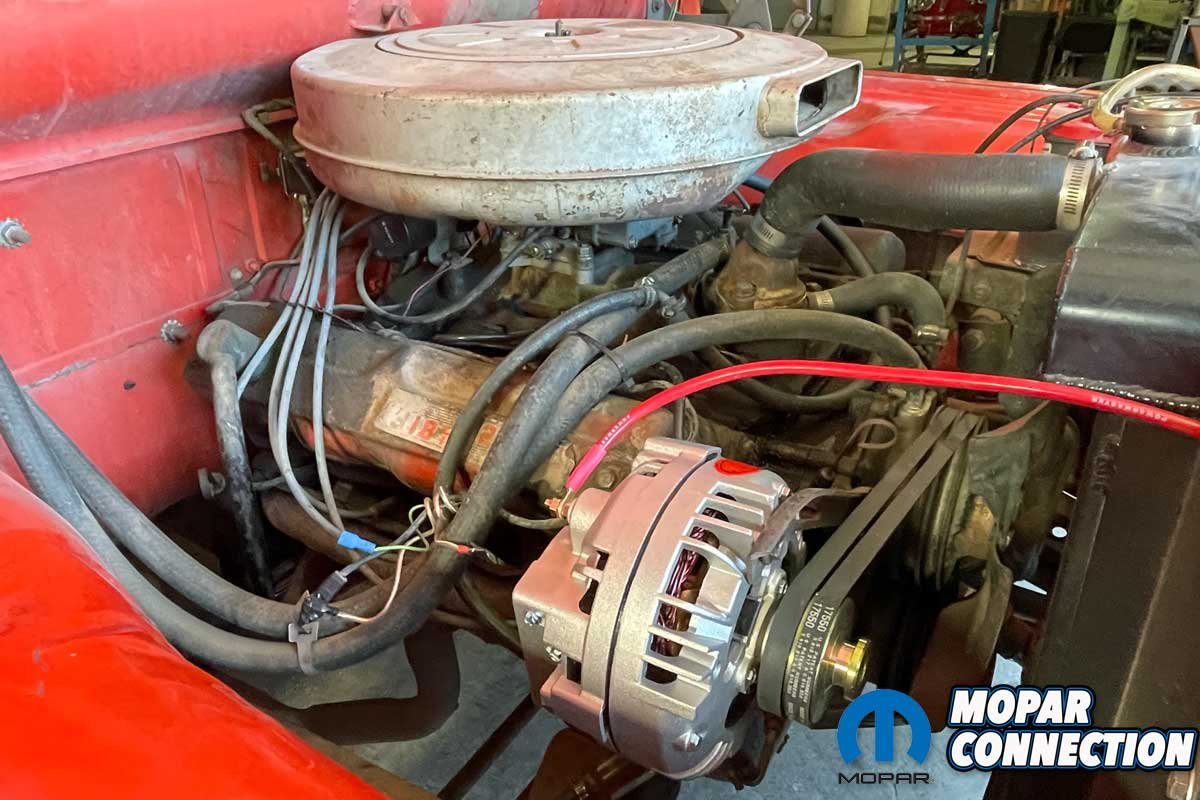
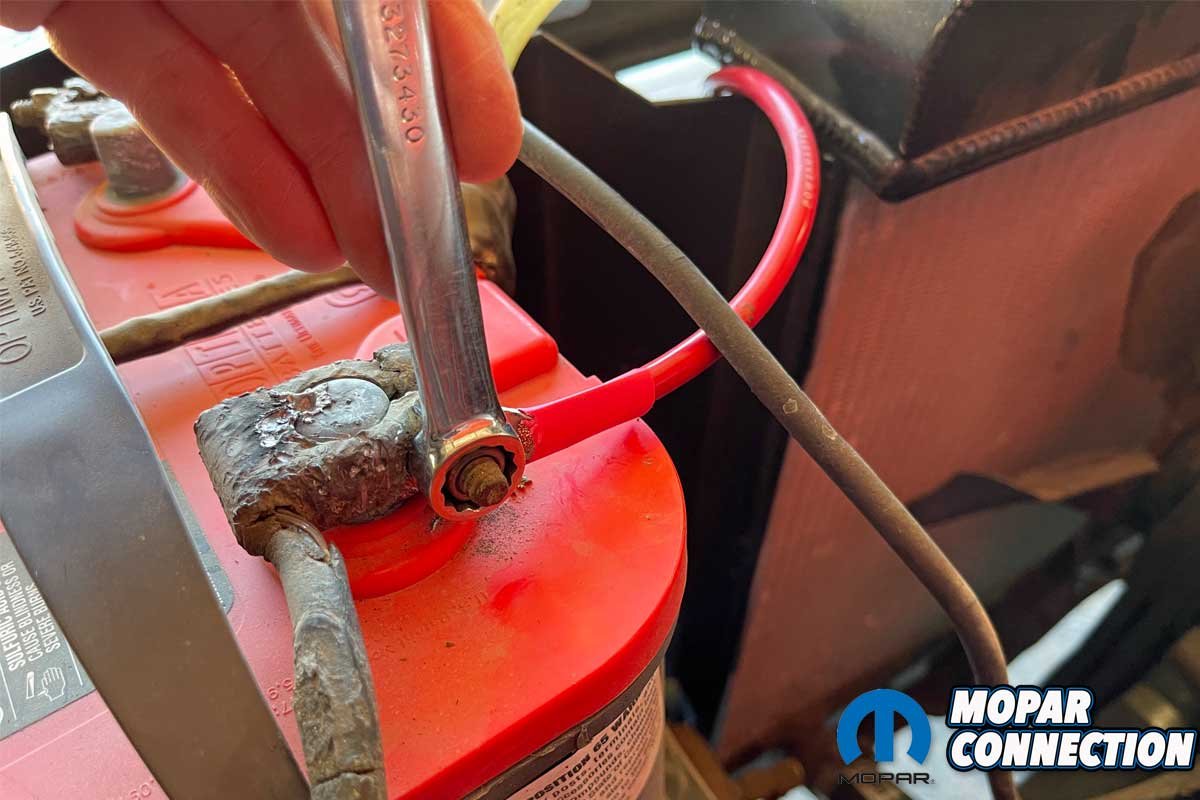
Above Left: The new positive charge wire was run from the alternator B+ terminal to the B+ battery cable end. The entire charging circuit (ammeter, bulkhead, and factory wiring) was bypassed by running the positive cable from the alternator to the battery. The voltage drop concerns were greatly minimized. However, bypassing the ammeter will relegate the gauge useless because most of the amperage no longer flows through the meter. Above Right: The Powermaster 95-amp alternator was installed in a snap. After this photo, Dyer took some time to remove or tape back the old charge and field wires. (Dyer photos)
The alternator removal was straightforward. The square-back Powermaster alternator slipped in place of the replacement square-back alternator (a round-back design was factory). The alternator belts were placed over the dual pulley, and the belts were tensioned correctly. Powermaster recommends that the belts are extremely tight to eliminate belt slippage. A new Powermaster 6-gauge charge wire was run from the B+ terminal of the alternator to the battery B+ cable end. A 6-gauge ground wire, already attached to the alternator housing, was routed by Dyer to a ground bolt on the intake manifold.
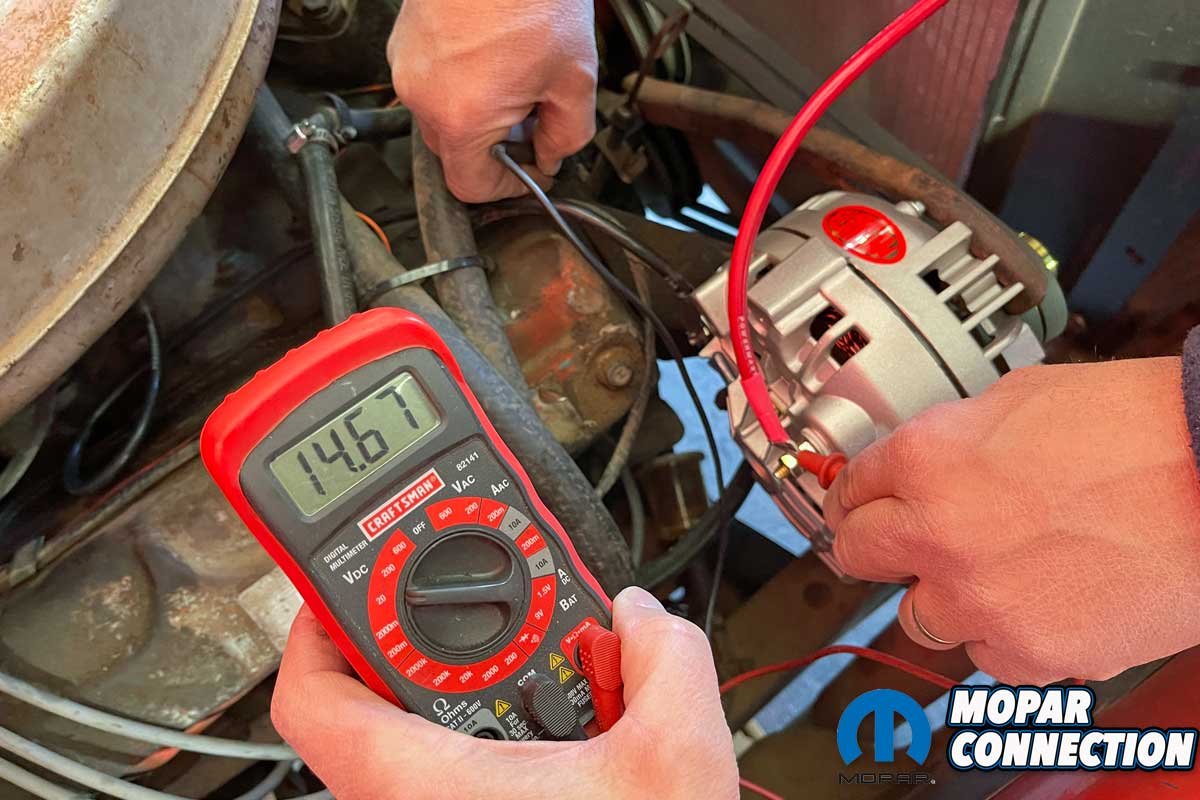
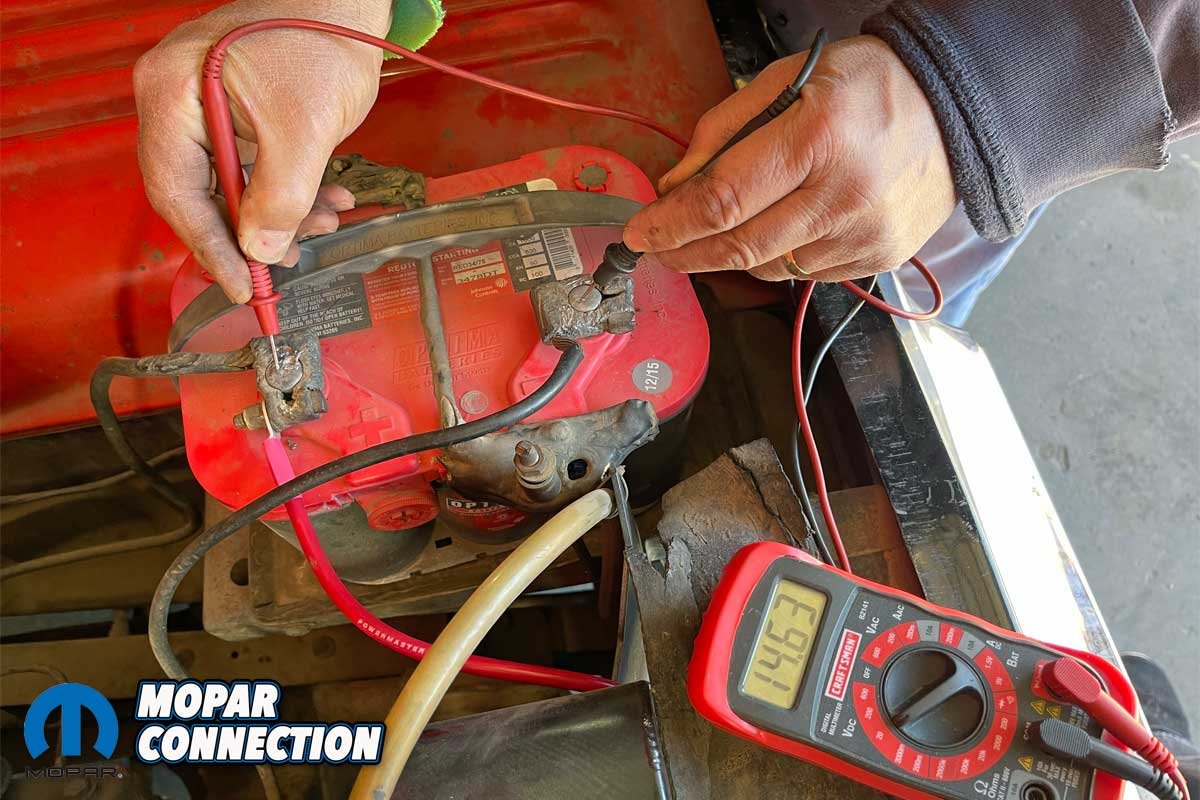
With the charging system buttoned up, Dyer started the 318 and checked the voltage at the alternator. The voltmeter read 14.67-volts at the alternator and 14.63-volts at the battery. The steady voltage fell into the charging range of 13.5- to 15.0-volts, and the high-quality charge and ground wires reduced the voltage drop to 0.04 volts. For a more detailed installation review, check out our Powermaster “Original Look” alternator installation on our ’67 Dart.
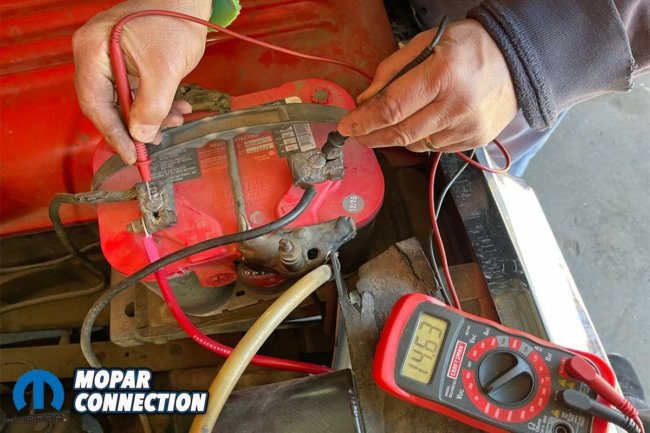

Above left: With the 318 at idle, the battery voltage was a solid 14.63-volts. That falls into the charging system voltage range of 13.5- to 15-volts. Above right: At idle, the Powermaster provided 14.67-volts at the alternator. The 6-gauge charge and ground wires provided a system voltage drop of only 0.004 volts between the alternator and the battery. That is almost perfect. (Dyer photos)
The one-wire alternator did not require the factory field wires, so Dyer taped them out of the way. With the positive-side charge wire, the ammeter was bypassed, so it no longer operated correctly. A few companies provide ammeter-to-voltmeter upgrades while keeping the original look of the ammeter gauge face. We performed an ammeter-to-voltmeter conversion on our ’67 Dart.

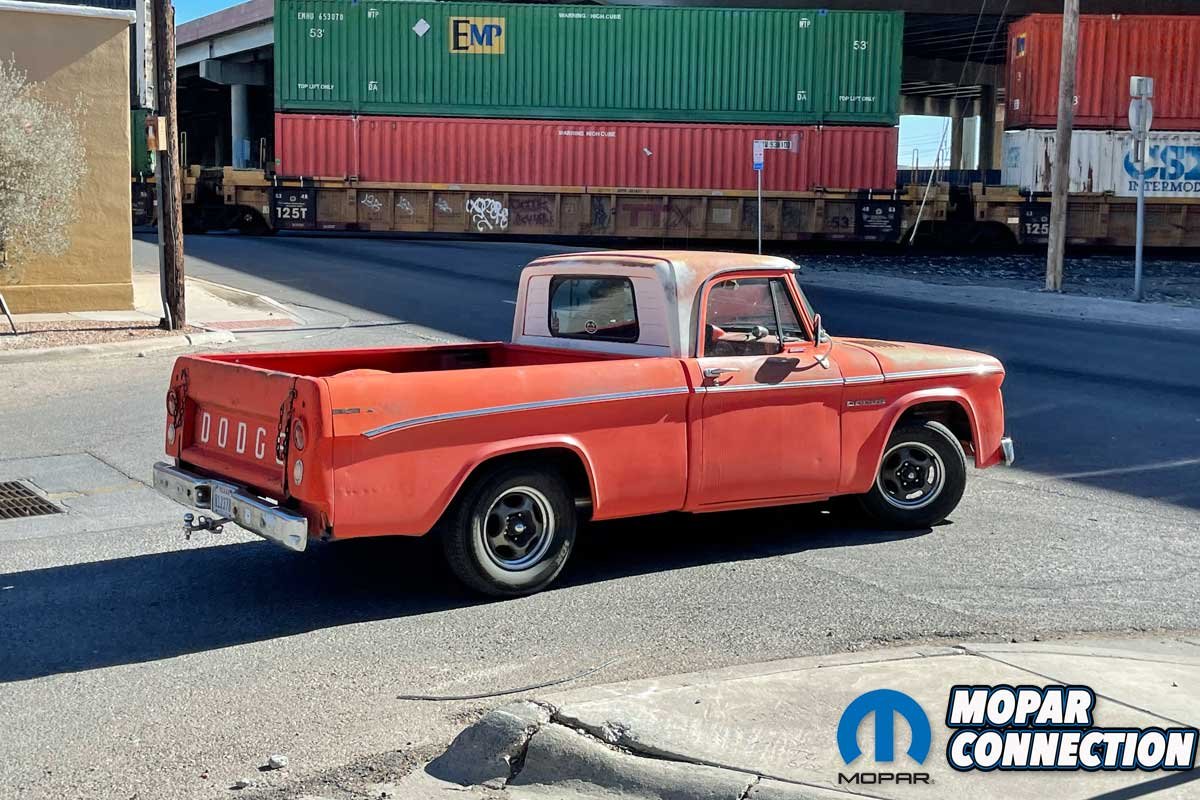
Above: The cool-looking D100 is back on the road, and Dyer has had zero charging system concerns since the Powermaster alternator installation. (Dyer photo)
Whether it is a one- or three-wire alternator, if you are interested in upgrading your Mopar’s charging system, contact the reps at Powermaster for the latest charging or starting system components. The simplicity of the installation will minimize your ride’s downtime, and the quality of the parts will provide years of trouble-free operation.


I am interested in a new starter for my 59 Chrysler 383. Can you help… James
James, this is a magazine article. Please call Powermaster – tell ’em Mopar Connection Magazine sent ya!
I don’t know if Dyer knows it or not, but that air filter (housing) is choking the hell out of that engine.