


 Three gears and a 1:1 final drive ratio just don’t cut it anymore. At the same time, it’s gotten more and more difficult to find an automatic transmission that both physically fits and holds up to the torque of a big block Mopar engine.
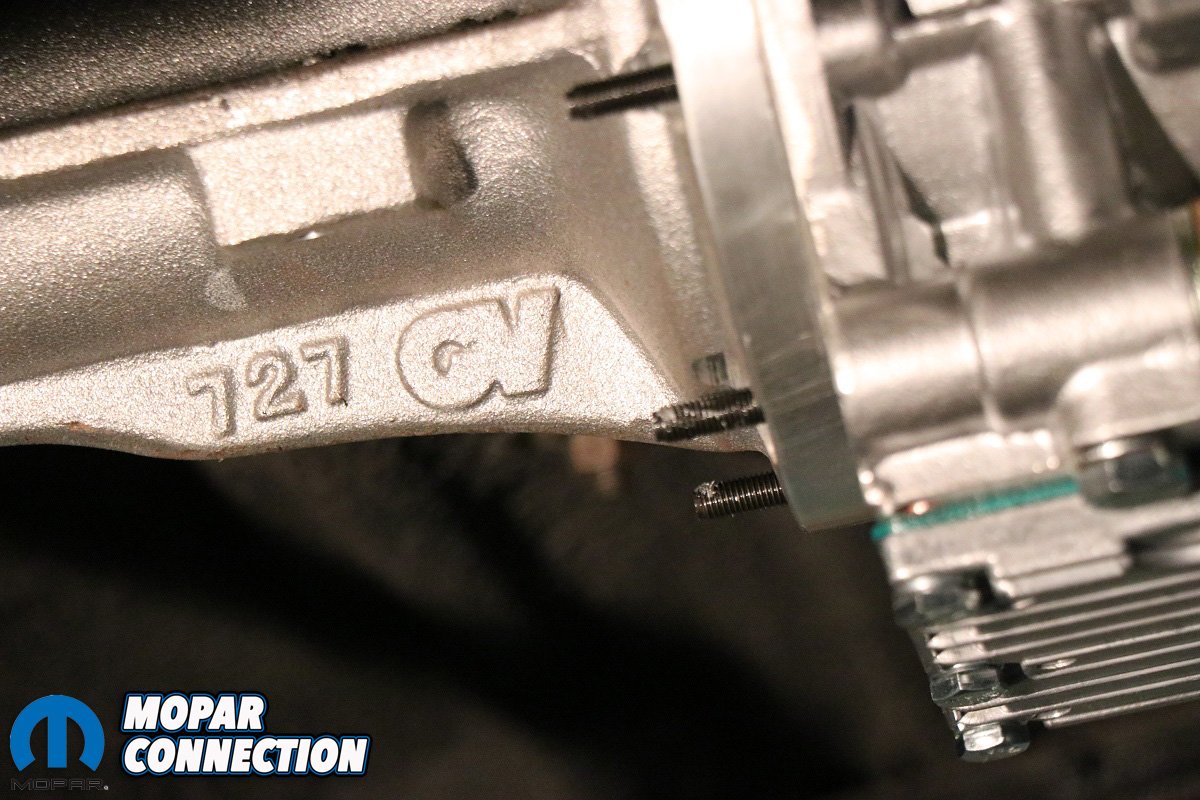
The 727 was and still is a thing of beauty among slushboxes of the Sixties. Transferring power for Hemis, Max Wedges, and Six Packs, it was rarely the weak link of a raucous race car. Even today, later generations of automatics have a hard time putting together a combination of affordability and reliability like a 727.

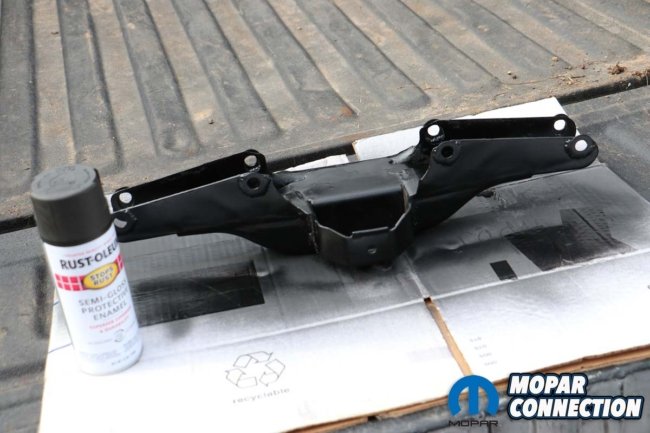
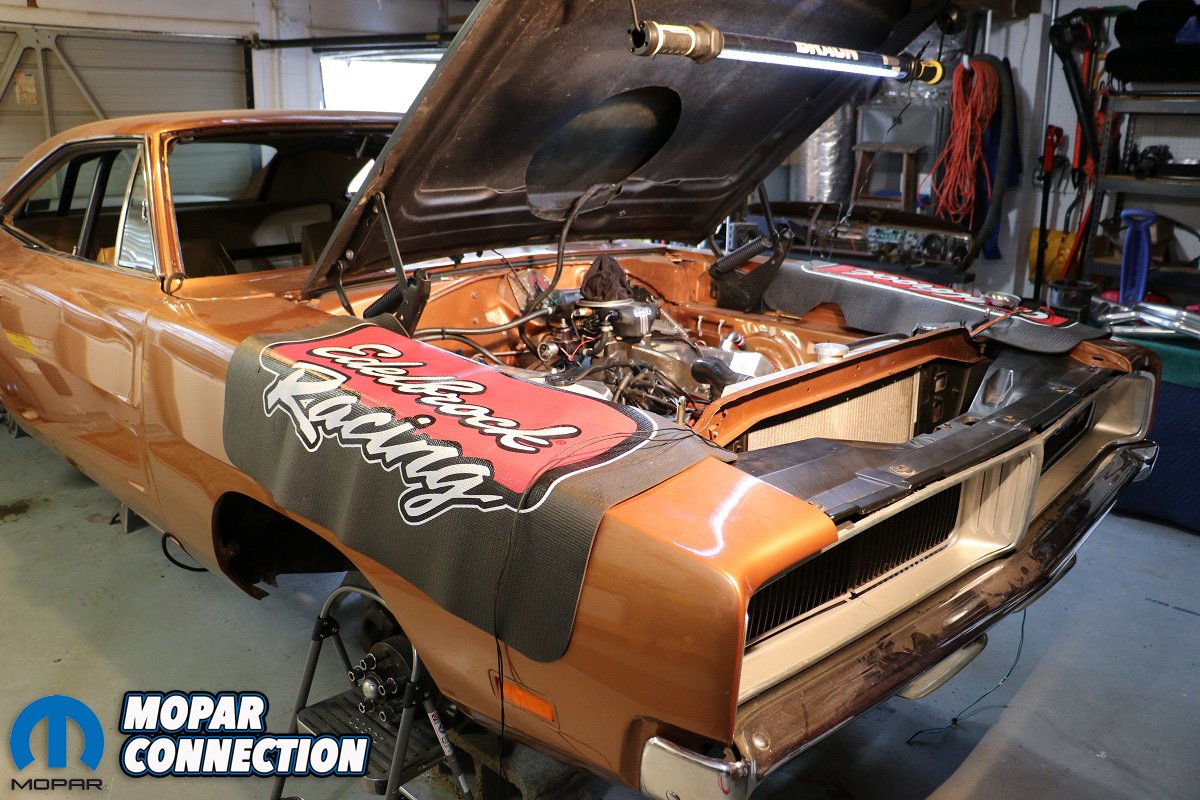
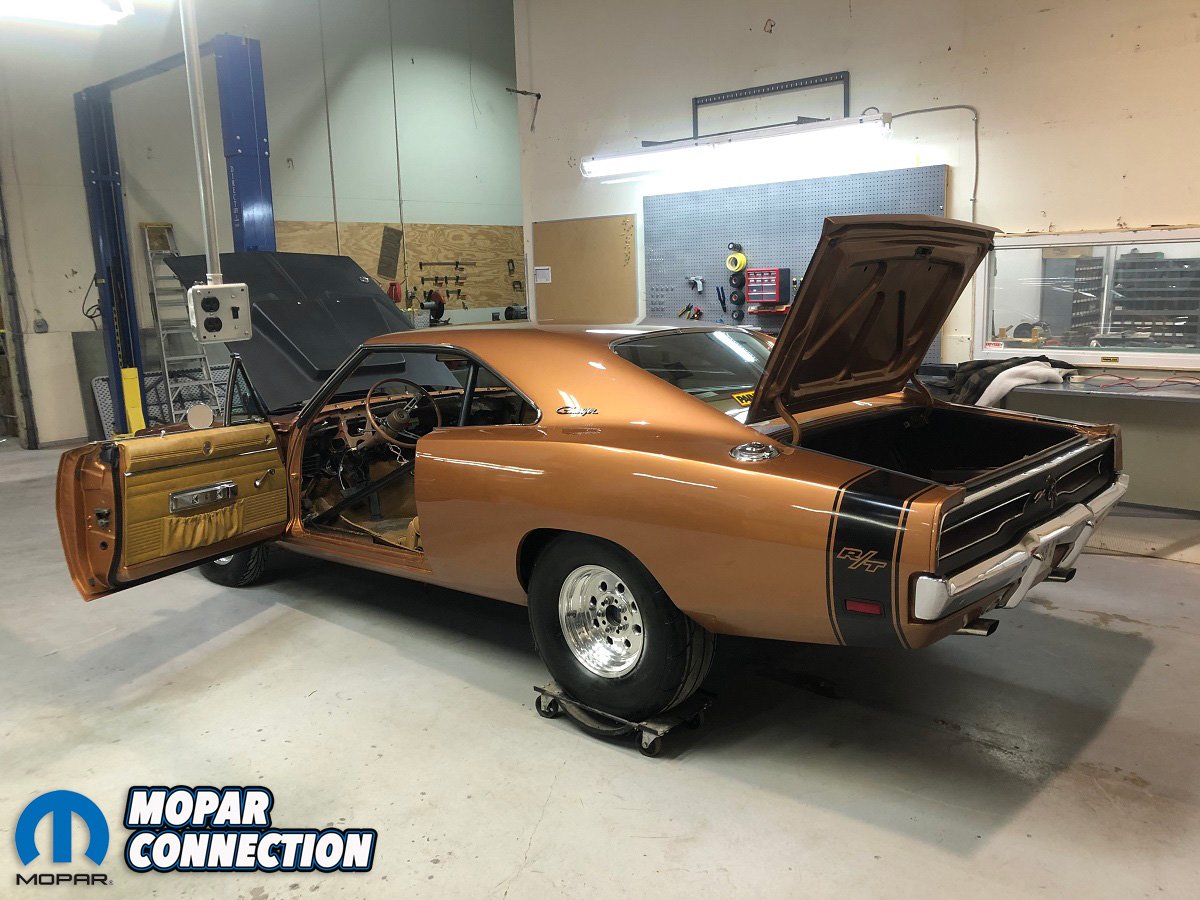
Above: Preparing Project Brazen for removing our TCI 727 and installation of our new Gear Vendors.
Obviously, the one shortcoming is its lack of a deeper dive in RPM at the end of the tailshaft. A Gear Vendors Under/Overdrive (U/O) is one of the most effective ways to fix that while not having to budge on the robustness of that old three-gear box.
In a nutshell, yes, the Gear Vendors unit is an overdrive that reduces RPM at cruising speeds. However, between zero and the cruise button, it offers so much more. As an Under/Overdrive device, the Gear Vendors U/O is actually able to divide individual gears, effectively doubling the number of available ratios in a process called “gear splitting.”

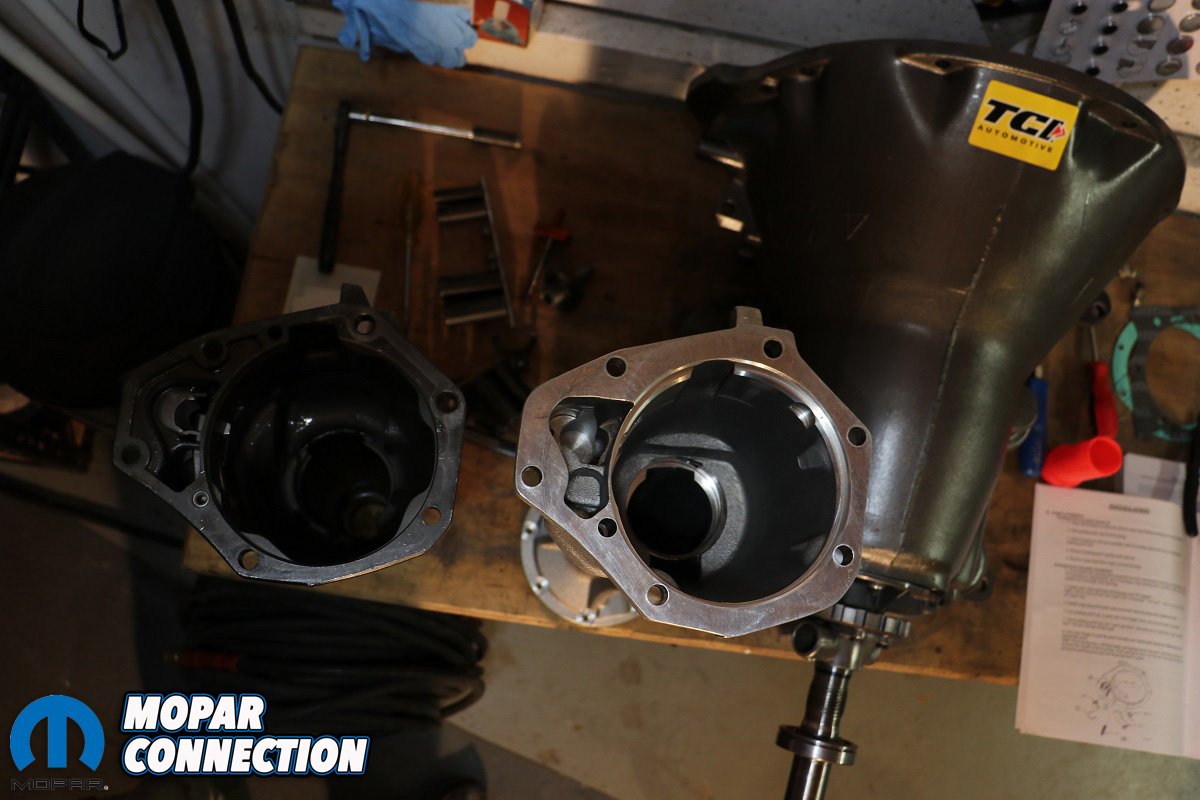
Above: We sat the Gear Vendors and factory tail housings were set side by side.
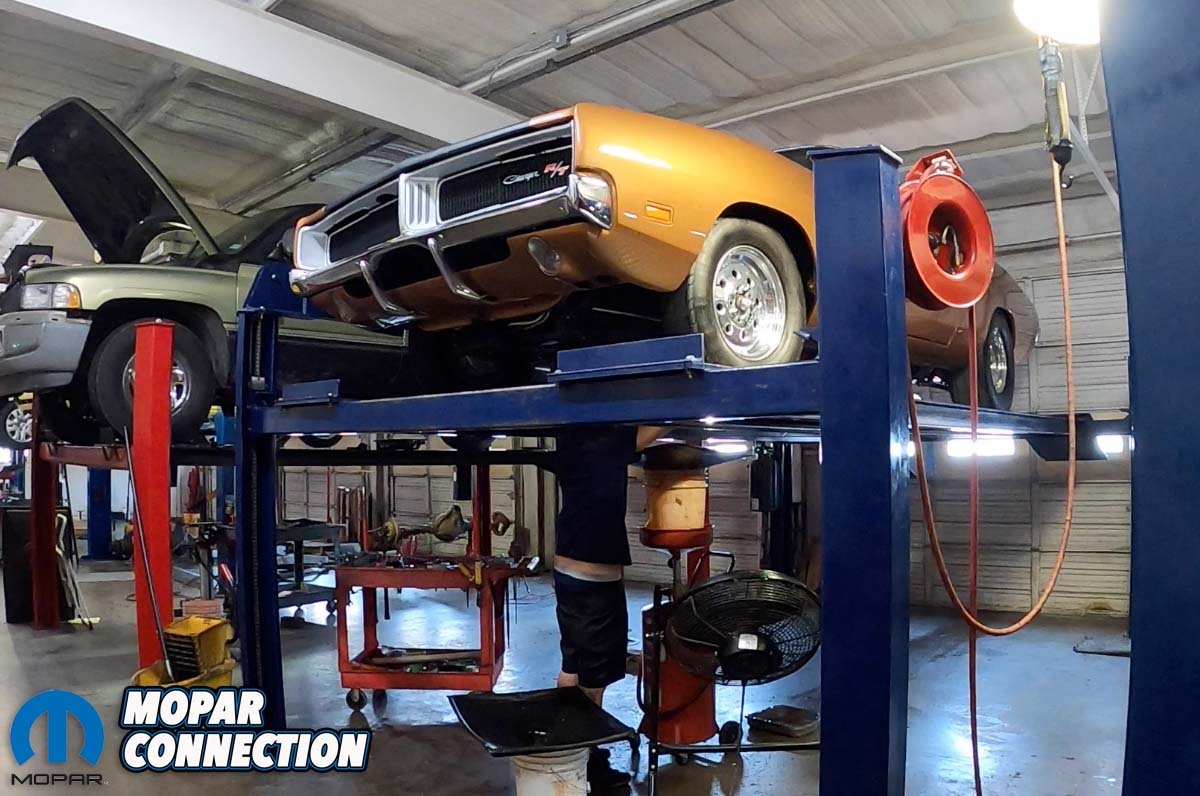
All of these reasons and more were why a Gear Vendors Under/Overdrive was the perfect pick for Project Brazen. Packing a wicked 535 cubic inch wedge engine and aggressively-geared Dana rear, this 1969 Dodge Charger was ripe for RPM reduction when a call to the good folks at Gear Vendors(GV) got a 727-specific kit (P/N 3DFS727A) headed our way.
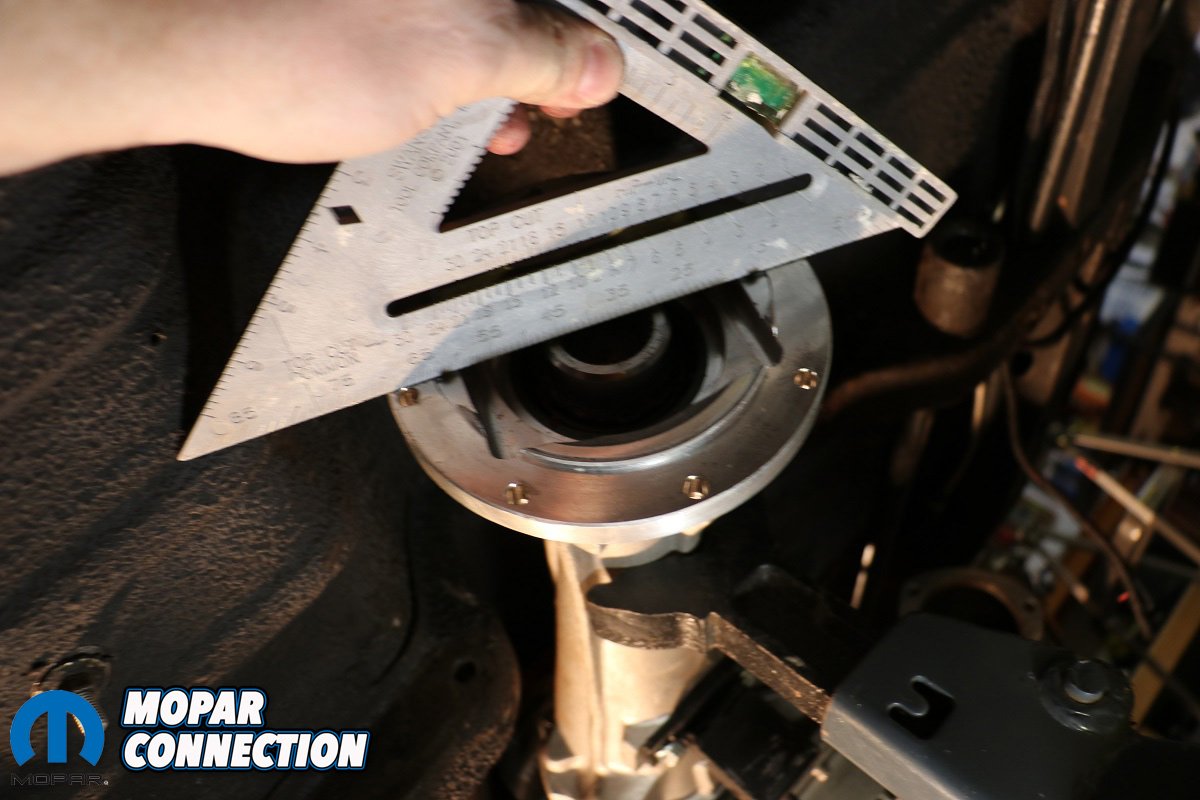
The first order of business was banging out a baseline of the original driveline angles before putting the big B-body on jack stands. With the transmission in neutral and the parking brake off, the driveshaft and speedometer cable were both detached.


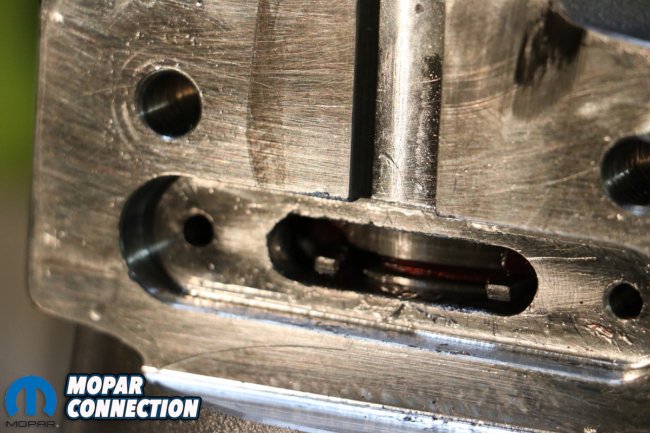
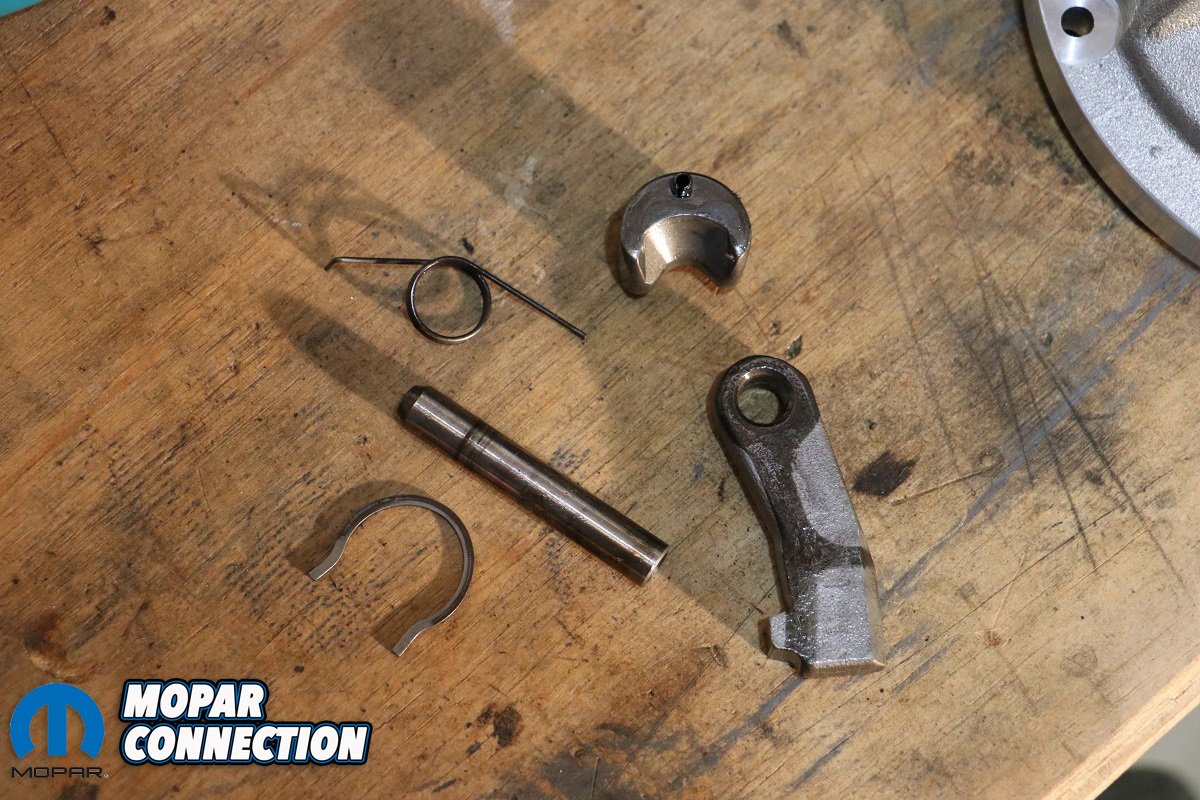
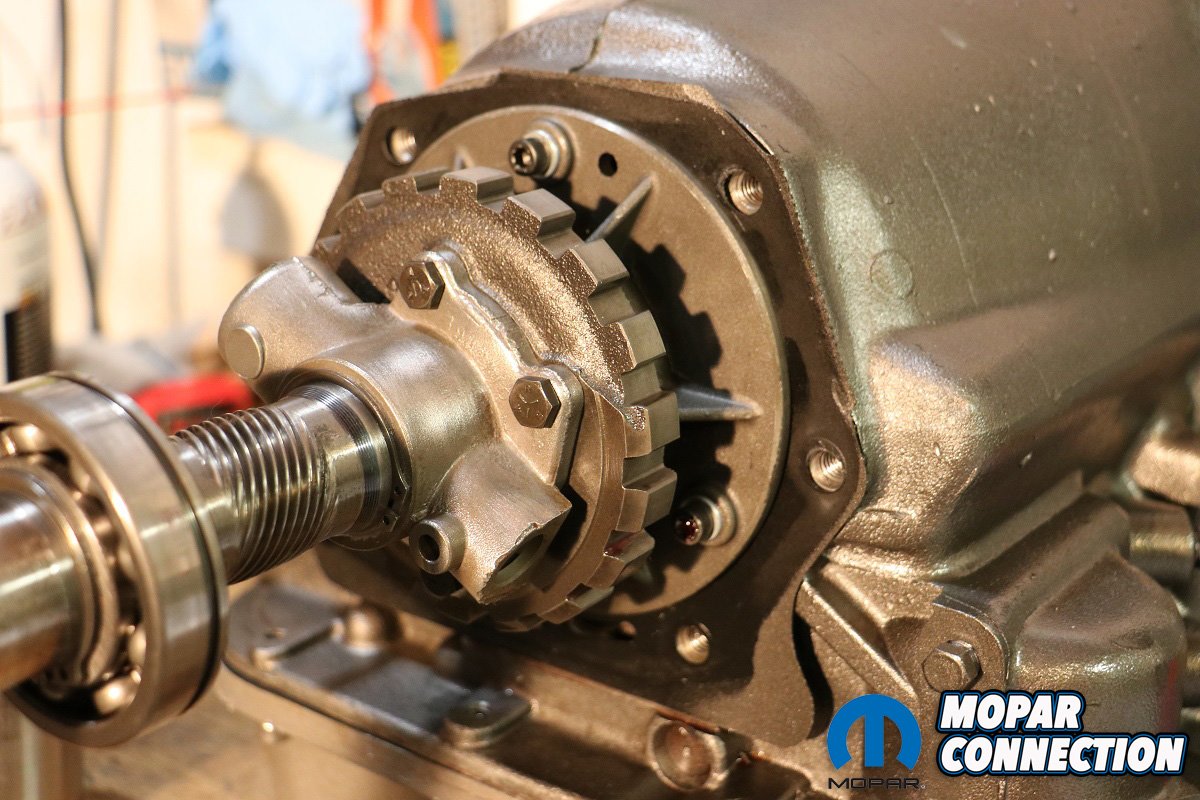
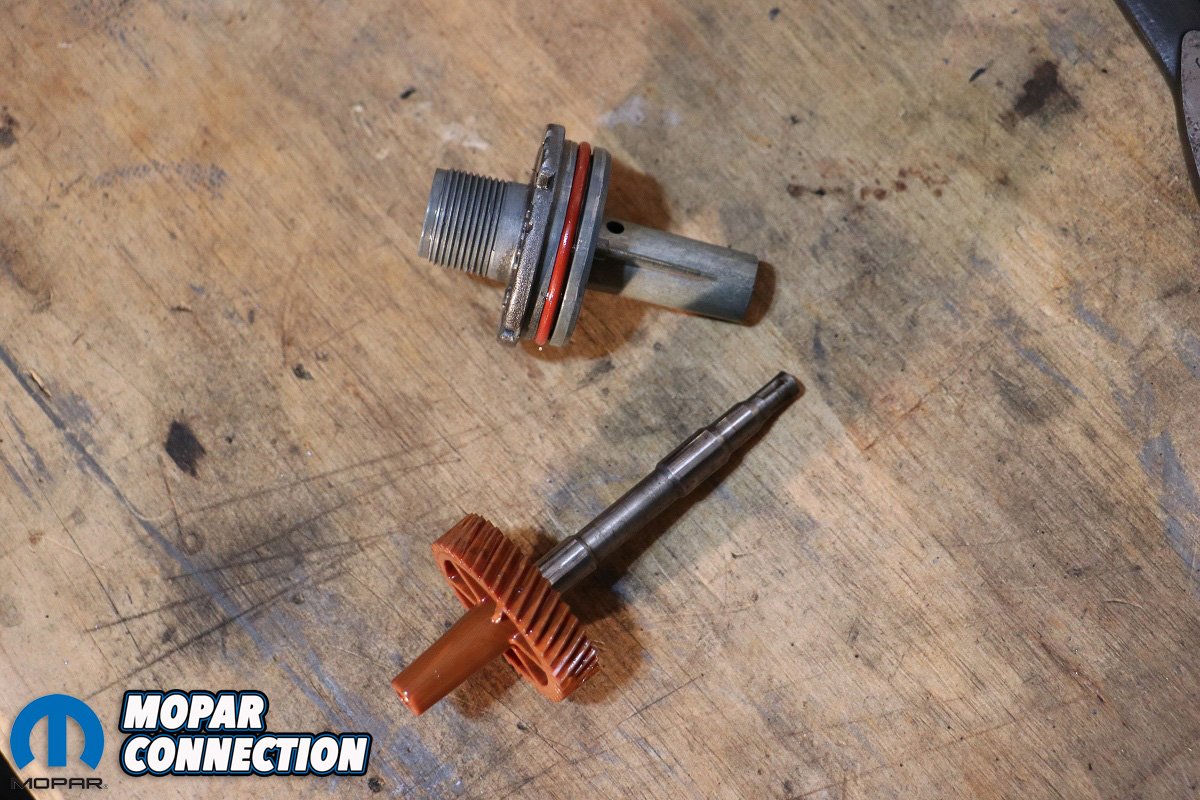
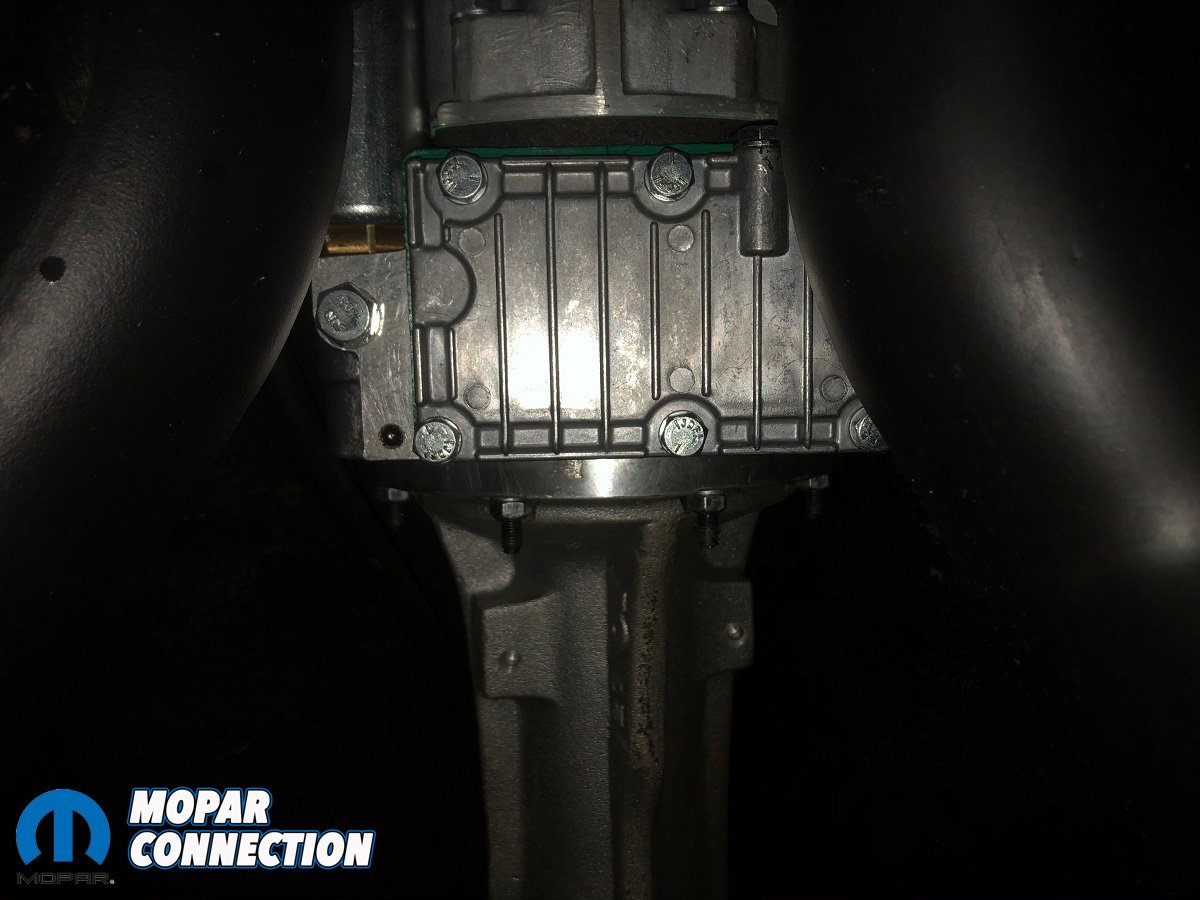
Above Left: The parking pawl assembly included several components. Above Center: Those pieces found a home in the new GV adapter housing. Above Right: A cogged gear on the factory tailshaft, the mating part of the mechanism, did not need removed.
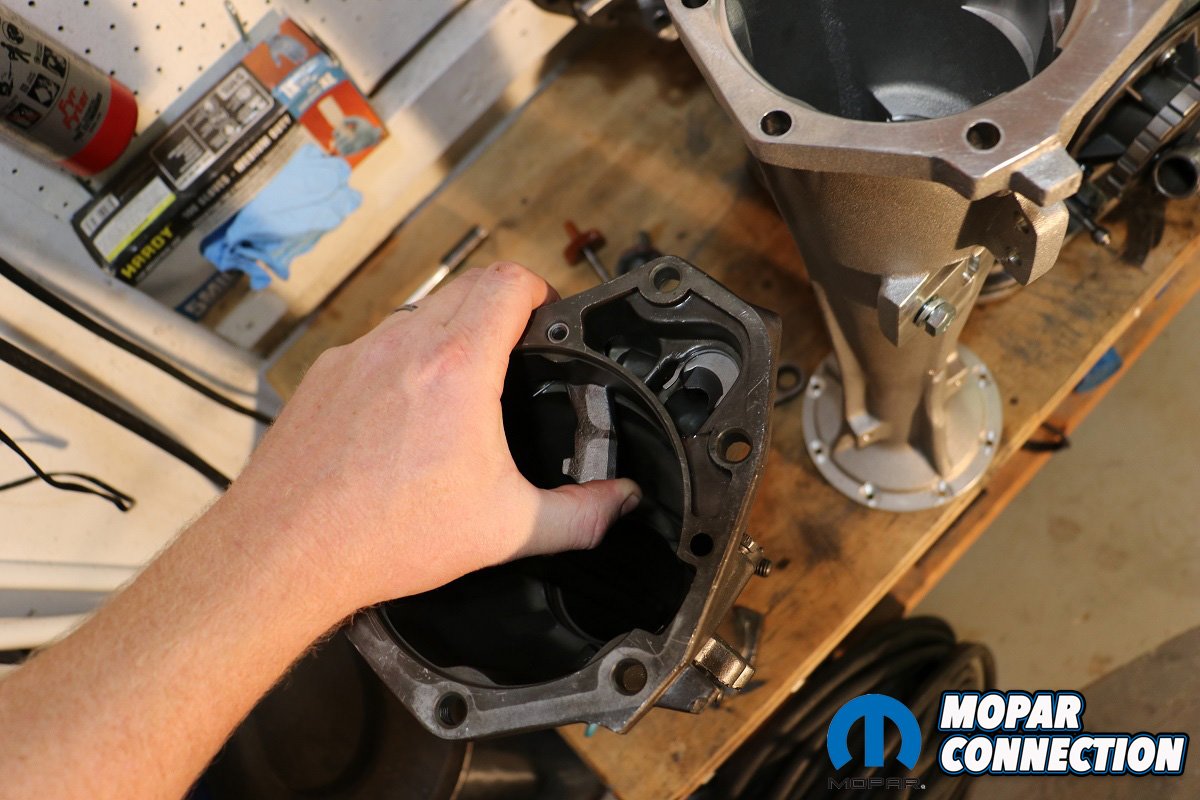
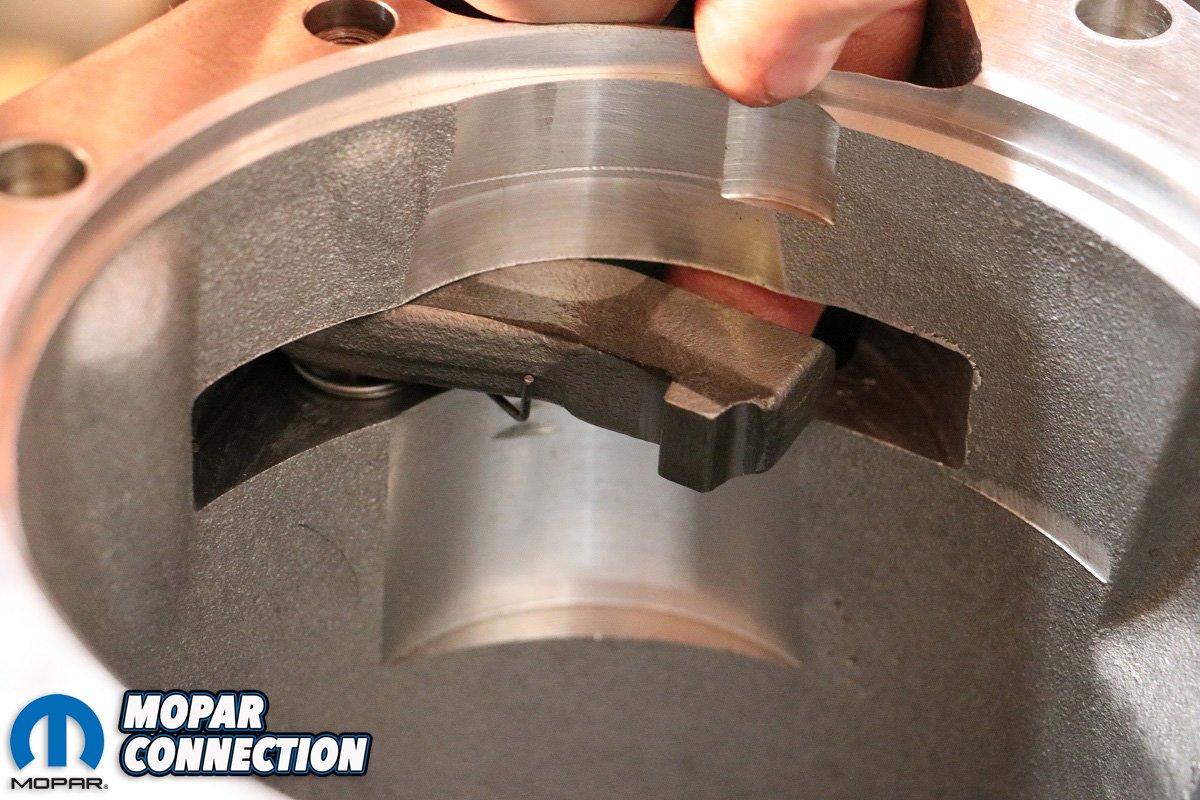
We figured it would be easiest to do the tailshaft housing swap on the workbench, so out came the girthy gearbox per service manual instructions. With the tail housing removed, next came the parking pawl, a critical piece of the puzzle. From the factory, the 727’s tail housing was home to that pawl, the speedometer pinion, and the output shaft bearing.
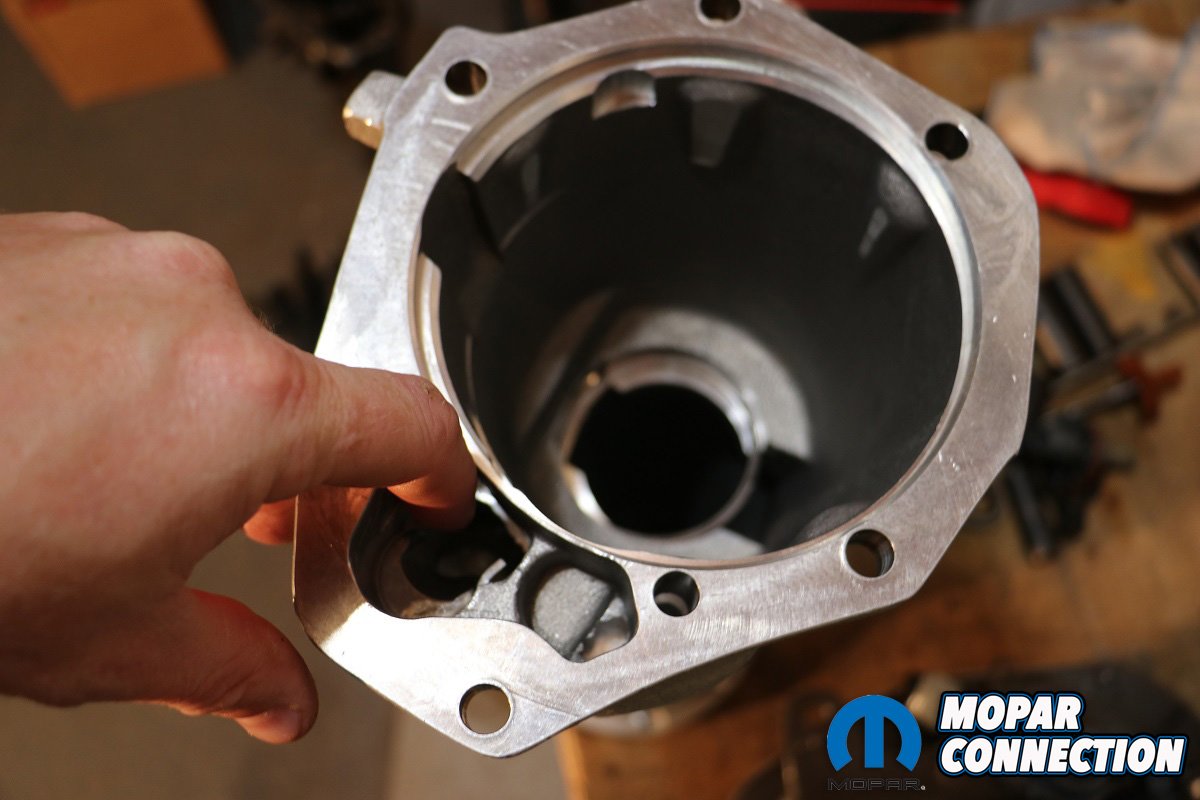
Due to that OEM housing being displaced by the GV adapter, it would be that adapter’s responsibility to take in those components and have them function in a factory-like fashion. For an easy installation, both the original and new tail housings were set side-by-side on the workbench for a direct take-out and put-in.

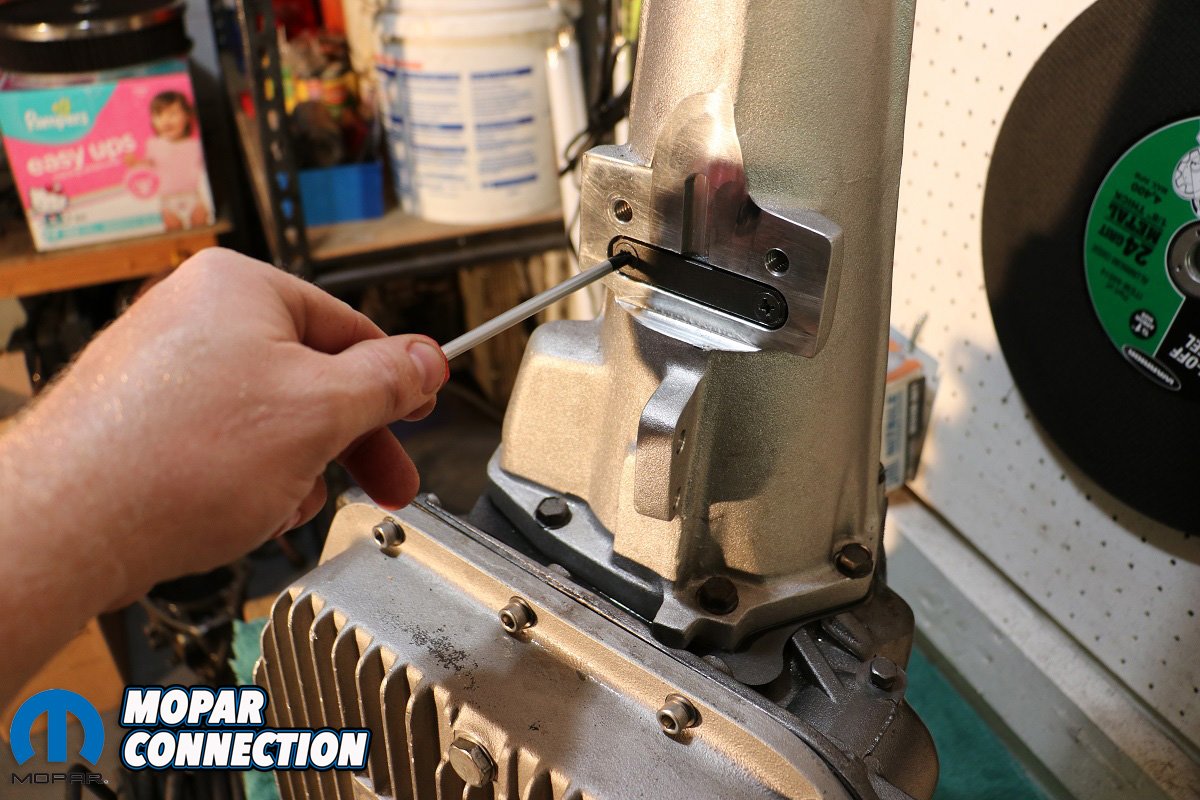
Above Left: The tailshaft snap ring was installed via an access port. Above Center: That same access port included a cover for cleanliness. Above Right: Bolts were torqued to spec on the new GV adapter housing.
That process sounded simple enough, but it was imperative to follow the GV instructions step-by-step to get the seat, snap ring, pawl, pin, and spring all arranged correctly. A handy dandy sketch in the manual helped make sure all was situated just right.
Sliding the shifter lever into low gear allowed us to slip the new tail housing over the tailshaft after, of course, applying the new gasket. Care was taken to guide the parking rod into its seat before settling the snap ring into its groove and tightening the six housing-to-case bolts. With that, the transmission was set to sneak back into the Charger’s plentiful tunnel.
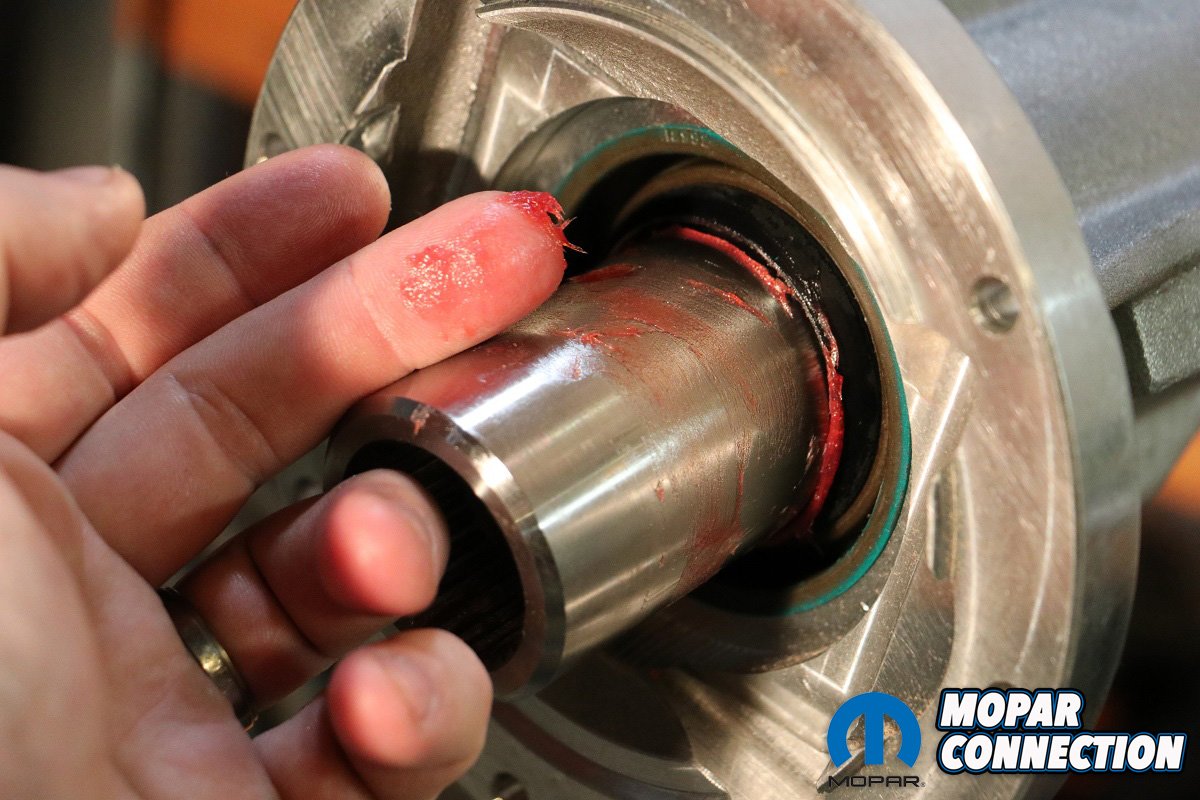
Mating the original male-splined output shaft to the male-splined input of the GV U/O was a female-to-female splined adapter coupling. Lightly greasing it and the seals allowed it to be preassembled on the transmission output shaft.

Above: The new gasket was in place and almost ready to install.
Here was a good pause point to stop and check end play. If that coupler were to bounce around between the two male shafts, carnage would be sure to ensue. Therefore, it was important to verify an end play measurement of less than 0.020” with the adapter gasket installed. Careful selection of supplied shims easily got us in spec.
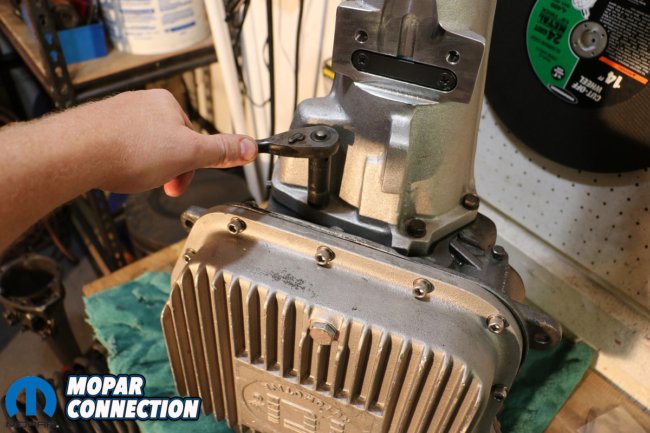
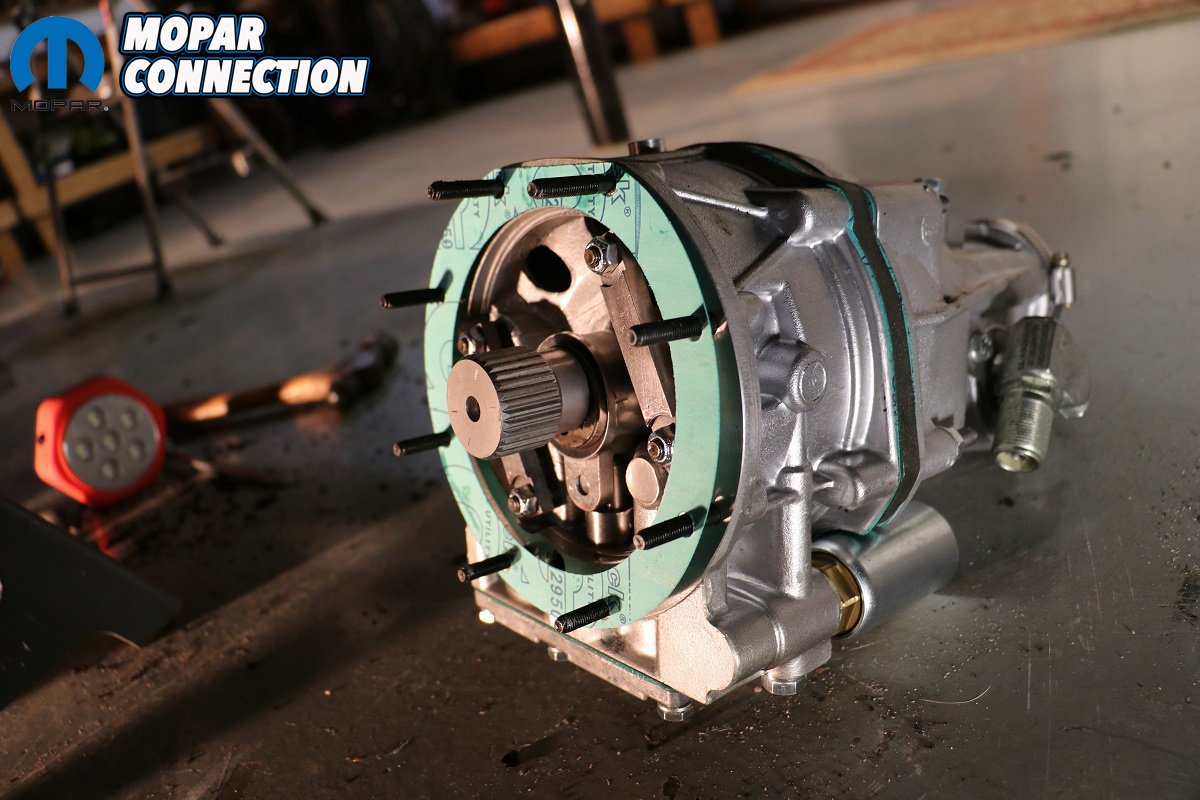
After that, the star of the show, the actual U/O unit, was ready to be bolted up. Eight studs accepted washers, nuts, and a bit of blue Loctite for added insurance. Periodic spins via the output yoke made sure nothing was binding as hardware was torqued.

Above Left: Grease on the coupler and seals assisted in assembly. Above Right: A drop or two or fifty of blue Loctite was applied to each GV unit stud.
To capture actual output speed, a new speedometer signal generator and right-angle adapter were fitted to the newly-hung U/O. It was important to install the right-angle adapter with care. A damaged speedometer gear, housing, or sensor would basically render the system useless due to its reliance on a speed reading for safe engagement.
An extension cable allowed the factory speedo cable to be left in place, foregoing the arduous task of traversing an under-dash jungle. As with all aftermarket cables, proper lubrication was key in setting it up for spinning success.

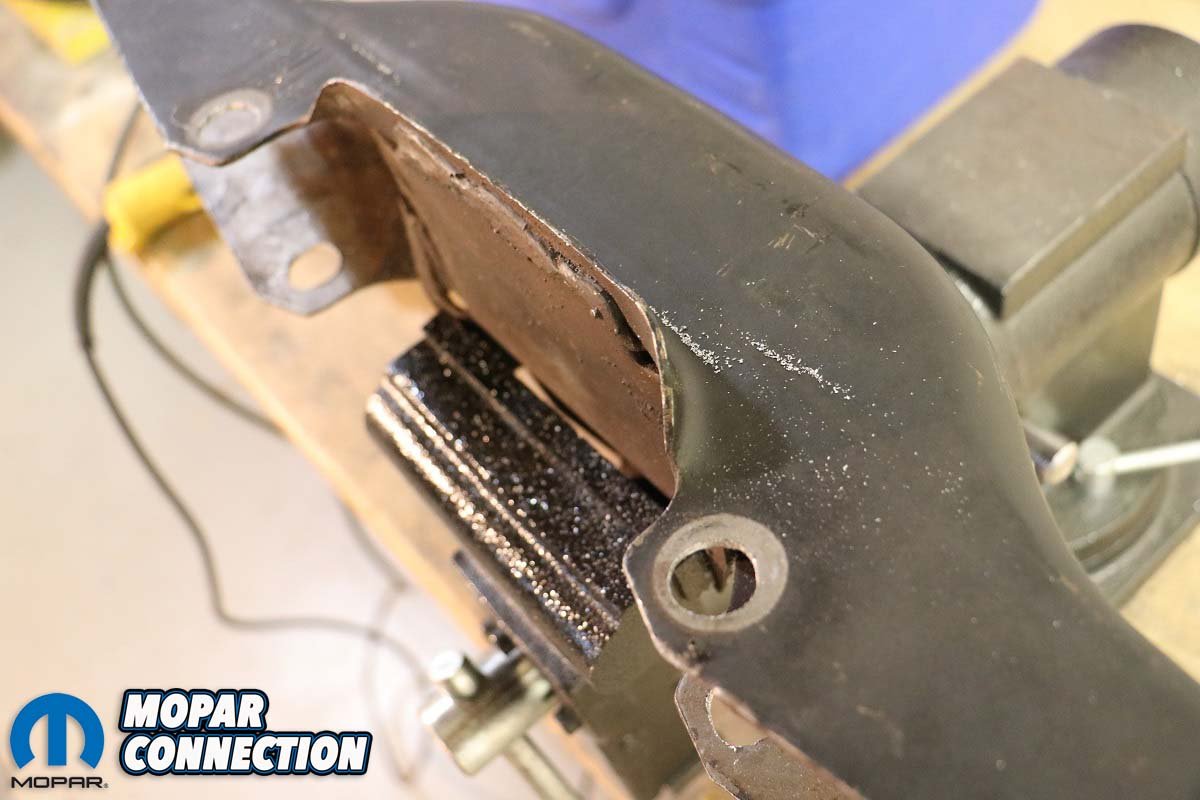
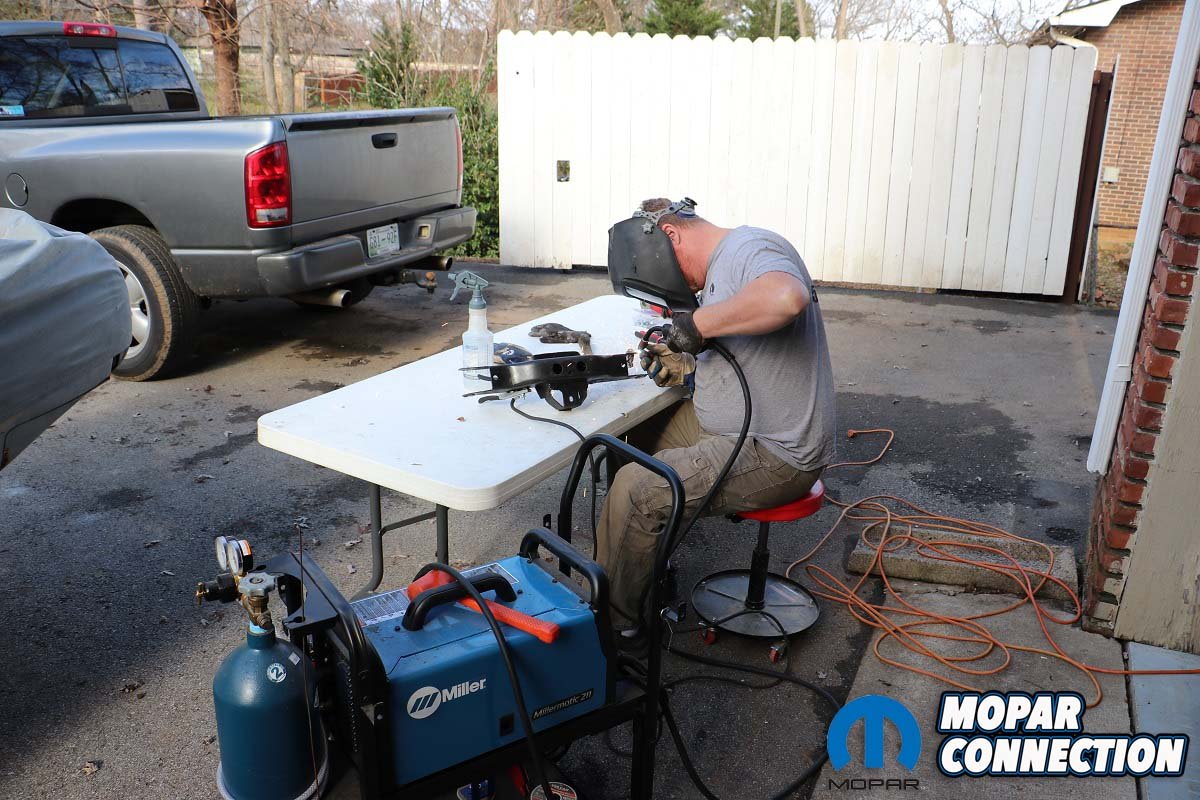
Above: We got to work cutting and welding our factory cross member with our Miller welder.
Because of the added bulk of the under/overdrive unit itself, Gear Vendors suggested that slightly expanding the holes in the factory crossmember may be necessary. In trial fittings, we found the unit just a tad too tight to the floorboards to our liking. It wasn’t contacting the floor, but boy, was it snug.
Our solution was opening up the bolt holes considerably more than suggested and welding thick washers to the crossmember, effectively lowering our crossmember’s mounting point by a quarter-inch. This, of course, changed the final angle of our transmission, which had to be factored in to how we aligned our driveshaft.


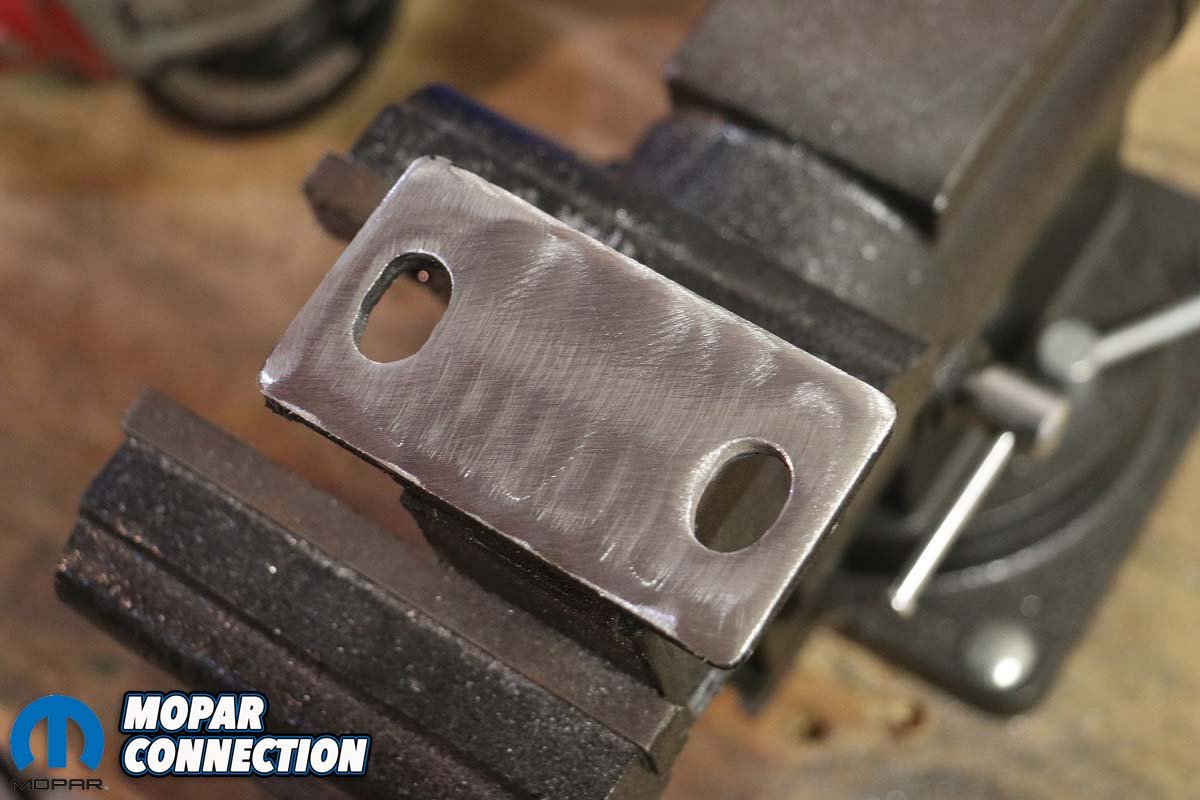
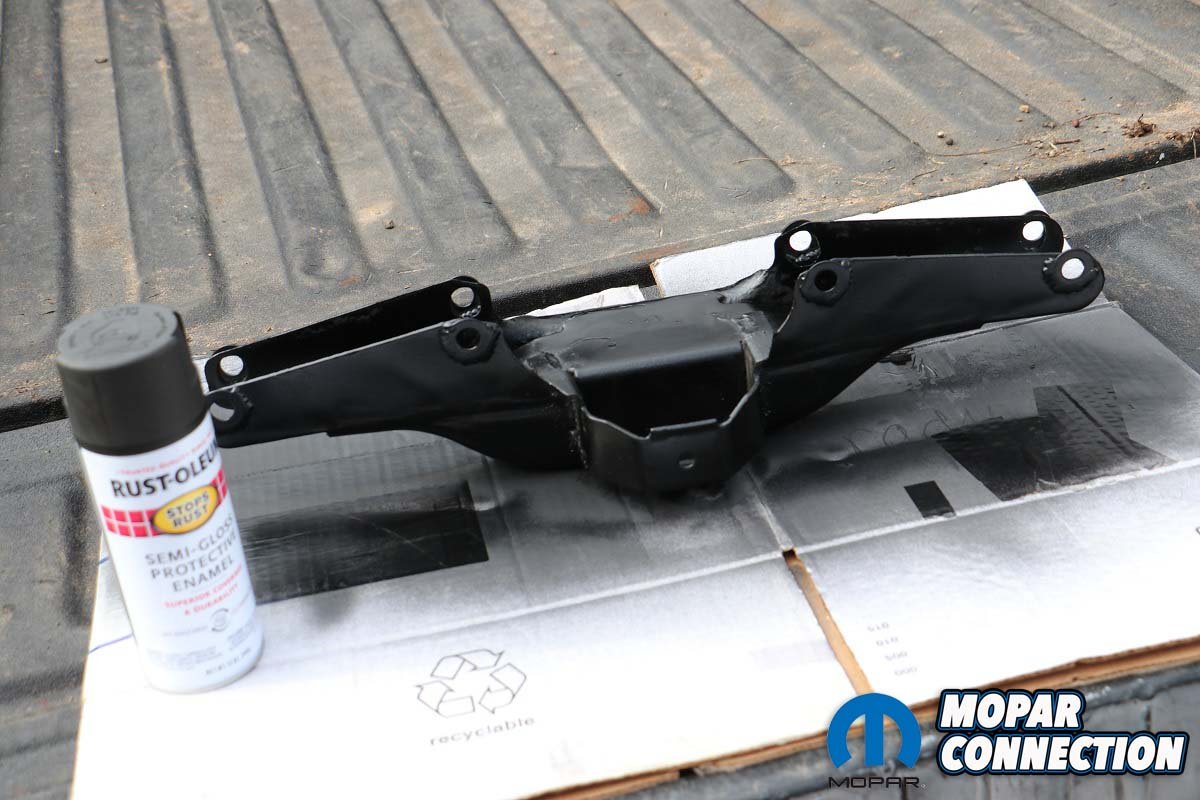
Above Left: The mount holes were elongated slightly to fit. Above Center: Crossmember holes were also adjusted. Above Right: A fresh coat of paint finished off the modified piece.
Equally, by exaggerating the transmission angle, we found our rubber isolator absolutely unwilling to fit in the factory holes. So out came the die grinder again, and we elongated the mount’s holes as well. In a rare instance of learning from previous mistakes, we aligned everything up loosely before torquing the crossmember and mount down firmly.

Above: Project Brazen awaits some love from our friends at Painless Performance Products.
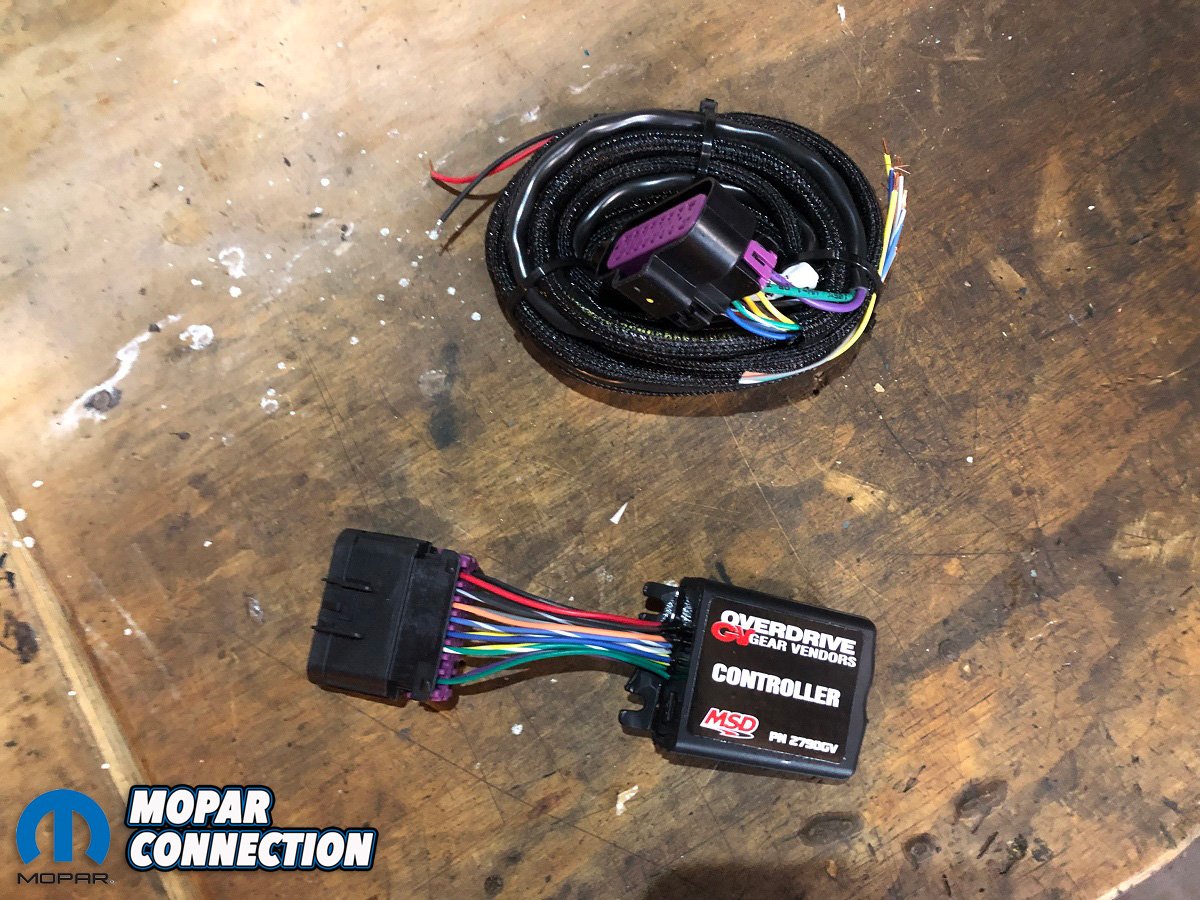
With the hardware handled, it was time to tackle electrical. Painless Performance Products whipped up the wiring smack dab in the middle of a swirling pandemic. Even through several grueling months of slim staffing, the Painless team was able to make Brazen much less of a fire hazard while also adding auxiliary circuits for the Gear Vendors controller.
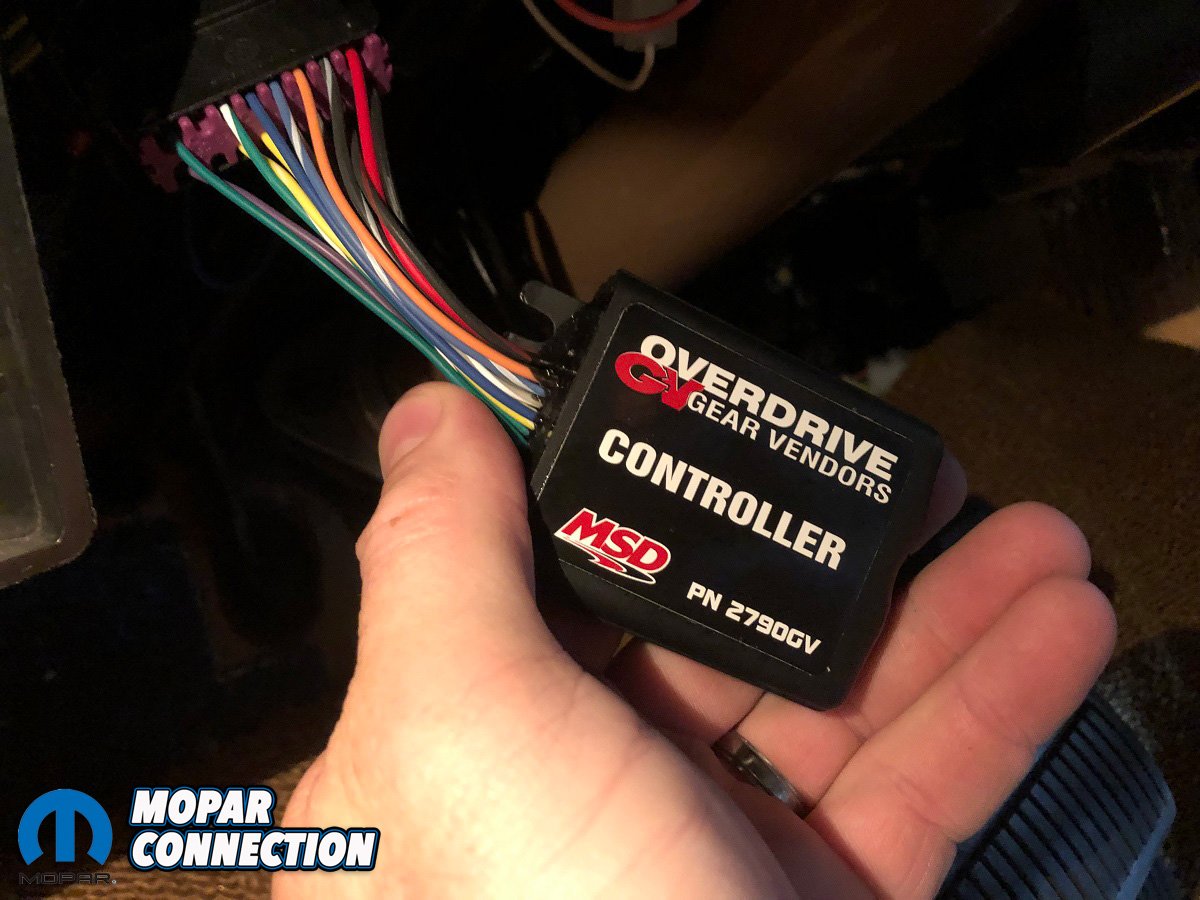
At the time, the control module itself was a fairly new addition to the GV package, replacing the prior control that had been used for several decades. Made by the electrical experts at MSD, it presented the same simple wiring scheme but with updated hardware and a compact footprint that was easy to mount under the dash.

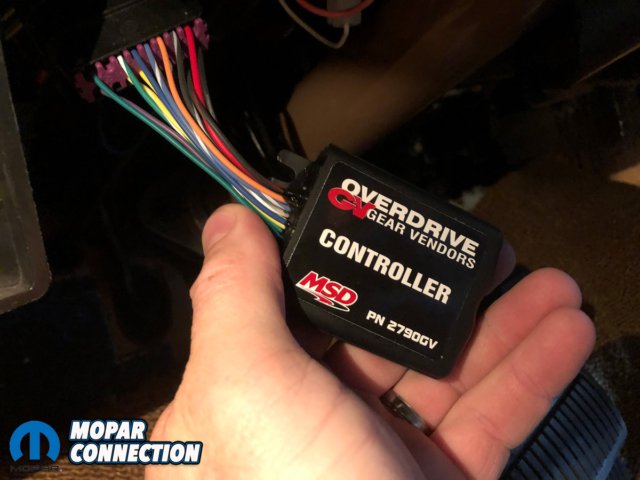
Above Left: The GV controller came with a quick-disconnect harness. Above Center: Mounting under the dash was easy due to it’s compactness. Above Right: Painless outfitted the TCI shifter with all the necessary switches and lights.
The schematic featured one-page simplicity, clearly outlining the major connections of this system. A pre-wired pigtail needed routed to a 12-volt keyed power source, ground, status lamps, an auto/manual switch, the shift ball button, the engagement solenoid, and the speedometer signal generator.
Most of those items were self-explanatory, but the switches’ functions were important to understand in detail for proper operation. An auto/manual switch was meant to prevent the unit from engaging until a certain threshold.
In manual mode, that in-shift threshold was factory-set at 20 mph; in auto, that level was set at 47 mph. Out-shifts were also controlled, although the thresholds were different. In manual, the overdrive would disengage at 15 mph and, in auto, it turned off at 25 mph.


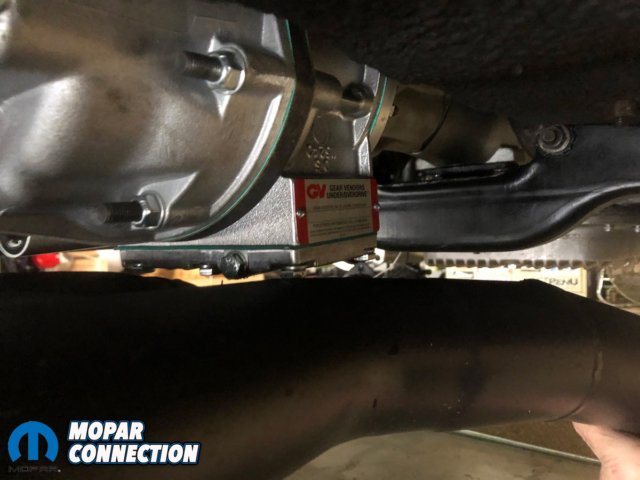
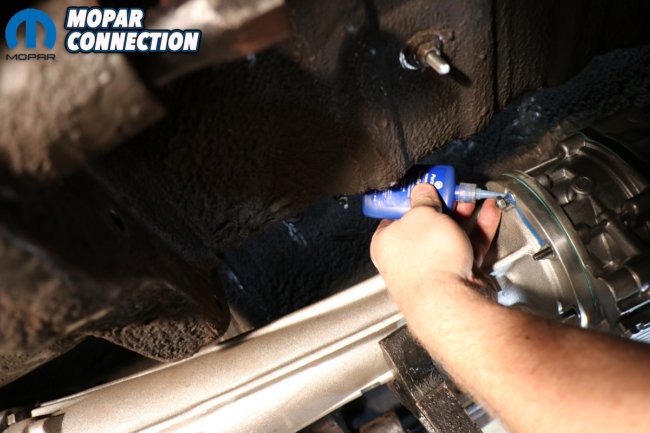
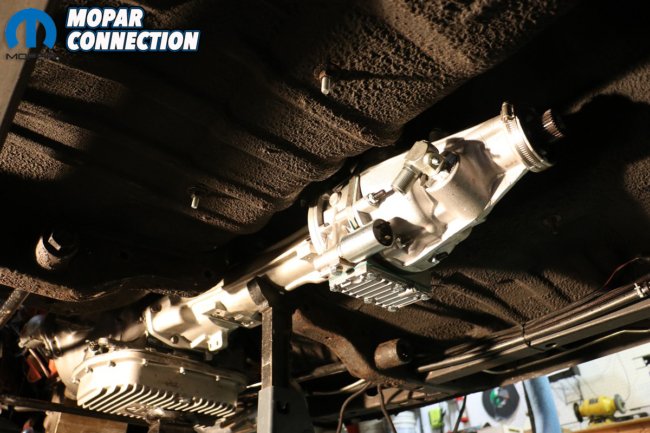
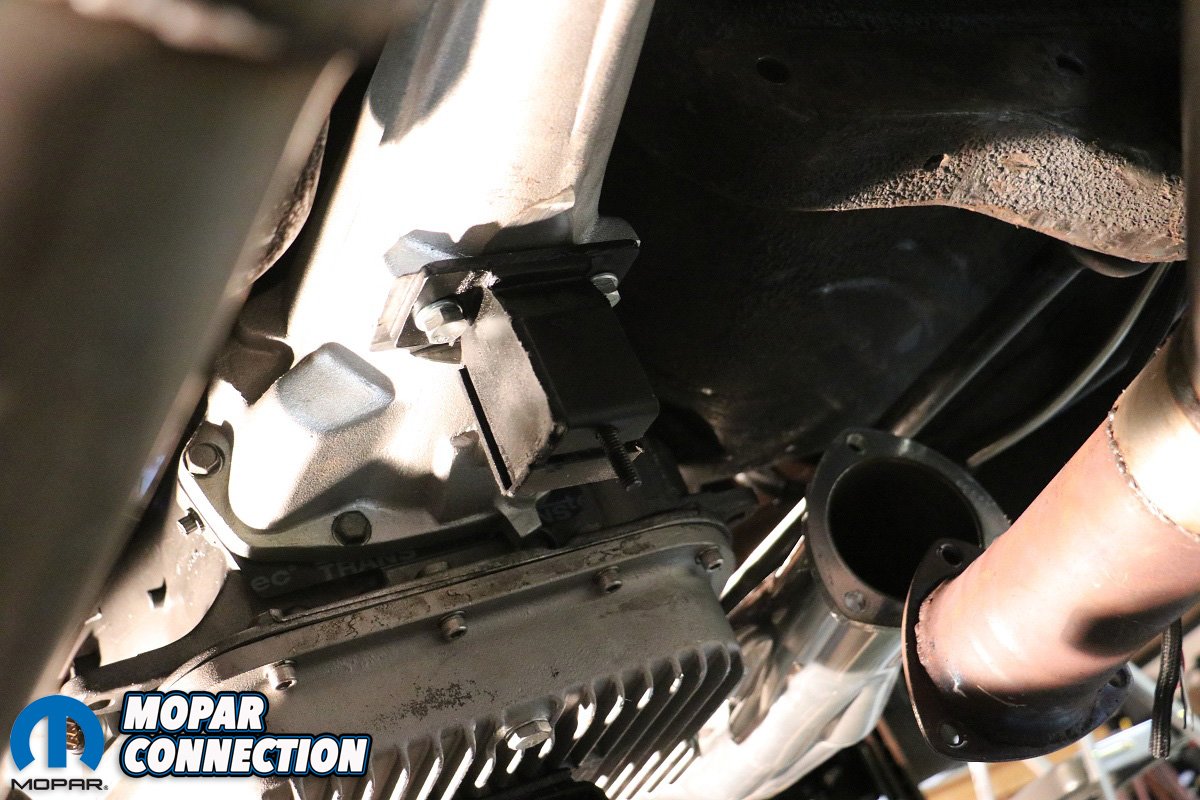
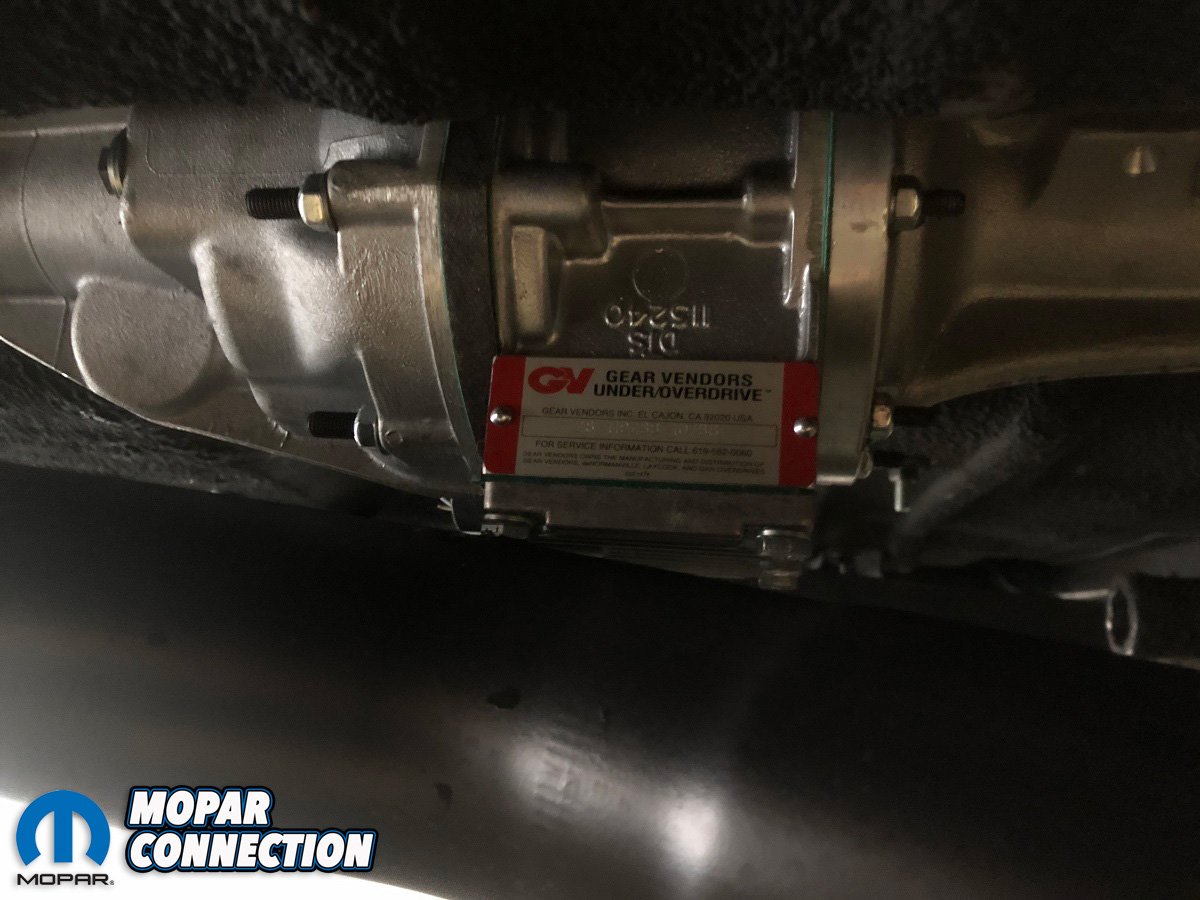
Above Left: Easily visible after installation was the serial number plate for any future service. Above Center: The fluid pan was also accessible, even with the exhaust on. Above Right: Clearance around the exhaust and body was no issue.
A red status lamp would light up when the Autodrive mode was selected but the threshold speed was not met. After crossing that set point, the green lamp would illuminate to signify GV unit activity.
When in manual mode, a shift ball switch (or foot switch) could be used to kick the unit in and out at the driver’s behest. The primary benefit there would be the ability to split gears. In the case of a 727, any of the three gears could be split with manual engagement of the GV unit.
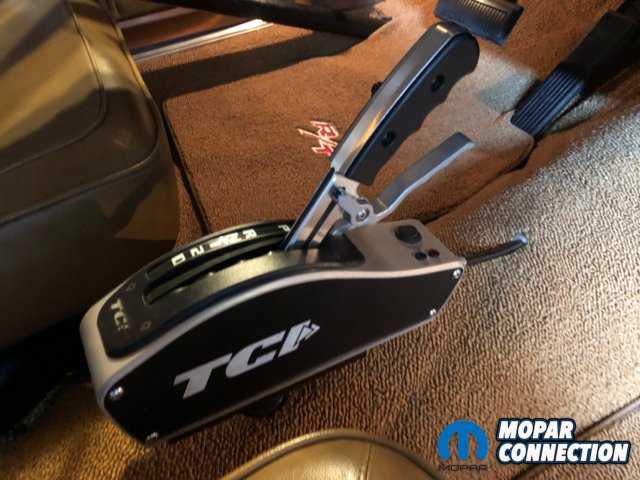
Painless put it all in reach by mounting both the auto/manual switch and the LEDs right to the TCI Diablo shifter. One of the stick’s integrated buttons was easily tied in to the manual mode so that all shifting responsibilities were within a finger’s length.
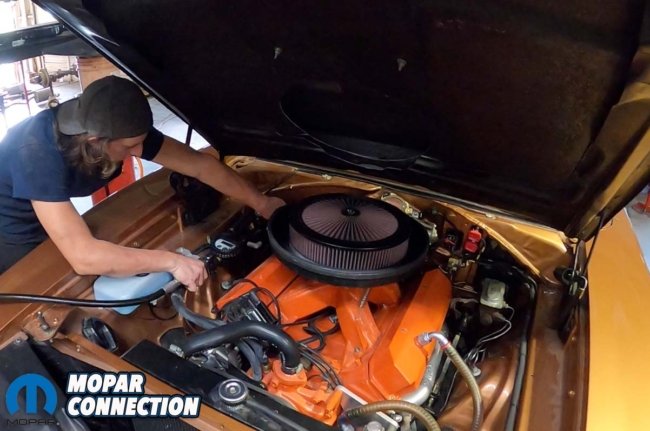
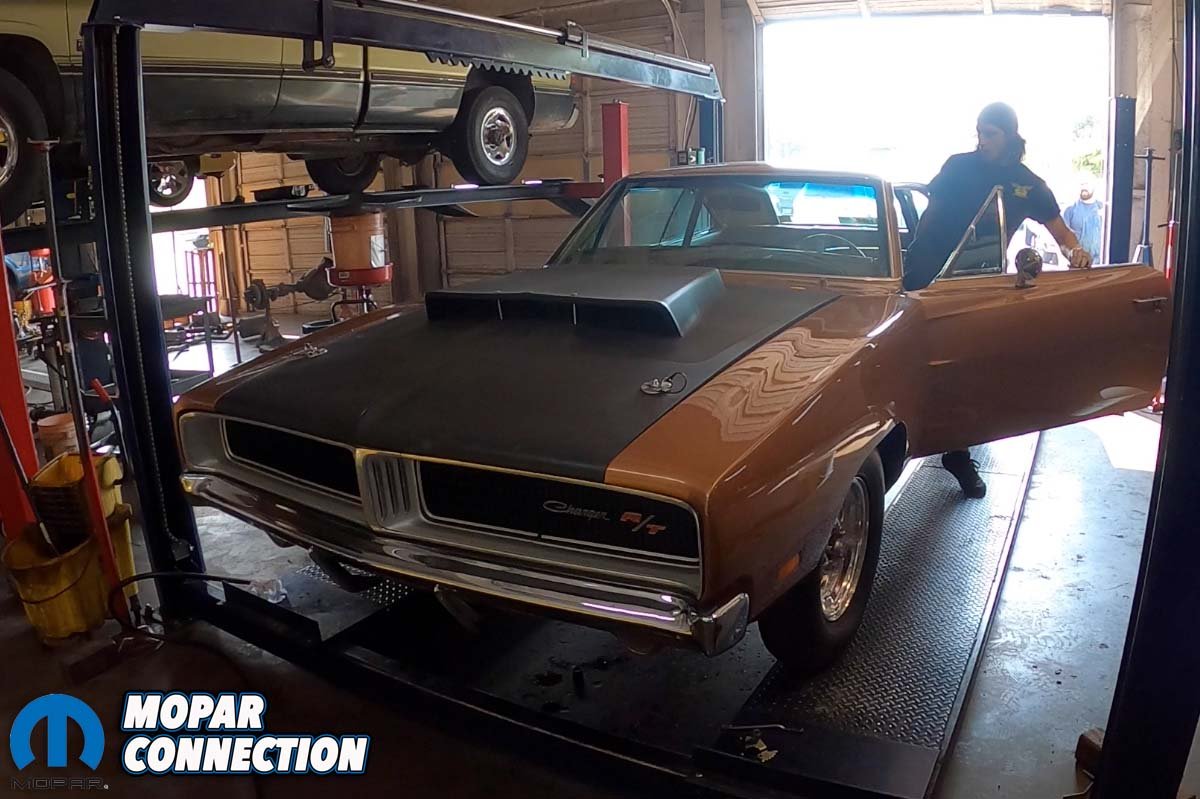
After leaving the Painless headquarters, we brought the Charger to Phoenix Performance Transmissions in Weatherford, TX. There, the team gave our TorqueFlite a good once-over, remedied some misaligned linkage and topped off our TorqueFlite with a whopping 7-quarts of ATF.
Brazen’s been equipped with large diameter steel lines into an extended cooler inside of our Frostbite radiator and then into a Hemi-style external transmission cooler that we picked up from Year One, which explains why it soaked up so much fluid.
A trip around the block in the brawny B-body begot a level of civility not easy to attain in such a wide-tired ride. Aside from the gear splitting fun, cruising altitude RPMs were obviously much more mild mannered, turning this stoplight streaker into a highway hellion.


Were it not for the Gear Vendors overdrive, we wouldn’t have attempted to participate in this year’s Hot Rod Power Tour. The .078 reduction enabled the big 535 stroker to lope along comfortably as we drove 75 mph at 2,900 RPM on the highway (which ain’t too bad given our Yukon 4.10 rear gear and Mickey Thompson ET Street S/S 295/65R15s).
All in all, the Gear Vendors Under/Overdrive really turned out to be a compact concoction of bolt-on driveability. Its self-contained design and no-cut fit would make it right for both street and show cars alike. Project Brazen will be finding itself in forward gear in the fast lane of fun for years to come.


Can you do an installment on the driveline angle correction after the GV OD installation? I am interested in this modification and how the angles are checked with the driveshaft shortening.