


It was a pretty warm June day when the Charger’s 4-speed automatic lost its overdrive. Nothing was reading out of the ordinary, so it gave no prior warning. Clipping along the highway home from the Goodguys’ 13th annual Nashville Nationals at a breezy 75mph @ 3,500rpm the transmission simply let go. No sounds of failure, either. I backed off and began moving over to the right hand lane and shifted into 3rd. Nothing. Slowing down further, I shifted down into 2nd. Vroom! I still had some bite left – and I limped on back home.
And just like Jimmy Buffett at the end of “Margaritaville,” I knew it was my own damn fault. I had murdered yet another automatic transmission, but this time it wasn’t due to pushing it too hard, causing a mechanical failure. A stream of oily-grey fluid flowing from the drain pan showed that it was smoked – literally. Although plumbed into an aftermarket aluminum radiator, the integrated transmission cooler wasn’t enough to counter the heat radiating from the Charger’s 3-inch exhaust super-heating the nearby cooler lines.

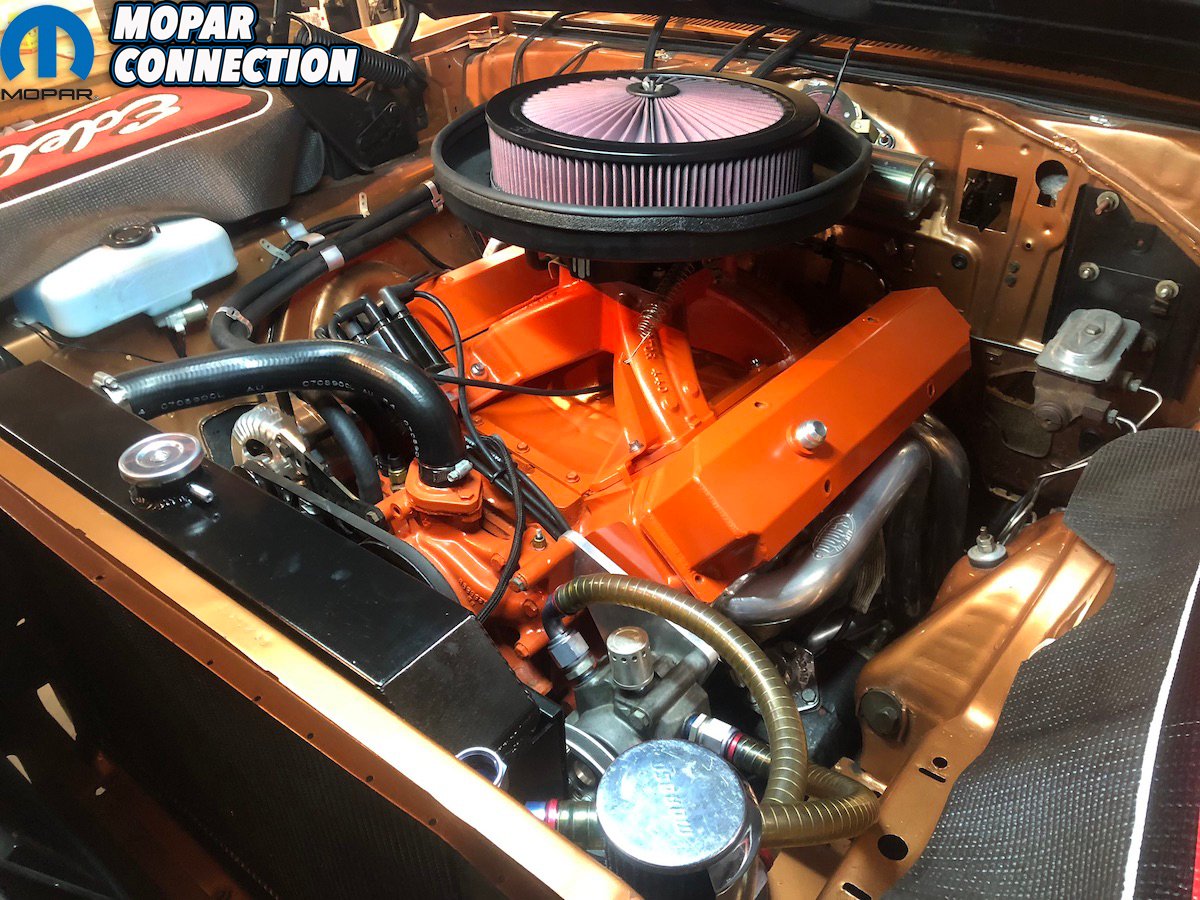
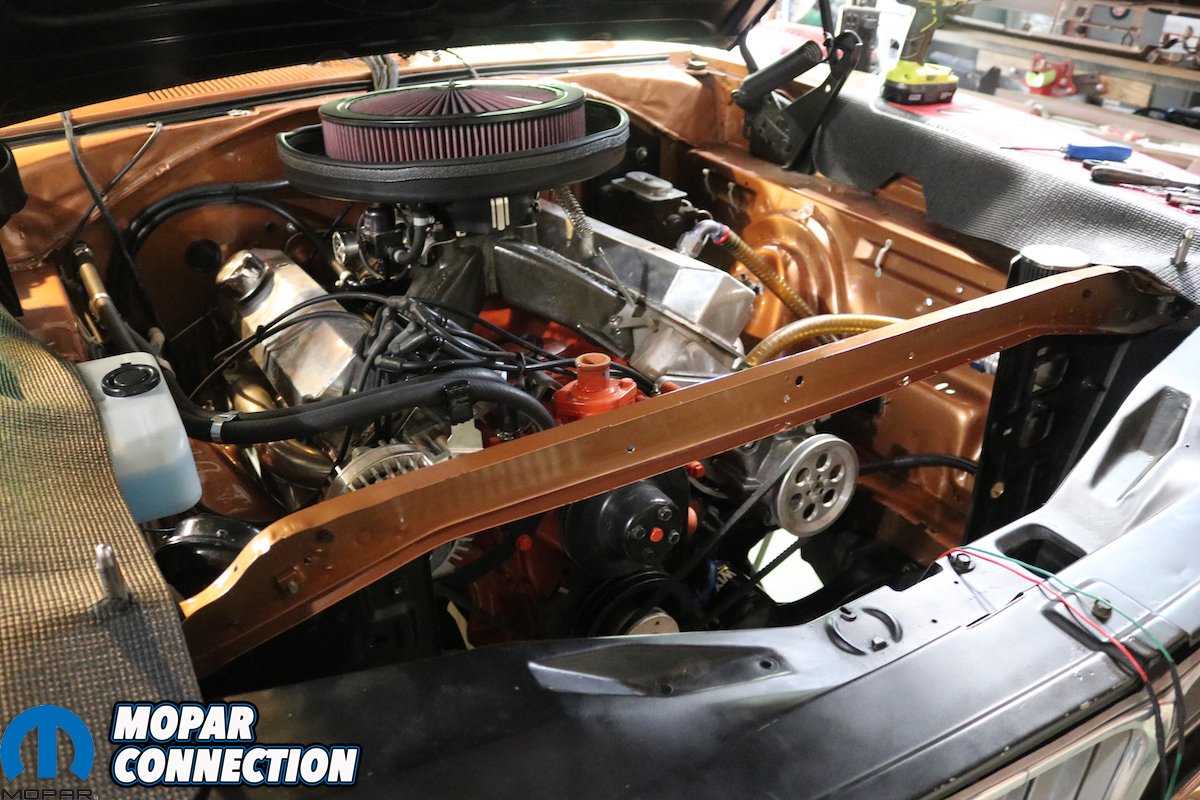
Above: The “Brazen” 1969 Dodge Charger made its last debut at the 2018 Goodguys Nashville Nationals before bad heat management boiled our Silver Sport Transmissions A41 to death.

Above left: With our previous aluminum radiator removed, we also discovered two weak points where coolant was weeping, so it had to be replaced as well. Above right: Rather than try to find a combination of an aftermarket transmission cooler, lines and shielding, the best (and easiest) choice was to build from the factory two-step cooling system Chrysler installed on Hemi and A12 440 Six-Pack cars equipped with a 727 TorqueFlite.
Poor routing, I thought, blaming myself. A further forensic tear-down showed that it had reached temperatures nearing 260 degrees, the same temp where seals fail and already slipping plates and clutches begin to burn, quickly blackening the transmission fluid, filling it with carbon. Had I only invested in some heat shields and wrapping, and rerouted the lines further away from the exhaust, I might’ve saved my Silver Sport Transmission A41 4-speed overdrive transmission.
Just as with my lack of foresight, maintaining optimal transmission operating temperature is often overlooked – most hot rodders never give it a second thought; just plumb it and fill it up. Heck, when was the last time you installed a transmission temperature gauge? Or even knew what the optimal operating temperature for a transmission was? (The quick answer is between 185–195º F.)

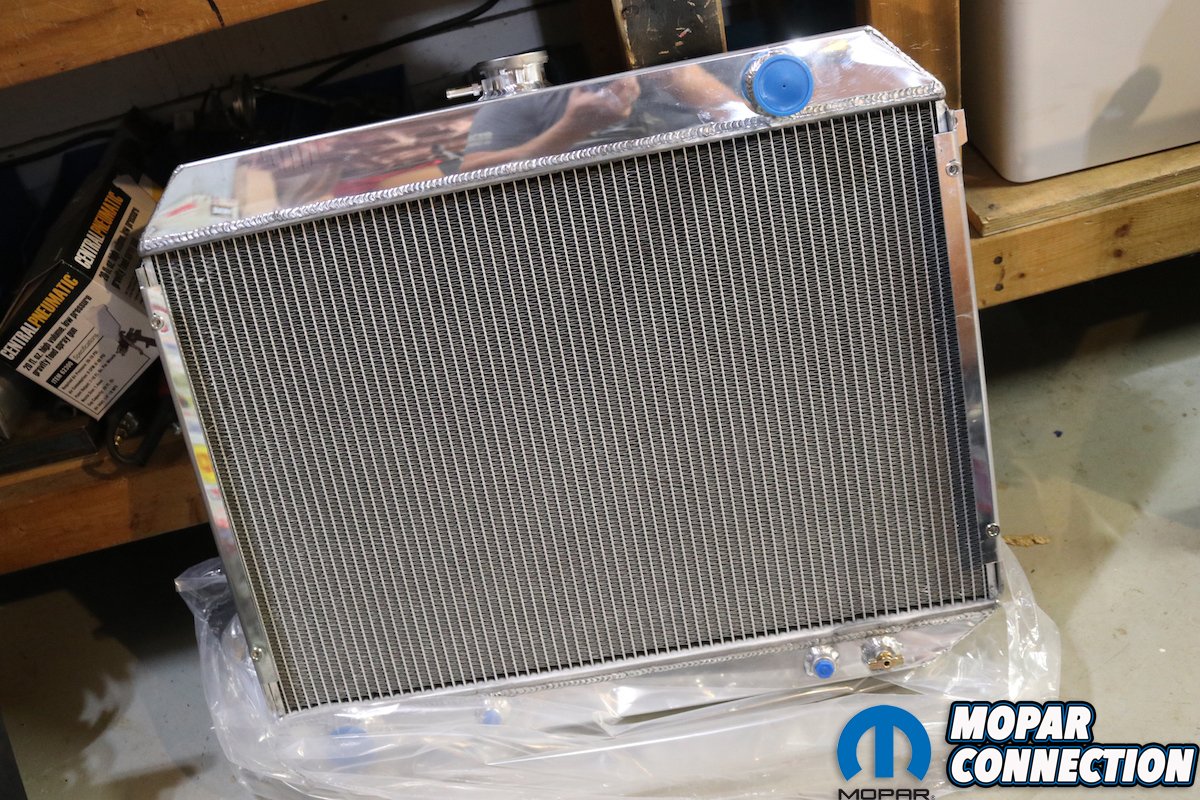
Above: Holley’s new line of Frostbite radiators come in a variety of applications, sizes and depths. Typically a 2-row radiator is rated to 600-horsepower. Considering future plans for the Charger, I opted for the biggest (4-row) that is offered.


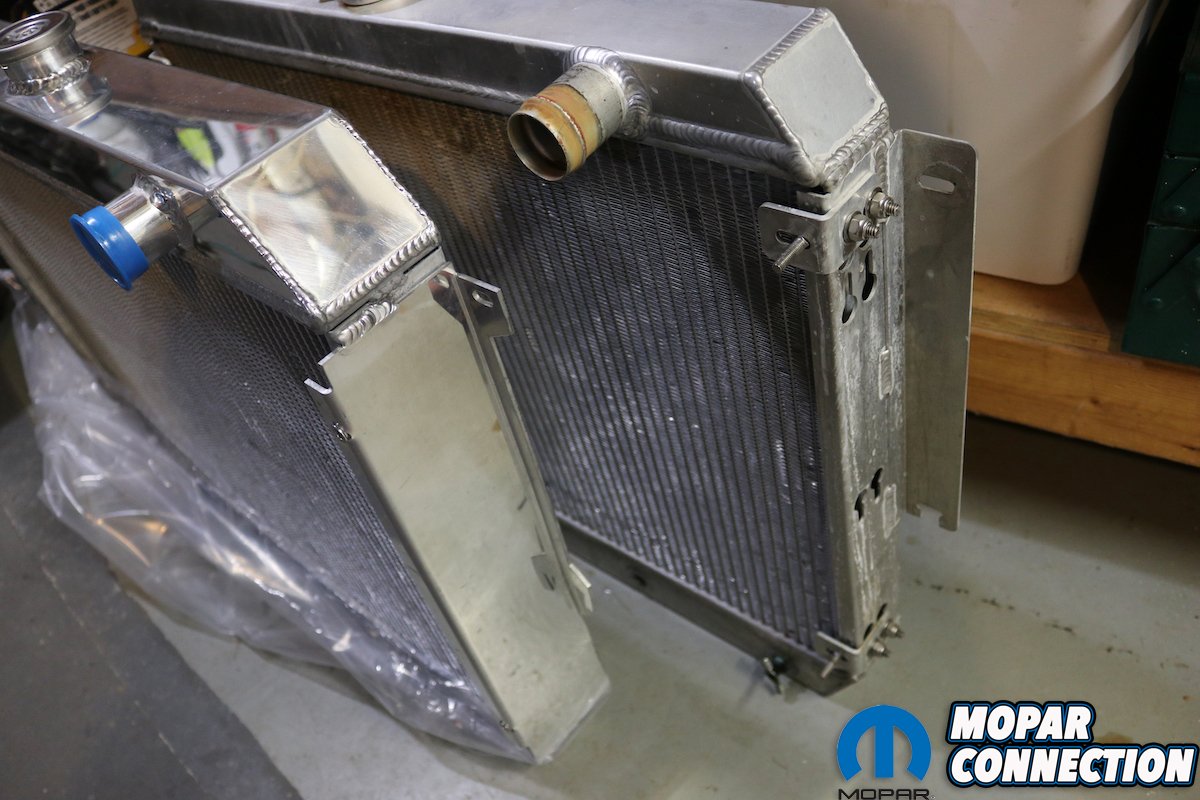
Above left: All Frostbite radiators are TIG welded together, made with aircraft-quality aluminum cores, fittings, and tanks, which cut up to 30% in weight); and feature more cooling fins per inch for greater efficiency. Above center: See the difference in thickness between the Frostbite and previous aluminum radiator. The added thickness ensures improved cooling, but also a tighter fit for our fans. Above right: One major plus to the Frostbite is the welded filler neck, versus the pressed-in neck that leaked.
Hoping for a Band Aid solution, I drained the fluid, performed a “poor man’s flush” and changed the ATF again looking to clear the circuits of any residual carbon. Of course fresh fluid and a full quart of shifting additive wasn’t enough to magically cure laminated bands and blued clutches. A full rebuild was in order. But there was one thing hanging over my head…well, sitting under my workbench, actually: a bare Hemi block I was preparing to build into a 800-plus-horsepower street pounder.
The Hemi had been in the works for a couple of years and there would be no way the A41 could cope with that kind of power; so the A41 was cleaned, bagged and stored for a future build – I drove out to TCI Auto to build a Super Street Fighter 727 TorqueFlite rated to withstand the kind of beating that we had in mind. (We published the story on that TCI build over a year ago, so make sure to click the link above.)

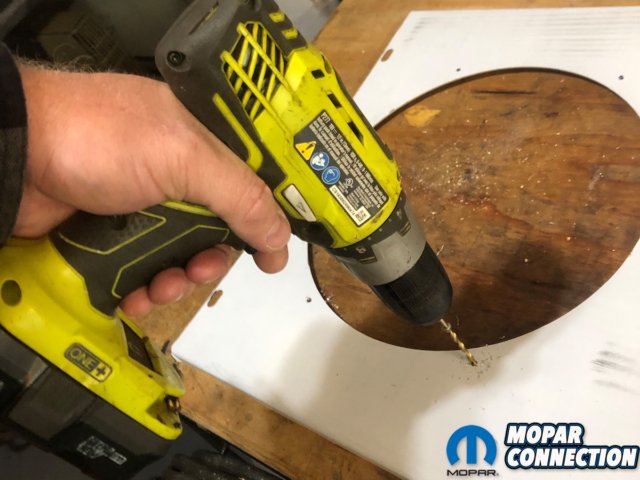
Above left: While the fan shroud is pre-bent and cut to fit the radiator, the holes for the fans are not drilled. I mocked up the fans and marked the four holes with a permanent marker on the white protective film. Above right: With all 8 holes marked, each hole was drilled to fit our self-tapping screws.

Above left: The hardware Holley sent with our shroud kit was too deep, and touched the fins of the radiator, so I sourced out some shorter self-tapping screws. Above right: With our holes drilled, our fans were tightened down for final pre-fitment and measuring. All of this will come undone in order for paint. In order for the twin fans pull 1620cfm requires a lot of current – 14.6 amps worth – so make sure your electrical system is up to snuff.
The next step – which will be detailed in a story in the coming months – was installing a Gear Vendors overdrive. The final ratio isn’t as high as the Silver Sport Transmission A41 (0.78:1 vs. 0.70:1), but it will hold up to the additional 150 horsepower I plan on making in the near future. [Gear Vendors famously can withstand thousands of horsepower. – Ed.] Plus, trading out to a TorqueFlite meant changing the shifter back over to a reverse-pattern, manual 3-speed with an overdrive selector switch, and removing a whole lot of wiring, which was welcomed.
Yet, the biggest issue was making sure that I didn’t repeat my mistake from before. In looking into my options for a remote transmission cooler I encountered two major revelations: First, that my aluminum radiator had developed two small leaks where it weeped at the neck and from one of the tanks. Second, that routing my lines could be difficult. I quickly went to work researching the right radiator, cooler, plumbing tools and materials needed to engineer a custom cooling circuit for the Charger.
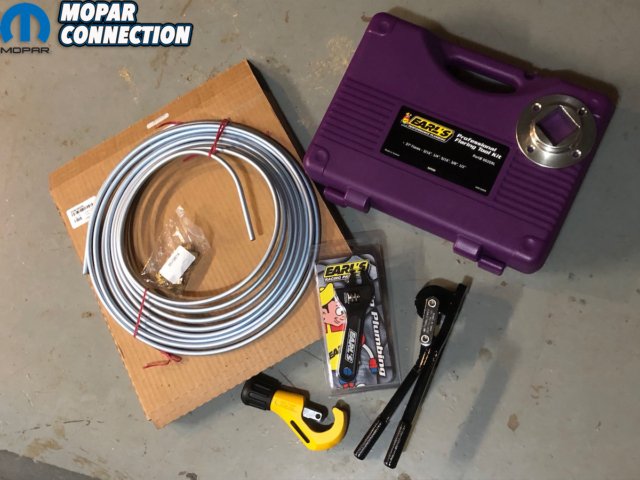
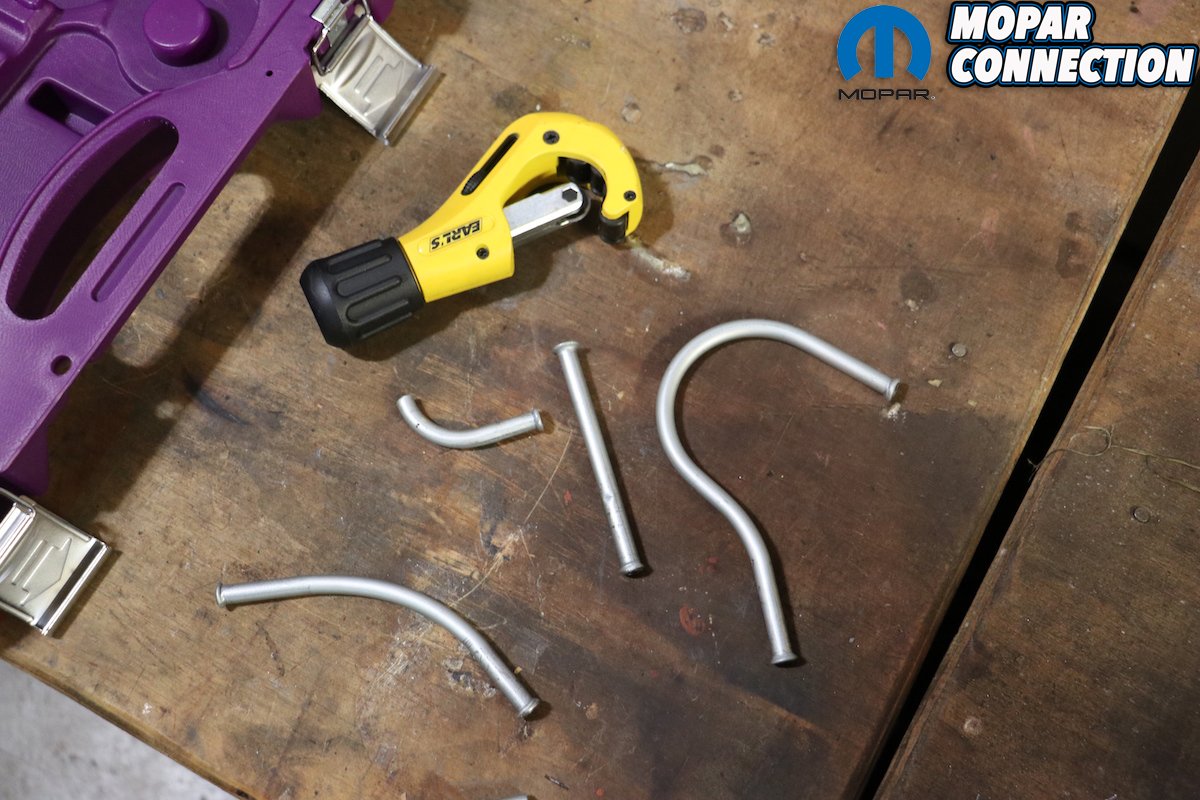
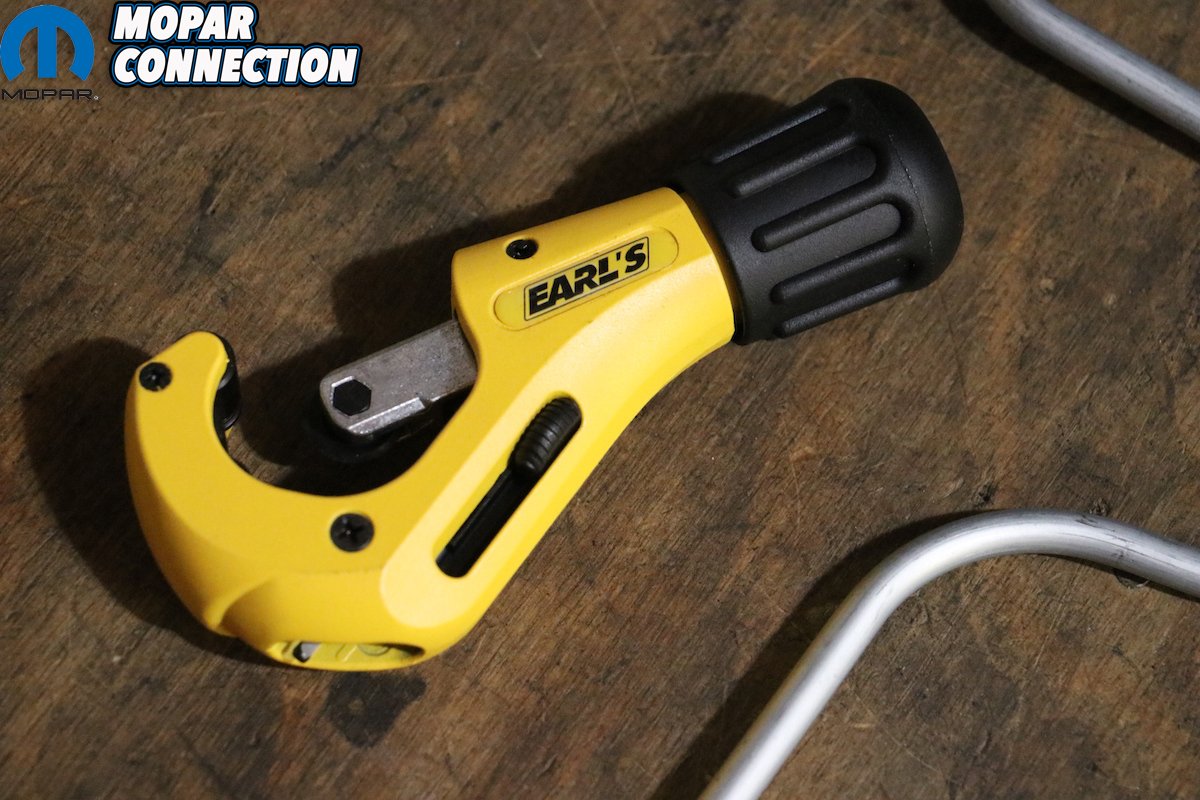
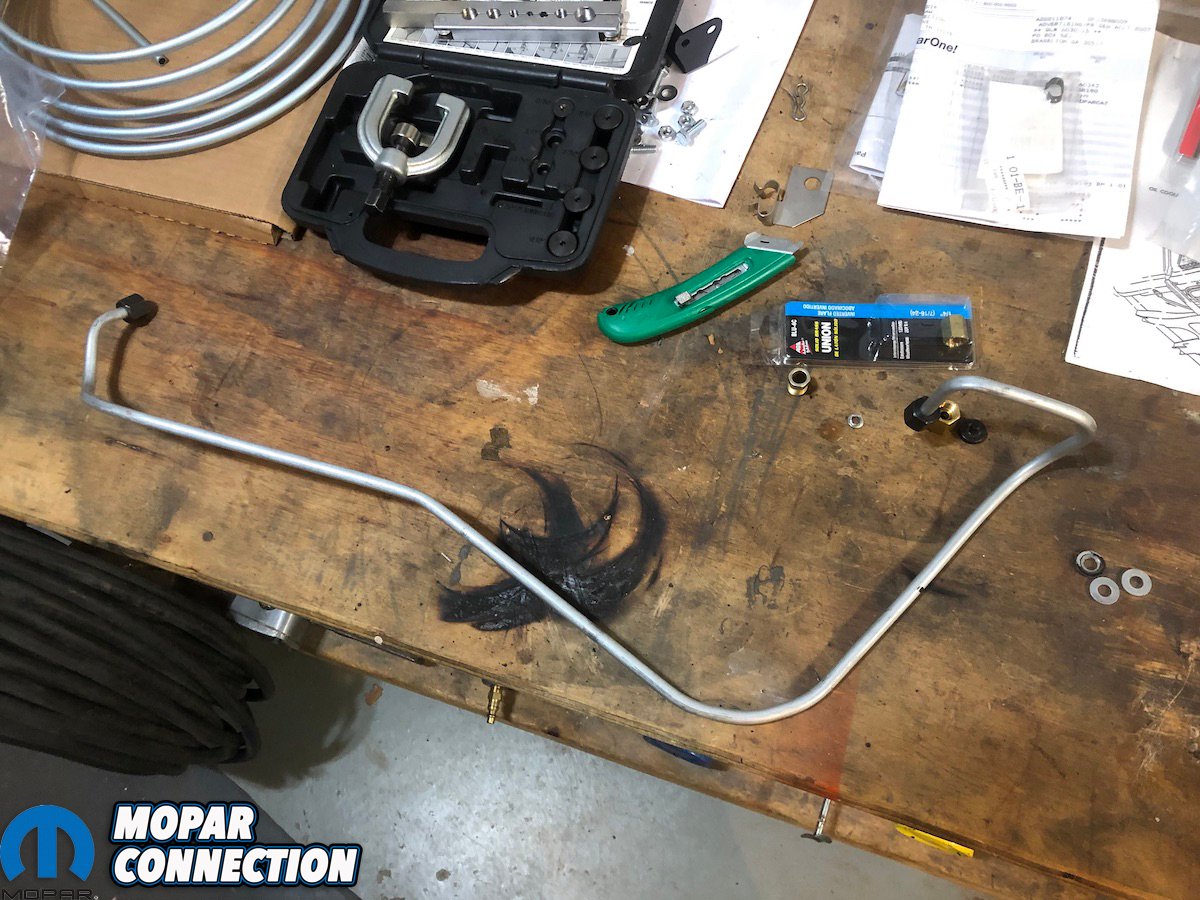
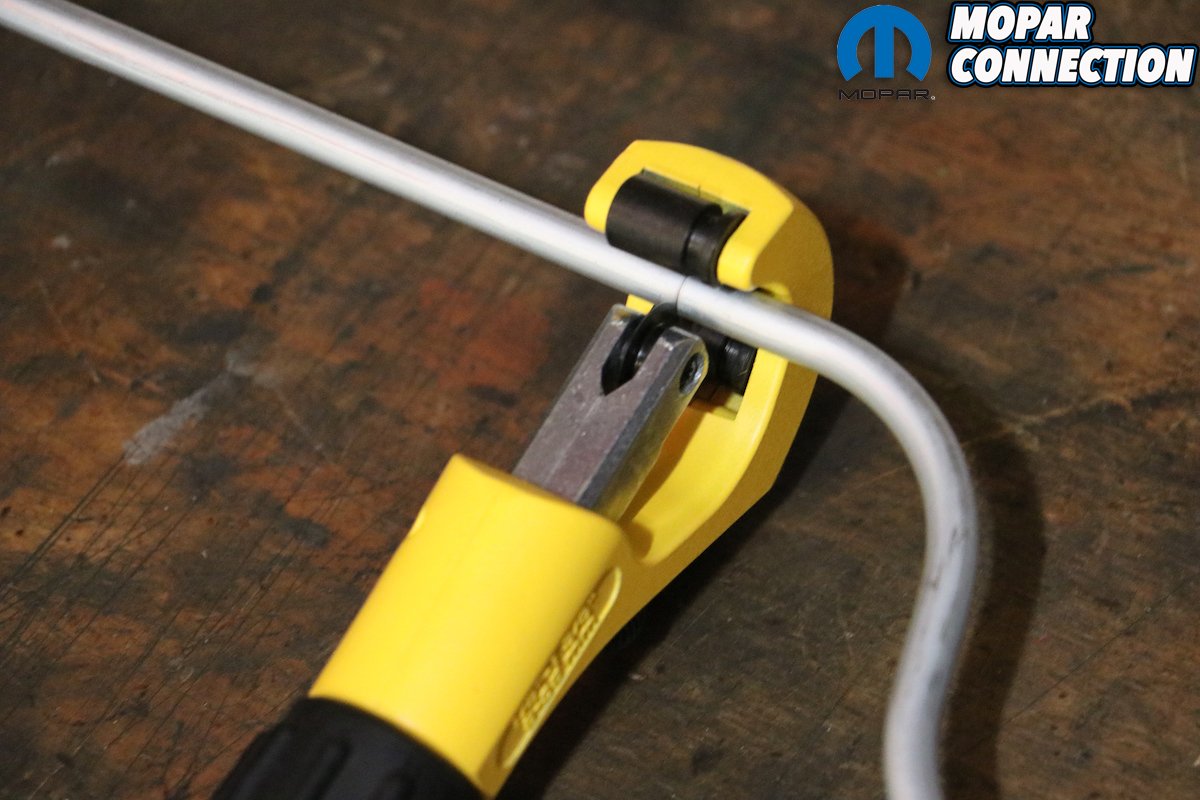
Above: The biggest purchase (believe it or not) was these tools from Earl’s Plumbing. Knowing that some custom tubing would be required, I picked up Earl’s Professional Flaring Tool (with Bench Mounting Flange), the Standard Tubing Bender, a Tubing Cutter Tool and an Aluminum Adjustable AN Wrench Set. While stainless would look really nice, Earl’s Steel Zinc Hardline is easier to bend and manipulate. So I took the easier route.
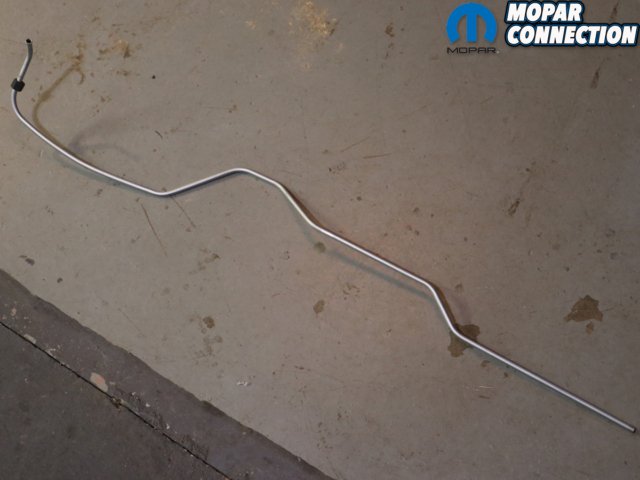


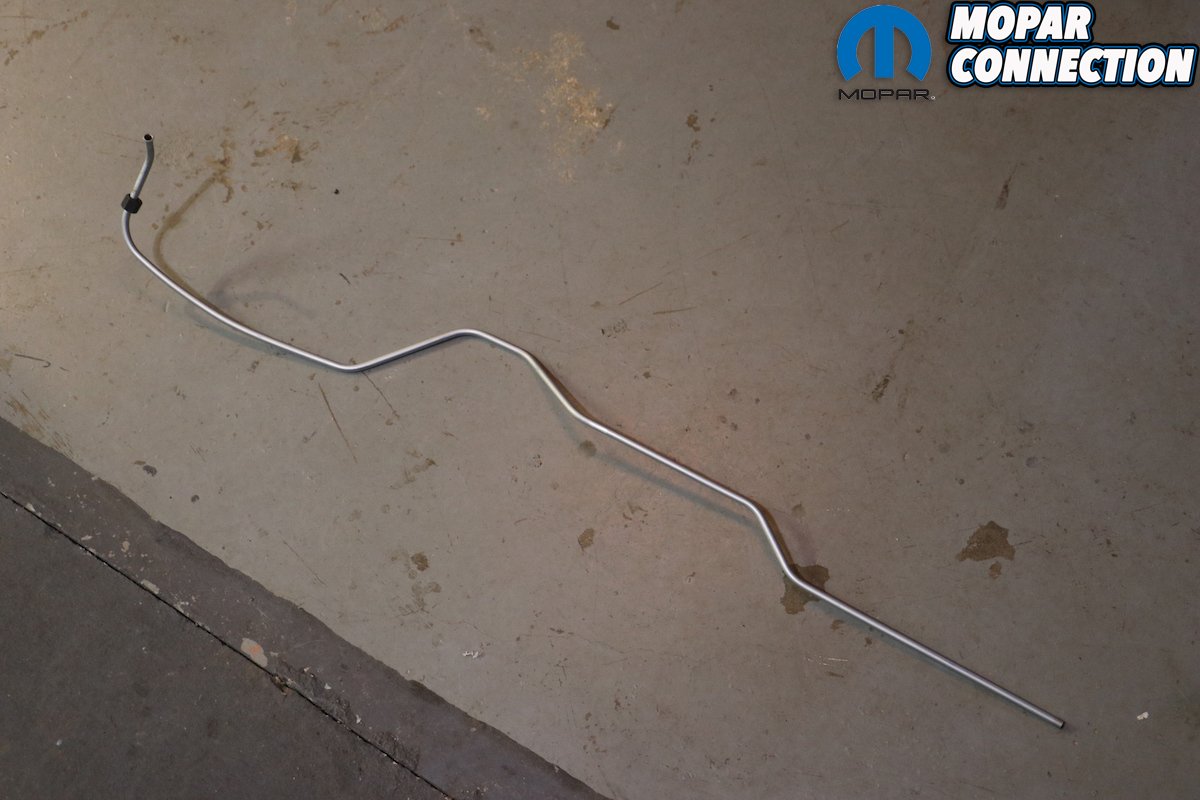
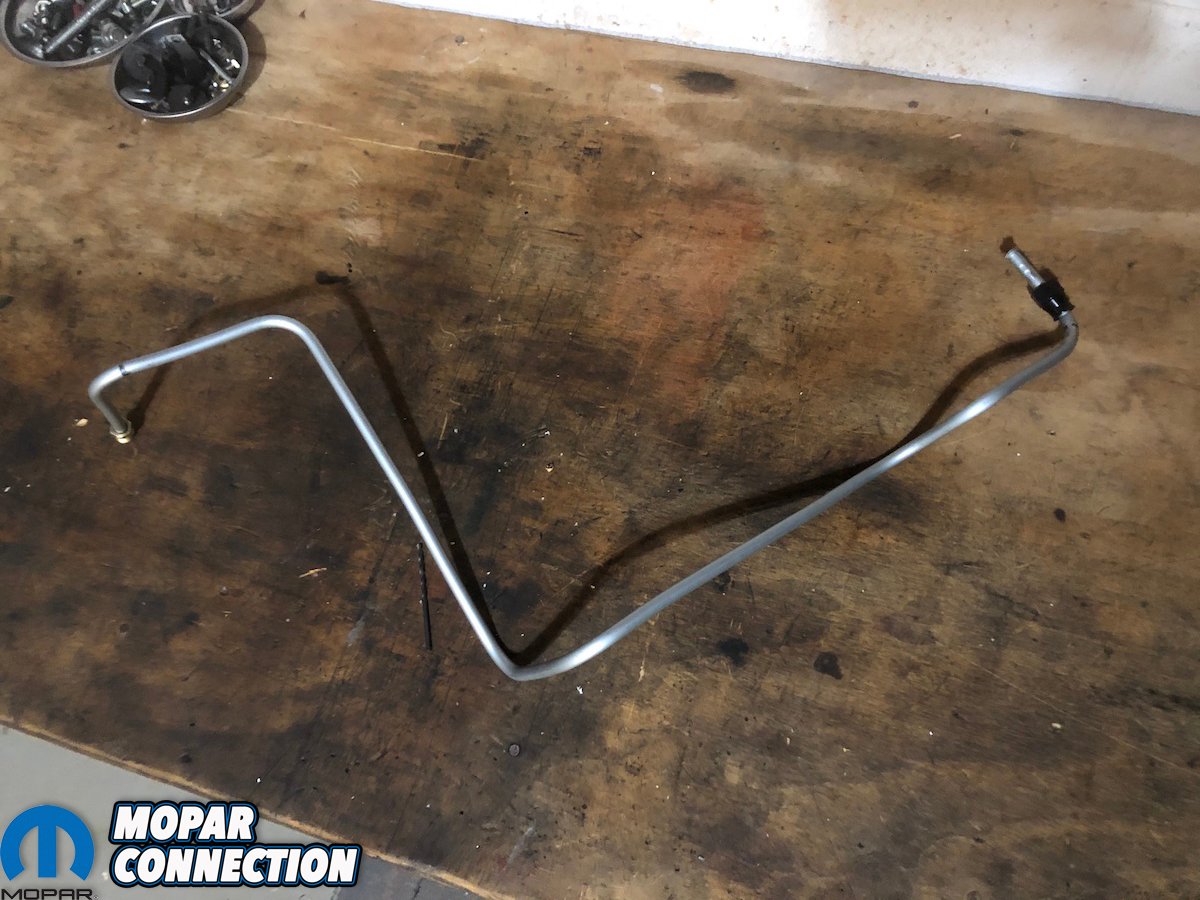
Above left: We picked up an original set of standard A727 transmission cooling lines from Vans Auto to use as our template for our custom cuts. Fitting changes were made to clear our TCI shifter linkage, so the Vans pieces were instrumental. Above center and right: Very few modifications were needed to get the factory auxiliary cooler lines from YearOne to fit the core support.
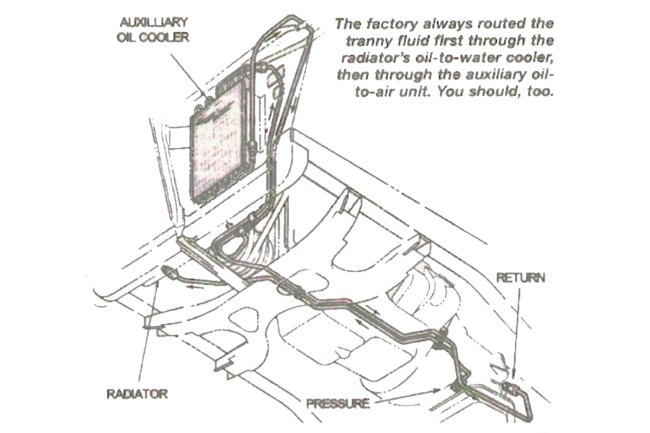
I was racking my brain when Mopar Connection’s Tech Editor Mike Wilkins offered some sage advice: “Y’know, the Hemi cars and the A12 Six-Packs all came with a big remote transmission cooler that ran through the radiator first, then to the cooler and back into the TorqueFlite. Why not just do that?” And of course, Mike was right. Chrysler equipped its TorqueFlite-shifted Hemi and A12 440 Six-Pack cars with a secondary cooling unit, routing the fluid first through the radiator’s oil-to-water cooler, then through an auxiliary oil-to-air cooler.
With a big 800+HP Hemi in mind for the future, I went to Holley for a replacement radiator. Holley’s new line of high performance Frostbite aluminum radiators not only weigh less than the OEM brass units, but flow faster and dissipate heat better, so it was a no-brainer. Each Frostbite radiator is 100-percent TIG welded with (brazed) seams, an aircraft-quality aluminum core, fittings, and tanks (cutting up to 30-percent in weight) and feature more cooling fins per inch for greater efficiency.
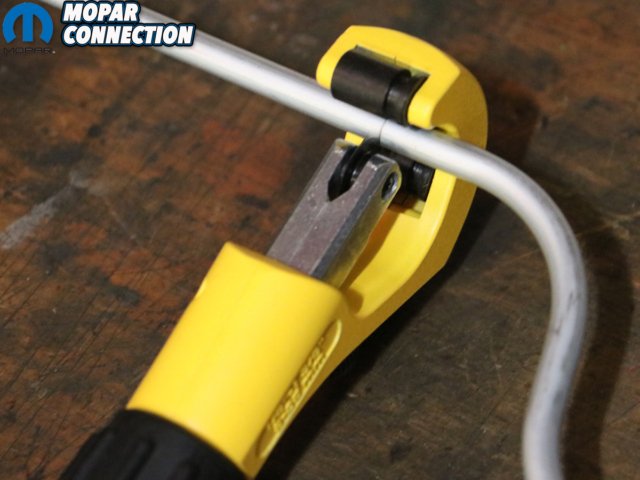

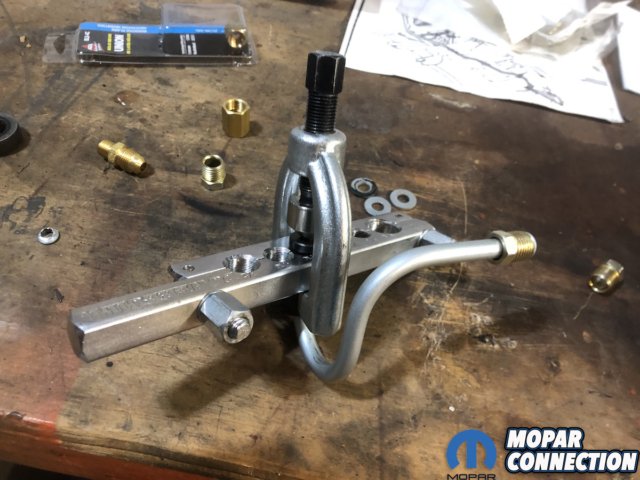
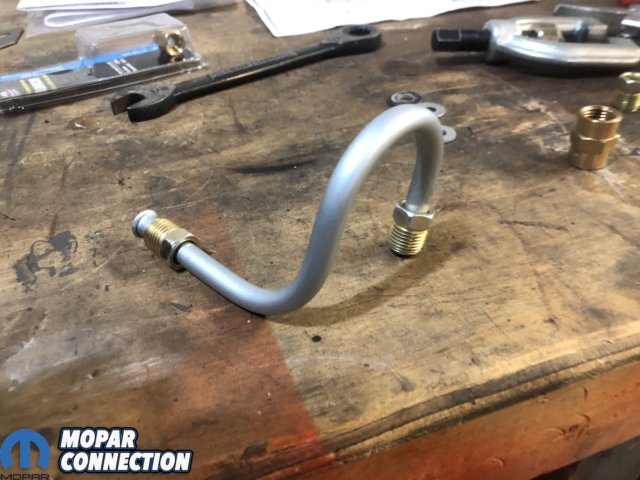
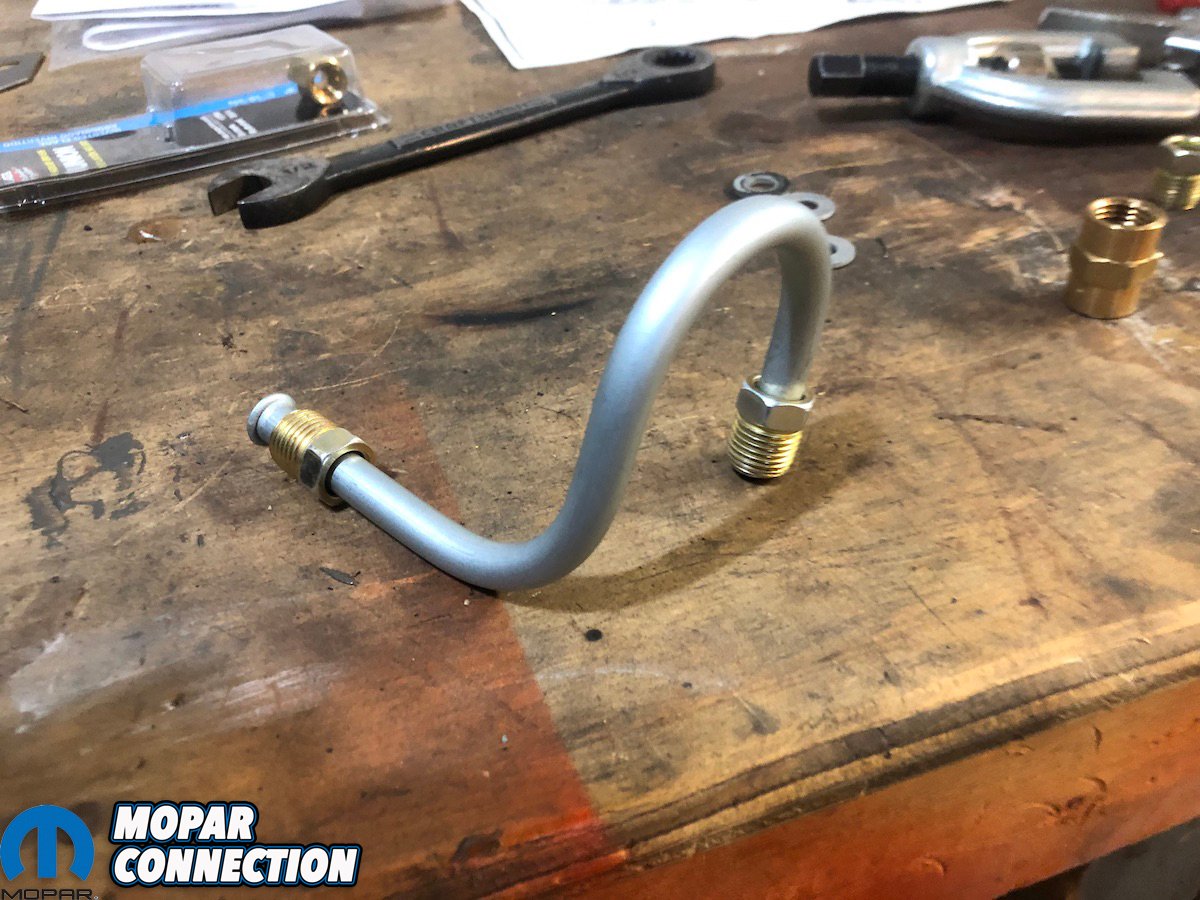
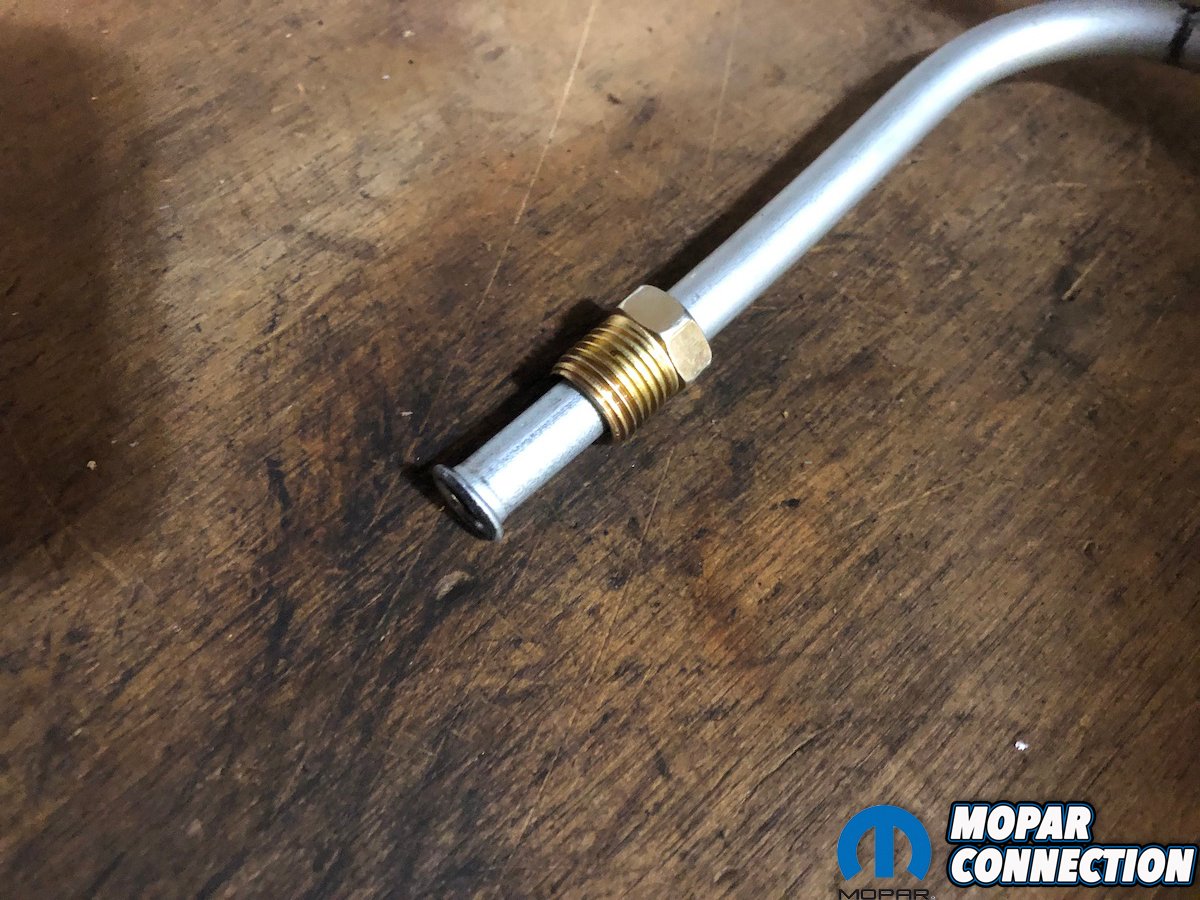
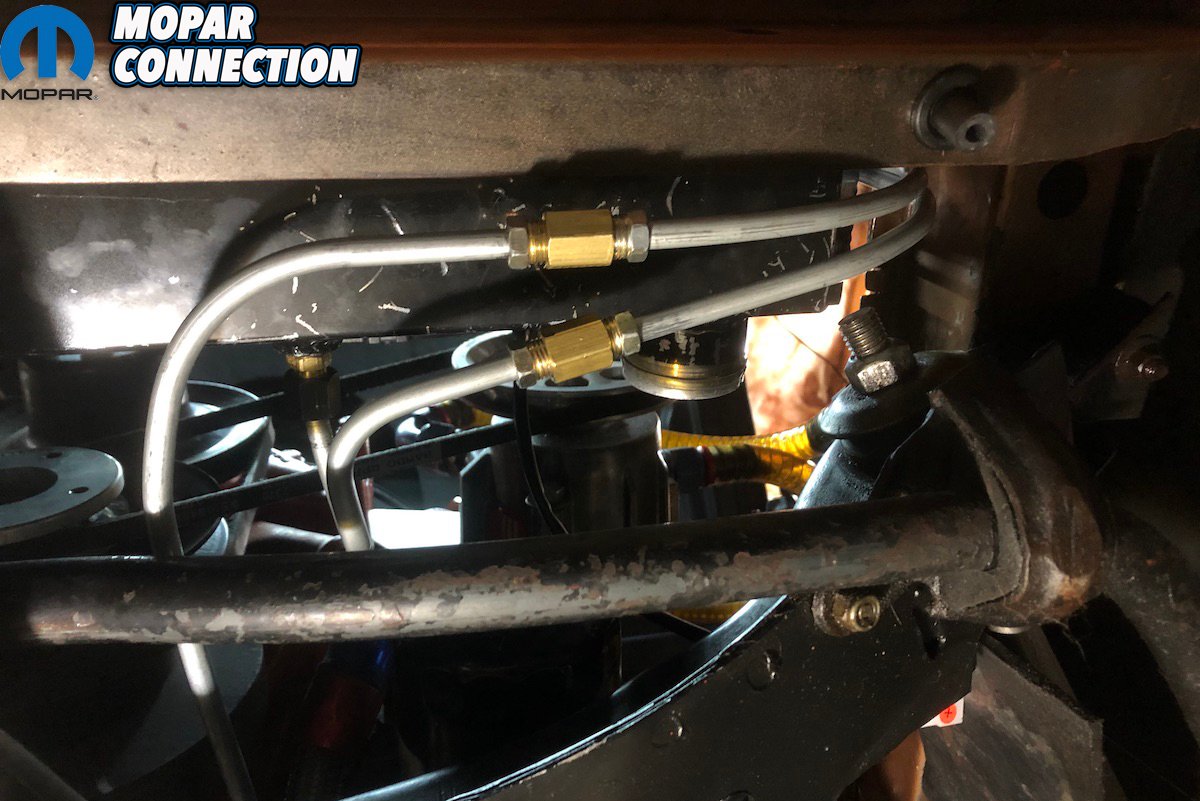
Top left: The Earl’s Tubing Cutter Tool also features a nice de-burring tool that came in handy more than once. Top right: The hardest part of our installation was creating two segments that ran from the radiator’s oil-to-water cooler to the auxiliary (remote) transmission cooler. The Earl’s Tubing Bender requires a bit of length to execute a bend, so it’s best to cut a far longer length of tubing, make the bends, and trim the ends once complete. Bottom left: Flaring the ends of these segments too tight for our bench flaring tool. The compound curves required a smaller, hand-tightened flaring tool. Just remember to insert your tube nuts before making your flares! Bottom right: The final result doesn’t look all that impressive but was the Achilles’s heel to the Charger’s plumbing project.
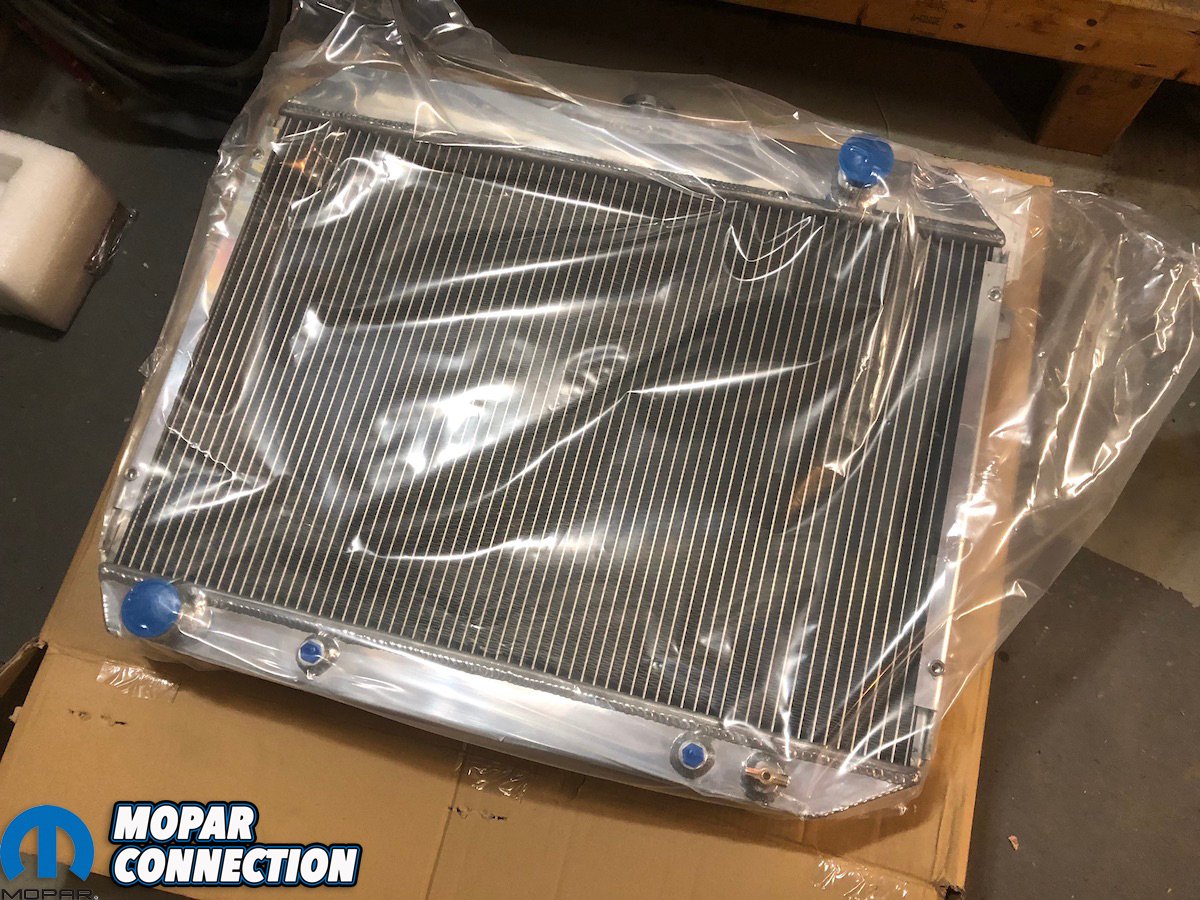
With an overall dimension of 22-1/4 x 28-7/8-inches, the down-flow style Frostbite radiator made for an easy direct swap; even factory upper and lower hoses worked. The main concern was the radiator’s added thickness since I planned on replicating the OE cooling lines. For this reason, I also ordered the Earl’s Professional Flaring Tool (with Bench Mounting Flange), the Standard Tubing Bender, a Tubing Cutter Tool and the 2-Piece Aluminum Adjustable AN Wrench Set.
Although I wasn’t going to create my transmission cooling lines from whole cloth, I knew I would need to fabricate a couple small pieces and customize the factory lines to fit the larger radiator – as well as maneuver around the massive Doug’s 2 1/2-inch down tubes-into-a-3 1/2-inch collector headers – so I also picked up Earl’s Steel Zinc Hardline Tubing Kit (with tube nuts).

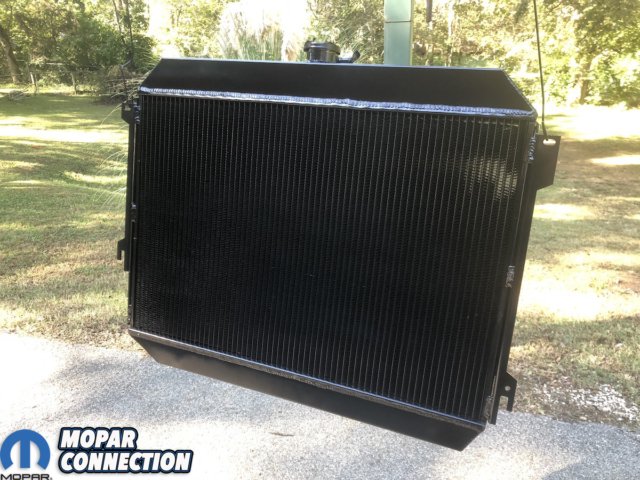

Above left: When it comes to painting radiators, only paint specifically treated for radiators is recommended, as thicker paints can interfere with the core’s ability to dissipate heat. So make sure you get the right stuff first. Above center: Eastwood’s specially-formulated paint goes on in light layers. It took about 3-4 passes to fully coat the Frostbite radiator before letting it dry over 2-3 days. Above right: The aluminum fan shroud received the same treatment. While I chose Eastwood’s semi-flat satin, there’s also a high gloss option too.
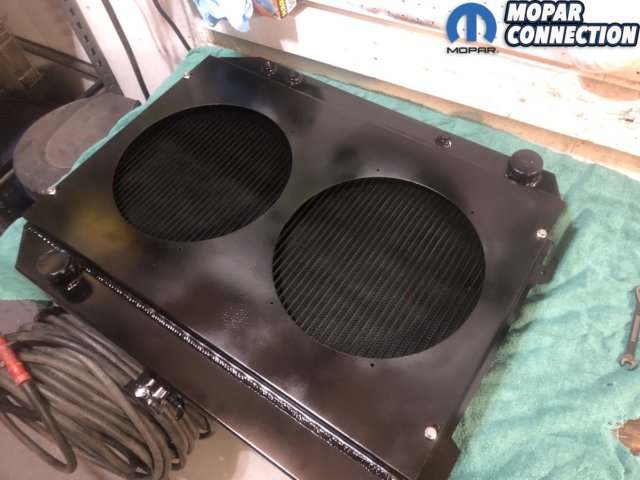


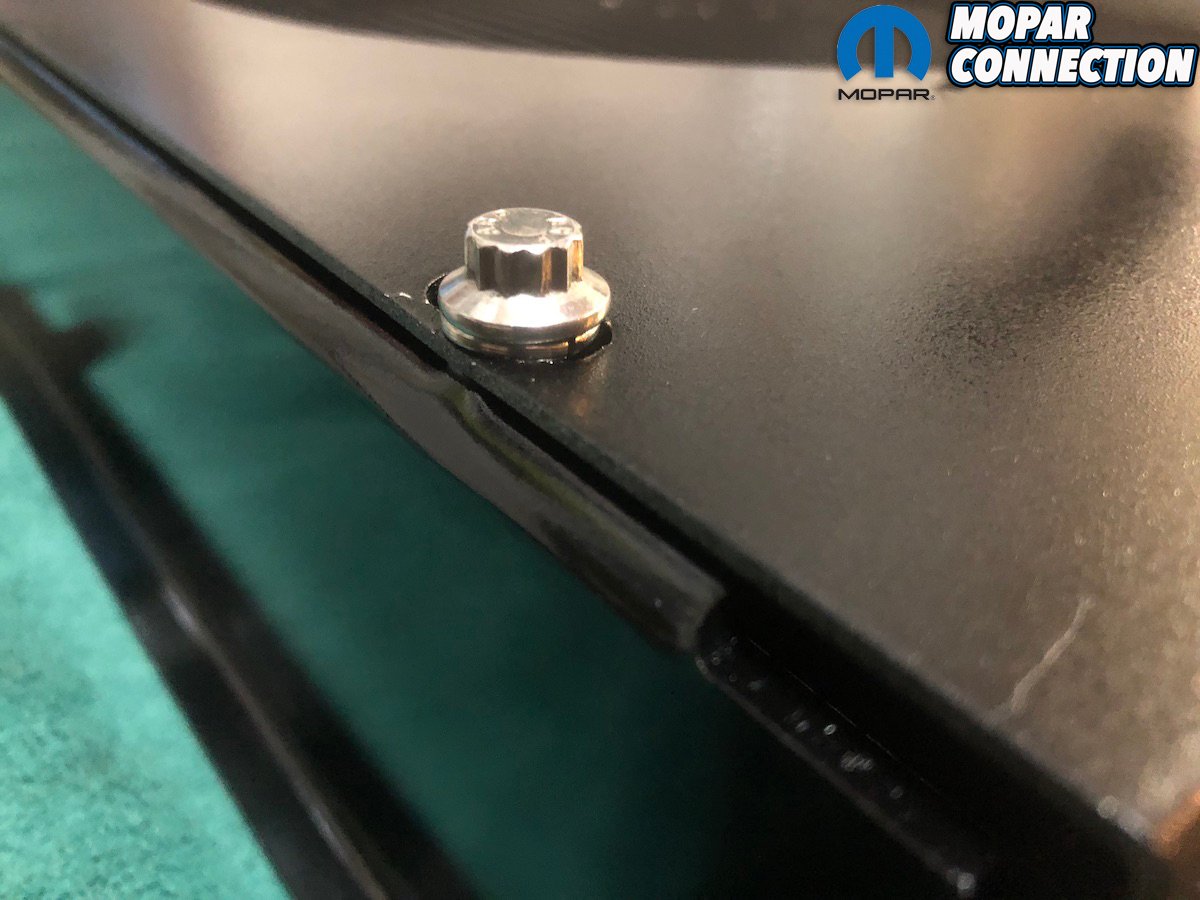
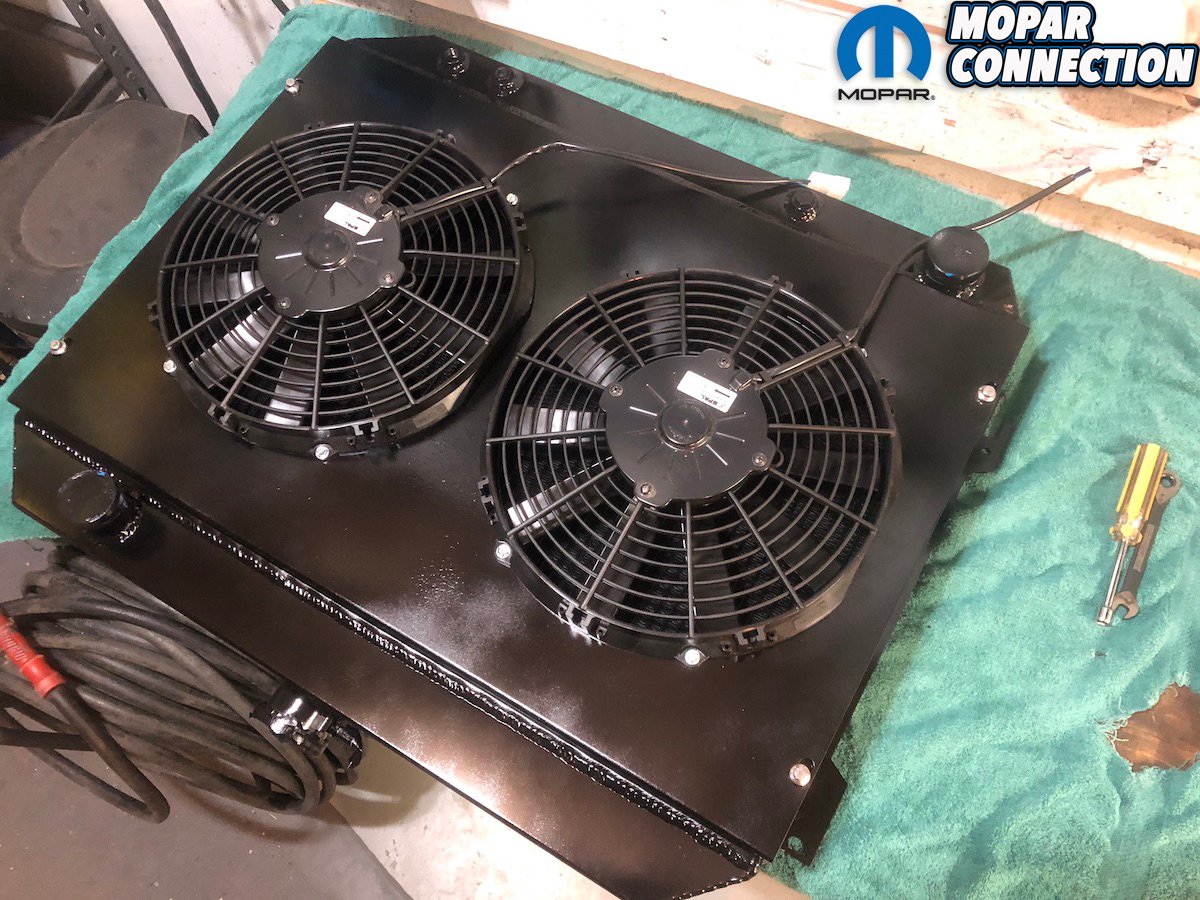
Above left: After a few days’ worth of drying, the shroud was mated to the radiator for final assembly. Above center: The hardware that came with the kit from Holley were a little too long, and frankly, I liked these chromed 12-point flange bolts better. Above right: Having pre-drilled the holes for the fans prior to paint made their final installation painless. Now to drop it in!
Prior to deciding to replicate the factory transmission cooler, I had picked up a set of transmission cooler lines from Vans Auto. These were perfectly matched to factory OE spec and were used as my template when bending and flaring my Earl’s tubing. Realizing I didn’t have to work so hard to “reinvent the wheel” I reached out to YearOne for the four-piece remote cooler line kit as well as the transmission cooler itself. [YearOne notes that this won’t fit ’68-’70 Chargers with the factory hideaway headlight system, which I replaced with an electric system from Charger Specialties years before. – Ed.]
Albeit expensive, I opted for the factory transmission cooler because it came equipped with the factory brackets to mount to the core support and required very little engineering to set up. Equally, the cooler lines needed only the slightest tweaking to fit. In fact, what became the biggest chore was plumbing the rest of the system. Our aftermarket shift linkage, aforementioned headers and external oil pickup begged for some massaging that was unexpected to say the least. Inches were cut; new flares were made; and two complicated S-turns were bent.

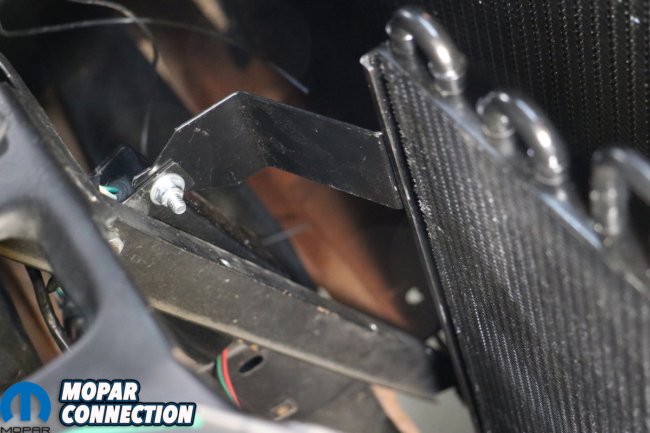
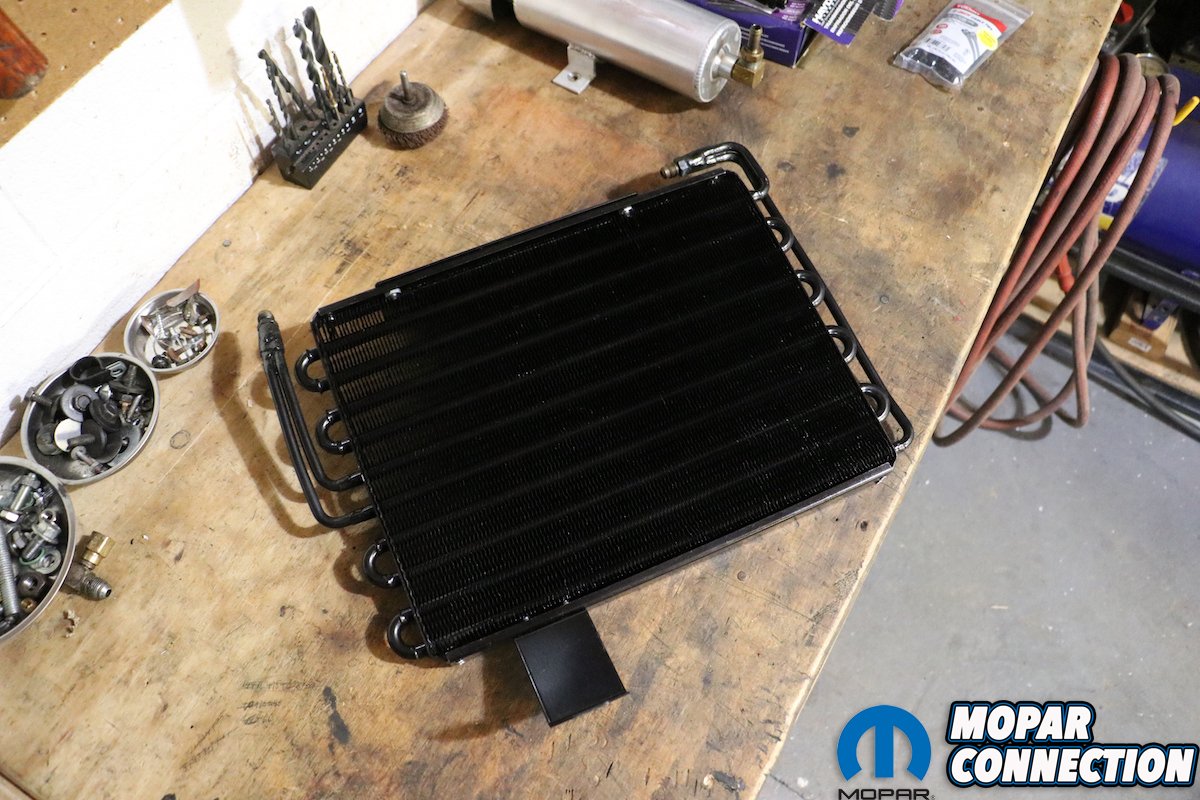
Above left: The OE-correct auxiliary transmission cooler from YearOne is not cheap and took a couple extra weeks to be delivered. But it comes with all of the correct mounting bracketry as well as the brazed tubing perfectly matched for those few Mopars ordered with the remote cooler. Above right: Because Chargers required a different cooler (thanks to their complicated vacuum-operated headlight door system), I had to fabricate a small extension to attach the cooler’s bracket to the grille support strut.


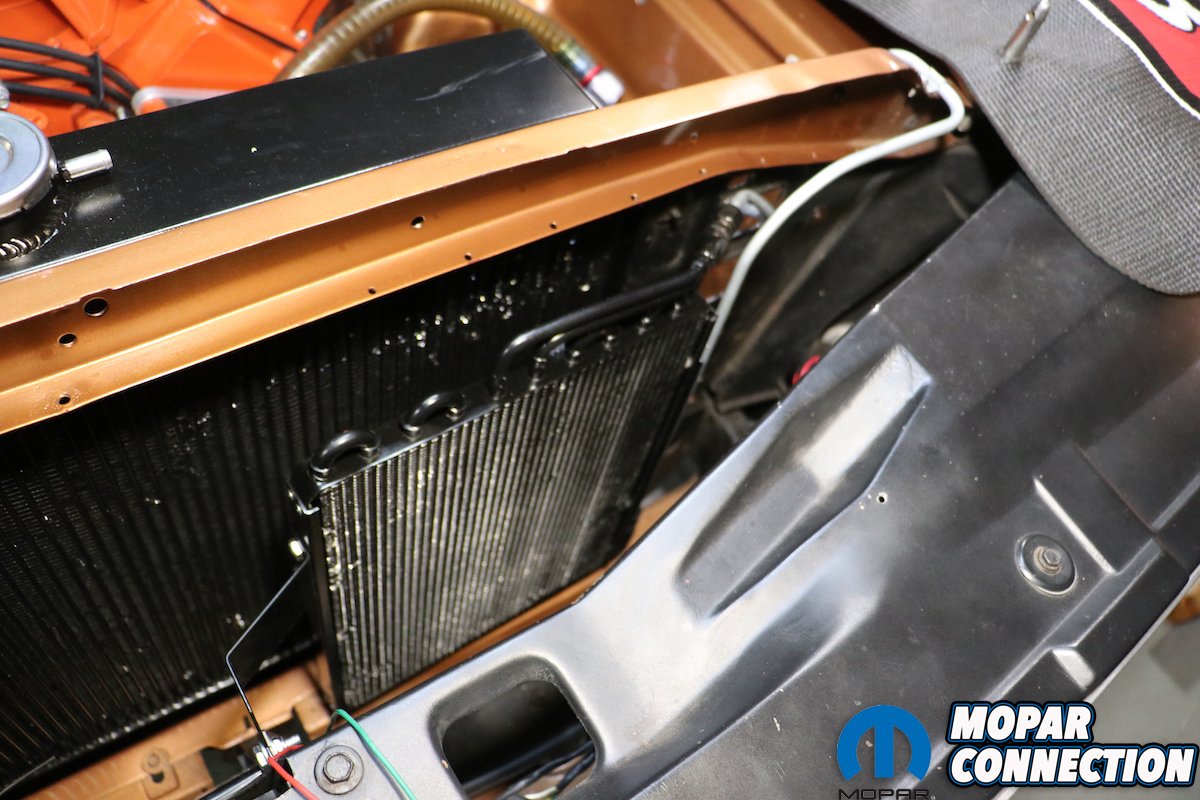
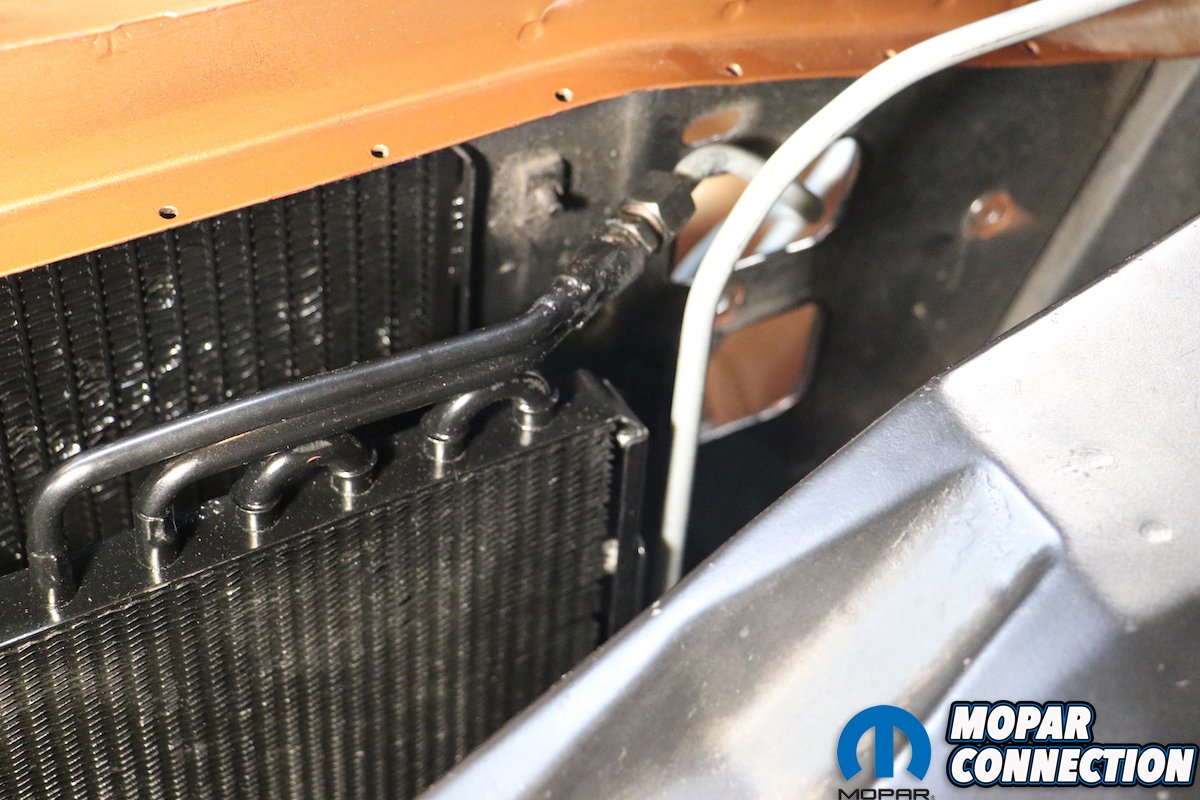
Above left: Once installed, the YearOne auxiliary transmission cooler sits securely – no wobbles or flopping like thin coolers often do. Above right: The inlet and outlet cooler lines are routed per the factory schematic attached at the top of this article. Had I gone completely aftermarket with my plumbing and cooler, I might’ve routed all of the lines through the lower port in the core support.
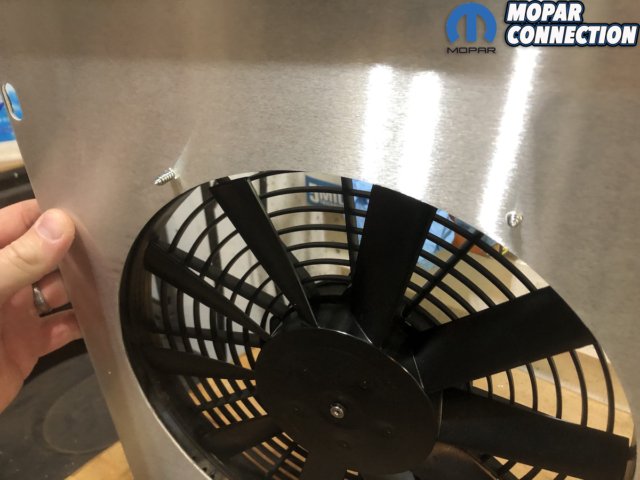
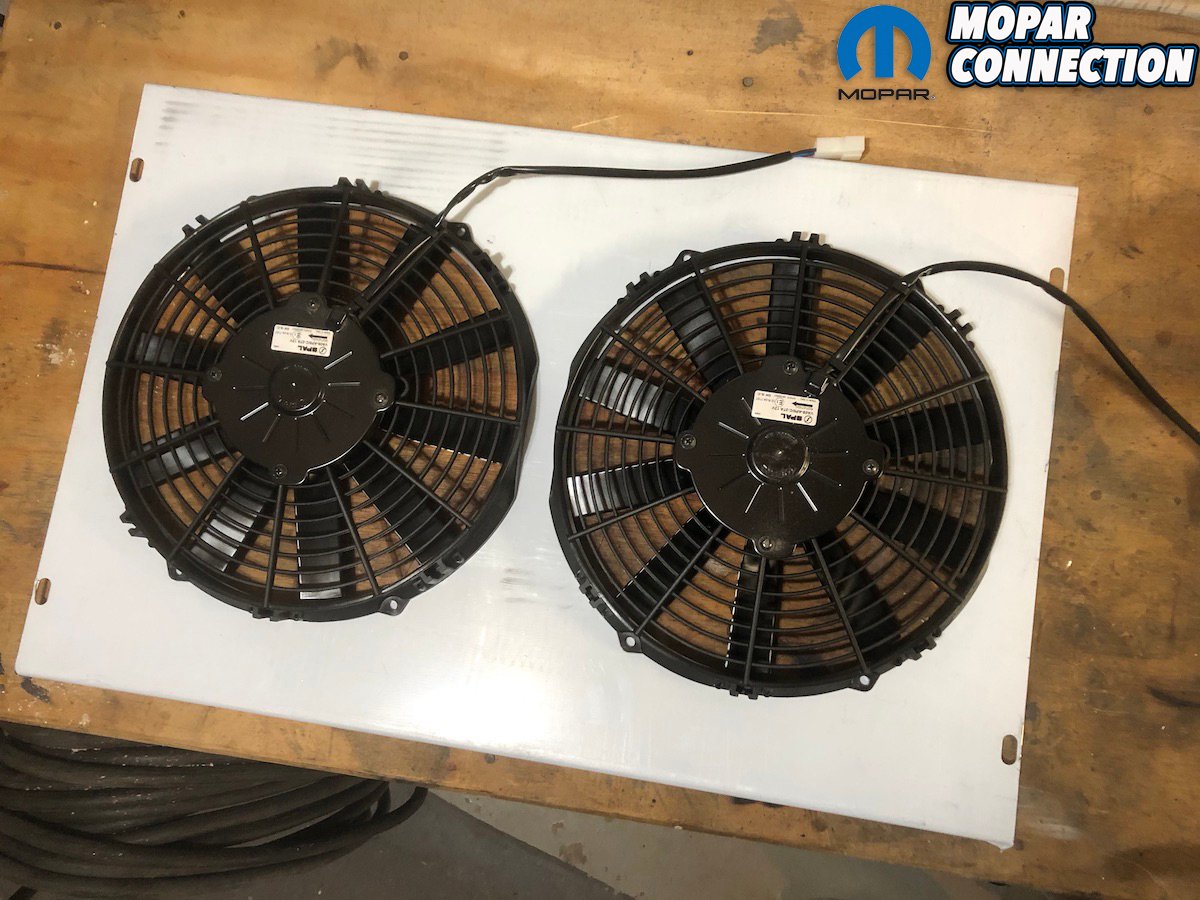
A final complication was found in arranging the electric fans. Previously, the Charger ran a pair of electric puller fans attached to a single black plastic shroud. Having already blown way past my original budget, I thought re-employing these would work. Nope. The added thickness of the multi-row Frostbite radiator required newer – and thinner – dual Spal fans.
Thankfully, Holley has those too. Electric fan technology has improved over the past decade, allowing for thinner electric fans that push or pull as much if not more air than before. I ordered the Frostbite dual fan-and-shroud High Performance Fan/Shroud Package as well as the Electric Relay Kit, providing an easy-to-install wiring harness. It allows for fans to be configured as pushers or pullers, as well as automatically switching the fans on at 185º and off at 170º.

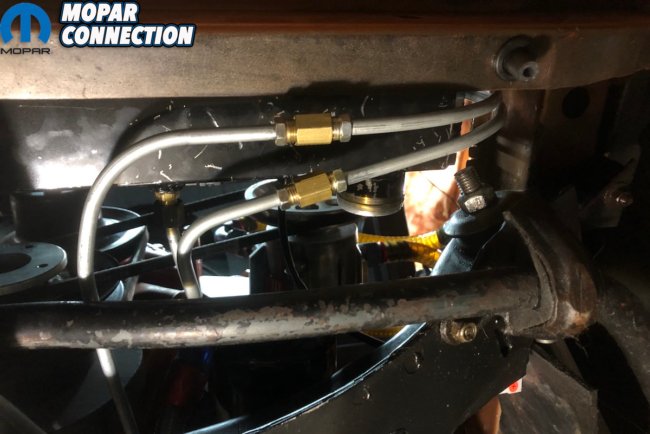
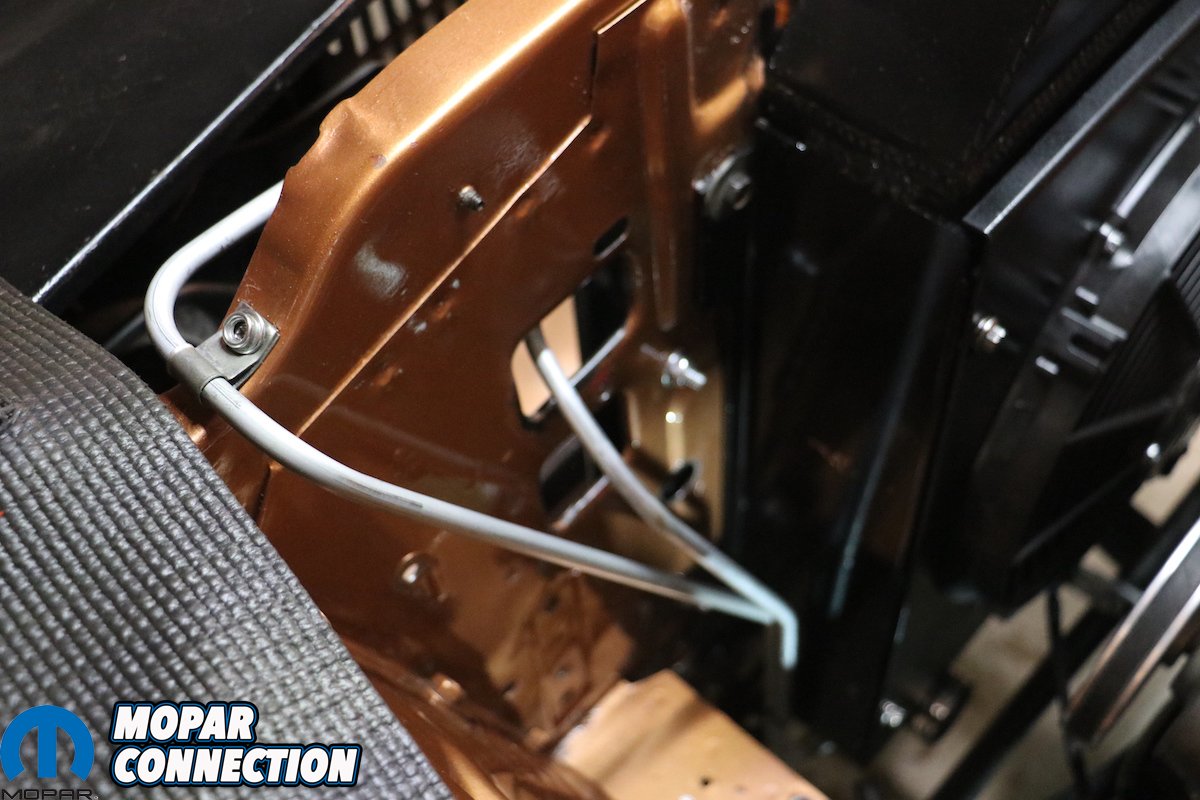
Above left: Following the factory layout also restricts me from running the vacuum pump’s catch can where I had it before. Yet, since the battery’s in the trunk I’ve still got quite a bit of room to play with. Above right: The cooler at the top of the image is the return line, running from the auxiliary cooler back to the TorqueFlite. The line at the center of the image is the positive line, carrying transmission fluid from the oil-to-water cooler in the Frostbite radiator back up to the remote-mounted cooler.

Above: With the header removed, you can see how the TCI Outlaw shifter linkage required a little bit of modification to the otherwise OE-style transmission cooling lines. I even used some factory-correct hangars (see bottom of the Powermaster XS starter) from YearOne. A final step, which I failed to show, was wrapping up the cooler lines running alongside the engine in DEI heat shielding wrapping. But you get the idea.
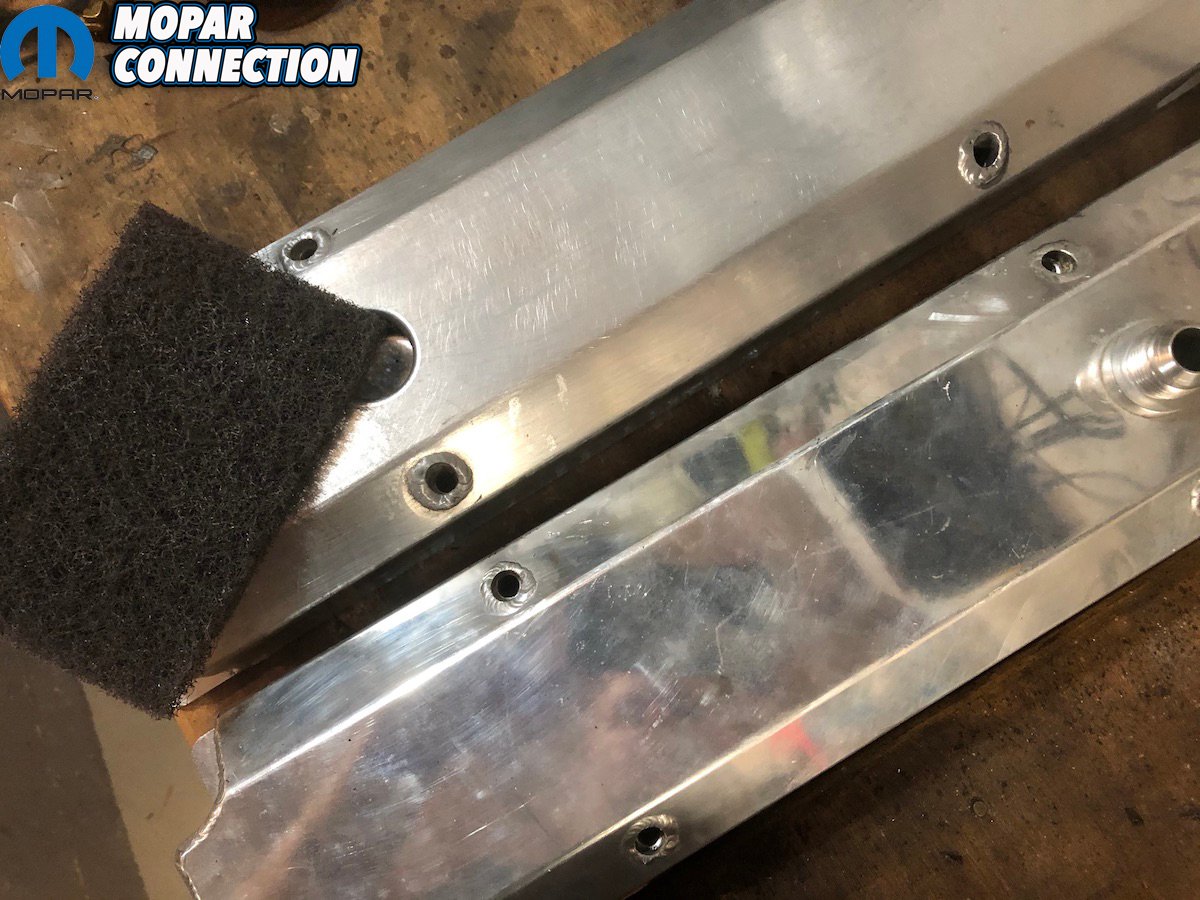
The aluminum shroud comes pre-cut and elongated slots to properly align it on the radiator itself, but the holes for the fans need to be marked and drilled. Although the polished aluminum radiator and shroud look great, it can also be a chore to keep looking great all the time. So, satisfied with the Charger’s new setup, I took it all apart for paint.
Contrary to some naysayers, you can paint radiators without restricting it’s cooling properties – but it all depends on what paint you use – for mine, a couple of cans of Eastwood satin finish radiator paint did the trick. After a quick cleaning to remove any residual oils or adhesive from the protective wrapping, I scuffed the tanks, sides, neck and fan shroud with a 3M red scuff pad. Eastwood warns against using any etching primer, as their radiator paint wouldn’t adhere properly. So instead, I laid down 3 light coats before letting it dry two days.

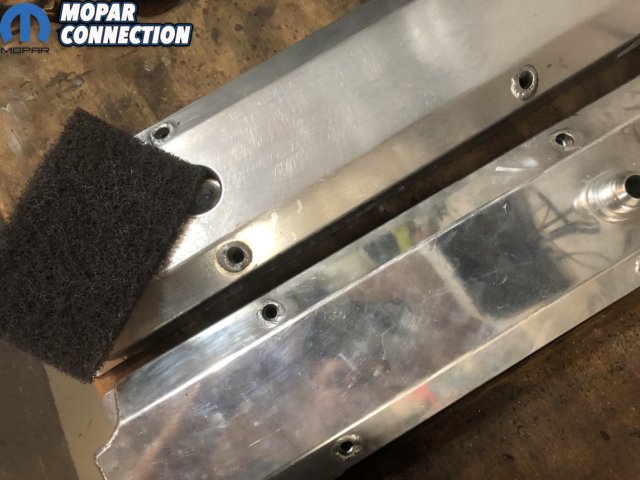
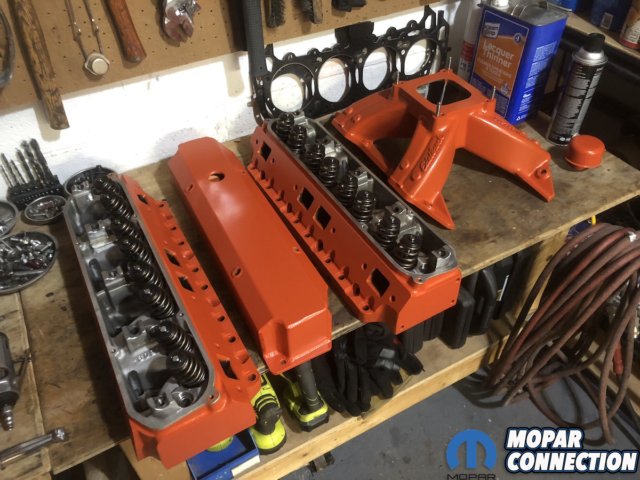
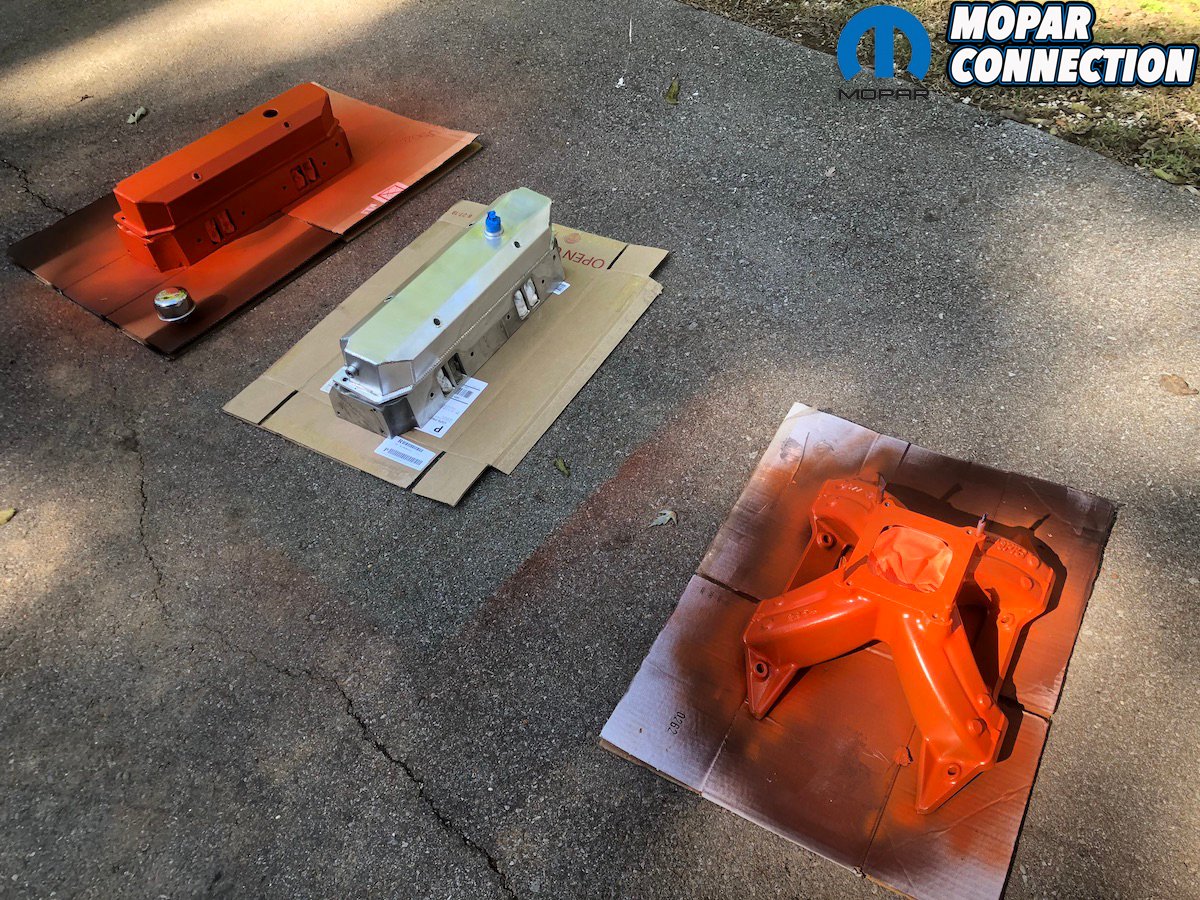
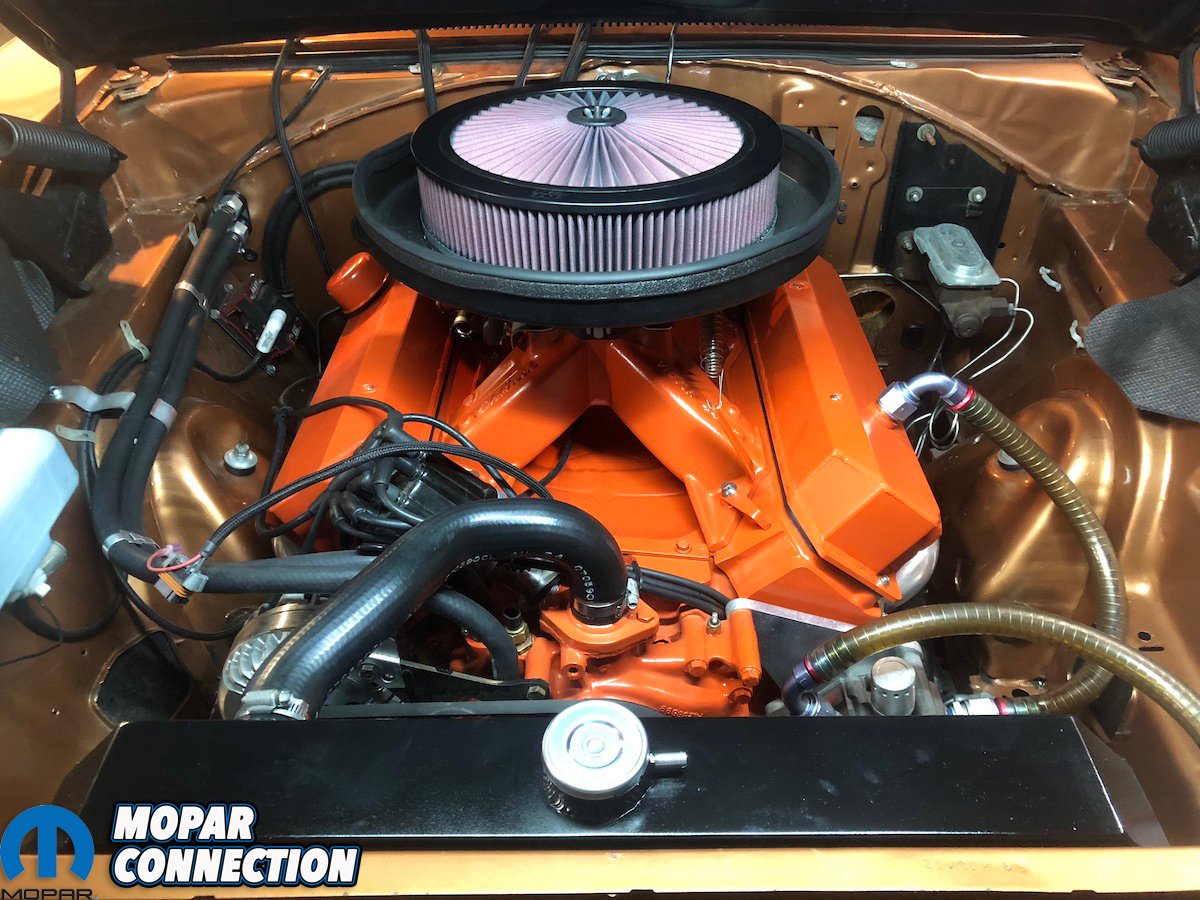
Above left: In another case of “While You’re At It”, I thought now would be a good time to repaint the top end. So off went the top end of the Wicked Wedge of The South. Above center: Before you gasp, “How could you ruin those polished valve covers?!” know that they were already super scratched up and would need to be professionally polished to regain any of their previous luster. Scuffing and painting these, like before, was the easier option. Above right: The heads, valve covers, breather and intake manifold (as well as the valley tray) were coated in several coats in Rustoleum “Hemi Orange.”
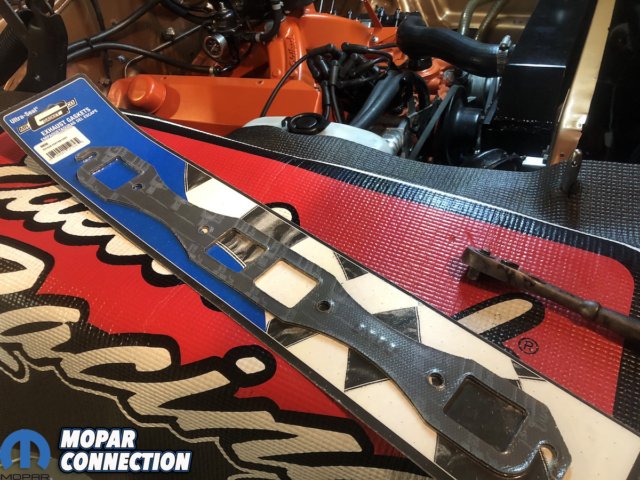
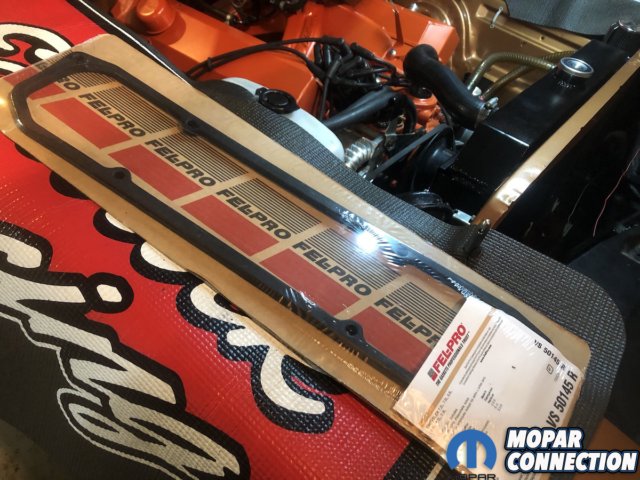

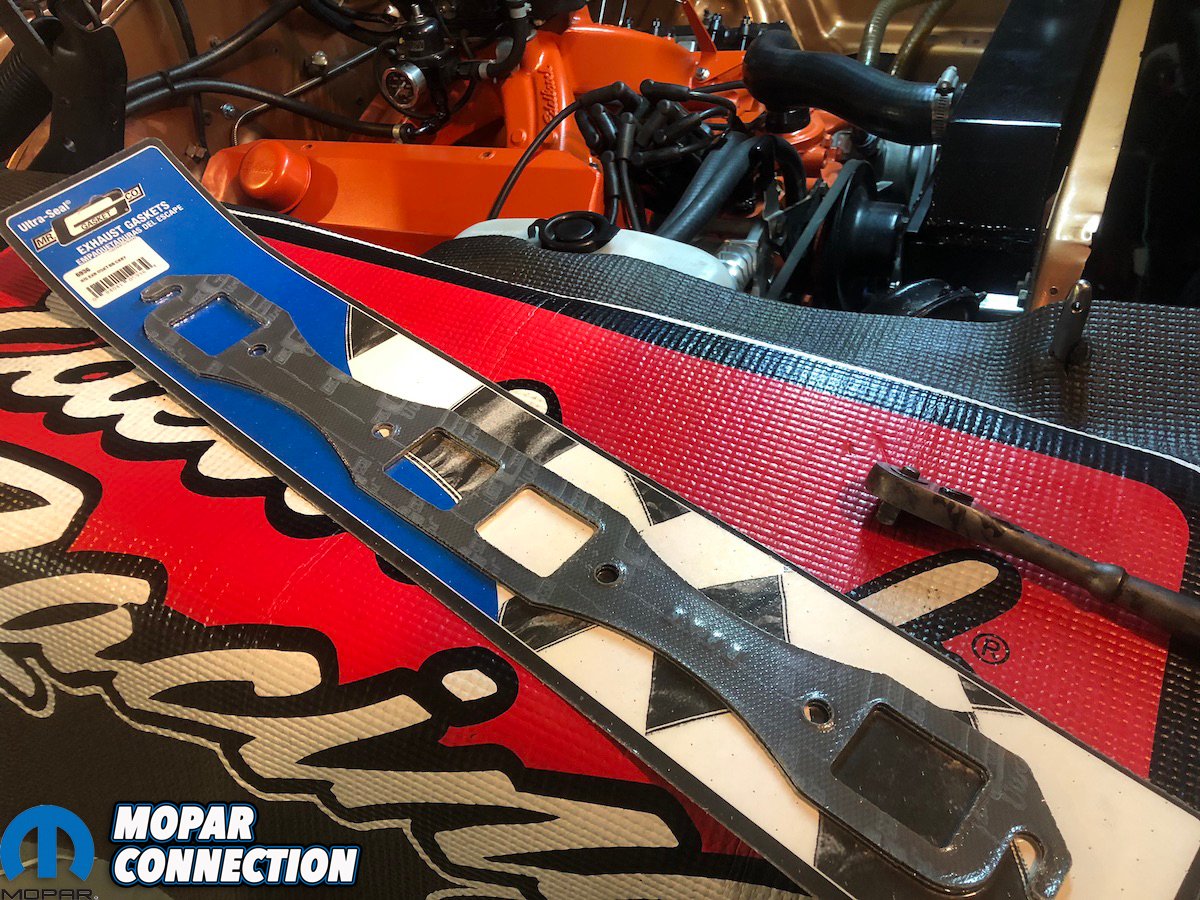
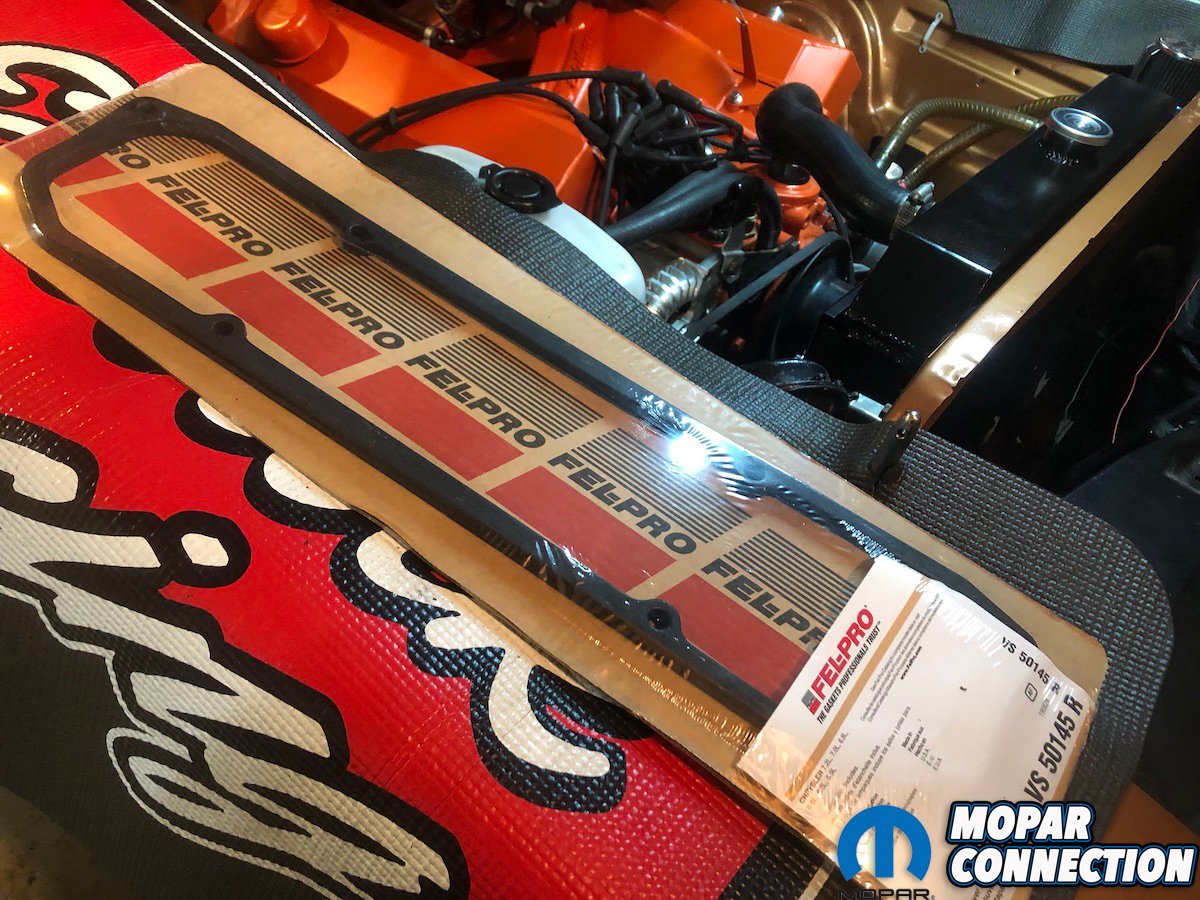
Above left and center: And since we had the top end apart, why not take advantage of the opportunity to upgrade my gaskets? New Mr. Gasket header gaskets and thick reusable Fel-Pro valve cover gaskets were a cheap and easy upgrade. Above right: Gone is all of the cloudy aluminum replaced with mono-colored Hemi Orange! While it would be tough to fool anyone, it does have a bit of a stealthy appearance for the uninitiated. And with the aluminum radiator painted black, it matches our slightly-subdued aesthetic.
Happy with my freshly painted parts, I reinstalled the shroud to the radiator and tightened down the fans. The completed radiator was set down on the factory studs and fastened tight. The forward and return lines from the TorqueFlite were hung using some extra clips and a bracket from YearOne, trying my best to follow the factory routing (with some extra tweaks). [Not shown are new DEI heat shrouds over the cooler lines where they near the header – Ed.]
Since they were in good shape and I was already waaay over-budget, I reused my radiator inlet and return hoses as well. With the cooling circuits complete – both for the engine and transmission – all that was left to do was top off the fluids and finish up the wiring. Speaking of which, the Charger has since been whisked off to Painless Performance Wiring for a complete head-to-toe rewiring, receiving one of the company’s first prototype B-Body Mopar harnesses including their new firewall block panel – so stay tuned for an update on that in the coming months!


