There are a lot of steps we’ve taken with our current street/strip ’69 Dodge Charger that we would’ve avoided had we had the chance to do it all over again. Key among them would be removing the dashboard for a full restoration when we had the windshield out over a decade ago. Why? Because nobody in their right mind likes crawling underneath their dashboard to try chase broken wires, missing plugs and replace lightbulbs.
But that’s exactly where we found ourselves these past few weeks while investigating the many variables causing our Charger to run without headlights, interior lights or even dash lights. While we’re saving a major portion of proper wiring best practices for a soon-to-be-published full dashboard restoration story, we did want to highlight some incredibly quick and painless fixes that had our Charger lit up like a Christmas tree in as little as a few hours.

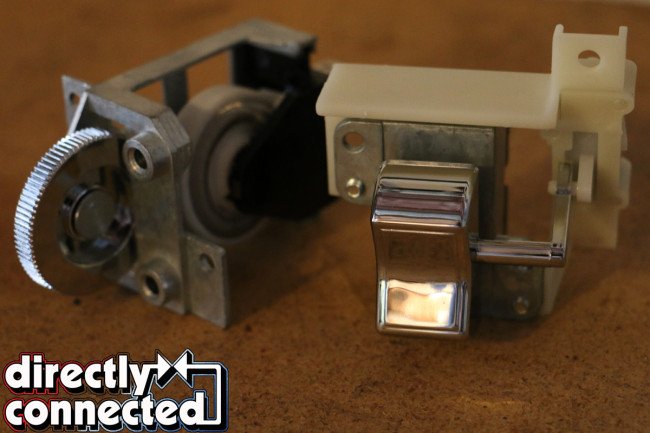
Above left: Exchanging out the old headlight switch and interior dome roller switch was the best course of action given how regularly these switches tend to go out. Above right: The new Classic Industries’ interior dome switch features a new redesign and better components.
A while back, when we had our grille out of the car, we installed a pair of Charger Specialties’ impressive CS305 Electric Headlight Door Actuators (for 68-69 Chargers). Sold through Classic Industries or directly through Charger Specialties, this actuator kit completely replaces the vacuum-operated headlight door actuator system that our Charger came with from the factory.
Originally, 1968 and 1969 Dodge Chargers (which all came equipped with hideaway headlights, regardless of trim package), featured a large coffee can-looking vacuum canister that was screwed to the inner fender, pulling vacuum off of the engine. This canister, when activated by the large headlight switch, would then pull the headlight doors through similarly vacuum-operated door actuators.
Oftentimes, this would result in a slow, uneven motion of the door pulsing up or down, particularly if the performance level of the engine. With the addition of a lopey camshaft, an aftermarket intake manifold and headers will all but scrub the engine’s vacuum, rendering the headlight doors inoperable. Charger Specialties’ actuator kit not only amends that, but also saves weigh in replacing the entire vacuum system.
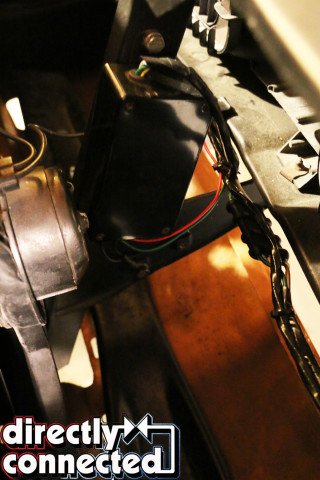
The two electronic actuators bolt in directly replacing the two factory vacuum actuators are bolted behind each headlight pod. A short wire loom connects the two and tethers to a center control box. The box needs to be mounted securely (we screwed it to the wide central mast, hidden behind the grille), grounded and wired to 1. a live power source, and 2. an activating signal, which Charger Specialties recommends splicing into the headlight signal feeding into the highbeam dimmer switch mounted to the floorboard.
Above left: The new switches are direct replacements and are made with superior materials than stock. Above right: Although not entirely necessary, we found dropped (and pulling) the steering column and A-pillar cover made accessing the back of the gauge cluster significantly easier.
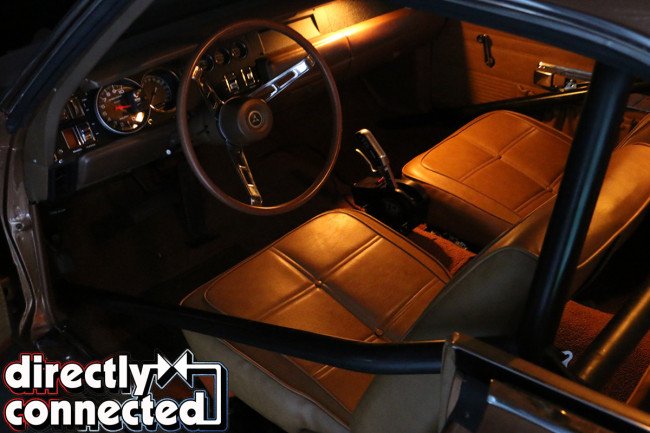
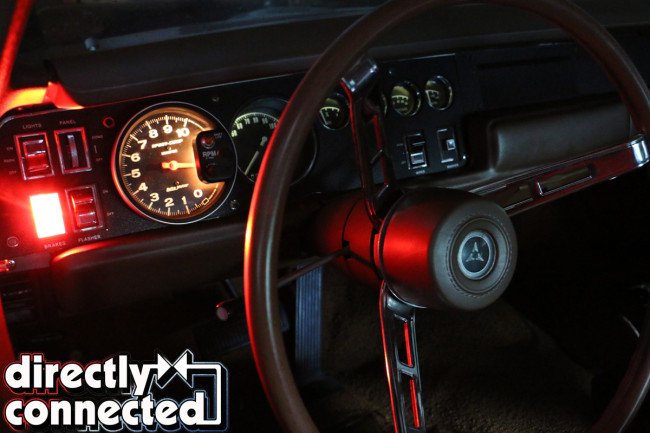
Above left: The new interior dome light was the solution we needed to get our interior lights shining bright (that, and some new bulbs for our overhead dome and map light). Above right: With new bulbs in our dash, turn signal indicators and parking lamp, our Charger’s dash lights up brilliantly.
When the headlight switch is activated, the electric actuators whir to life and quickly (and evenly) roll open, the headlights beaming beneath. At least, so we thought. We discovered that original headlight switches have a nasty tendencies of going bad, and opted to replace both the headlight switch and scrolling dome wheel. And for good cause. Both switches’ contact points were blued with corrosion and gummed at the pivot points.
Thankfully, Classic Industries’ Mopar catalog only continues to grow, and with it their access to some of the aftermarket’s very best replacement parts. The new switches are direct replacements, and are finished beautifully. The dome wheel switch also features a new design that provides better contact points and scrolling. Although not terribly necessary if you’re careful, we lowered the steering column and A-pilar cover to loosen and particularly remove the gauge cluster enough to access the two switches.
Above left: Purchased through Classic Industries, we landed one of Charger Specialties’ awesome Electric Headlight Door Actuators for 1968-1969 Chargers. These are meant to completely replace the large and space-consuming factory vacuum system. Above right: With the grille out, here is the pad where the factory vacuum actuators (removed) go. The new electric actuators directly replace them.
Above left: The actuators are housed on a billet aluminum body with the electric motors and solenoids screwed to it. All of which has been wrapped in weather resistant material to preserve the sensitive electronics. Above right: Here you can see how the electronic actuator replaces the factory vacuum unit.
Both are screwed down with sheet metal screws, and the plugs are specifically designed to only fit each switch. With most of the cluster removed, we also replaced all of the bulbs for the turn signal indicator lights, gauge lights, parking brake lamp, and high beam marker light in the speedometer. Additionally, we discovered that when we first reinstalled our ignition switch that we forgot the blue-shrouded keyhole light, which we quickly put back in place.
A new brake light switch replaced our broken factory one, with the pink wire (coming from the fuse box) and the white wire (leading to the steering column loom and then back to the rear taillight loom) plugging in effortlessly. You’ll notice that we’re opting to replace electronic switches and relays rather than battle through getting old ones to work. Were our Charger an original R/T, 500 or Daytona, we’d be more likely to retain the original factory equipment.
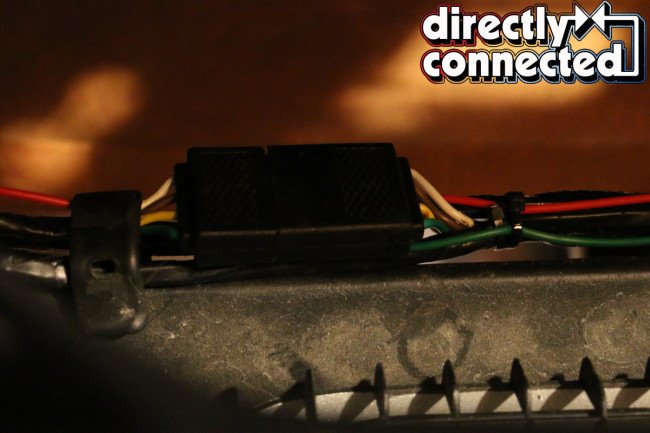
Above: Although the images are a little dark, you can see how the electronic headlight door kit’s control box was mounted to the grille’s center mast just behind the center of the grille, up and out of view. Three wires need to be hooked up: a ground, a live power source and an activation signal, which Charger Specialties recommends splicing into the high beam dimmer switch.
Since we were already replacing bulbs and switches, we replaced the original date coded bulbs (as a few had broken tongs while others were simply dim) with new high-yield halogen bulbs from the local parts house. They’re surprisingly cheap, fit directly in, last much longer than the factory bulbs and cast significantly more light. If you’re not entering your car into OE Manufacturer class for judging, do yourself a favor and swap to the new headlights.
While changing out our headlights, we noticed that our lower valance turn signal indicators/running lights were in sorry shape. The argent silver was flaking off, the edges were chipped, and the covers were cloudy and opaque. Seeing that these were identical from 318-powered Charger to the highest-optioned Hemi 4-speed R/T, we didn’t hesitate to dial up Classic Industries again, who rushed out a pair of Stephens Performance replacement covers.
Above left: With our headlights’ door problem solved, we moved on to the lower parking lights. Our originals were considerably dimmed, clouded and distressed compared to these new lenses from Stephens Performance. Above right: Inside, our housings were in need of some TLC, including a quick cleaning and repaint.
Above left: With a little bit of elbow grease and steel wool, our surface cleaned up nicely. We used a few passes of aerosol argent silver and let it dry for a couple of hours. Above right: What a different, right? Save yourself the money and try to clean up what you’ve got first.
The parking lights are composed of two pieces, the front lens covers, which we replaced, and the cast pot metal housings. Since our housings were in good shape, we chose to keep them, but needed to touch them up. For 1968 and 1969, the housings used a yellow bulb that cast its reflection off of a reflective argent silver backing. After a little scuffing with a steel wool pad, we masked and painted our housings with a rattle can of argent silver.
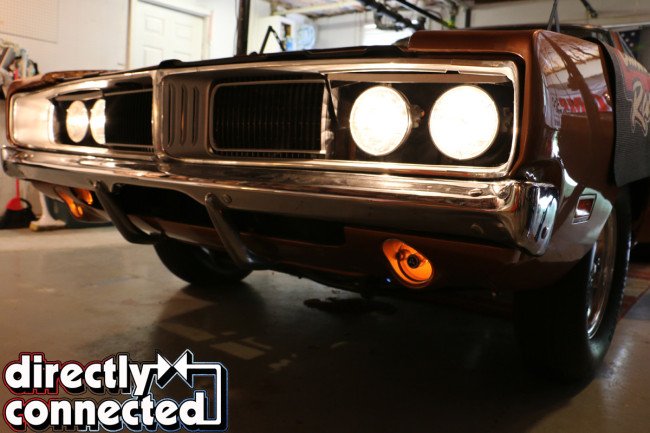
Next we installed the lenses and installed them into the car. From below the front bumper, the new lens cast a brilliant yellow hue that was previously a faint glow. Now, both inside and out, our Charger lights up beautifully. Of course nowhere near the digital display of today’s Mopars, the dashboard of yesterday’s Charger is now perfectly legible as we drive down the road at night. The dimly green airplane-like gauges cast a quiet, ghostly glow over the cabin, reminding us of those iconic behind-the-wheel scenes in “Christine” – but that’s a whole different story.

Above left: With our new parking lamps ready, we quickly installed them into the lower valance and flipped the switch! Above right: Our new electric-operated headlight doors, parking lights and halogen headlights made a massive difference compared to the dim yellow lights that came from the factory nearly 50 years ago.











I cant find the headlite switch and dimmer switch on Classic Industries website. In dire need of those parts. Help? Thanks
If you’re looking for a ’69 Charger, here’s the headlight dimmer switch link:
http://www.classicindustries.com/product/mopar/b-body-charger/parts/mb16951.html
And here is the link for the ’68-’69 Charger headlight switch:
http://www.classicindustries.com/product/mopar/b-body-charger/parts/2864134.html
I can’t find the washer fluid push button for the dash cluster. Please help. Thanx
I’ll need more detail than that. Do you mean you cannot find it in your car? Or you cannot find a replacement? And for what car? What year?
1968 coronet 500. Can you tell me the procedure for removal of the fender turn signal indicator light? Any advice would very much appreciated. Thanks in advance
I presume you mean the electric side marker lights? Those are accessed from within the fender, forward of the wheel well.
Thanks for your response but I’m talking about the signal indicator mounted on top of the fender. The model on my car has a mounting screw in front of the rear facing lens. It’s easily removed but something else holds the indicator in place. Without a little more info I didn’t want to pry or twist for fear of breaking something. Access from the backside is blocked by the inner fender.
Ah, gotcha. I wasn’t clear. Yes, the top-mounted indicator SHOULD have a single stud held on by a 1/2-inch shoulder nut. Once the nut is off, the only thing holding it in place is (likely) the gasket, that or years of being sandwiched down. Spray some penetrating oil (WD-40, PB Blaster) in there and wriggle it loose like a kid’s loose tooth. It should give way.
Great, thanks Kevin. That helps a lot.
Will the 1970 Charger parking/ turn signal/ lower valence light assembly mount on a 1969 Charger with 1969 lenses?
That’s a good question. I believe there were changes made with the grille surround, but I’m not 100% on that.
i have 2 motors for headlight covers on a 69 charger. One is assembled and one was taken apart. The assembled one runs ok , The disassembled motor has some things missing. The winding in the motor has broken wires. I can rewind it but i notice that the wires on one side of the winding is smaller then the other side, one is a 24 wire and the other size is 27 wire which is half the size of the 24 wire. Any idea why there are 2 different sizes? most winding would be even in motors like this. Any thoughts?
Well, that’s definitely not supposed to be like that. The motors need to be identical. You need to reach out to chargerspecialties.com and ask for a replacement.
Thanks, sometimes motors could be wound like that with torque issue for load but i doubt something like that applies to this winding. i think my safest bet is to wind both fields identically with the same wire size.