

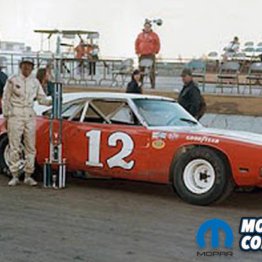


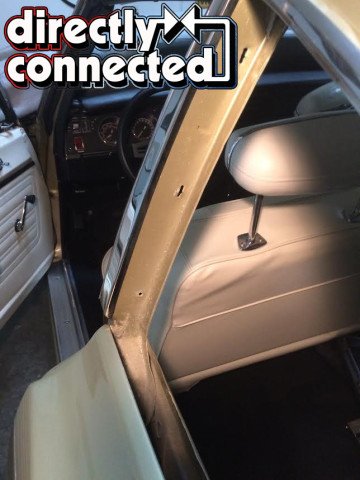
We often see these cars with scratches and poor plating in the areas of the windows, whether it is the front and back glass and trim, or door glass, and vent wing glass. Most of the time when we see a “post car” the pop-out windows need to be replaced. The hardtop cars seem to have better glass. The reason for this seems to be that people are afraid to tackle these unique windows.
How do they come apart? What kind of seal is in the front of the glass where it pivots outward? How are they sealed in the car? There are many questions about these windows and we are going to take you step-by-step through removing them from the car, rebuilding and replacing the glass, the chrome, the seals, and then re-installing them back in the car just like it left the factory.

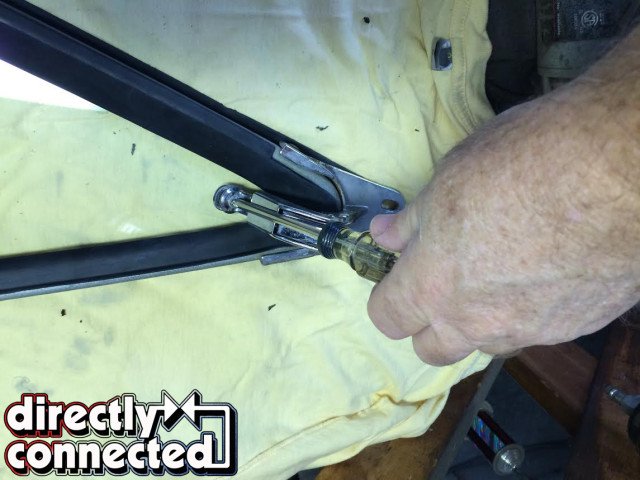
Above left: The entire pop out window assemble comes out with three screws, one in the front and one in the rear. The unit pictured here needs to have new glass but does already have a new rubber seal. Above right: Disconnect the opening and closing mechanism and inspect and replace anything that is not in good show shape or does not function properly.


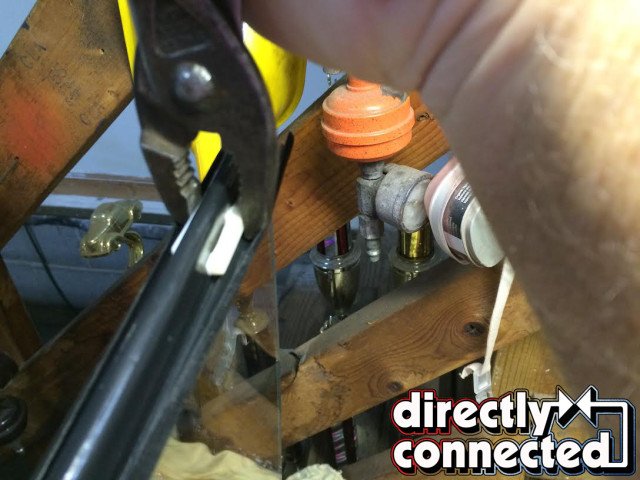
Above left: Once the mechanism is disconnected from the glass it will open further to allow removal of the “U” shaped rubber seal. Above center: The “U” shaped seal pops out of the channel of the frame. There aren’t any clips or screws that hold it in place. Remove the foam seal that wraps from the front of the window assembly to just past the opening and closing mechanism. It is glued in place and will need to have the old glue residue removed completely. Above right: Drill out the long shaft rivet from the side without the head. Use only a drill bit that will remove the rivet and not enlarge the hole.

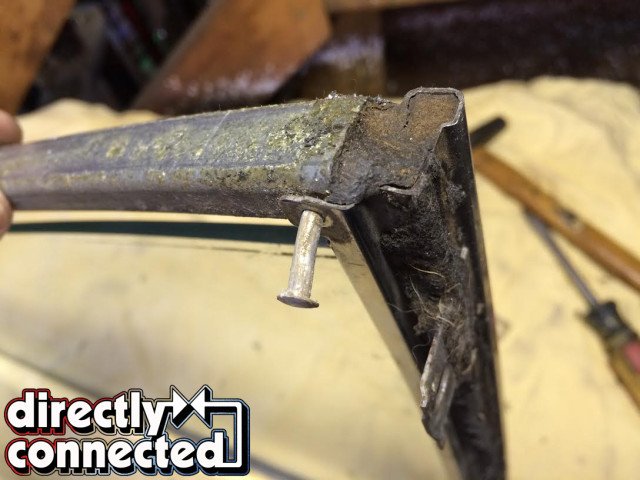
Above left: Replace the old “U” seal with a new one. The reproduction seals are exactly like the originals and fit very well into the frame. Above right: With the rivet drilled, tap out the rivet with a small punch and notice the positioning plug on each end of the channel that holds the glass.
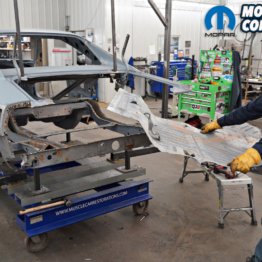
It is always easier to restore these windows when you have the car completely disassembled. But it is not impossible to fix them even after the car is finished. On the car we are using as an example, the owner made a poor decision in thinking that he could “get by” with using the windows with the original glass still there. After the car was done and everything was now new and perfect, the poor condition of his original pop out windows stuck out like a sore thumb.
To get these windows out you have to remove the back seat, the rear side panels, the over door headliner trim, and the rear part of the post trim. There are three screws in the front and one screw in the back. Yes that’s all that holds these in place. After removing the screws, the window may seem like it doesn’t want to come out, but that is just the seal that is on the front and top of the assembly. Take the entire unit to the workbench.

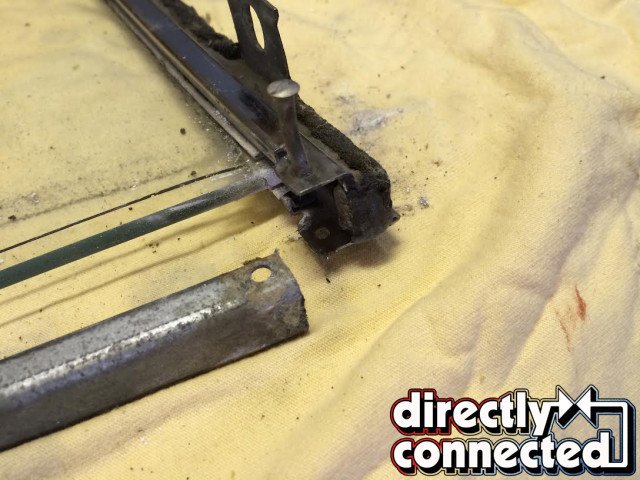
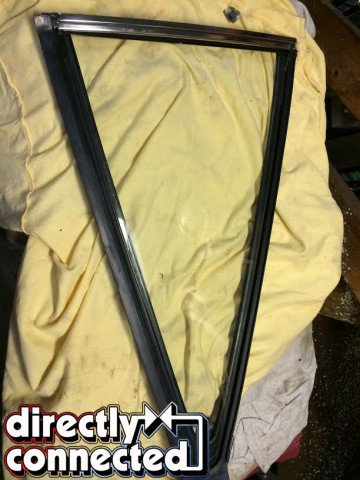
Above left: Separate the stainless front channel from the upper frame. Above right: Repeat the process and separate the lower frame from the stainless channel.


Above far left: Notice the condition of the plastic and felt “slider” and how it is attached to the original glass. Photograph the disassembly for future references. Above center left: This slider is falling apart and can be replaced with a reproduction piece. Above center right: Mark the top of the stainless channel that holds the glass as “top” and “bottom” accordingly, so you can reassemble the unit correctly. Above far right: Remove the old foam seal from the stainless channel and clean the glue residue completely. Make sure the channel is clean and free from and damage.


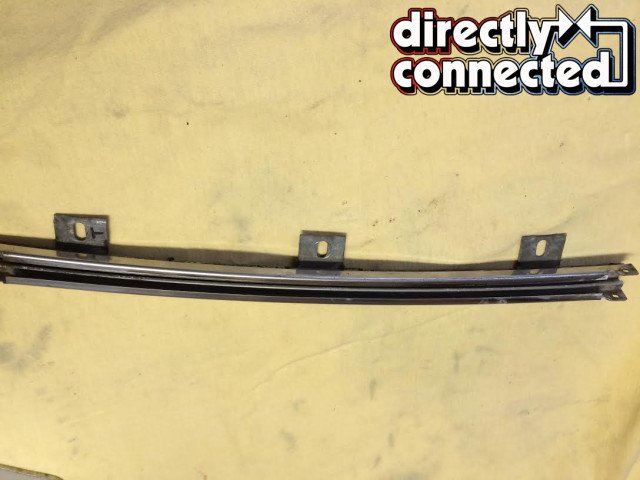
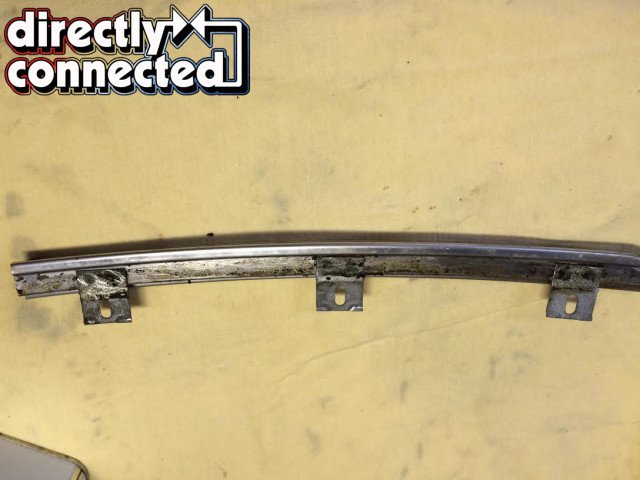
Above left: Once the stainless channel is clean begin to buff the finish with Grey rouge to remove any scratches. If there are any deep scratches they will have to be sanded out first before buffing. Above right: Finally, polish the stainless channel with the white rag. Be sure and buff away from the edges and hold on firmly to the piece. It can become a projectile if you catch an edge or lose your grip.
Unscrew the mechanism in the rear that opens the window. Inspect it and see if it needs to be replaced. After the hinge is separated from the window, the glass can open wider enabling you to remove the big rubber U-shaped seal. Always replace this seal with a new reproduction piece. The seal is only held in place by a channel that the seal snaps into. There aren’t any clips or hardware holding the seal in place. Just pull the seal out.
After the seal is removed, take a drill with a bit no bigger than the rivet and drill out the headless side of the rivet. Tap the rivet from that side with a small punch and it will slide out. There is one at the top and the bottom of the window. Separate the glass and front channel from the rest of the frame. Clean the frame, slide out the window and clean and buff the front channel.


Above left: The “slider” comes with new clips that are used to attach the seal to the new reproduction window. A small rod inserts into one clip before it inserts into the hole in the glass. Cut the new “slider” to fit the glass. Do not leave extra seal longer than the actual glass length. Trim with a razor blade or scissors being careful not to crush or damage the plastic “slider.” Above center: While holding the “slider” in place punch a hole with a small awl or pointed punch completely through both sides of the “seal” where the glass mounting hole is located. Position the two clips and squeeze them together with a pair of pliers. Make sure the clips seat all the way in the glass hole. Above right: When installed correctly the outer part of the “slider” will wrap completely around the clip then the glass and the “slider” will move freely inside the stainless channel.


Above left: Upper and lower clips now hold the “slider” seal in place and you have a new rear quarter glass ready to reinstall into the frame. Above center: Since the original long rivet is almost impossible to find and is really not necessary you can re-attach the channel to the frame using a small pop rivet on both sides of the frame. Above right: Using some WD-40 spray the new rubber “U” seal and pop it into place making sure it is completely pressed into the frame. Wipe off the excess lubricant. Re-install the spacer seals in the top and bottom of the stainless channel. You can use strip caulk or foam gasket material.
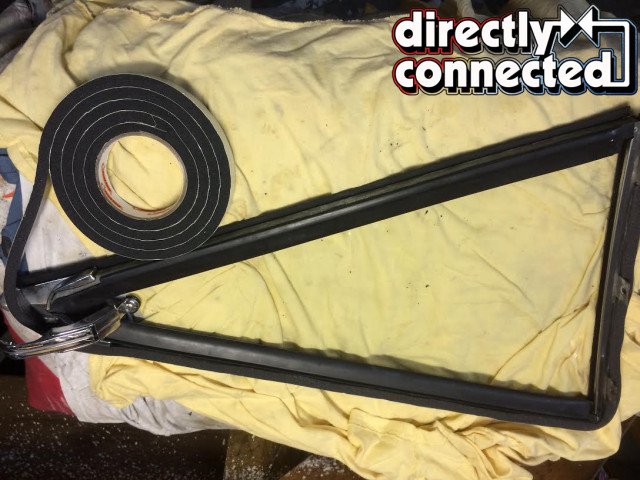
Above left: Using a roll of one sided adhesive foam tape cover the frame from the bottom of the front to the top and down to just past the opening and closing mechanism. Above right: Position the seal so that it will not be seen outside the car when the assembly is installed. Also it shouldn’t interfere with the attaching screws.
The “slider,” which is made from plastic and felt, is the same part that is used on the front of the door glass. You will need to purchase one for each side. They are available but they’re not cheap. Place the slider on the new reproduction glass and cut to length. With an awl, punch out a hole where the two plastic clips attach with a small rod that connects them together through the hole in the glass. These clips will squeeze together with pliers.
Slide the glass with the “slider” seal attached into the front stainless channel that has already been polished. Position the frame and use small pop rivets to reattach the frame and the stainless channel where the glass in mounted.


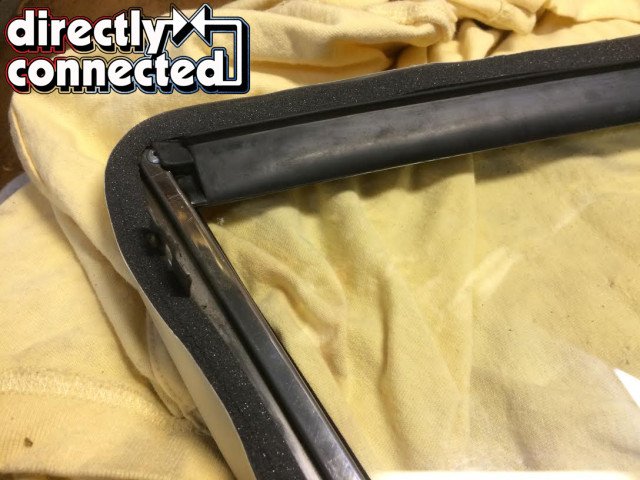
Above left: As you can see here the rubber gasket is not fully engaged with the frame so it needs to be adjusted so it seals to the stainless window channel. Above right: This is the way the rubber “U” seal is installed correctly making sure there is a good seal before installing the unit in the car.
Above left: These are the three attaching points that are drilled into the door pillar on a post car. Only post cars have these pop out windows. Above right: A common mistake that is made on these cars is not installing the drip rail molding, especially the curved end, before installing the upper seal channel stainless. The drip rail end has a tang that must be installed before the upper seal stainless. If you didn’t do it in this order when you go to install the drip rail molding, you will have to take everything back apart including the pop out window assemblies.
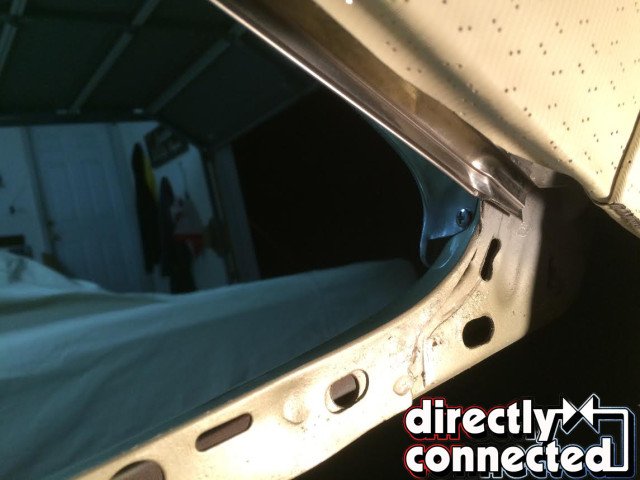

Above left: Here is a close up of the unique rubber trim that goes on the front and rear of the door pillar after the pop out window assembly is installed. Also note that the pillar must be painted to match the interior color not the body color. These are very hard to find if yours are missing. Above right: Now the owner has what he wanted. A perfect example of a restored, fully functional, pop out window assembly, that matches the pristine appearance of the rest of his car.
Spray WD-40 on the new rubber “U” seal and snap it into place. Reattach the chrome window opening and closing mechanism to the glass. You may have to replace this hardware based on the condition of your original. If you do, the attaching point hardware is the same as used on the front vent window assembly.
Wipe everything clean. Replace the top and bottom plugs that position the glass in the correct position in the channel. With single sided foam sealing tape wrap the front and top of the window assembly frame with the seal. Position the pop out window restored assembly into the car and attach with the 4 screws. Replace the door pillar plastic trim and reassemble the trim pieces, upper window panel, and door.
Now you have a beautiful rear pop out glass that is functional and does not have any scratches.


 Mopar Connection Magazine – The ONLY Daily Mopar Magazine © 2022. All Rights Reserved. Mopar Connection Magazine is the ONLY daily Mopar Magazine bringing you the latest Mopar news, technology, breaking news, and Mopar related events and articles. Find out the latest information about Mopar, Mopar products and services, stay up to date on Mopar enthusiast news, dealership information and the latest Mopar social media buzz! Sign up for the Mopar Connection Magazine newsletter for the latest information about new products, services and industry chatter. Mopar Connection Magazine is the best and only source you need to be a Mopar industry insider!
 by
by